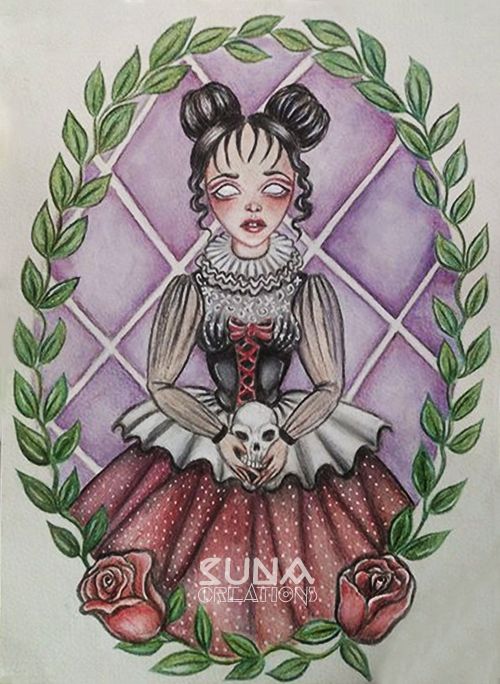
Creepy Gothic Doll Illustration ( From Sketch to Finished Piece/ With Pictures/ Whole 5 Step Process)
In this post I’m going to show you my whole process of how I created this Gothic Doll Illustration. It includes pictures with detailed descriptions of what I have been doing and what I have been using. I love seeing other people's work in progress and see what interesting things they do and how they do it while creating art so I've wanted to share my own process. This Illustration was a very enjoyable process for me and I hope you will like it and find it helpful in some way.
Enjoy the 10 step process of creating this illustration below and much love to you all.
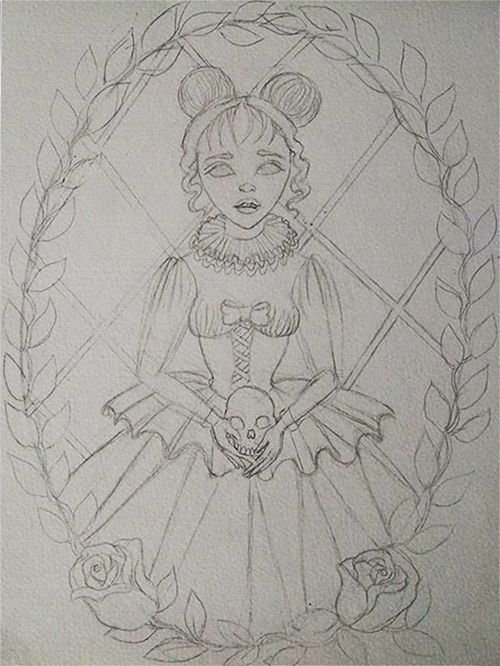
STEP ONE – Sketch
In this part of creating an Illustration I let myself be messy and try out different positions of a character and try to think of an environment for it and how it will all come together. I always let myself be creative in thinking of details to make it more distinctive and interesting, with keeping in mind how it will work together in the end. After I’m satisfied with the concept I clean up the sketch and move to coloring.
STEP TWO- Working on skin color, tones and shading
I always make sure to define the color scheme of the drawing before I start coloring to make sure it the colors will work together in the end. I chose a red- green contrast and a touch of purple for this illustration and this is why I was using different shades of red, pink and purple to create a skin tone that will match but also give her a doll- like creepy look. In this part I also did the hair coloring and highlights.
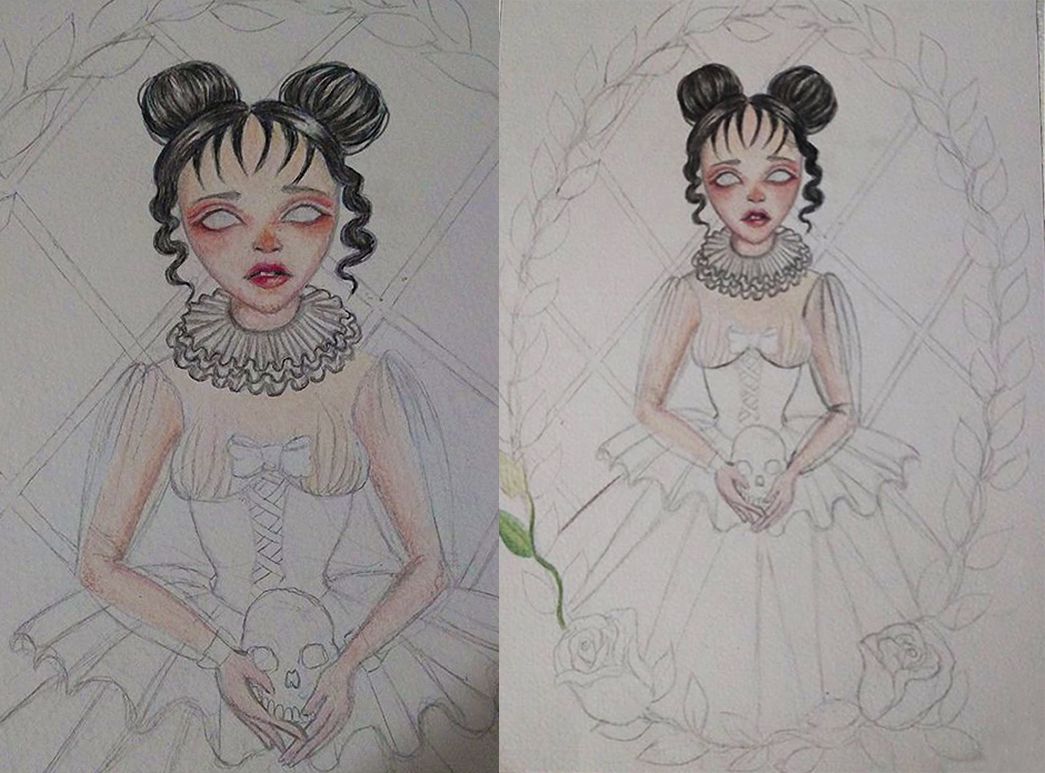
STEP THREE- Laying out basic colors
In this part I start laying out basic clothing and background colors, shading and tones. I’m not always sticking to my basic color scheme I’ve decided on before but it’s all part of the creative process and sometimes not sticking to basic idea turns out amazing in the end so I always go with the flow but with the initial plan still in mind. In this part I like to define shadows and where the most stand out highlights will be so that I can just touch them up in the end.
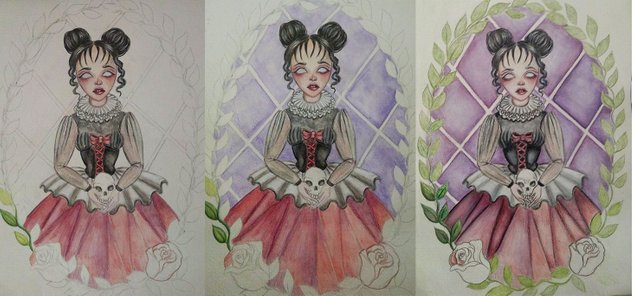
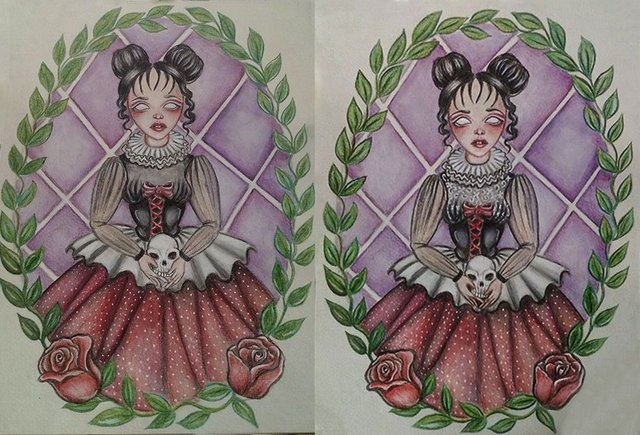
STEP FOUR – Coloring and making the stand out details pop up
In this step I just made the color of the leaves a bit more saturated and started working on roses, I wanted that green color of the leaves to contrast dolls red dress so it needed to be a rich green color.
Roses in the end turned out to blend a bit into her dress but highlights and shadows later brought them up and in this part I’ve realized I should have placed them somewhere else in the initial sketch or make them a different color to stand out more but I have made it work in the end.
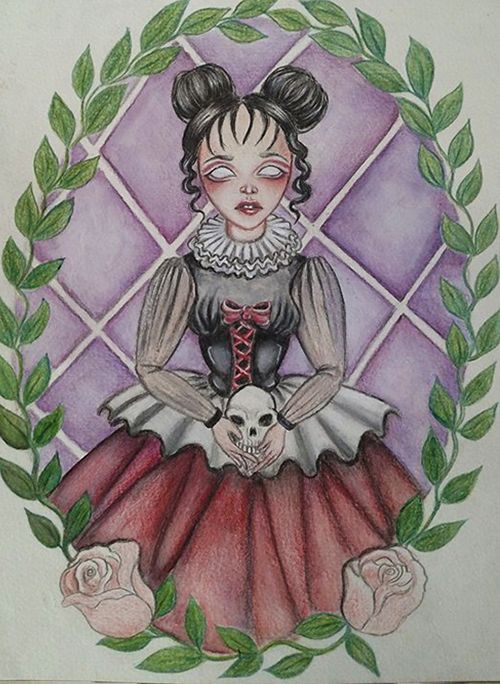
STEP FIVE- Touching up to make it into finished piece
This step is where I take my time to focus on adding additional details, such as white lace on her top and little dots on her dress. This is where I get to be most creative about the details and this is where whole piece needs to start coming together. It’s all about adding small details to tie the illustration all together and making sure the shadows and highlights are standing out well enough. This part of the process is the longest for me because I usually do not know when to stop working on a piece I enjoyed working on so much so I take my time with it and most of the time have to stop myself and let it be finally finished.
I hope you enjoyed creating this piece with me and hope it inspired you to let your creative side out!
This has got to be my favorite post thus far!
I really like this format of breaking the work down in to steps with the pictures of it at different stages and the finished piece is just amazing look at that detail!!!
Thanks a lot for sharing this, hope lots of people see it, this deserves a lot of respect, you can see the hard work that has gone in to it. =]
I'm glad you appreciate seeing the whole process. I think having some sort of an insight of how people create things is a nice addition to just seeing the finished pieces. Thank you very much for support! :D
Congratulations @suna-creations! You have completed some achievement on Steemit and have been rewarded with new badge(s) :
Click on any badge to view your own Board of Honor on SteemitBoard.
To support your work, I also upvoted your post!
For more information about SteemitBoard, click here
If you no longer want to receive notifications, reply to this comment with the word
STOPDo not miss the last announcement from @steemitboard!
I am a big fan of the creepy and cute dolls and girls, it looks great, please keep working to support your work of art <3<3
Thank you very much! I am a big fan of that style too and had so much fun working on this piece so Im happy you like it <3
Congratulations @suna-creations! You received a personal award!
Click here to view your Board
Congratulations @suna-creations! You received a personal award!
You can view your badges on your Steem Board and compare to others on the Steem Ranking
Vote for @Steemitboard as a witness to get one more award and increased upvotes!