Hello People,
It's quite lovely to be here again. The turn up on my blog yesterday was quite encouraging, I never knew I could bring in or get so much attention that fast because I've neglected my blog for so long. Thank God, it's all working back for good, my fans are still here hoping to see more of me I guys, but I promise not to let you guys down though.
This is another episode of Teach your kids to paint. I goan be doing this for a very long time I hope, because I'm really enjoying it, even as a teacher. Back to the teaching line!
The Natural Thing.
This quick painting took me roughly 30mins. In making such painting, one need to be very careful. Firstly, get your paper (make sure it's not so light), your water colour, your brushes (good brushes matters too), once you have all these, just get some water available. Knowing the fact that all equipment is available just........
. Make sure you've your paper on a surface whereby you can easily control it, the paper could be plain white, cream or a very light brown too (it's all going to bring in it own effects). After you must have prepared your paper, just make sure you're in the right mood to think wide and wild (lol). Since you're making the painting from your imagination, you can easily control it but you must be very careful too. And you can also get some pictures online as your reference picture if you're not that good with imagination.
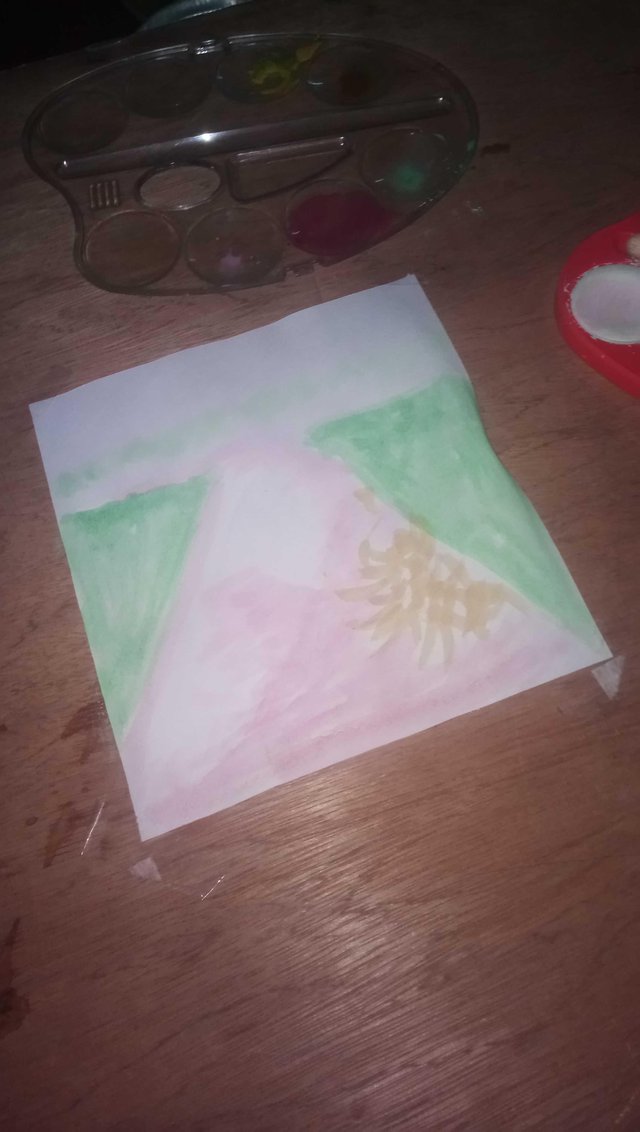
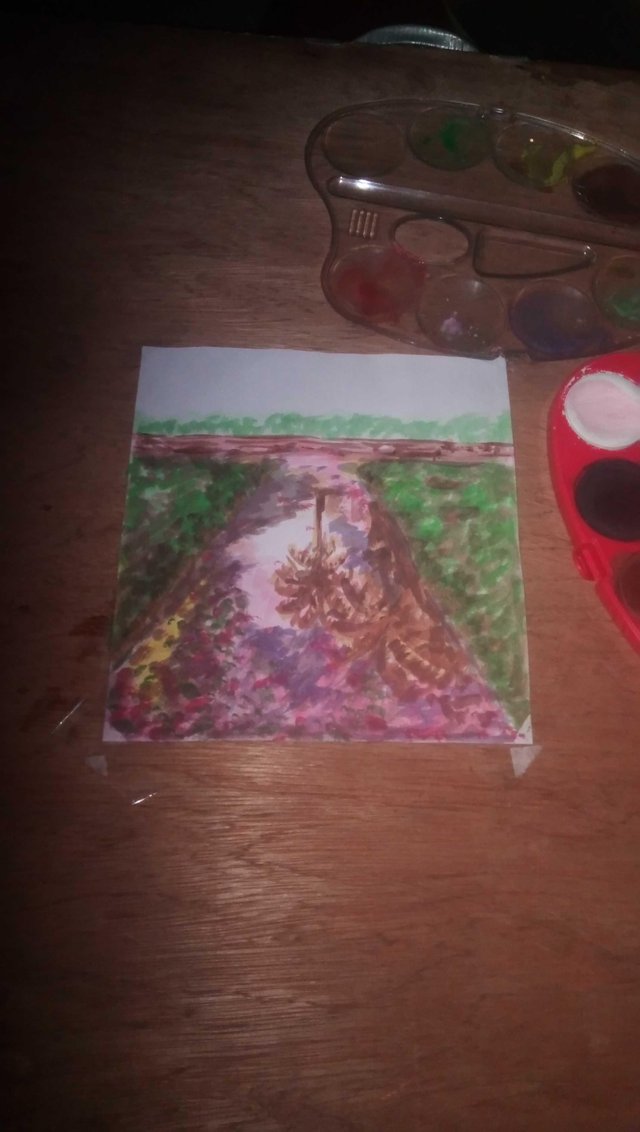
It's very essential that you start your painting with the lighter shades cause it will make you find it easy to control the painting. As you can see in the picture by the left, the green is there to indicate the grasses and I made that V shape you see to create something we call perspective in Art. It simply means (the nearer an object, the bigger it appears and vice versa). You just have to use some light colours for the foreground too since I'm depicting it to be a little bit wet, so I started with the light purple colour and left some places with just white. The brown then is indicating the shadow of a Palm tree I was planning to paint, well, you might not do it the way I've done mine, you can also wait and put the shadow after you must have drawn the tree.
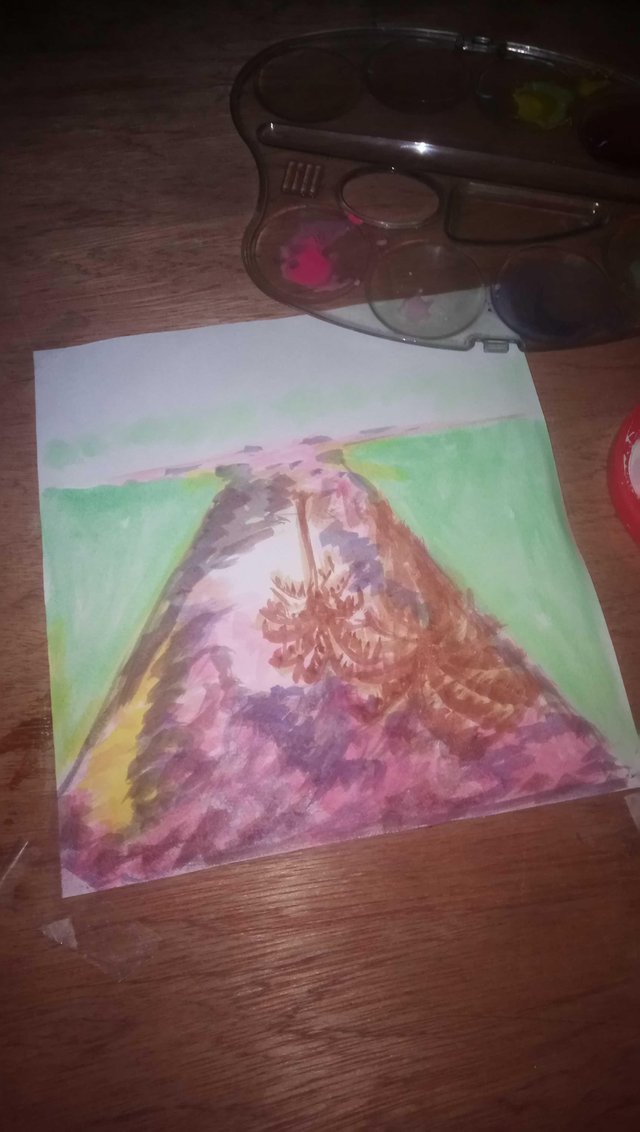
Going a little bit deeper into the painting, you'll have to introduce some dark colours in painting the ground and creating depth. So using purple, yellow and orange was what I did and what you could do. Moving to the upper part of the painting with immediate effect, one this you must consider again is this, I said this on my post yesterday too. Since we're asking use of the *Wet on Wet* technique, one need to be very careful, you've to waiting after you've painted a particular, you'll wait for it to get dry while you're painting somewhere else, then you come back to it there after.
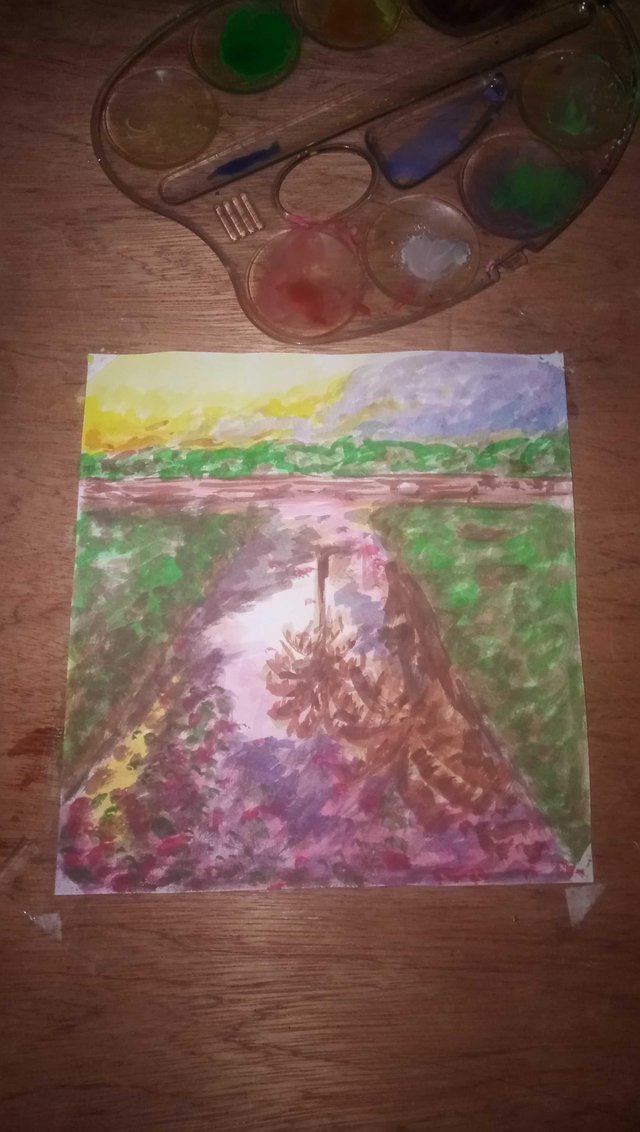
Painted the upper part of it cause I needed to indicate some grasses, and because I needed to wait for it to get dry, I had to go back and touch some other parts I had left before to create some effects between light and shades. At the vanishing point, I decided to make another route there, and horizontal walkway before the grasses on the other side...
Painting the blank spaces now, I mean the clouds, on a normal circumstance, it ought to just be either a light blue clouds or syk or white or dark but I chose to be creative which is very important while you're painting, I made use of about there to four colours in painting the sky. I use yellow, both light and sharp one, used light purple and as you can see, a little touch of brown. But what you should notice is this, as the colours are going up, it's turning light and lighter, till the lightest.
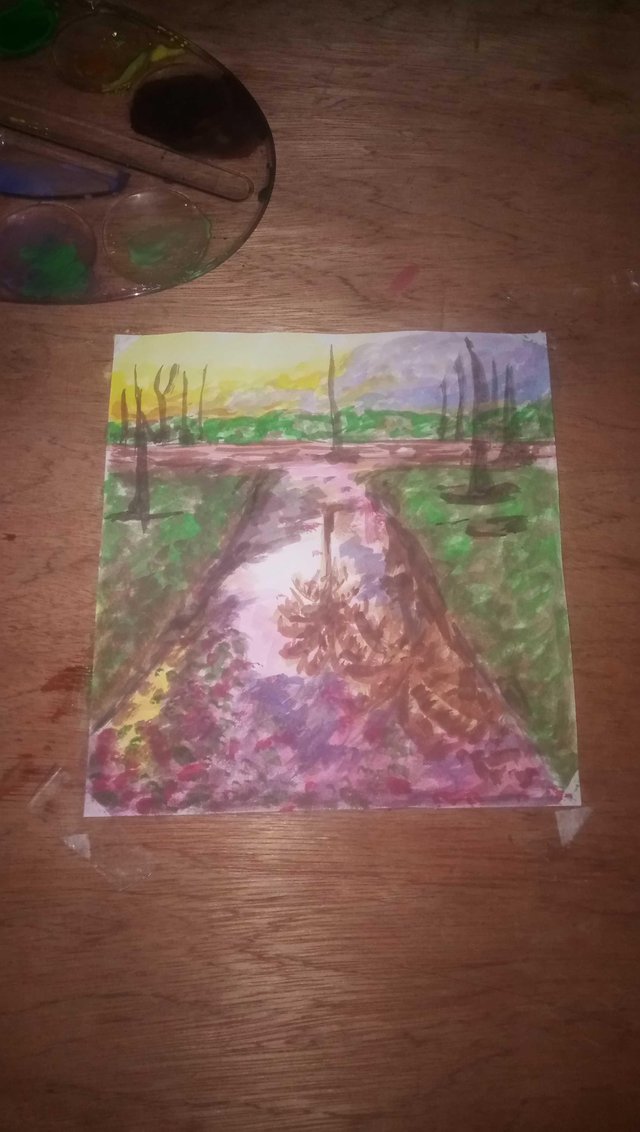
Making the plan trees was quite interesting, you can't use a light colour to paint the trees, the best option at this point is the deep brown, I used that to make the trees without the leaves yet, added a little bit of black to the brown again in other to show the relationship between the trees and the Sun. I still had to make sure my paint is not to watery at this point because if it does, it could wash the dark colour into the lighter parts and the painting could lose it proper interpretation.
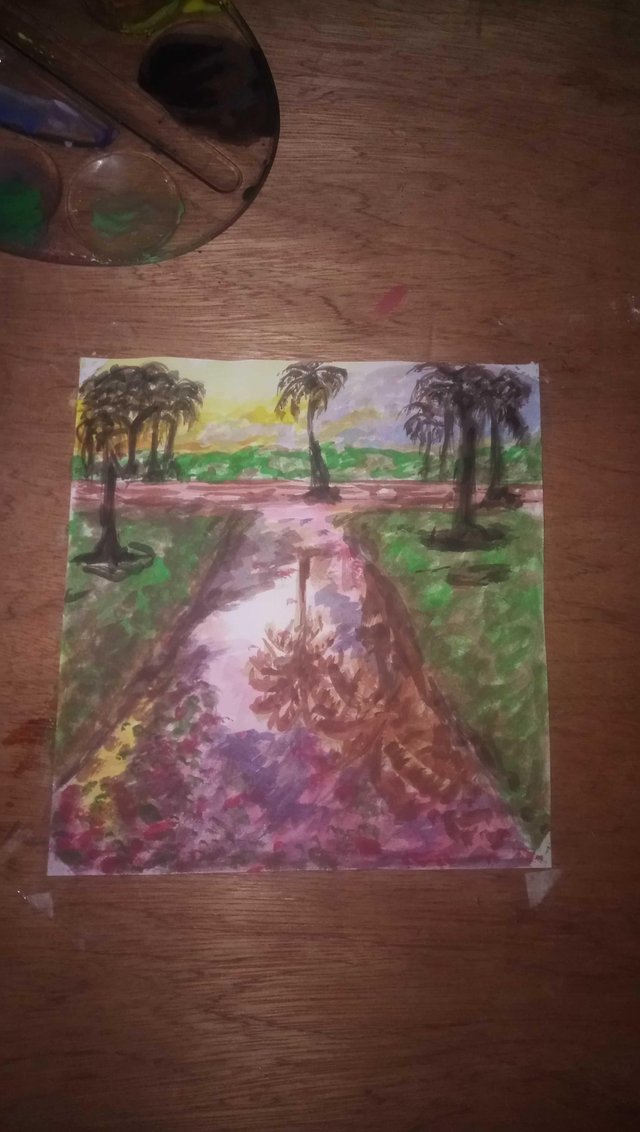
Finishing the painting, majority of the painted areas should have dried up by now, do you can still make use of some colours to make some effects just as you wish, the painting is yours, control it, make it look the way you want! Since the treed are dark because of the relationship of the trees with the sun, them the leaves too should be dark but not as dark as the trees though, you should be able to tell a difference between the leaves and the stem.
I hope you guys enjoyed the views.
Thank you all for checking my blog!
I have already voted for you.
Can I invite you to pay attention to my new project? Resteem and upvote my first post can participate in a 100 STEEM lottery.
Steem Express online | Resteem and upvote can participate in a 100 STEEM lottery
Nice work up there, you are really doing great man!.
I will like you to make a video on dtube when painting.
Hmmmm..... I don't really know how to use that dtube that much.
This post was shared in the Curation Collective Discord community for curators, and upvoted and resteemed by the @c-squared community account after manual review.
It is true that painting will open the minds of kids in the way that other activities wont, so it is good to teach kids how to paint :)
Lovely post, @tezzmax ! I love the text and the step by step is also presented nicely <3