Handmade Entrepreneurship How to create, Step by Step, custom tendrils //Tutorial: Tendrils in pointillism.
Hello, dear steemit. This is me and this is my entrepreneurship ✌
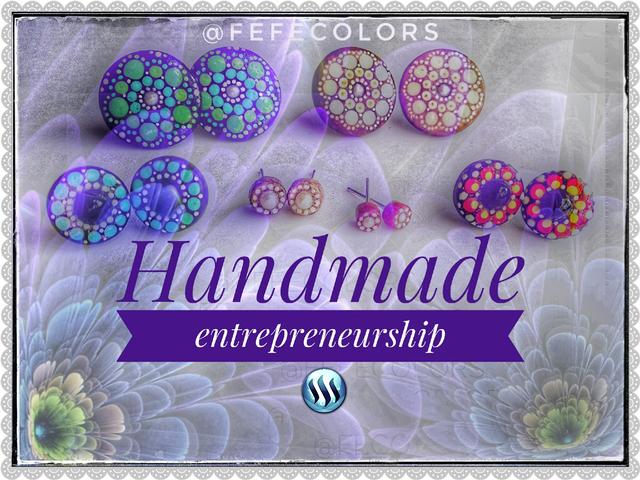

I want to show you how to elaborate, step by step, different models of tendrils; using materials creatively They are simple and, above all, fun procedures. You will see!
You will only need glue to join the pieces. We will apply details with paint and the help of sticks of different thicknesses, implementing the technique of pointillism.
As you go through the process, I will indicate the materials, which we will need to make each pair of tendrils.
Pointillism
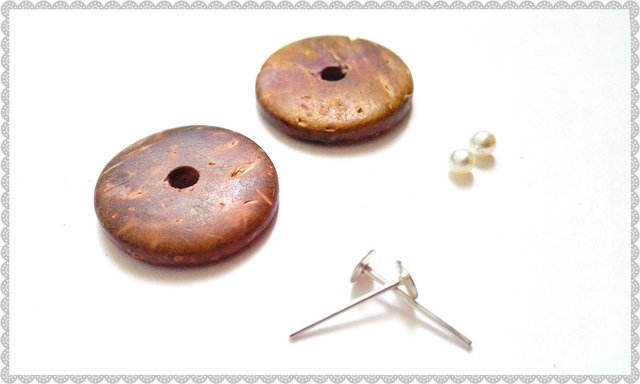
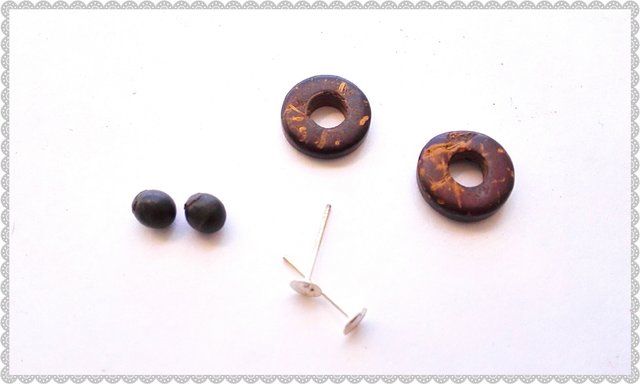
For the first pair, we will use: two (2) pins for tendrils, two (2) buttons of shell of coconut (2 cm of diameter), two (2) small pearls (they fit to the measure in the center of the button).
Now ... let's paint!
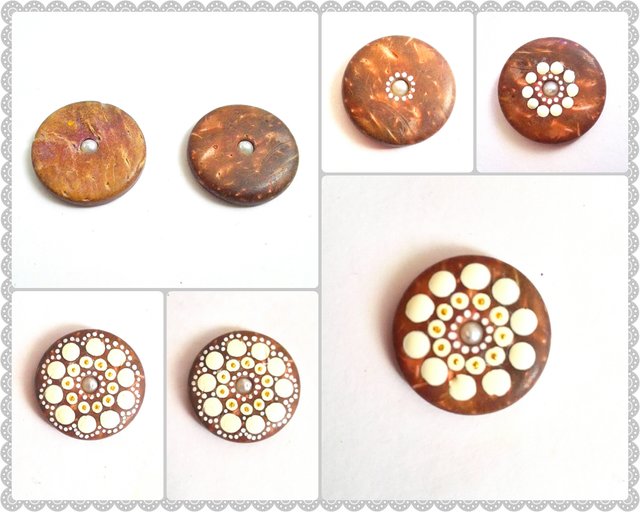
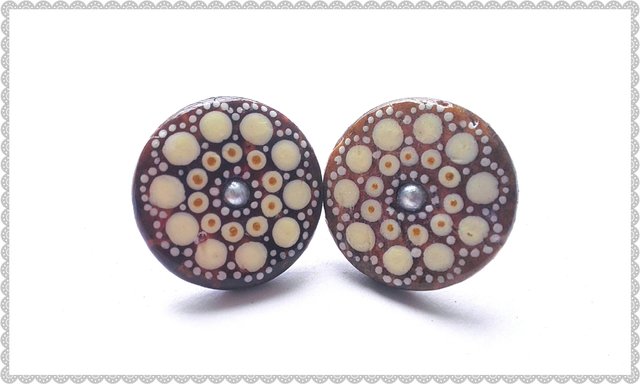
I selected the colors: white, ivory and gold. These light shades highlight the dark base of the coconut shell, illuminate the design.
We mark white dots, very small, with a toothpick, around the small central pearl.
Then, an aura of larger points in ivory and, successively, another larger blank. Remember to look at the image corresponding to each part of the explanation.
Let's apply details. We frame the general design, with a sequence of small dots around it and a touch of gold in the center of the ivory circles. Repeat the process with the remaining button, and leave it for a reasonable time, until complete drying.
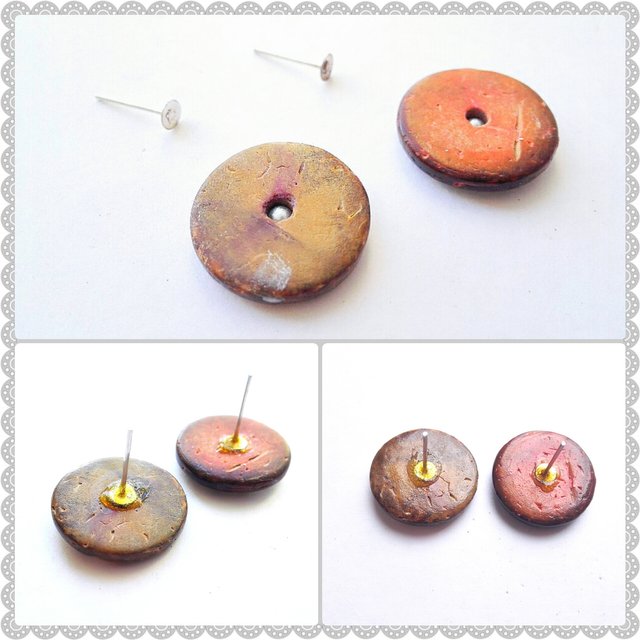
By having the two pieces completely dry, the next step will be the assembly.
On the back of the two buttons, we apply glue in the center, adhere the pins for tendrils and let it dry for a couple of hours.
The pins are already well attached. Now we are going to apply one or two layers of gloss on both sides, to ensure that the design and the piece in general, will last over time.
This second pair is similar to the first. The materials are: two coconut shells smaller than the previous ones (1.3 cm in diameter), two pins for tendrils and two small black seeds.
Remember that these are the sizes we use for the publication ... you can use the measurements of your taste. You can use any sphere that you look for or have at hand, and that suits you.
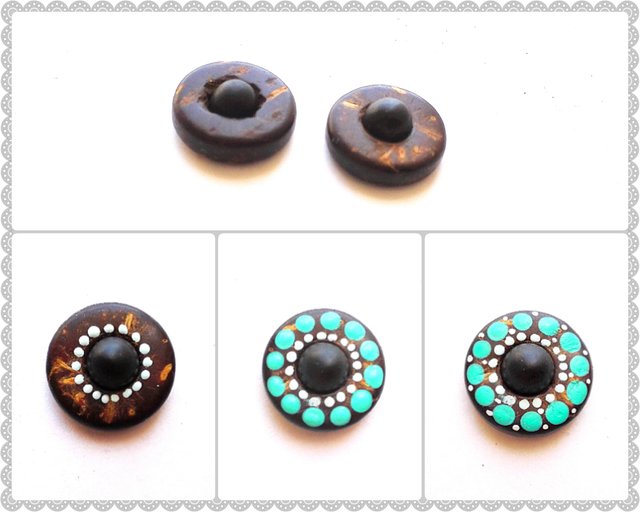
With a little glue, we place it in the center and wait for it to dry before beginning to paint.
With the small spheres, we will have less space to add details in color, not only for a smaller circumference than the first, in addition, the central sphere is also larger.
We will mark small white spots with the sticks, around the central seed.
We will continue with a ring of larger points in aquamarine and final white details.
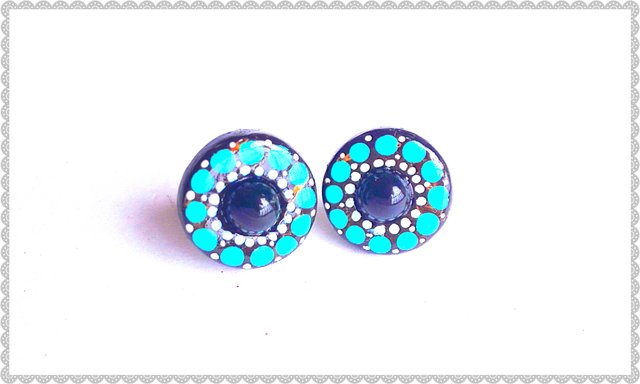


Always trying to be as close and symmetric as possible. Repeat the process with the other piece and let it dry.
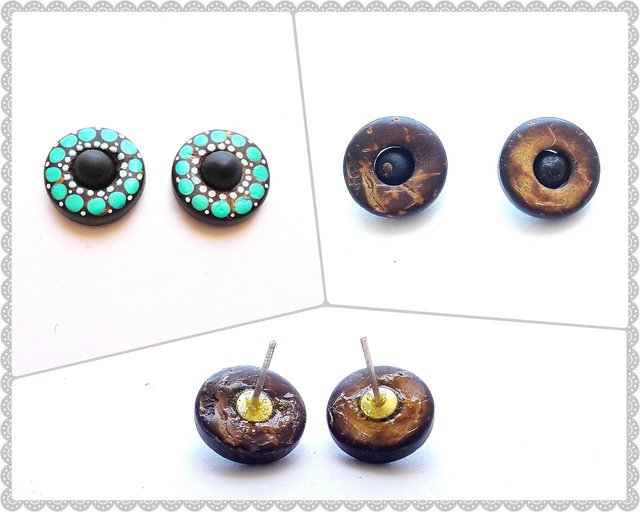
We turn our pieces when they are completely dry. We take the glue again and we adhere the pins to the tendrils in both pieces of coconut. Let dry for a couple of hours, making sure they are well fixed.
Once the glue is completely dry, we apply one or two coats of gloss or enamel and let it dry again.
Note: It is important to wait a while before applying a second layer of gloss and the amount of layers will depend on the quality of the gloss. You can use nail polish.
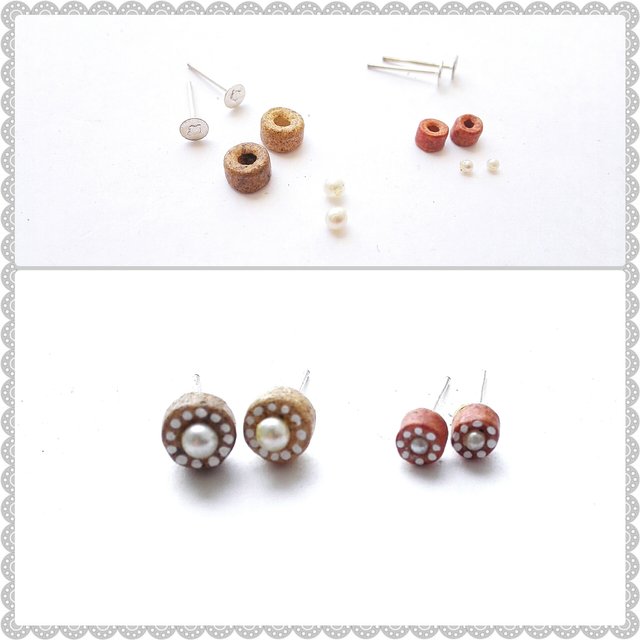
For this last model, we have two pairs of small tendrils that work together, if desired. They will be very cute and delicate, in those girls who have more than one piercing in the ear.
With two pairs of mud basins of 0.5 cm and 0.3 cm in diameter, two pairs of pins for tendrils and two pairs of pearls that fit just in the center of the basins.
Like other previous processes, we place the pearls in the center of the account and wait for it to dry. With a toothpick, we mark a white ring around the pearlite and let it dry.
We stick the basins in the back, to the bases of the pins, which fit perfectly and let dry. Apply shine and wait for it to dry completely.
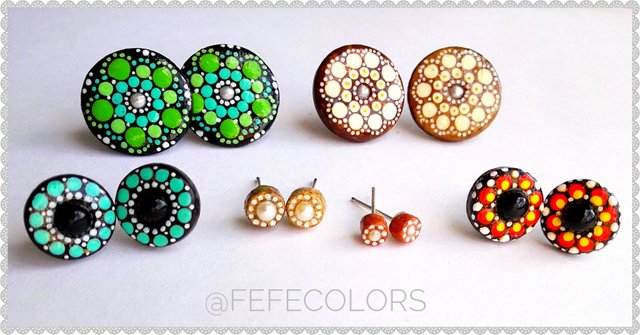
READY! Tendrils in pointillism.
| Category | Personal enterprise "Made by hand". |
|---|---|
| Camera | Smarphone Huawei P7 |
| Editor | Pixomatic / PhotoGrid |
| Place | Venezuela |
From the heart, I hope you liked it and that you encourage yourself to create your own creativity and, above all, express your artistic essence. Thanks for visiting, Steemit. Hugs of colors