Digital Process # 4 Drawing Erika ♥ #SteemArt #Digital #Draw
Hello! Today I bring you my 4th drawing using digital tools I decided to use a photo of a friend for it I hope you enjoy this process a little extensive.


- PC Windows 7.
- Photoshop Cs5.
- Tablet Genius (a little old).
- As always, a lot of patience.
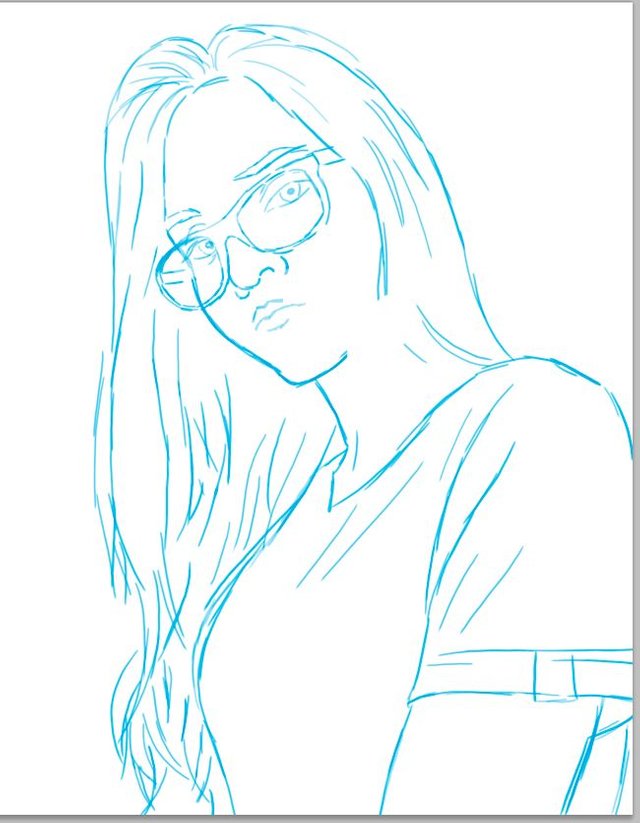 | ||||||||||||||||||||||||||||||||||
I start with a simple blue Lineart to know where each color will go.
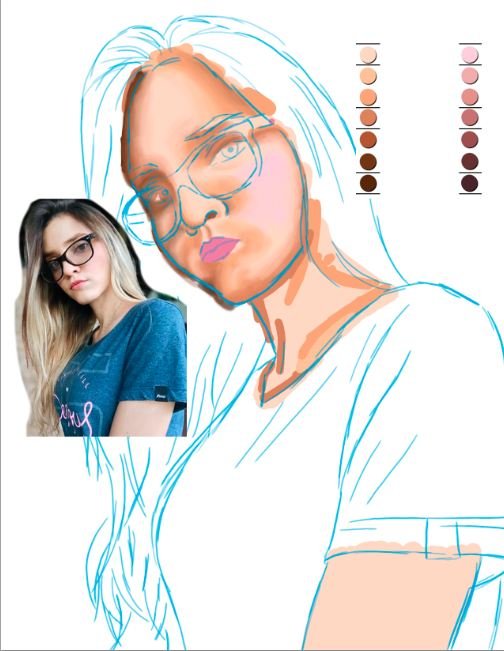 I started with the face placing solid color spots where the shadows and lights would go which then will fade to give it more realism. You can see the difference between the face and the neck where the first one had already started to fade. | 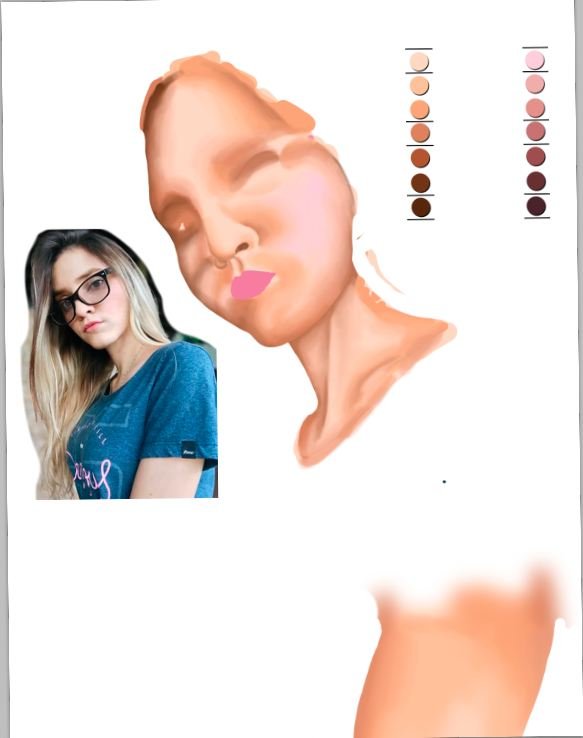 Here you can see how it progresses a bit more in the blurring of the face and neck defining the edges lights and shadows, remember that when drawing by realism the lines should not exist since in nature this is not seen therefore the limits they are defined by the game between lights and shadows in a synchronized way.  Add more details and to better observe the progress of the face decided to put the color of the lenses to place the shadows that it projects in their respective places. 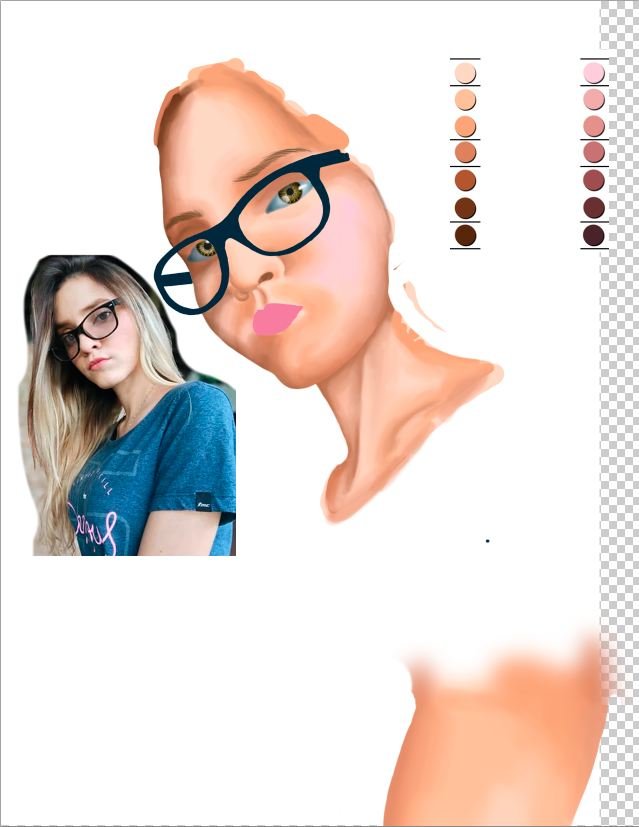 Using a layer other than that of the face, I start to define the place where the eyes go, a layer for the white part of the eye, another layer for the iris, and above these, one more for the pupil, since the color and shape of the eye have been defined. layer more to place the brightness and reflections that gives the finished eye. 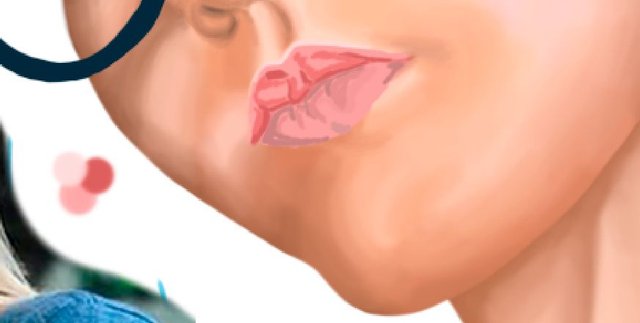 Here I leave a mini process within the general process where you can see the steps I took to draw and paint the lips, starting with a new layer where I place the solid colored spots and shadows obtained by darkening or lightening the base color or the average color . 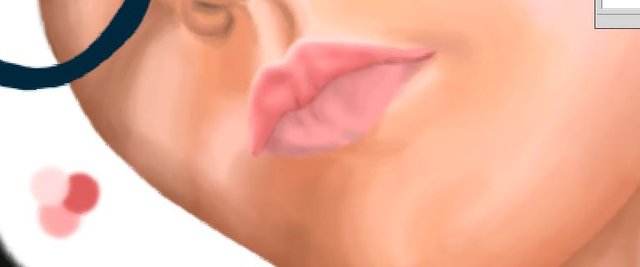 The next step is to blur these specks to give more realism
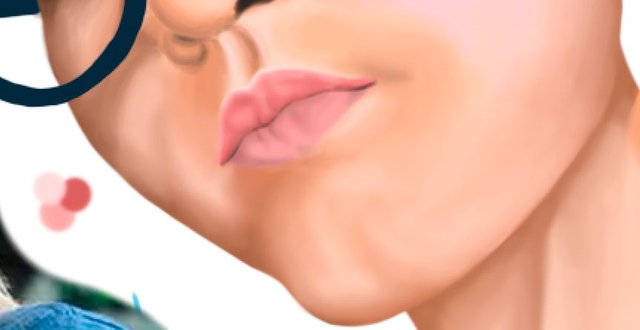 I finish by giving more details and mixing the mouth with the skin tones so that it does not look like the mouth is simply placed over the mouth, if it is not part of the face. 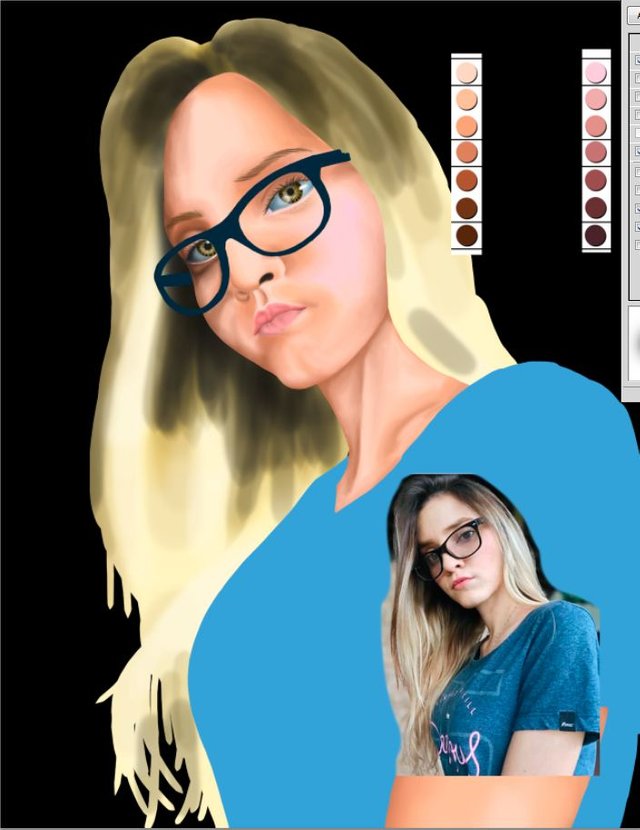 Here I started with the hair I wanted to draw it in another color but decided in the end to do it as close to the original, use colored specks this time faded at their ends to give more hair effect since the shades of it vary a lot and a solid speck or faded does not give the effect. 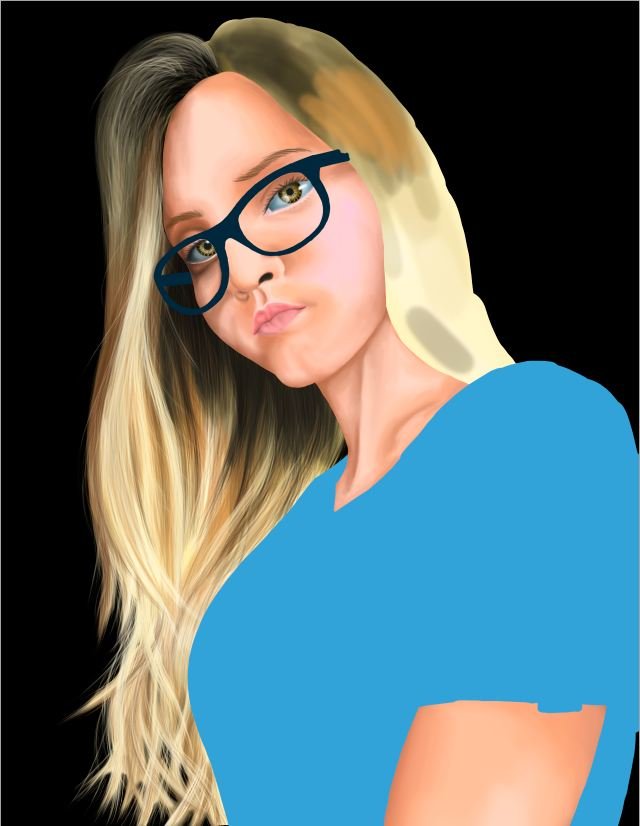 With these defined areas of color I begin to decrease the size of the brush to give the feeling of tufts until I change the brush for one of multiple points that gives the effect of making a lock in a single stroke and gives the sensation of individual hair. 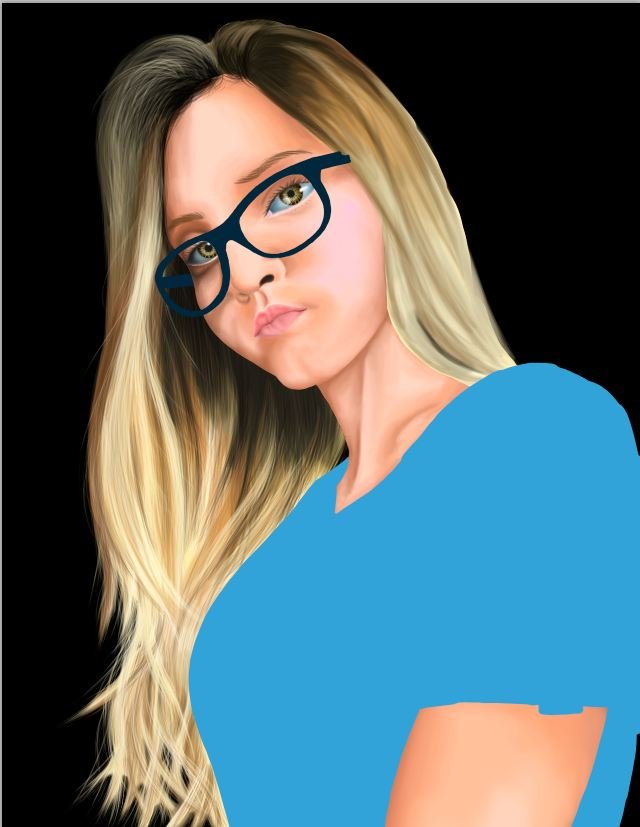 Here you can see on the right hand side how the strokes were made with a brush that was smudged on the smaller edges and then give the final touch with the brush of multiple points for the hair. 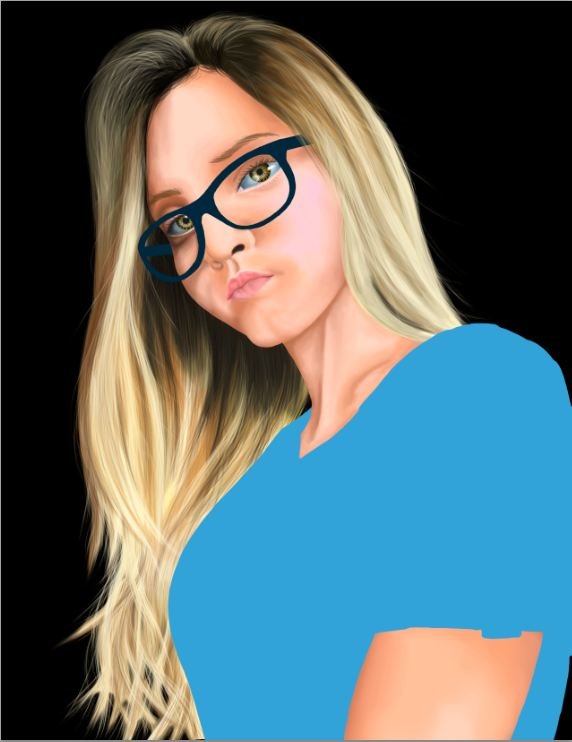 Here you can notice what I mention to you of the individual hair not only drawing in the colored areas but also outside of them to give the sensation of mobility since the hair is not something that is static. 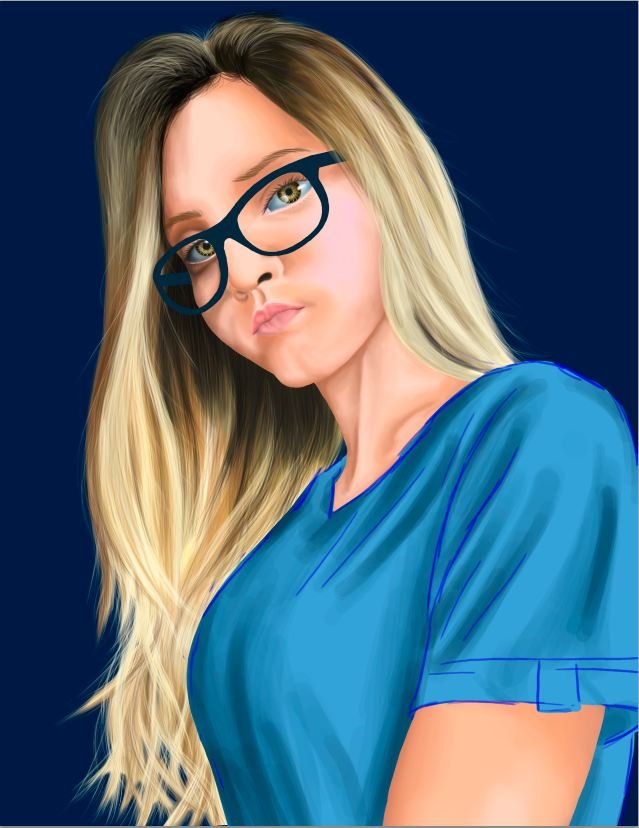 The shirt was a part with which I was very satisfied with the result using the same technique as always defined each zone of shade and color of the clothes. 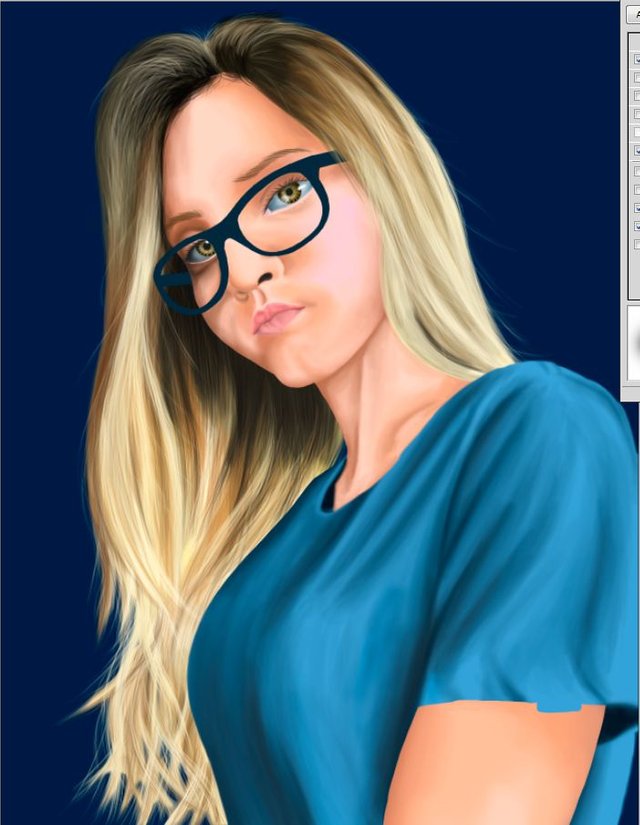 To then define with a finer brush and with more details the edges and limits of the fabric giving more realism to the clothes and their folds.  With a paintbrush brush scattered and with a lot of quantity I achieve the effect of the shape of the fabric its texture placing it on the layers of the shirt that we had done previously giving a bit more realism to the texture approaching the texture of the photo original. |  I just have to define some details like the ones written on the shirt and that's it, we defined the background color some details and our drawing would be ready. | I appreciate if you were one of the ones who arrived until the end of the post, I hope you enjoyed it as much as I did in the next see you I hope your support to continue making art and contribute to this great community. |
 |
.svg.png)
)
Congratulations @petterjosph! You have completed the following achievement on the Steem blockchain and have been rewarded with new badge(s) :
Click here to view your Board
If you no longer want to receive notifications, reply to this comment with the word
STOPCongratulations @petterjosph! You received a personal award!
You can view your badges on your Steem Board and compare to others on the Steem Ranking
Do not miss the last post from @steemitboard:
Vote for @Steemitboard as a witness to get one more award and increased upvotes!