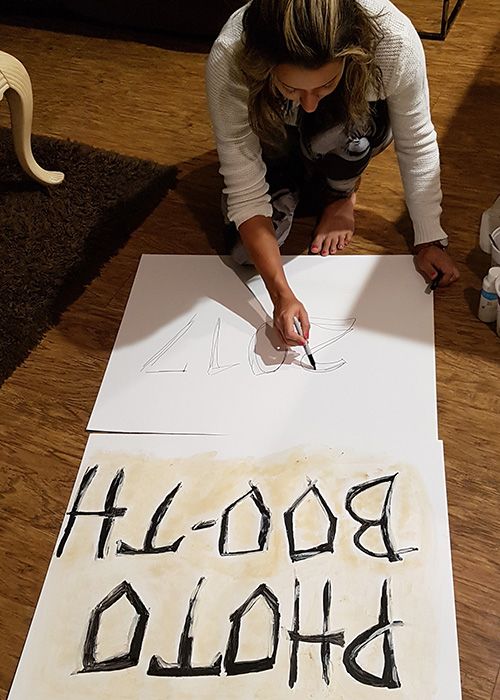
DIY: Halloween Sign Making with Tea Bags
Halloween is around the corner and I got designated the house party task of sign making.
One of my favourite 'aging' processes is the old tea bag trick (hold the jokes).
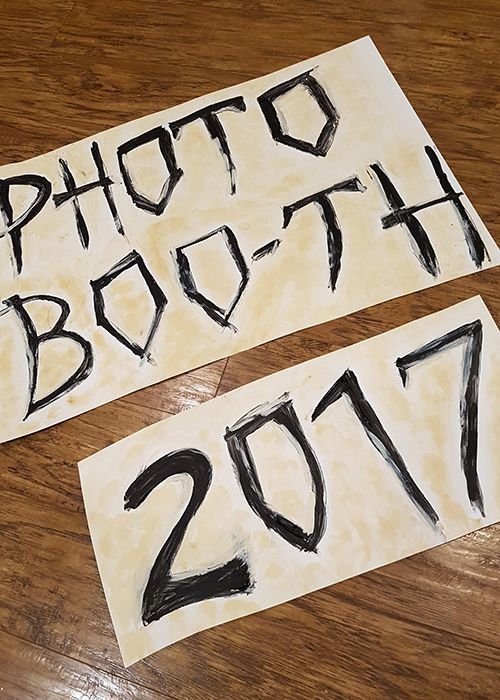
Here is a quick step-by-step on my 'Photo Boo-th' sign:
Step 1. Find a font you like and loosely draw your text with a marker. I used this one as a guideline https://www.dafont.com/october-crow.font
Step 2: Paint over the marker and fill in your text with a dark colour, it's Halloween so messy strokes work.

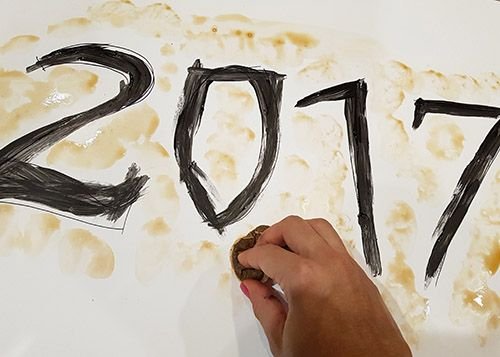
Step 3: Get a tea bag and run it under hot water for a few minutes. Squeeze excess tea out so it isn't dripping, else your cardboard will get soggy, and start to dab in and around the text.
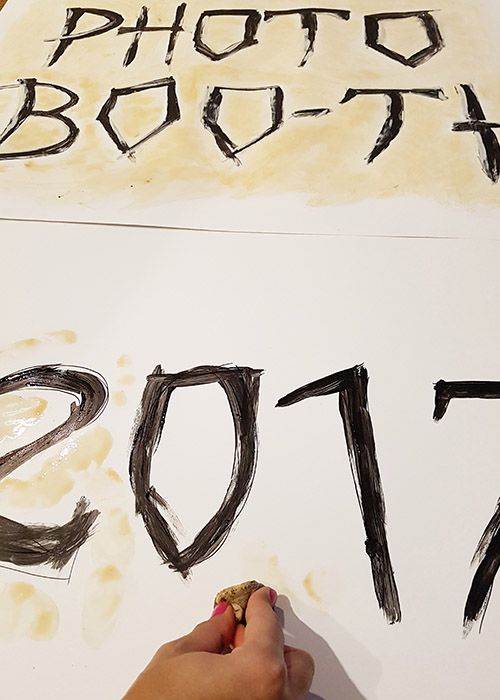
Step 4: Let the tea set for about 15 seconds, if you wait too long you will end up with dab marks that you cannot fix, grab the tea bag and start blending the tea around the painted text.
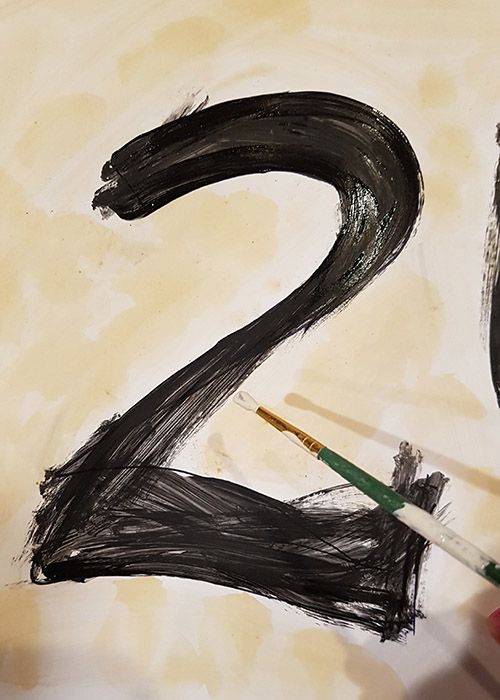
Step 5: Grab a lighter paint, I used the colour 'Sand' to compliment the background, and paint in some highlights. This is also great for covering any messes or to shape your text.
Step 6: Allow to dry and cut to size. You can hang it by punching a hole and threading some yarn through it, or use some pins/nails for a rustic look.
Step 7: Use it - Happy Halloween!
Happy Halloween!