Affiliate Marketing Course#10 - How to Setup Auto Responders
.png)
Here I will show you two very important parts. The first part will be setting up your autoresponder lists and sequences, and in the second part, we will creating and the signup forms. I will be using AWeber only.
- Setting up your autoresponder lists and sequences
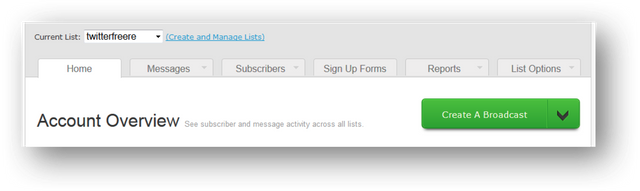
Login to AWeber and click where says create and manage lists.
Click on “Create list”…
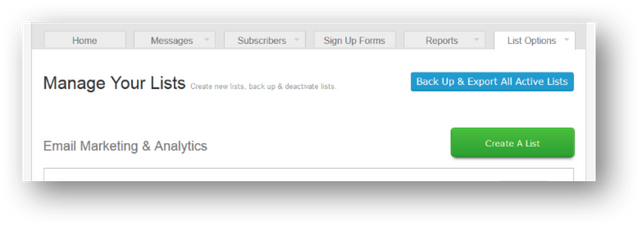
Here we will be creating the list for all of your Potty Train Subscribers.
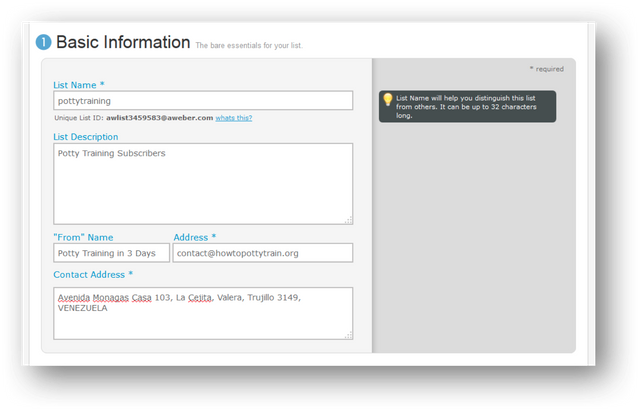
- Basic Information
List Name: here just type a name of your choice, this is for personal reference.
List Description: here just type a description, this is for personal reference too.
“From” Name: Here you have two options. You can put your name. This is important if you already have an importance personal presence among your list, and the other will be the Topic, so people may identify your emails right away once they start getting your emails.
Using your name is important, but in that way they won’t know the topic right away. I like to use the topic because being new subscribers they will be interested in getting their report right away.
They can identify that in the email’s subject as well, but the sender is in reality the first thing a reader looks at before deciding to open an email. All of this is just my personal point of view. You can decide what to put in there according to your subscriber’s behavior.
Address: This is the email that will be shown to them as the sender. If they decide to reply anything to you, that message will be sent to this email.
Contact Address: Here is where you will type your physical mailing address, this is optional as well.
Click Save Settings.
- Personalize your List
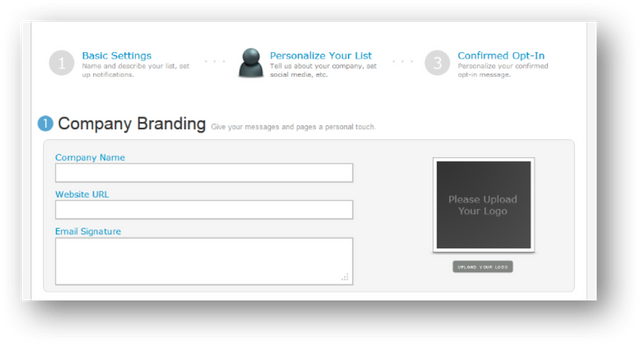
Here you will insert your Company Information, Social Information and snippets. I myself really don’t use this area.
- Confirmed Opt-in
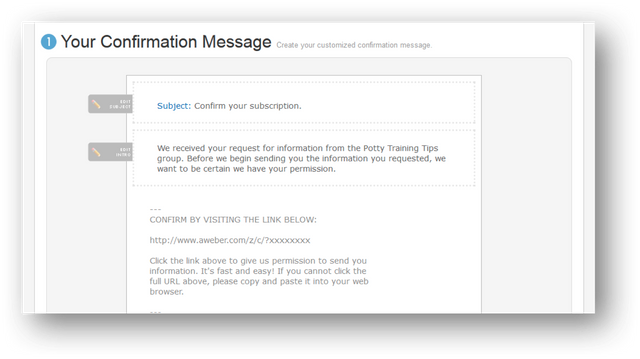
And here is something I don’t use either, but is up to you to use it or not.
This is used so you may confirm that the people in your list are real people with real emails. Once they sign up they must go to their email accounts and click on a confirmation link AWeber will send to them automatically in order to get access to their Free Report. This is what is called “Optin confirmation.”
If you decide to use it this is the email your subscribers will get it right before they are part of your list and then they will start receiving your emails. I advise you to edit the name of the list right here and put something better, like the name of your Free Report, which is the same name as your product.
Besides that you must provide a “Confirmation Success Page URL.” This is the URL your subscribers will be lead to, once they click onto the confirmation link.
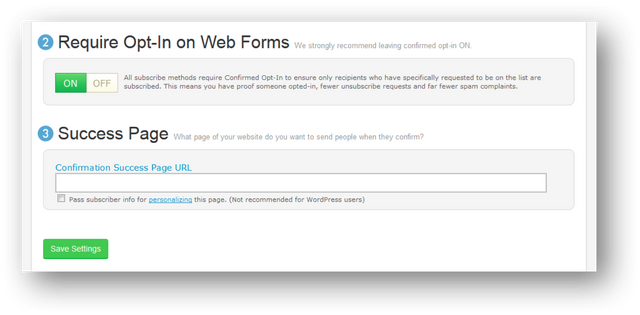
If you decide not to use all of this confirmation process and want to make sure that every subscriber gets directly into your list and starts receiving your emails, you can just turn it off. Click save settings and you are good to go.
Now let’s start inserting the emails into this list.
You will go to messages and select Follow up series and click “create your first follow up”…
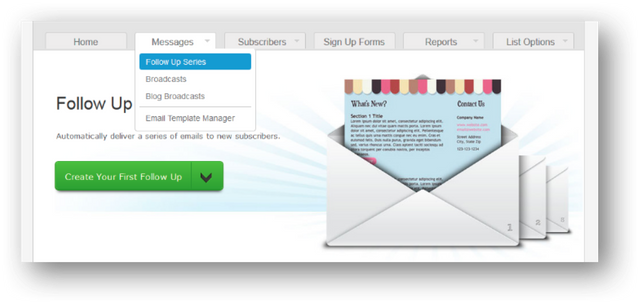
Here is where you will create all emails promoting your Front End Offer to your Special Free Report Subscribers.
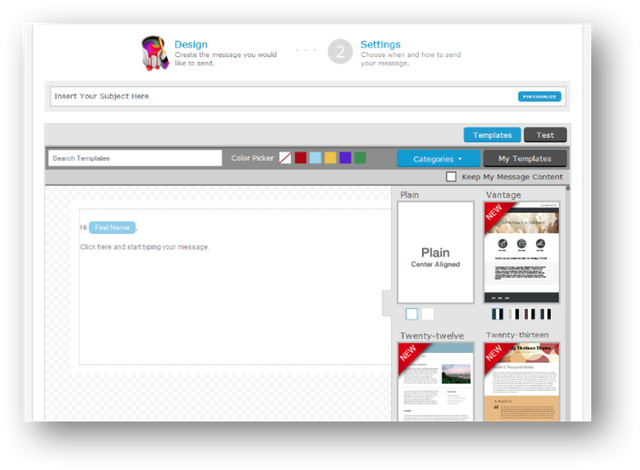
The first email will be used to thank your subscribers for being interested in getting information from you. You will invite them again to check out the Main Affiliate Product.
The rest of the emails will be used to invite them again to check out Main Affiliate Product as well as all of the Additional Affiliate Products.
The following chart will show you a really nice advertising plan to your subscribers by using the follow up emails.
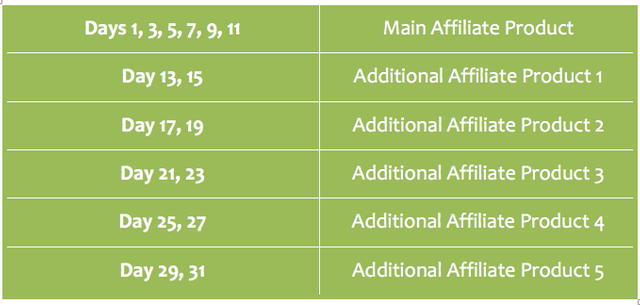
You will have the chance to put when you want to send all of these emails. I recommend you do not send them every day, send them every 2 days.
- Creating the sign up form.
Now make sure the Subscribers’ list you have just created is selected. Click on signup forms and click on “create your first sign up form.”
- Design
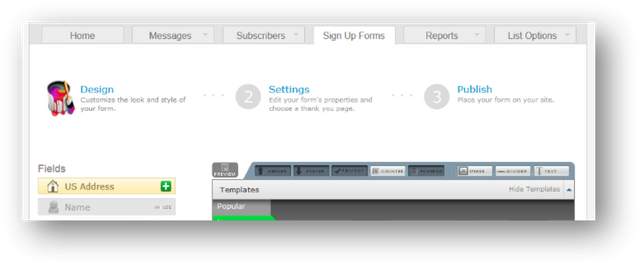
Here you will have the chance to edit the signup form however you want. You can even pick among the different templates that are already there. Just design it in a way that may be nicely fitted within the layout of the squeeze page.
We advise you to select among the popular templates, the template called “Pointer”.
- Settings
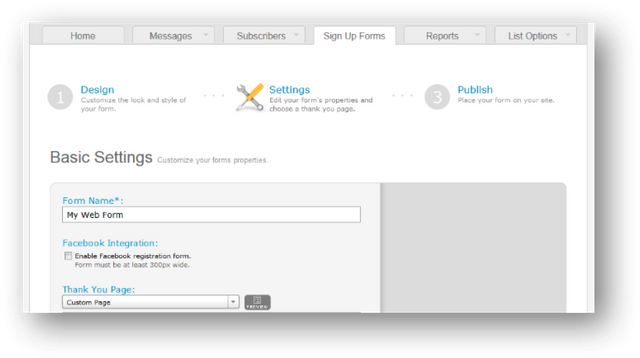
Right here you have to be very careful. You can put a name to the sign up form for you to identify it, then you can insert the URL where your subscribers will be redirected once they enter their name and email. Here you will place your Affiliate URL promoting the Main Affiliate Product.
Once they put their name and email, they will be redirected to what is offered in the squeeze page content. Which is the Main Affiliate Product.
Click on “Save your Form” and click on “Go to Step 3.”
- Publish
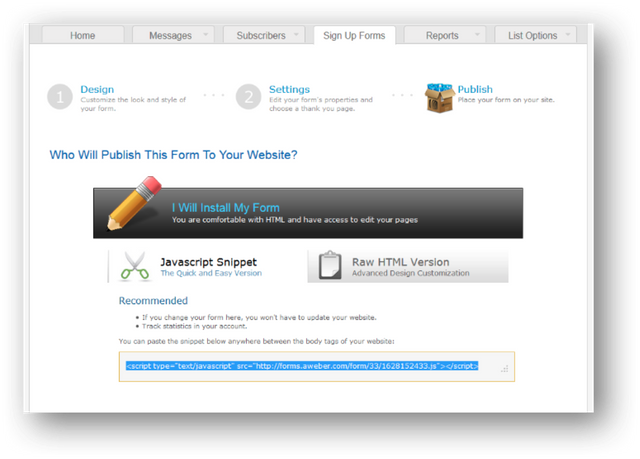
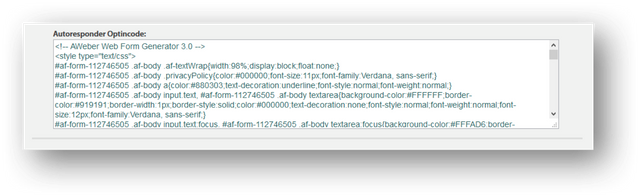
This is the code you will embed into the autoresponder optin code section inside the 90 Second Squeeze Page designing area.
I advise you to test it out. Put in your name and a test email. Check if it redirects to the Main Affiliate Product and also go to your inbox and see if in a few minutes you get the First Email of the autoresponder series. Check the links you will get there just to make sure everything is working great.

Well written article with full of knowledge and i know how difficult it is to write such content . Well Done 100% upvoted
Thank you for all your support.
Posted using Partiko Android