The car detailing process - exterior
We recently decided that we are going to sell the family 2006 model Toyota Prado. While the vehicle overall is in extraordinary condition for its age, the paint work had taken a bit of a hit due to a bit of neglect and constantly out in mother natures elements, and not staying on top of keeping it cleaned and waxed up. This was the first proper detail we had done on it since purchasing it back in 2015.
Given I have quite a bit of experience with doing quite podantic details on my Mitsibishi Evo, I thought I would have a go at tackling this beast with the help of my partner while we offloaded the young ones to the grand parents for the day.
So I thought I might do a bit of write up on the general process which I and most people who love their cars would/should use to keep their cars looking shiny and protected.
So step 1 was to thoroughly high pressure and degrease the engine bay down followed by high pressure washing the under carriage with my right angled Gerni attachment. Then we move onto the wheel wells and wheels back with the normal car safe Gerni attachment. Making sure that im getting it right in behind the wheels and tackling those gunky ball joints and tie rods and hubs etc.
Step 2. Soap attachment on the Gerni to coat the entire car in a nice thick layer of soap then back to the high pressure attachment and hit all that gritty loose dirt from the car, making sure to get right into nooks and crannies like around doors and tail lights and in between bumpers etc. (You'll appreciate this later when you dont have gritty gunk continually dripping down the car later)
Step 3. Now its time to give that thing a solid scrub. A lot of people wont go to lengths of cleaning under side of front and rear bumpers or painted areas of wheel wells but trust me this is the difference between an amateur and a pro haha. You will also appreciate it more when it comes to the later steps and you don't end up with a dirty wipe on/ off towel everytime you happen to venture some place you haven't cleaned properly.
Step 4. Clay bar time. This process removes bonded contaminants from the paint surface and takes your paint from feeling rough and grippy to feeling smooth like glass. This involves spraying a fine mist with a quick detailer over small areas at a time to lubricate and then rubbing clay over the paint until you can no longer feel the grit. Then a simple wipe off with a terry towel or micro fibre towel. The difference here feels amazing when you run your hand over the surface.
Step 5. Paint cleaner/cut and polish. I generally opt for the paint cleaner option but depending on the conditon of the paint surface I will sometimes go for a cut/polish of which there are some that are more aimed at light swirls and scratches and others that are more harsh which will tackle the real stubborn deep scratches and scuffs. But for the Prado we just hit it with a light paint cleaner which tackles paint contaminations, oxidisation and very light swirls and restores color. It's basically a very light duty cut and polish. This is also done in small sections at a time. I find the longer you leave it or the larger the area you try to tackle the harder it is to take off.
Step 6. Polish. This is just a pure polish. It adds brilliance and extra gloss to the color by replenishing the oils in the paint. While it still makes a tiny difference on the white Prado this step is much more asthetically pleasing on a darker vehicle. Generally black and red paints can achieve the most amount of satisfaction from this step. It is easy to apply and remove also. Generally most polishes are just applyed to the entire vehicle and then you can go back to the start and remove it all with a microfibre towel rather than doing small sections.
Step 7. The all important wax. This is the most important step of all. The waxing process not only helps to hide tiny imperfections and light scratches but really helps bring that last bit of shine out of the paint and more importantly provides water beading and protection from oxidisation, UV and general surface degradation. Once again with this step its very simple and goes on and off very easily. Just apply a thin layer to the entire vehicle in one hit, then return to where you started to begin taking it off with a microfibre towel.
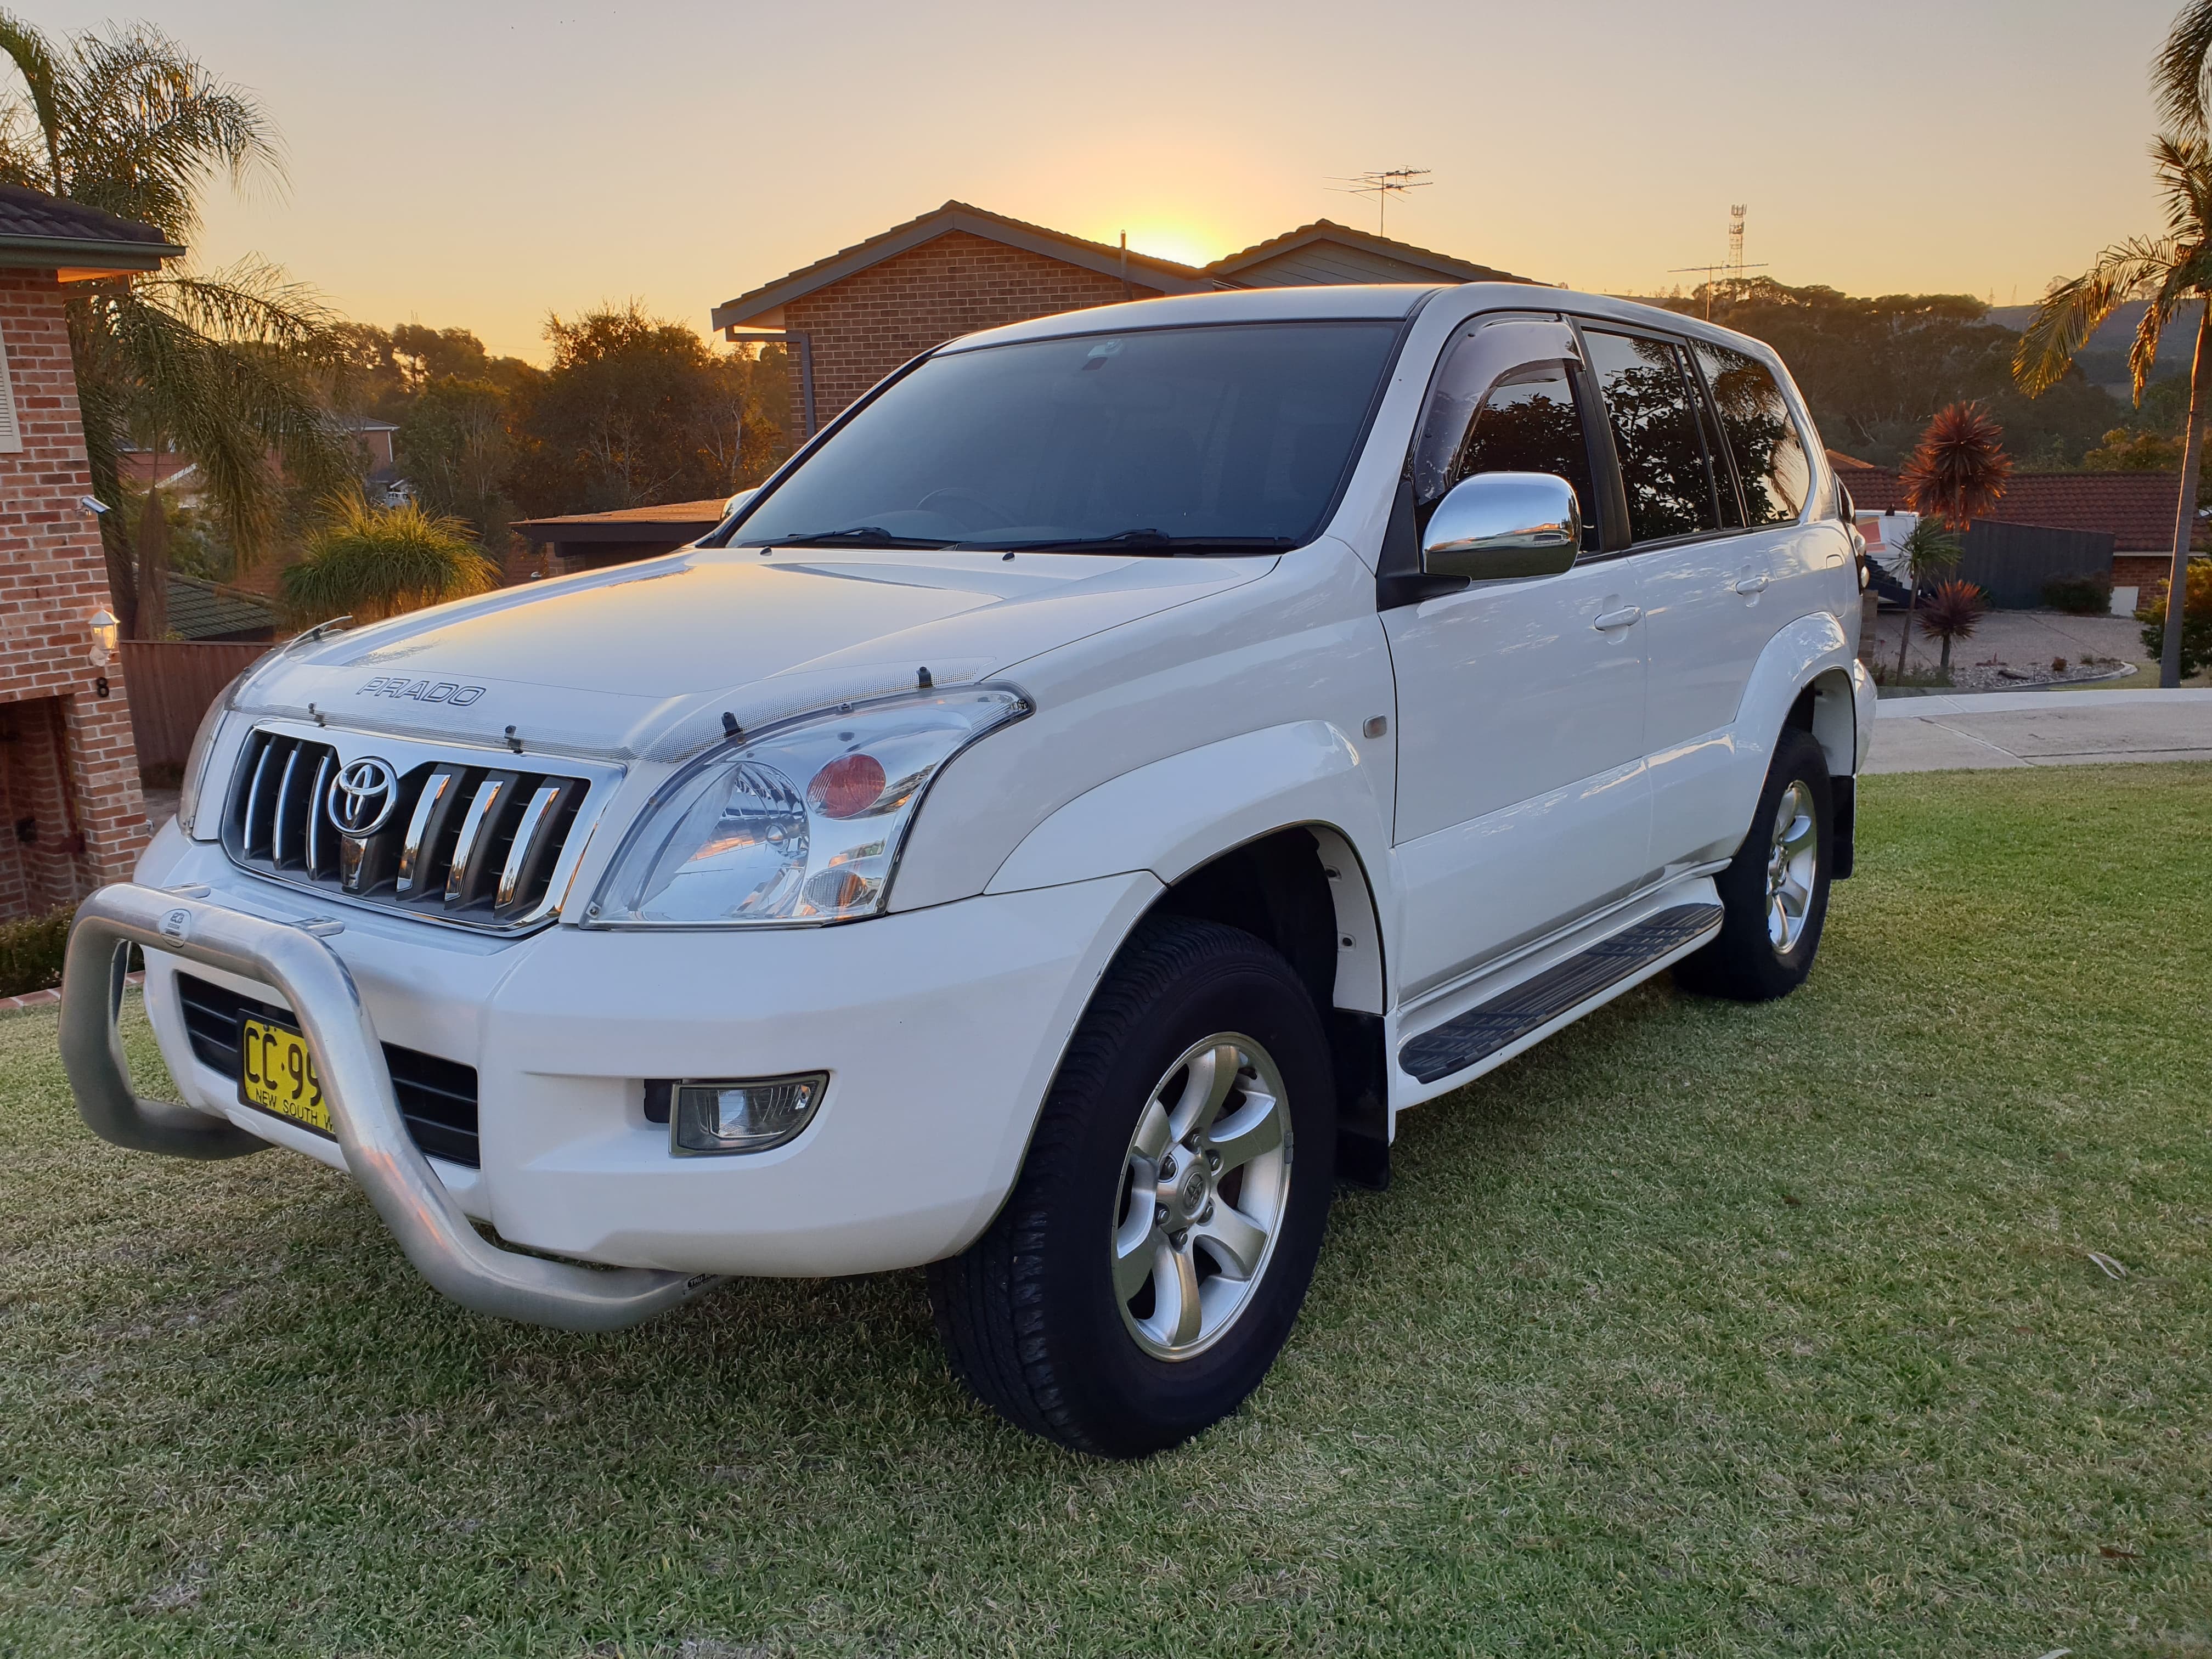
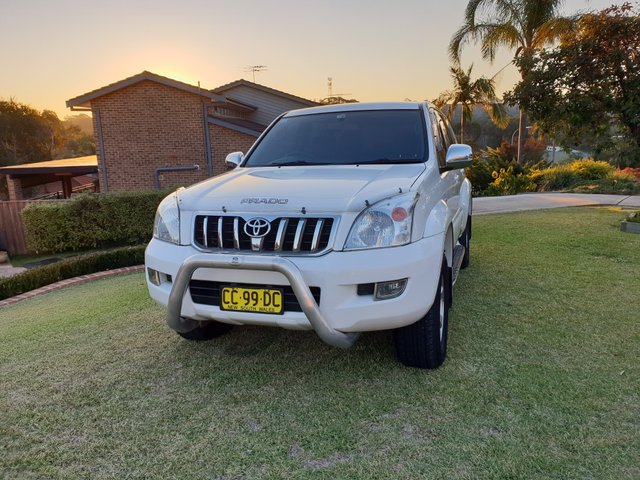
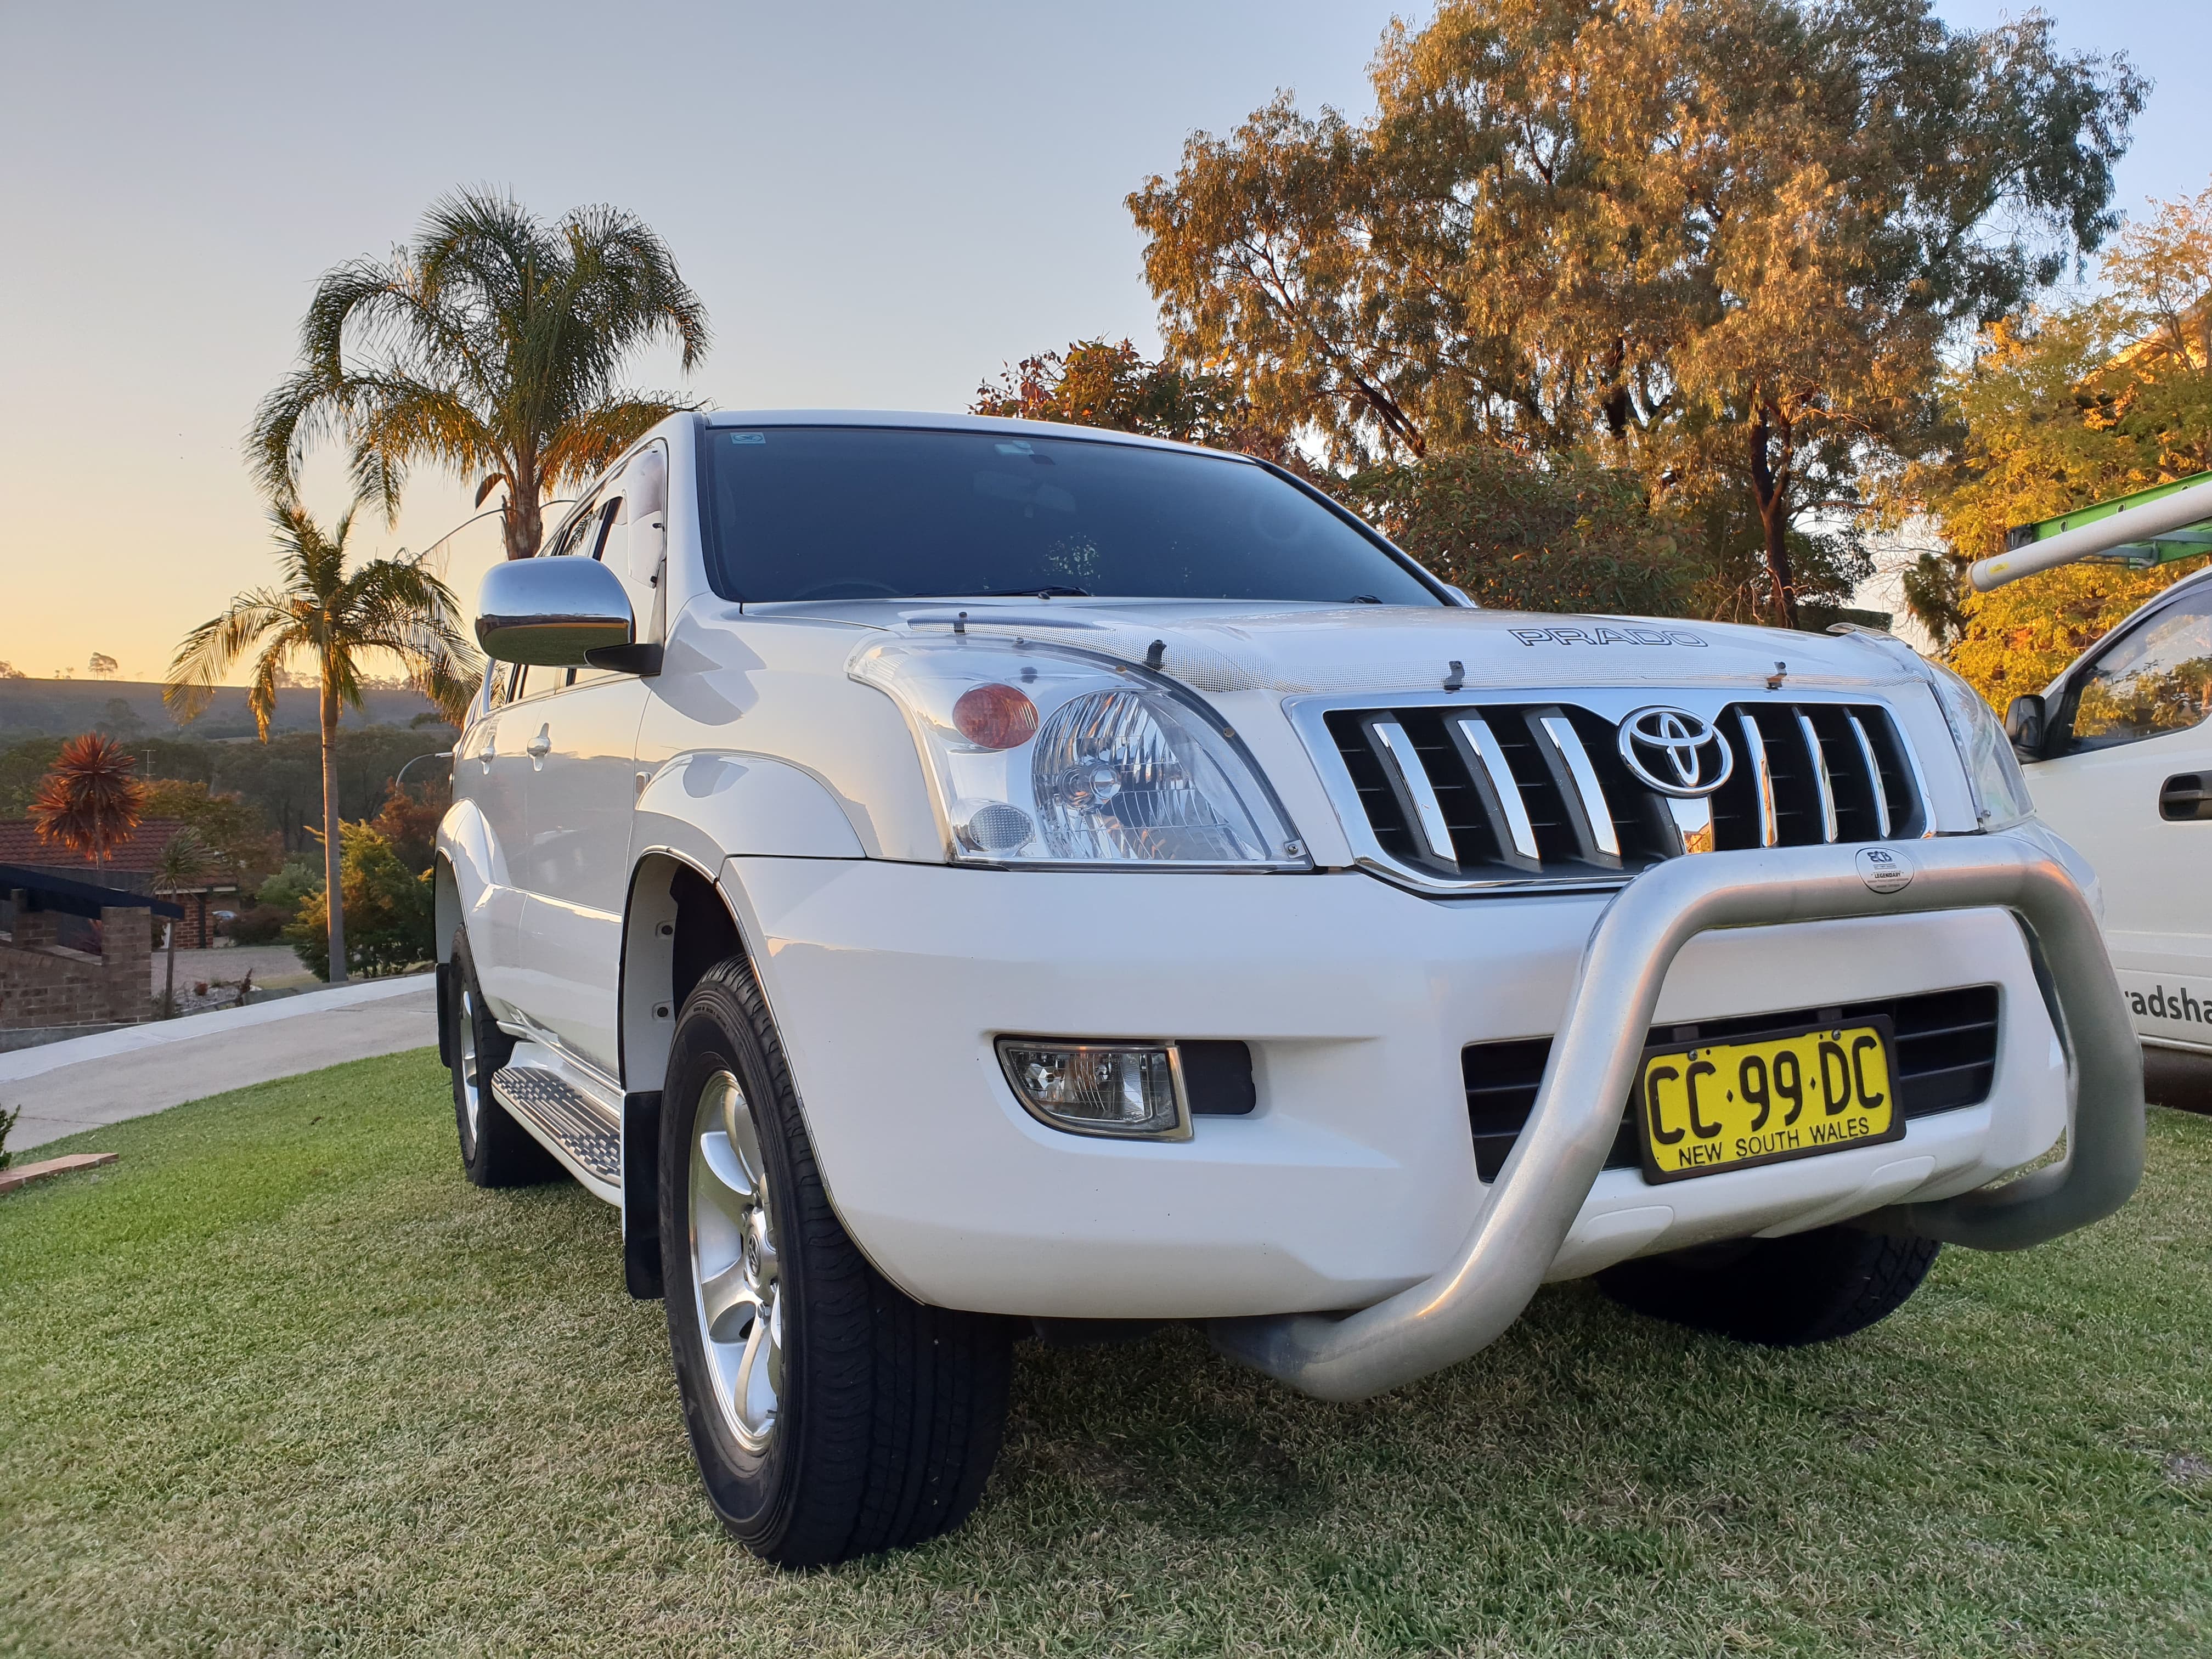
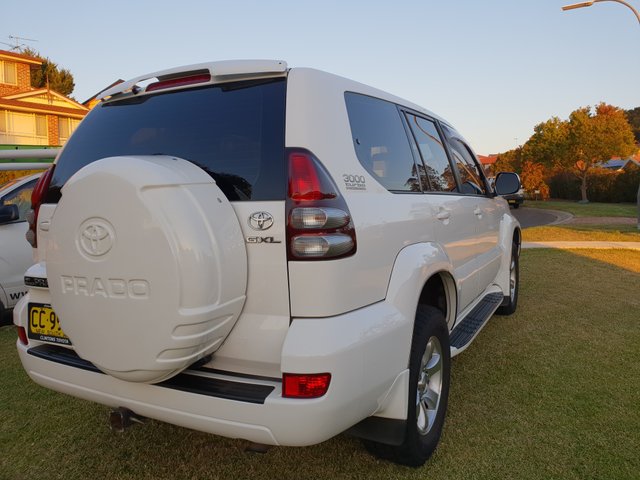
I do have my chosen brand of choice when it comes to detailing products but I'll leave that up to other people to decide which exact products they like to use. All I can add to this is.. allow a whole day if you're doing it yourself. It is a very time consuming process to do it properly. But it is also a very rewarding process and well worth the time spent. I'll leave this post with a few finished pictures of above detail on the Prado. Unfortunately I failed to take before photos to show the difference but as you can see from these photos she looks as good as new. Not bad for a 12 year old car that sits outside 24/7.
Welcome @lasertx3, make sure to share some photos of your Evo :)
Hi @garethb here is a bit of a sneaky shot from a little photo shoot I did whilst road tripping not too long ago.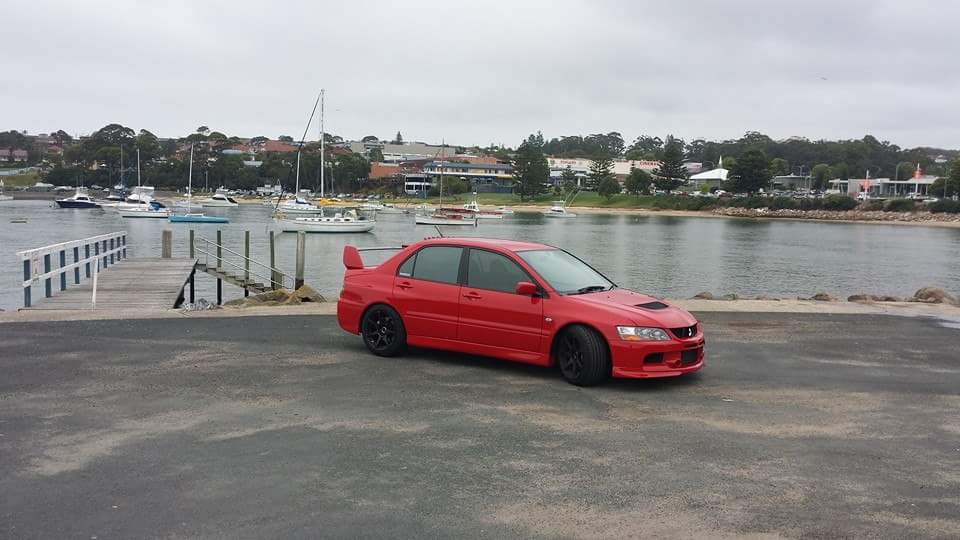
Welcome to Steemit, your landcruiser is a beaut mate!
Thanks for the warm welcome, she is definitely tidy for her age!