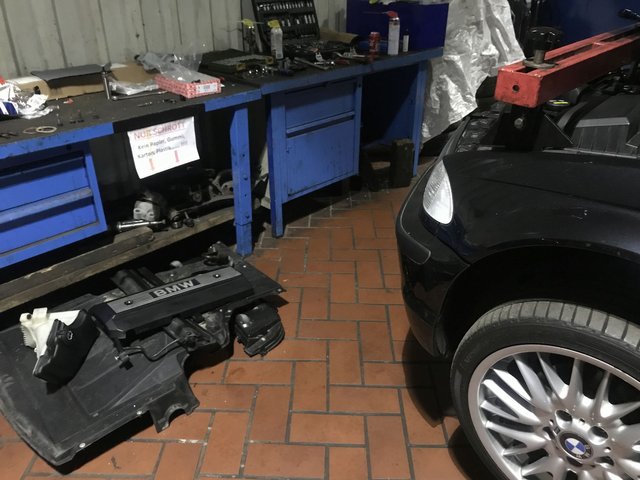
DIY BMW 320i E46 > Exhaust Manifold / Cats - Installation - Step by Step (E46 M52/M54) Part 2

Welcome back Steemians! This year I'm doing my workshop diary in reverse, starting with the most recent repair and going back to the beginning as I haven't had a chance to write down much of anything regarding ongoing repair and maintenance on my (still) daily driver '99 BMW 320i with the venerable M52 straight 6 engine.
Today it's part 2 of the most dreaded and painful repairs you could do on this platform which is replacing the exhaust manifolds with built in catalytic converters. Most shops will turn away, chase you off the yard or charge you a cool 2 grand which could possibly go up to 4 grand or outright suggest crushing the car - needless to say none of those options work for me.
Find Part 1 here:
Manifold Installation
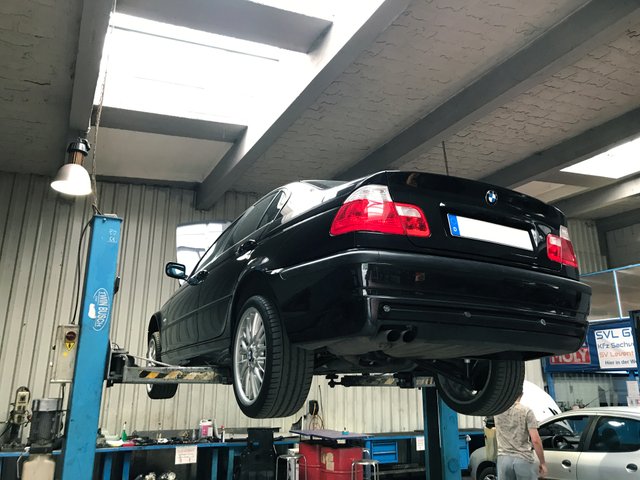
So we got the car up on the lift and I just returned from my quick parts run to buy two brand spanking new post cat lambda nodes:

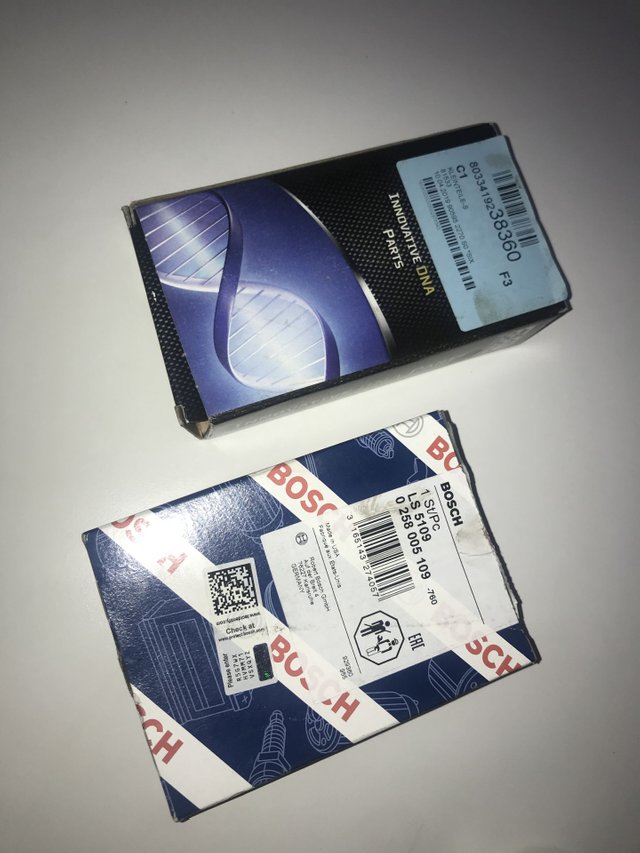
Reason for the new lambda nodes was that during removal of one of the old ones the thread got damaged.
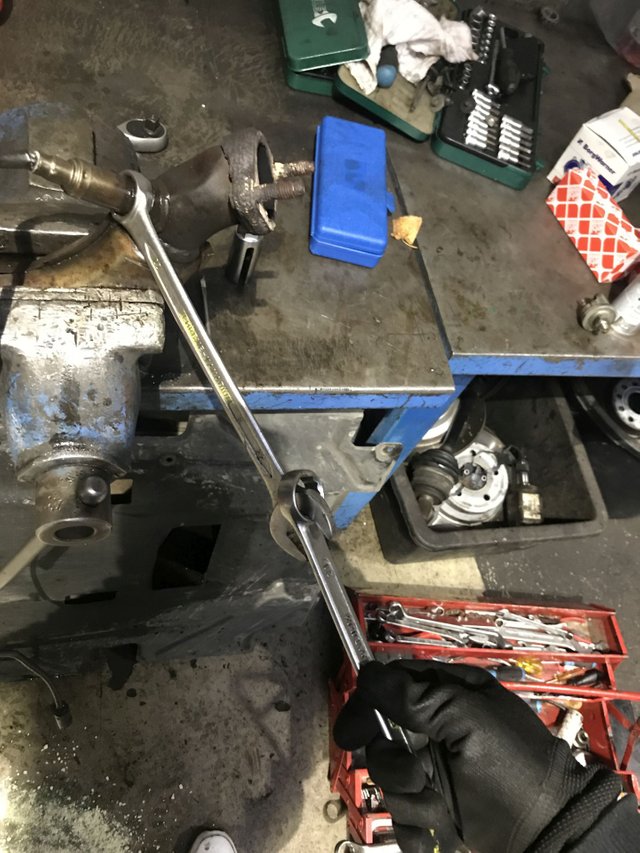
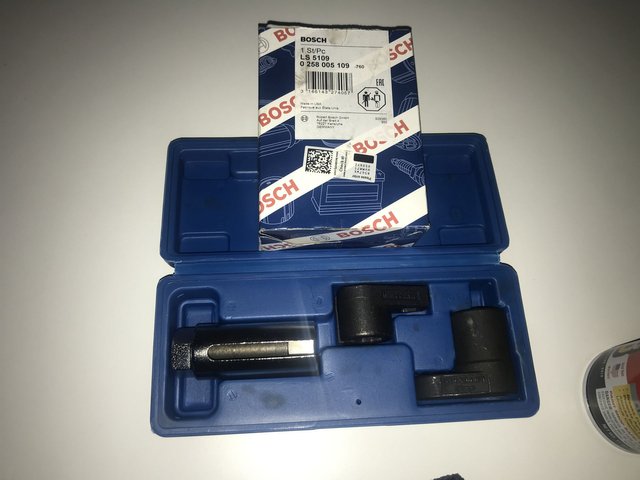
Using the regular tools did not work at all as it was seriously corroded to the old manifold.
That said, since I recently replaced the pre-cat ones and these post-cat ones may as well have been the 20 year old originals it's good to replace them anyway especially as I've had an error code for the bank 2 post cat lambda node for some time.
Now at this point in my session it was 4:45pm, 8 hours and 45 minutes into the job, and I had 3 hours and 15 minutes left as they close at 8pm.
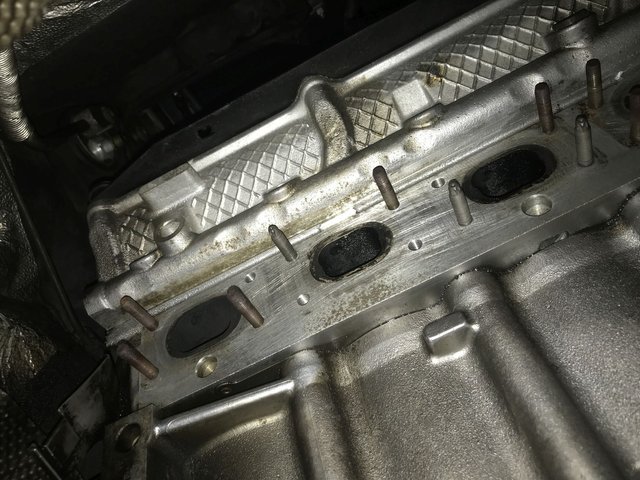
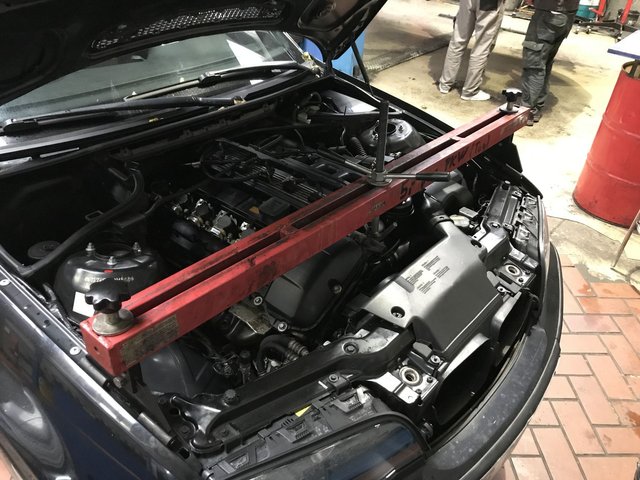
The engine was ready for the new manifolds:

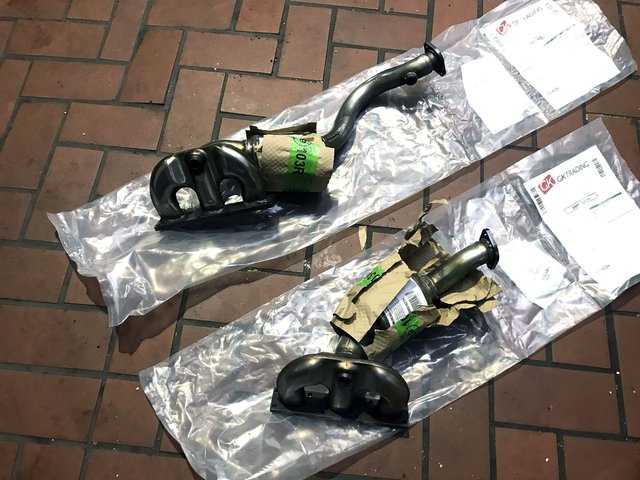
New manifolds were ready for installation:
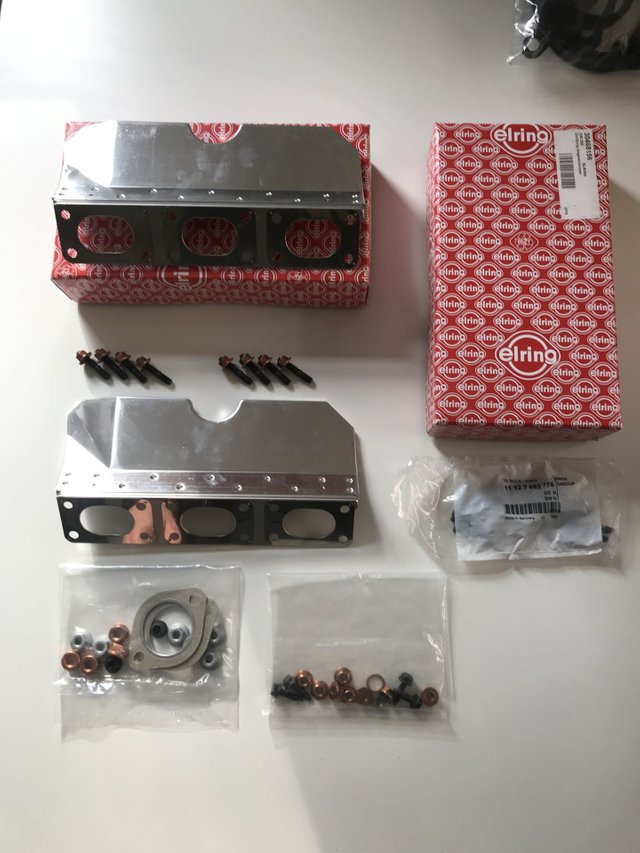
And we have all the small parts needed ready as well:
Thing is can the reinstall of the entire exhaust system, cabeling of all the lambdas, fitment of the AC line and reassembly of all the covers and structural support beams be done in 3 hours? The shop mechanic didn't believe it and assured me that I could leave the car there over night and commence on Saturday but I was determined to get it done before the end of the day so here we go.
Rear Manifold Installation
We have to go in reverse order now so installing the rear manifold first because you won't be able to reach at least the bottom row of nuts once the front manifold is in.
At this point it is a lot of raising and lowering the car because the nuts have to be tightened in a balanced fashion top to bottom and left to right so the gasket seals fully.
First of all insert any missing studs into the cylinder head, use the new gasket for guidance as not all the drilling holes receive a stud!
Next remember to fit the gasket before you put the manifold on, sounds straight forward but I've forgotten easier things!

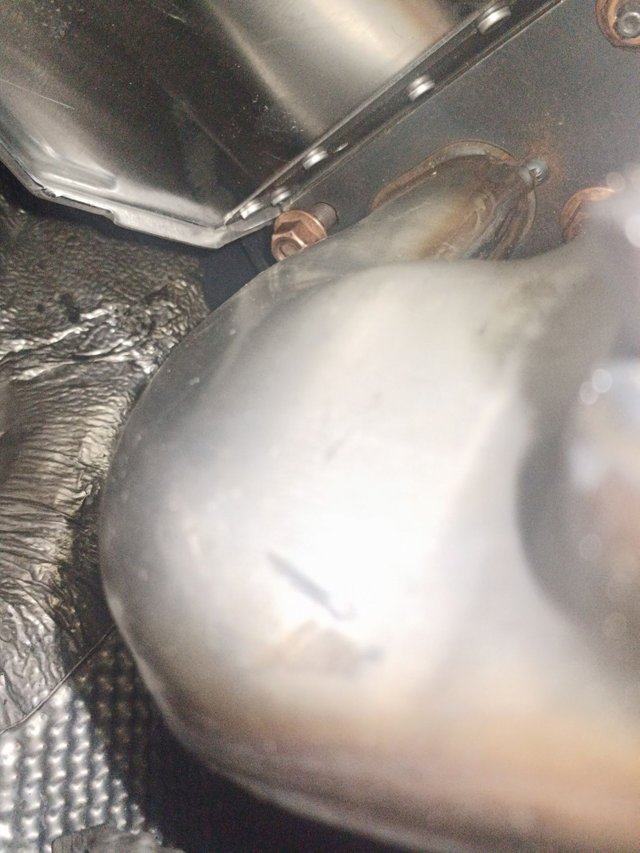
Now you want to install the lambda node into the rear manifold and slide it onto the studs, put some of the nuts on without tightening them just so it stays in place:
As you can see I could reach some of the top studs as well and put nuts on them.
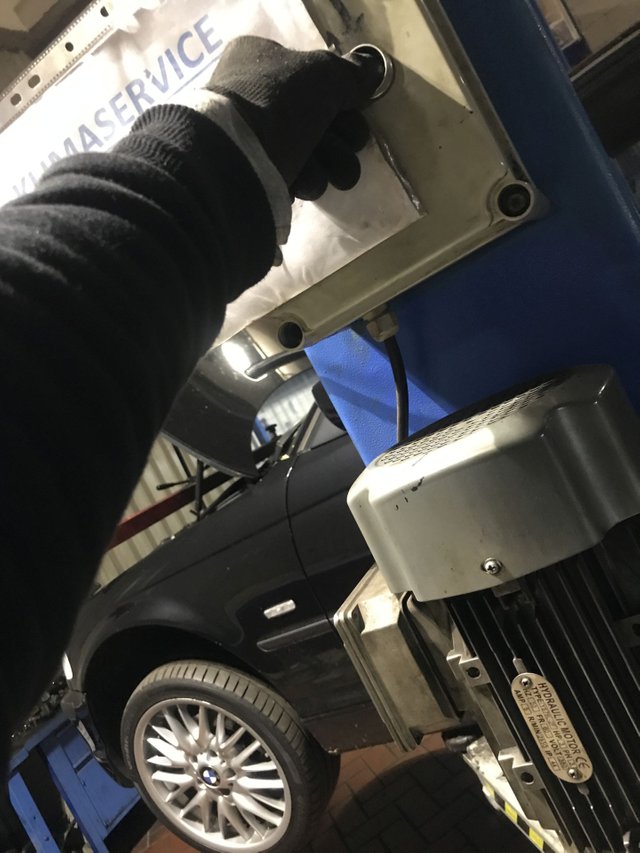
Now lower the car and proceed from above:
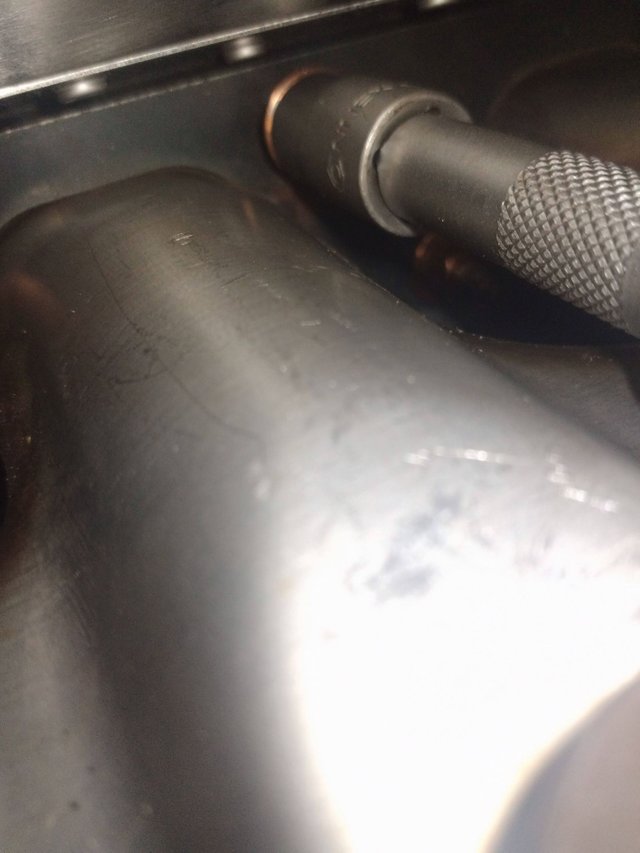
Now I can tell you right now with the engine hoist in place it is a pain in the ass to mount, even lightly, the nuts onto the studs as you can simply not reach in or see where you're going or both:
Make sure to ensure proper fit of the socket on the nut before attempting to tighten in any meaningful way:
Up it goes again:

You want to start to tighten the nuts ever more until you encounter resistance and can see they're sitting well on the studs:
Note that the new studs from BMW, the replacement ones, are shorter than the original ones so make sure to constantly check for flush and tight seating of the manifold on the gasket and the gasket on the cylinder head.
Tighten the top row so that you can't turn the nuts anymore and you have flush seating and especially make sure to get the very top one close to the firewall on correctly and all the way as that one will lead to an uneven fit if not done correctly once you tighten the bottom row:
Make sure it is arrested in place and head-gasket-manifold sit tight. Before we lower again channel the lambda node cable up behind the engine along the manifold and put the connector on top of the most rearward manifold tube so you can pick it from above.
For the final tightening of the bottom row, you guessed it, we'll go up again:
Front Manifold Installation
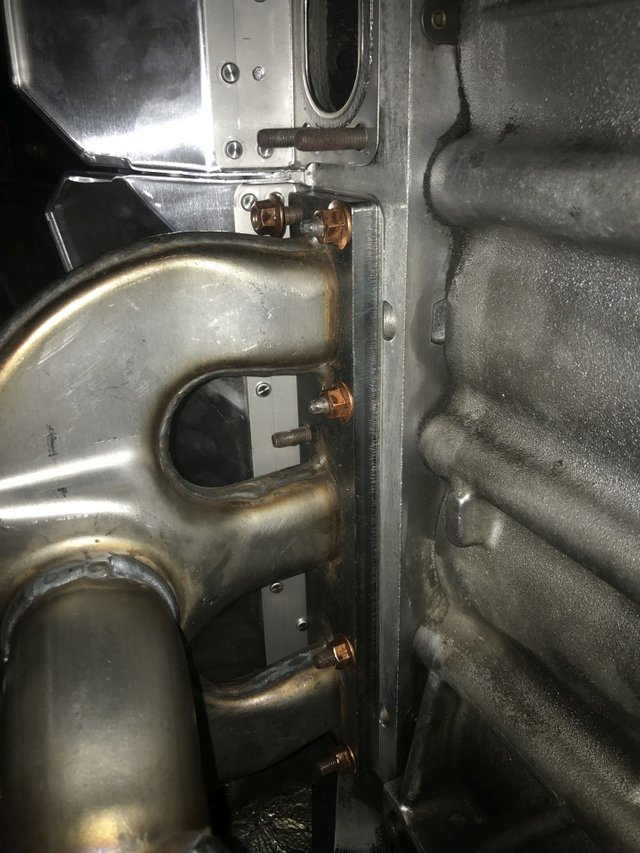
And there it is, sitting neatly in place. Before we lower it to fetch our lambda cable, it's time to put the front manifold in and attach as many nuts as possible from below. Again we tighten up to resistance ensuring flush fit.
From above start to attach and tighten the front manifold nuts with whatever combination of ratchets, extensions and sockets (size 11) works for you:
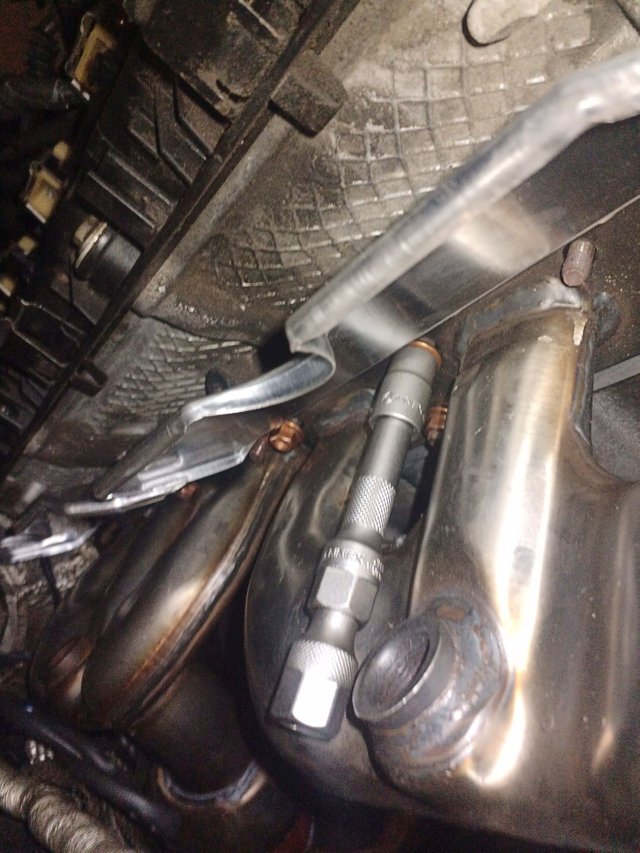
The front one is even worse for accessibility with the engine hoist in place as the rear one.
Try your best! At this point it is 6:30pm - 90 minutes left and I'm loosing my faith in being able to finish but on it goes. After 10 1/2 hours fatigue sets in and you drop one or the other part into inaccessible areas:
Yep that's one of the nuts, luckily I bought a thin and extendable illuminated magnet to fish this thing out from between the heat shield and the bodywork.
Up again to finalize the front manifold bottom row, once that is done you can reassemble the engine mount and remove the engine hoist because if it stays in place there's no way to tighten the top row nuts.
Make sure you tighten the front row top row and ensure a good fit as there's no going back from this point!
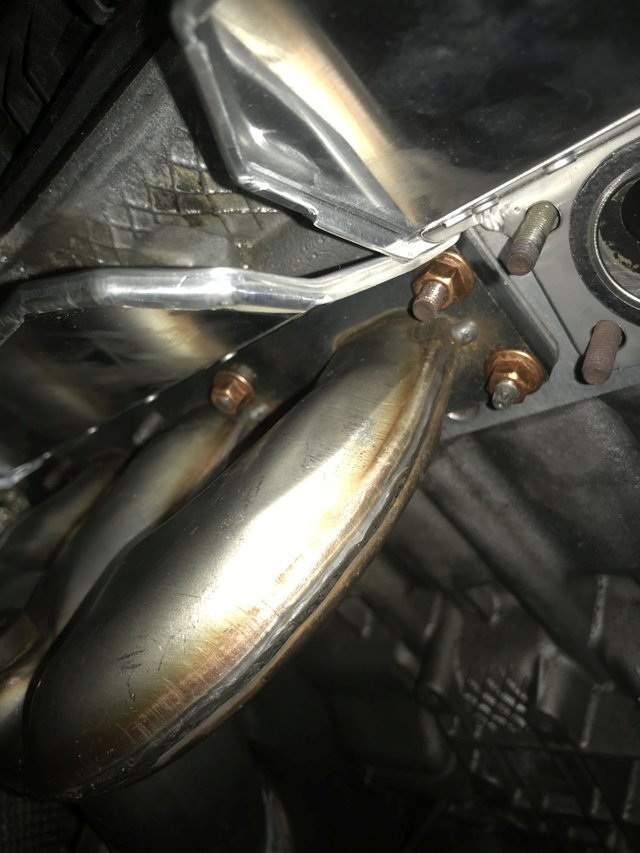
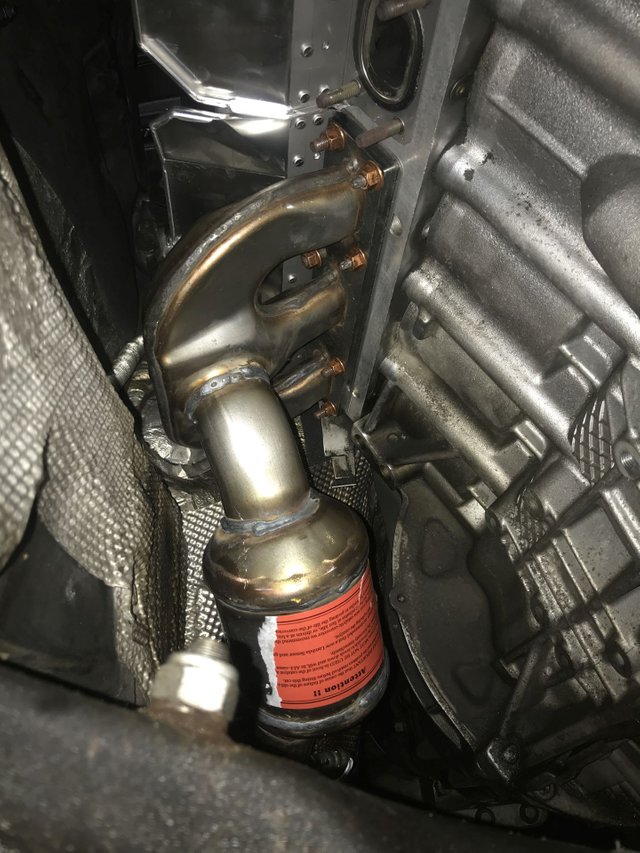
Here are both manifolds in position:
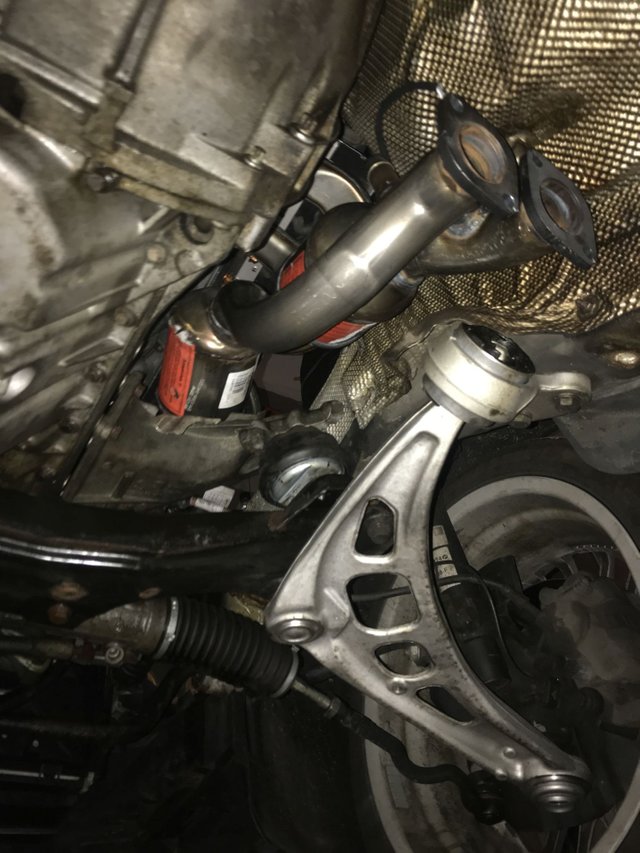
And from the front with exhaust bolts already inserted into the holes:
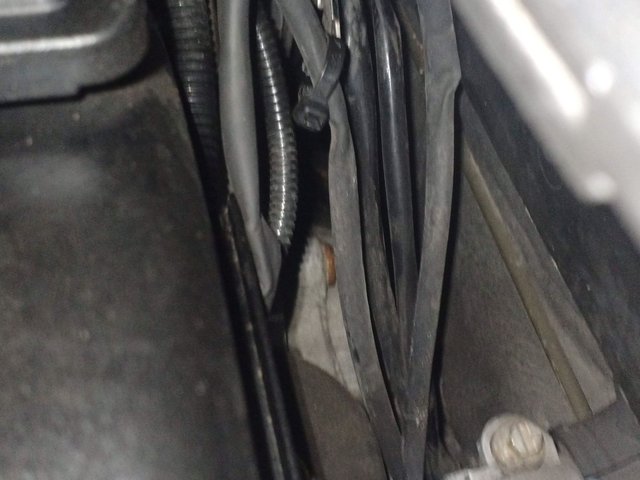
Channel the front manifold post-cat lambda node cable to the top and lower the car once more to fetch both cables and guide them behind the engine from above and put them on top of the engine - without them connected the engine will not run correctly and throw a check engine light!.
Reinstall Engine Mount with Bracket
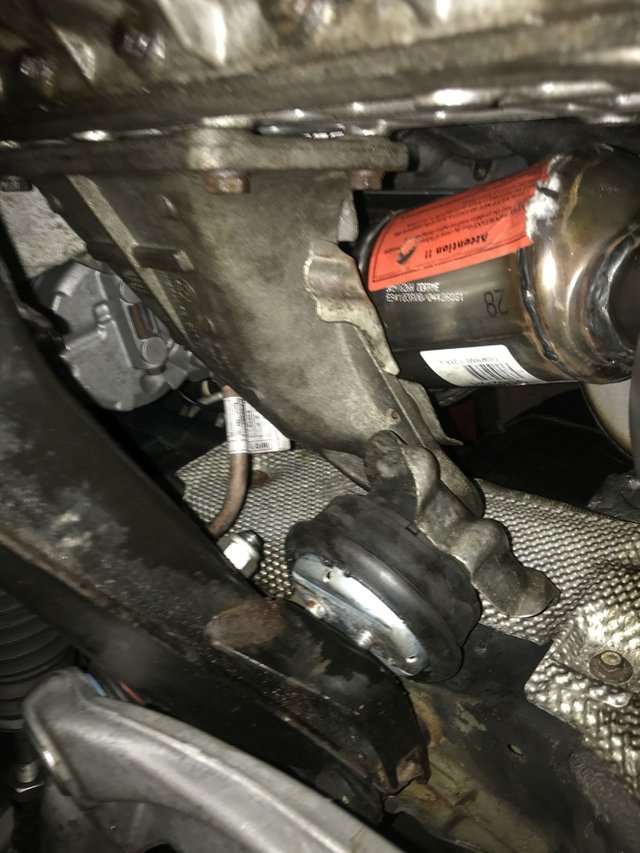
We can now reinstall the engine-mount and its bracket. If you have relatively fresh engine mounts you'll be able to put the mount into the axle carrier hole and attach the bracket to the engine. Tighten the nuts and bolts as much as possible while leaving some flexibility for when the engine is lowered again off the hoist.
**It is a good idea to lower it down a bit so you have it easier when reinserting the mount.
As you can see I actually put the mount back in once I was done with the rear manifold whose bottom row is the one the mount obstructs. It's really up to you which order you take.
Now remove the engine hoist and lower it carefully making sure that the engine rests safely on the mount while lowering and removing the hoist.
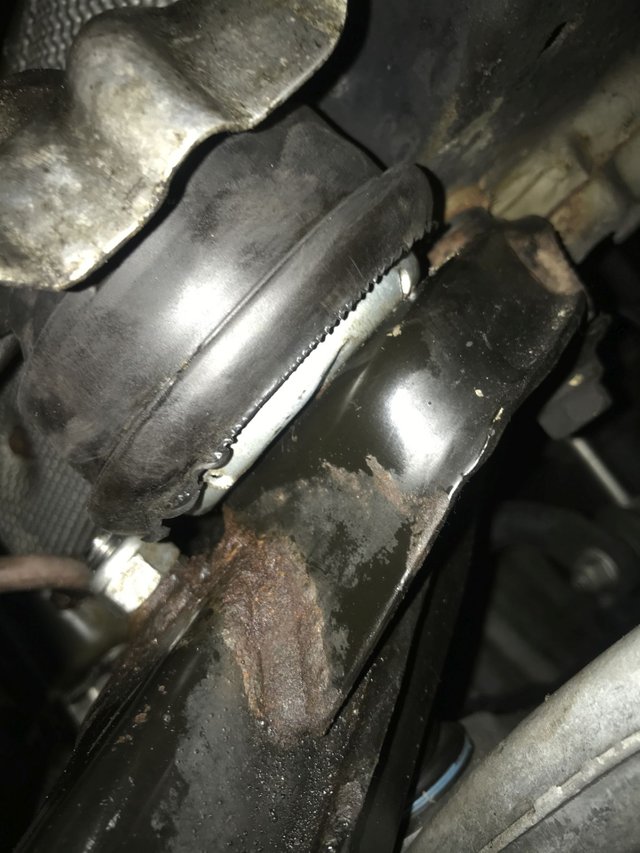
Once everything sits tight, raise the car and tighten the engine mount bottom nut at the front axle carrier as well as the 4 nuts on the engine side bracket.
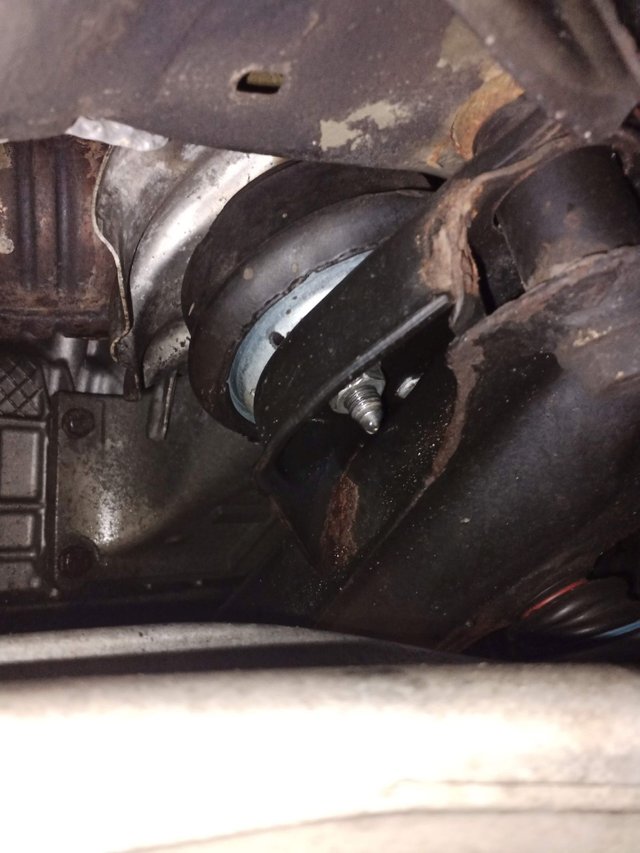
It should look like this in the end:
Reinstalling the Exhaust System
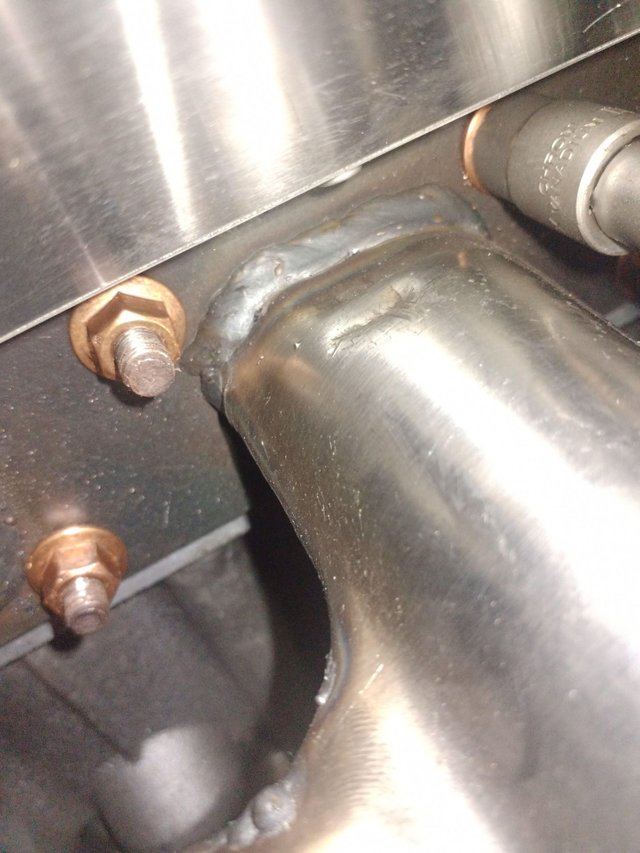
Now comes the time to tighten the final nuts on the top row, as always close to the firewall it gets really messy. Here my setup to see anything at all - it is 7pm - 60 minutes left:
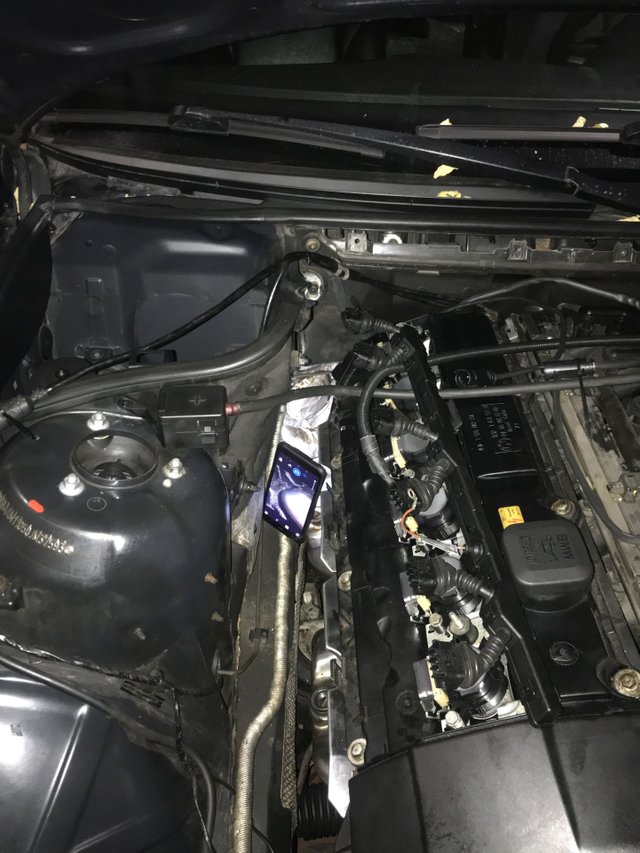
At some point you'll go by feel which is fine as it is impossible to get even a small torque wrench in there, just make sure they're all tight and the manifolds, gaskets and nuts sit nice and tight and there's no movement at all.
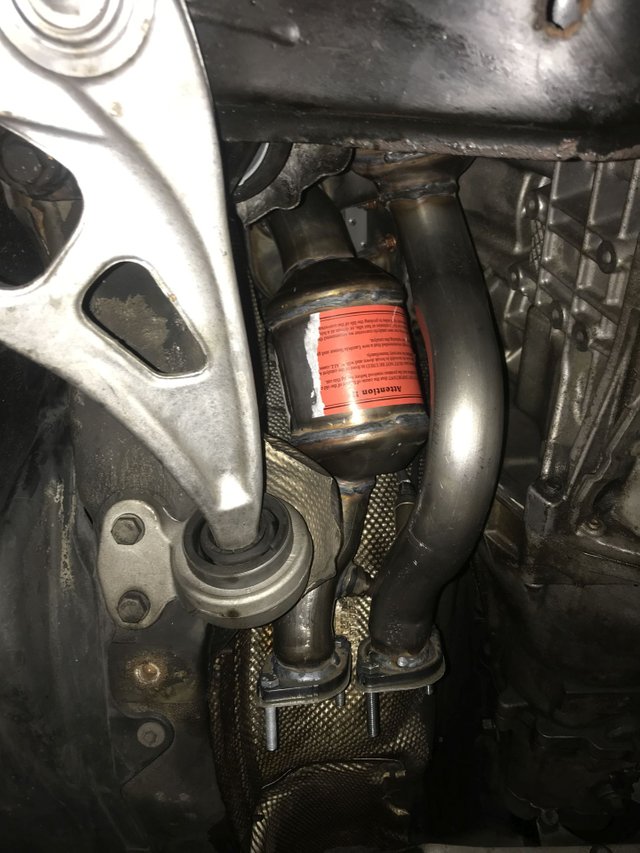
With the lambda nodes reconnected we can now raise for a final time to reinstall the exhaust to the new manifolds - it is 7:20pm - 40 minutes left until the shop closes. At this point the shop mechanic came by to ask when I'll be there the next day and if I had put the manifolds in yet to which I replied 'They're in and tight and I'll be done today' - he chuckled.
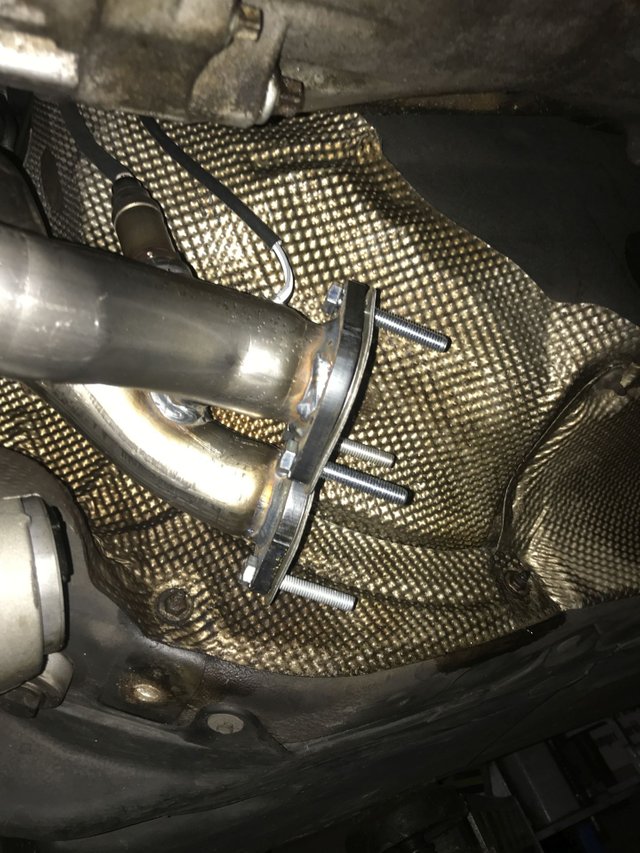
Instert new bolts into the manifolds, in my case I used the ones that came with the manifolds. Also remember to put the new gaskets on the manifold end:
Now you'll ideally need a helping hand to put the rear exhaust system in place, it helps to attach the center beam first but watch to not tighten it already as you'll need the wiggling room to connect it to the manifold tubes up front!
Final Steps
At this point I was pressed for time and put all the bottom side pieces back in so tightened all the exhaust system brackets and dampers, put the structural support bar up front and the small one in the center back in and covered it all up with the bottom engine cover.
On the topside I had 20 minutes left:
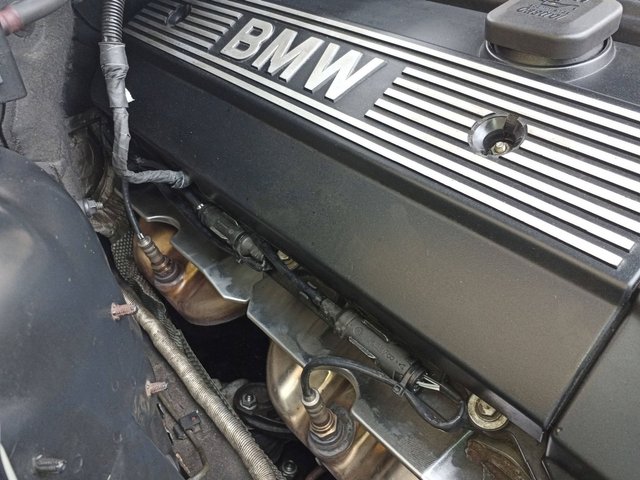
installed the pre-cat lambda nodes
routed the cables along the valve cover
reinstalled the valve cover
connected and routed the post-cat lambda node cables as quickly as possible
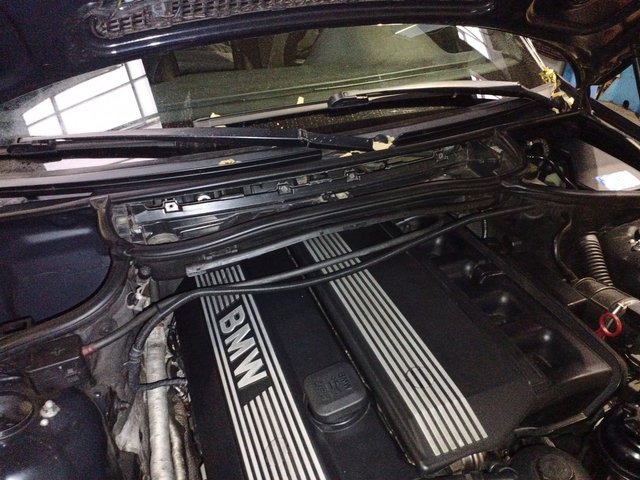
reinstalled the top side engine cover
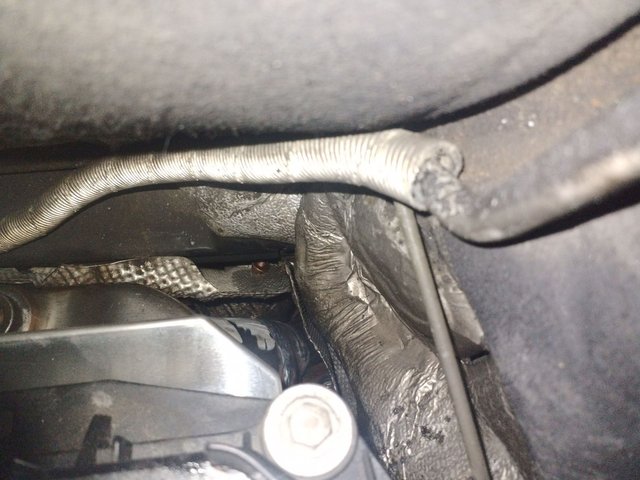
I left the washer tank out for now as well as the AC line but did put in the cabin air filter assembly as that acts as a rain water channel so the engine doesn't get wet:
With no extra bolts, nuts, cables or other spare parts I figured I had it all back together to a 'running state' and rolled out of the shop at 8:15pm - 15 minutes over time and a total of 12 hours and 15 minutes. Thanks for the shop owner for having some patience with me!
The engine sounded magnificantly smooth and I had actually forgotten how quiet it was, with the hood shut you could hardly hear it running inside the shop.
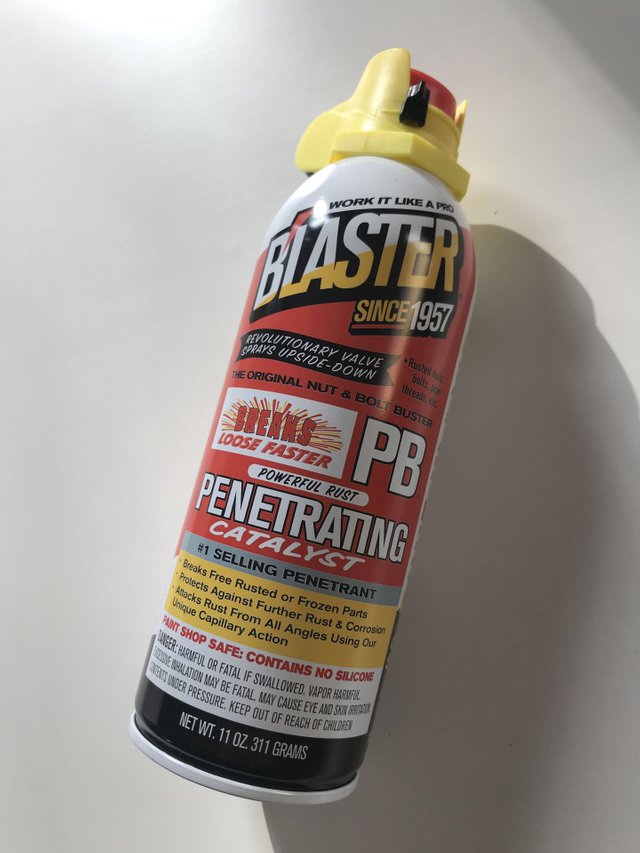
Next to the shop owner I have to say thanks to two products without which this would not have been possible, one is obviously the all mighty PT Blaster - it smells like horse but man does it do its job!
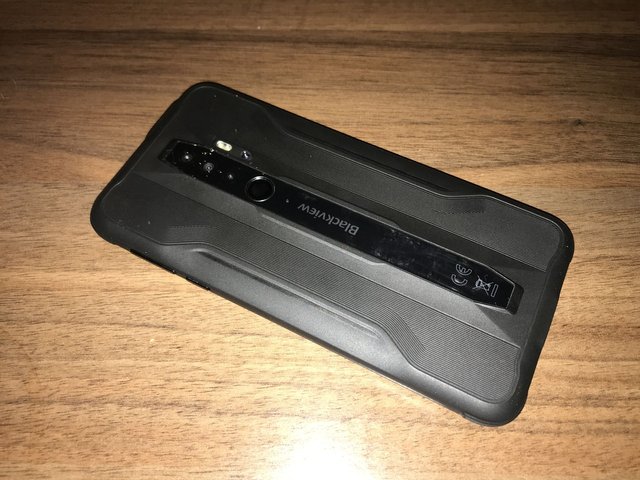
The other may come as a surprise is actually the phone - Blackview BV6300 Pro - what a tank!
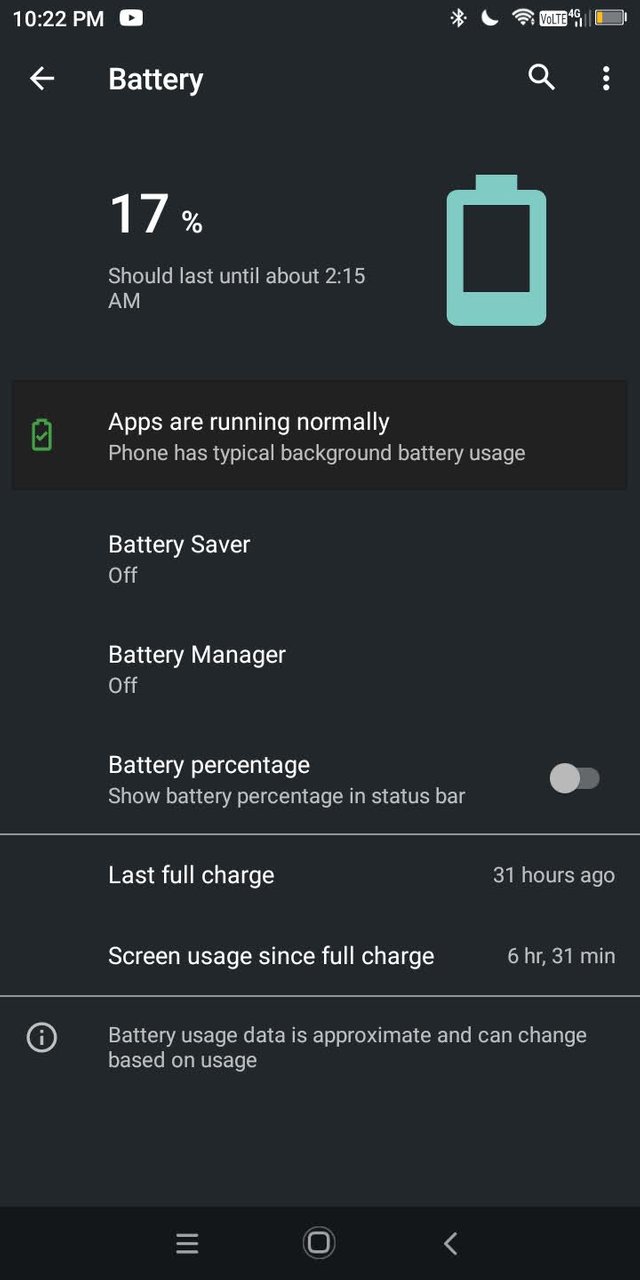
Amazingly after 6 hours plus of up time with the camera and the flash constantly on here's the battery state:
Even more amazing is the ruggedness, I dropped it multiple times into the engine bay, onto the shop floor, got stuck between the engine bay and the manifolds and operated it with oily hands or oily gloves and it just looks like new.
Join me next time for the morning after, wrap up and final touches and a good long test drive:

Small sneak peak: