DIY BMW 320i E46 - H2 2019 / Q1 2020 Update Pt. 1 - sway bar links, suspension, thermostat, transmission oil change, etc.
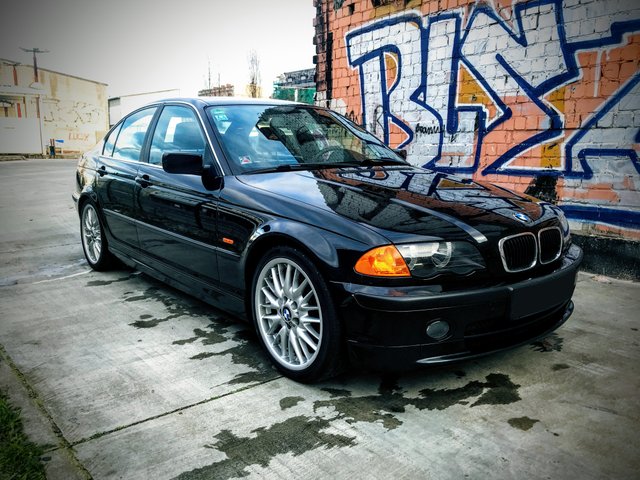
Welcome back fellow Steemians! After a long break mostly due to work I'm back to update you on all the DIY stuff that happened on my 1999 BMW 320i which some of you may remember. My last update dates back to April 2019 and since then the car has actually been driven less than 5.000km. Ironically I've never done more work on it during this time partly due to my attempting more complex repairs and maintenance items and partly due to timing with 400.000km fast approaching on the odometer.
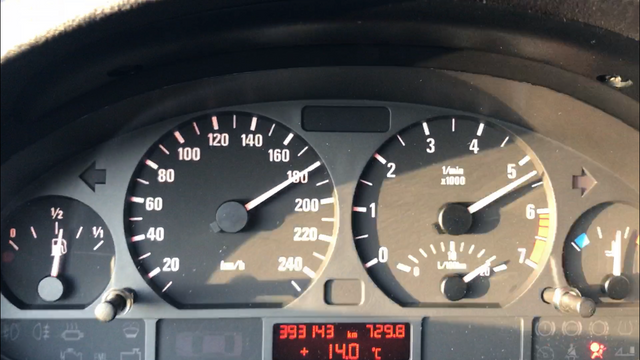
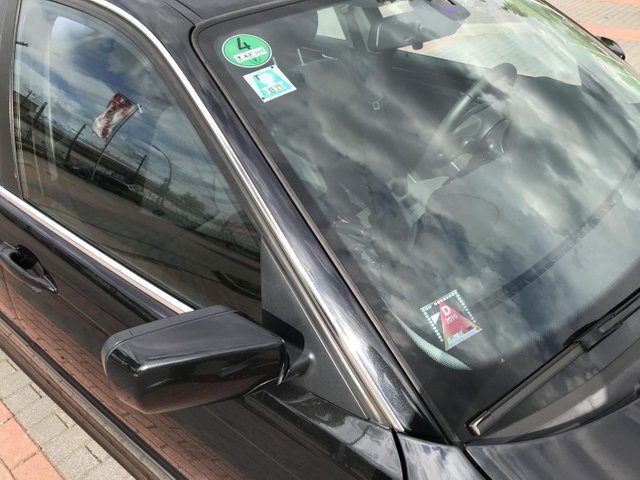
This was the last long distance run in April 2019. Since then work has been involving very short commutes and actually the car has not gone beyond 100km outside of Berlin so from extreme long distance to extreme short distance which hasn't hurt. During this drive above I also noticed a throbbing sound from the driveline over 180km/h. I pushed it to 190km/h when the sound and vibration became even more pronounced but more on the cause and fix later. Note the omnipresent airbag warning lamp is on again, some will remember this gremlin from DIYs past. It's fixed now, I should get around to that in Part 2.
A lot has happened since April of last year and I will run you through all the greasy details in this new series on my journey with the faithful companion from down south.
DIY Today
- front and rear sway bar links replacement
- front and rear sway bar bushing replacement
- rear spring pad replacement
- transmission oil change
- thermostat
- some cosmetic stuff
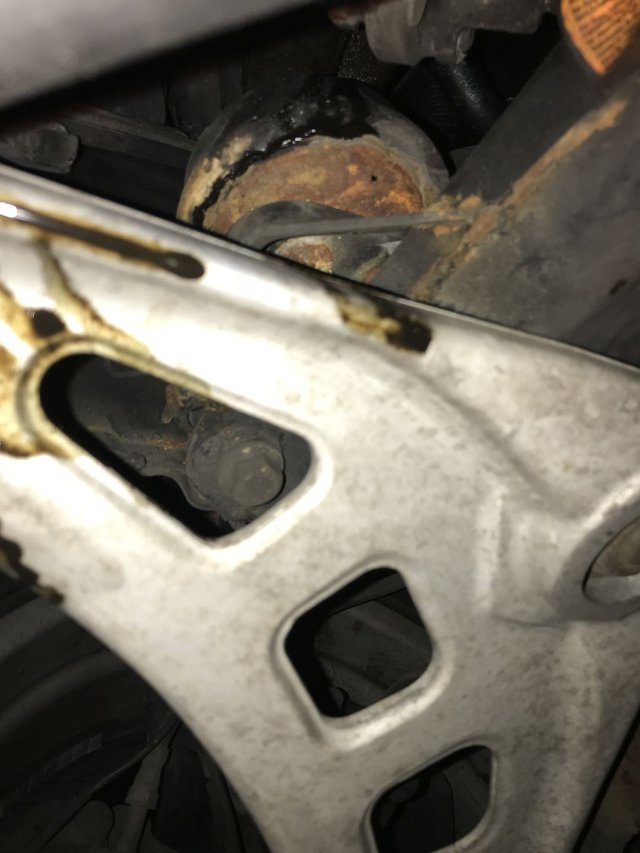
Before tackling repairs it's always good to do a bit of a visual inspection of the underside especially stuff you've worked on recently once the car is up on the lift. As I had recently changed differential oil, replaced center exhaust tunnel plates, oil level sensor and engine oil I went through these areas first after removing the underside engine cover.
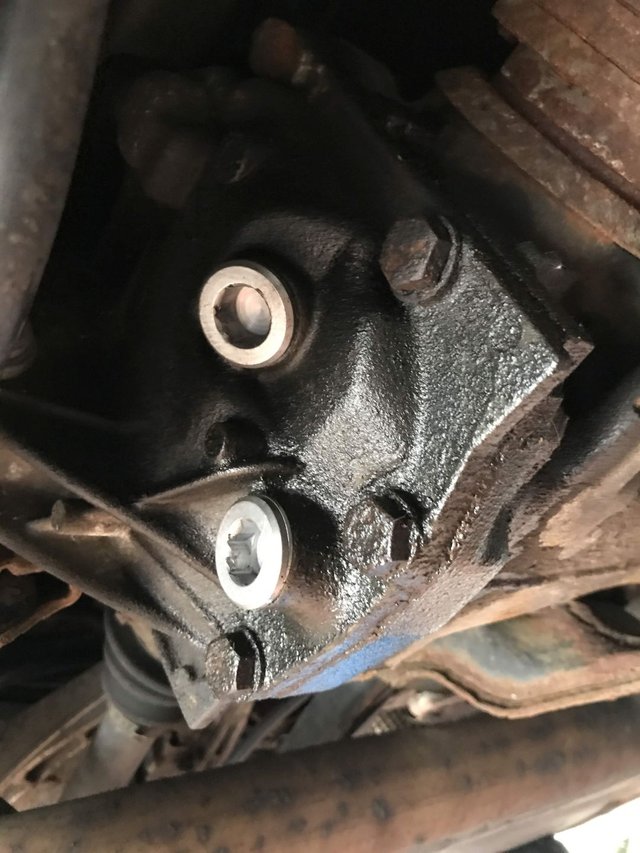
Diff looks good and dry, plugs were both replaced.
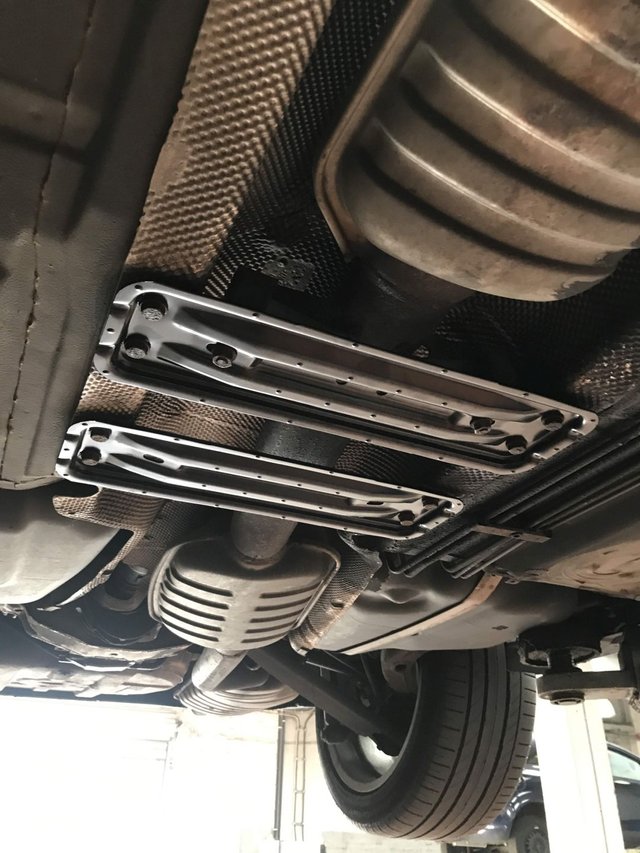
Center plates look as good as new.

Oil sensor also dry as powder. To this day it hasn't triggered which could either be because this second one is also broken or the engine just doesn't lose any oil - we shall see :).
Oil pan screw also good, engine has not lost any oil at all since the replacement of the crankcase ventilation valve some time ago.
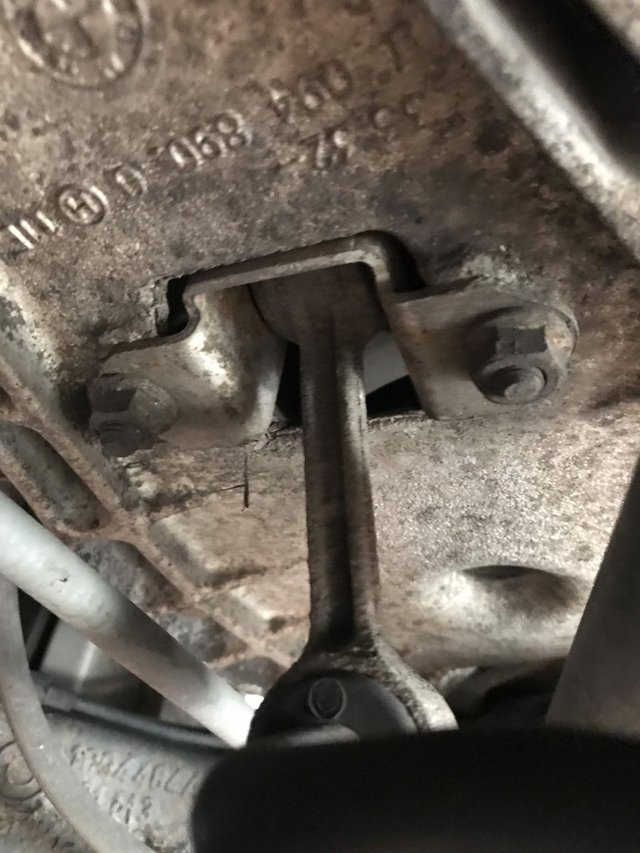
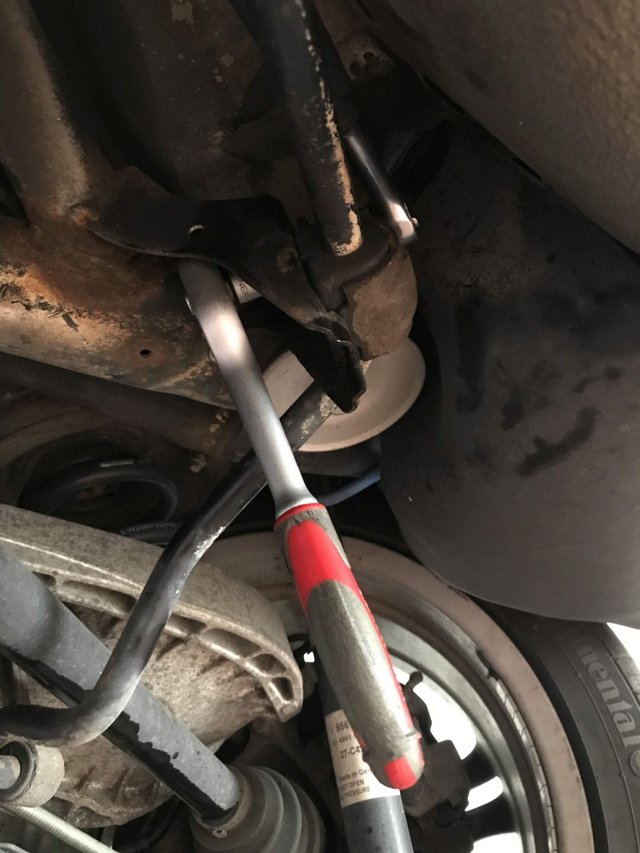
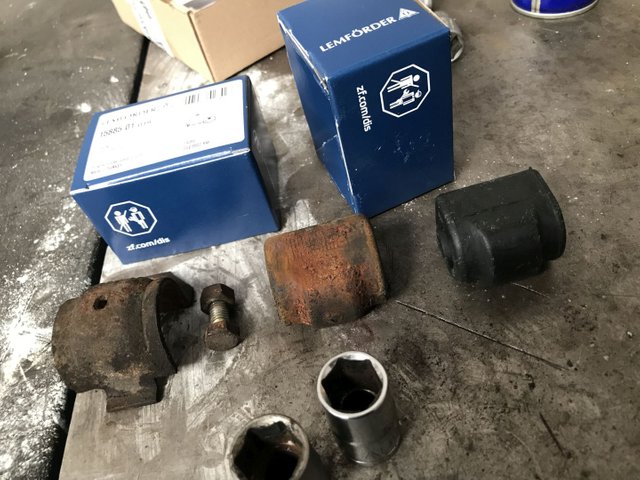
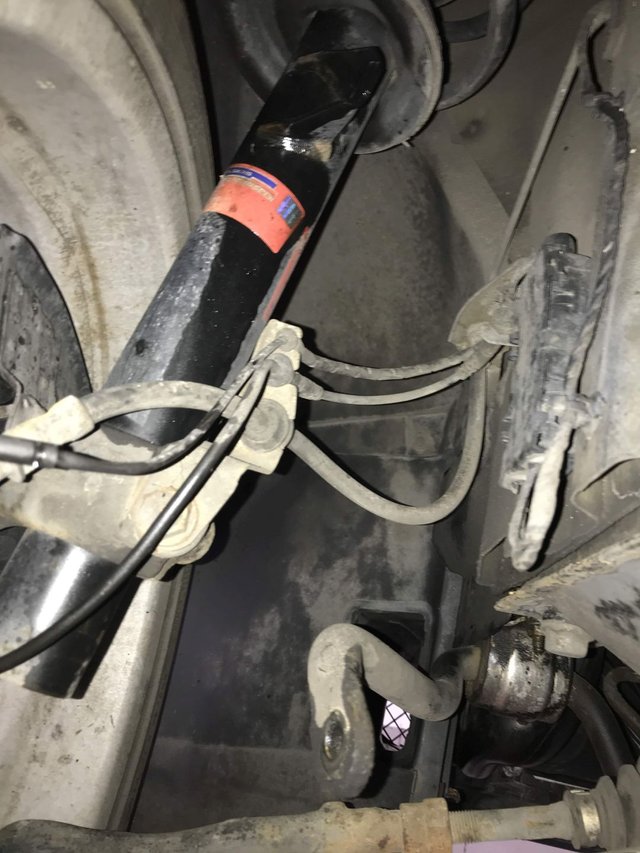
Stabilizer Coupling Rods & Bushings
Make sure to clean and/or sand down and/or lubricate any old part you are pulling out and plan to reuse to ensure proper operation!
This was more of a preventative repair but as it turns out it was high time especially for the rear which is where we'll start. When I did the repair the front bushings had been in the car only a little over two years but already covered 64.000 km while the remaining parts were in at least over 5 years and 100.000km or more.
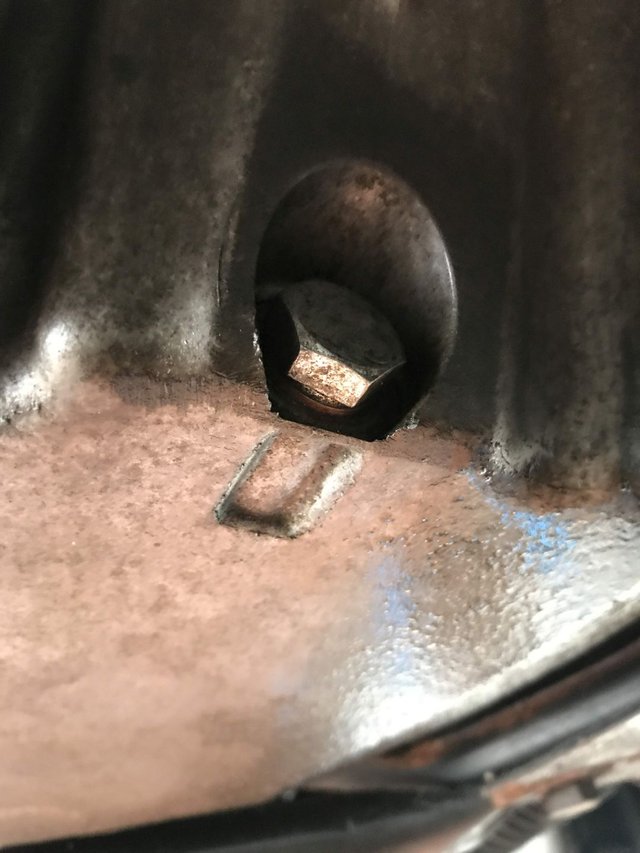
First step is to remove the dampers by stabilizing the wheel (if it is off stabilizing the swing arm) and removing the size 18 screw...
This is necessary in order to remove the coupling rod bracket which sits on top of the rear trailing arm which is now considerably further down and accessible.
The two bottom screws can easily be removed and the entire assembly then has to be rotated around a notch which holds it in place on top of the trailing arm.
This will be a pain to remove even with totally shot bearings and links because the whole assembly, by definition, is under load. Take your time when you do it and remember the steps you take to rotate it out as the reassembly will be even harder due to fresh bushings and links which are much less forgiving than the old ones.
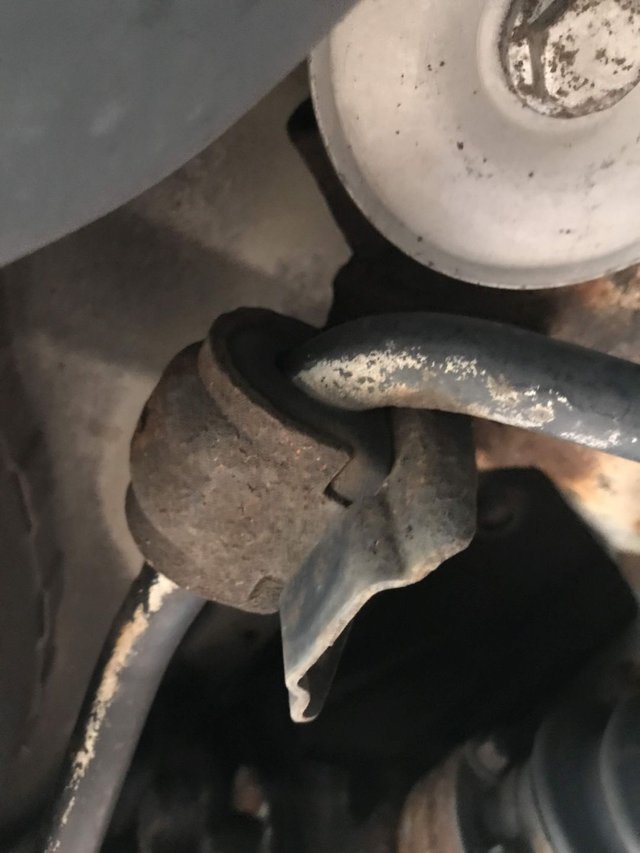
It is easiest to simply take the entire bar with bushings and rods out of the car so next we remove the bushings cover which attaches them to the rear axle. **Do not attempt to remove the coupling rods with the bracket still attached to the trailing arm. First of all you won't be able to get the angle right later and second it is downright painful to impossible.
Treating all those screws to some WD40 is highly recommended before attempting to get them out.
The condition of the bushing wasn't the greatest upon visual inspection and I guess they were last replaced around 10 years ago if ever.
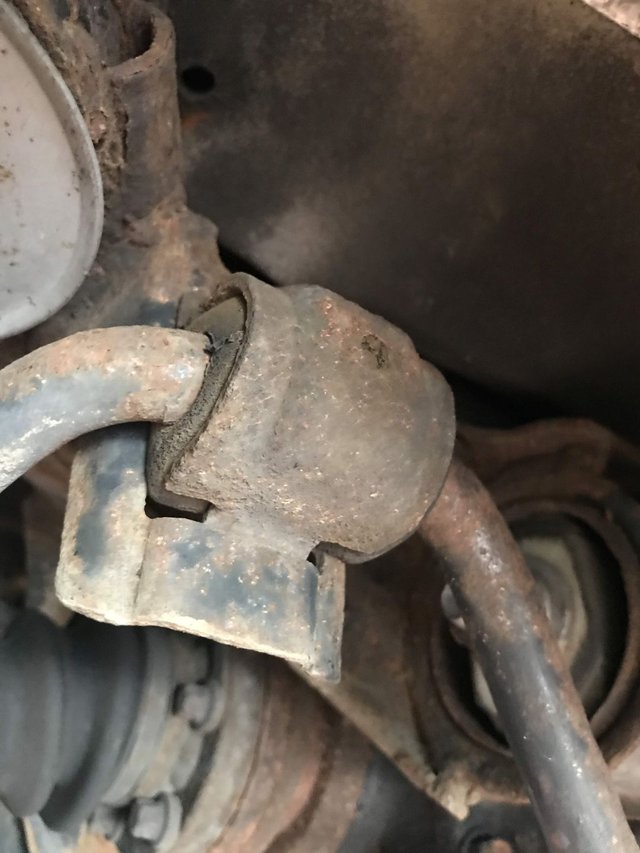
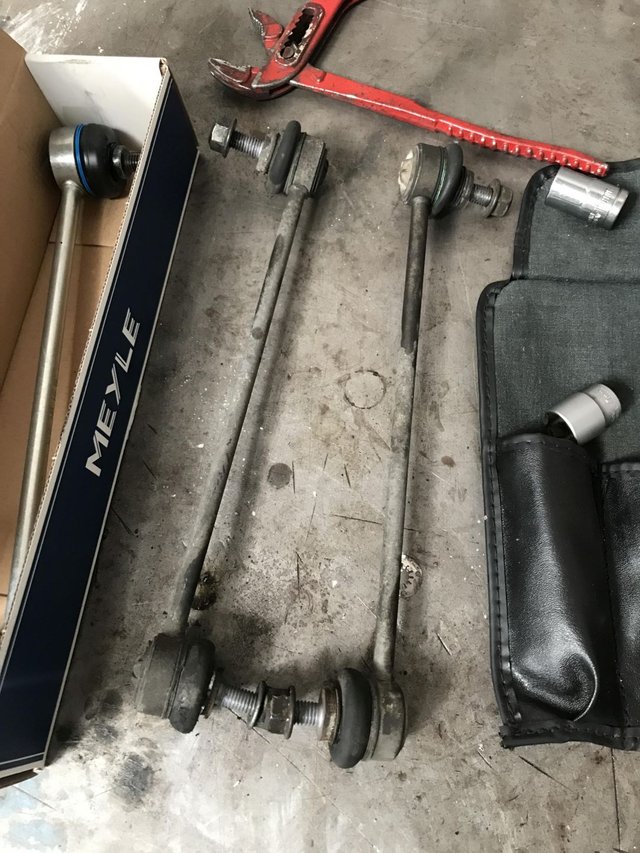
Once everything is out we can simply pull the bushings off the stab and pull the ends out of the rods by rotating them. Sometimes they may appear to be stuck due to a glue applied by the factory which you can see here:
Here the bushing:
Yeah, that's done. As for pulling out the stab it turned out that the left side resisted heavily so I put the stab into a vice so it would counter my rotation move and this happened:
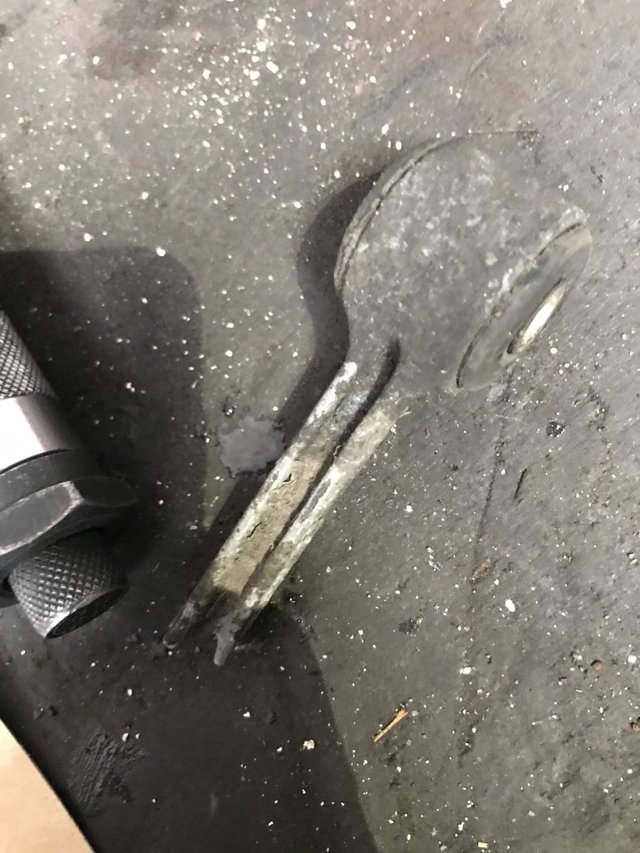
The rod turned smoothly until it broke, that thing was in there for 20 years I bet.
The next challenge is actually removing the rods from the assembly as these screws will be tight AF so we use the vice again:
Plug in the coupling rods and not the assembly as we'll still use that later on.
Took a little while but eventually this did the trick.
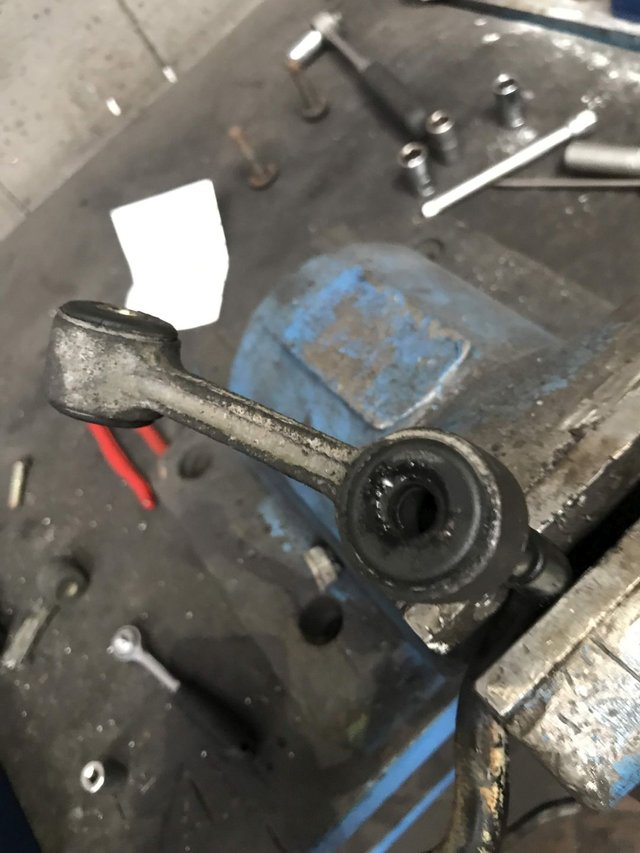
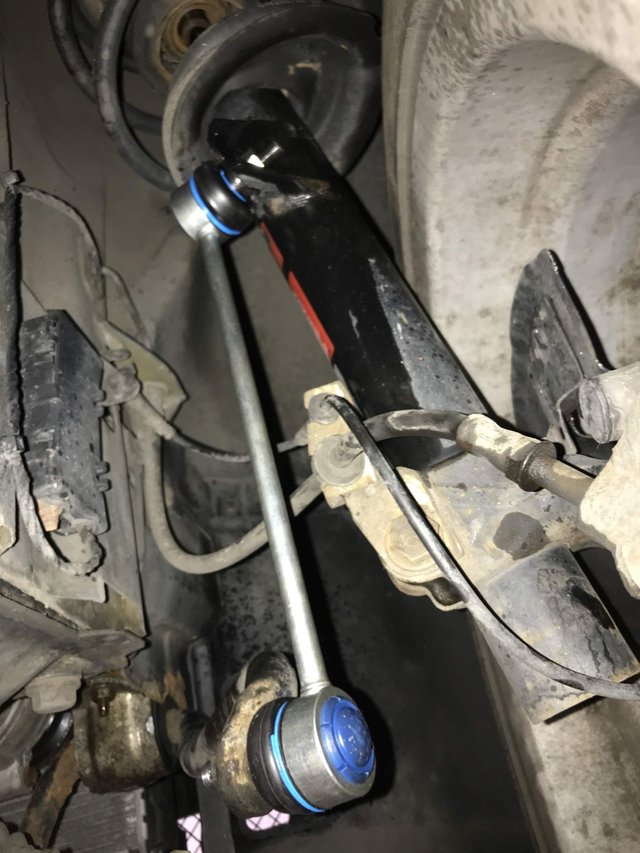
Here the cleaned assembly with the new link attached. I took great care to reassemble everything in the same angle it came out of the car. BMW documentation talks about 5-7 degrees off center so I eyeballed it as well as I could.
There's some pictures missing which I will edit in later but once the stab is back in the coupling rods (I didn't use the glue, more on that later) and the links are fixed to the assembly you simply slide the new bushings into position and reassemble the whole thing. Sounds easy? It isn't. Take your time and make sure it sits right before tightening the screws. Torque on the screws as follows:
Coupling Rod to Bracket = 22NM
Rod Bracket to Trailing Arm = 22NM
Stab Bar Bushing Bracket to Trailing Arm = 22NM
Official BMW TIS instructions:
Suspension Spring Pad Replacement
While the trailing arm is down it is convenient to use the occasion to remove the springs and replace the spring pads. They were in good condition but I had a thicker spring pad (10mm) installed by my mechanic 2 years back and wanted to return the car to its normal stance by putting in the factory 5mm thin spring pads.
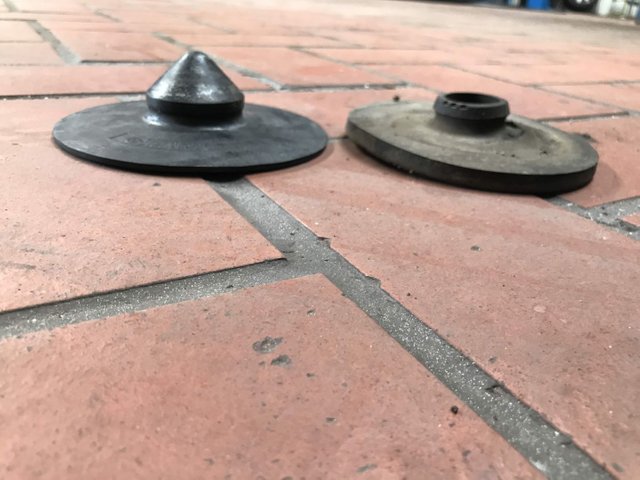
They may even be less than 5mm looking at it like this.
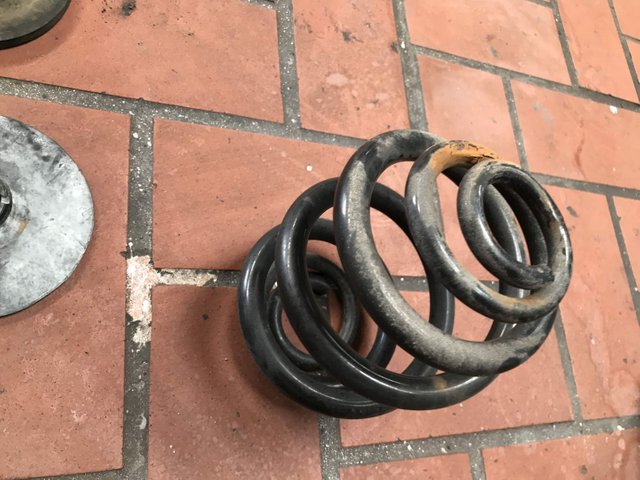
Simply wiggle the spring out...
...and remove the pad from the trailing arm. To this day I am not sure whether this car ever had an upper spring pad. I had bought some but didn't install them. Will treat that bare metal next time I'm in the shop and put that upper pad on as well.
Here you can see the new upper and lower pads and the old (thick) upper one which was installed on the bottom:
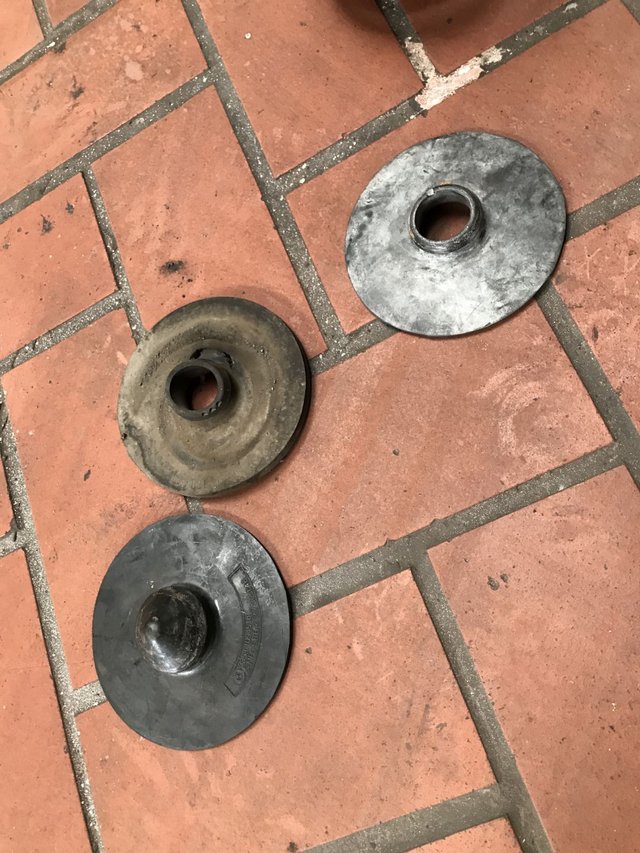
I seem to have installed the upper one on the bottom as I later learned that all E46 BMWs have the bump pad on the bottom and the 'donut' one on top which makes sense in hindsight :).
One the springs are back in and the stab is fixed and torqued we can reattach the dampers to the trailing arm.
Torquing the damper screws should only be done when the axle is under load so the car needs to stand on its wheels. Then tighten to 100NM.
Official BMW instructions:
If I had only looked at this before - story of my life.
Transmission Oil Change
On to easier things in life, changing the tranny oil which if I had to take another guess has never been done in 20 years.
Here is our adversary for this operation, mind you there is two. First take out the bottom one to drain the transmission, it is beneficial if the oil is still at least warm from prior driving so it drains as much as possible.
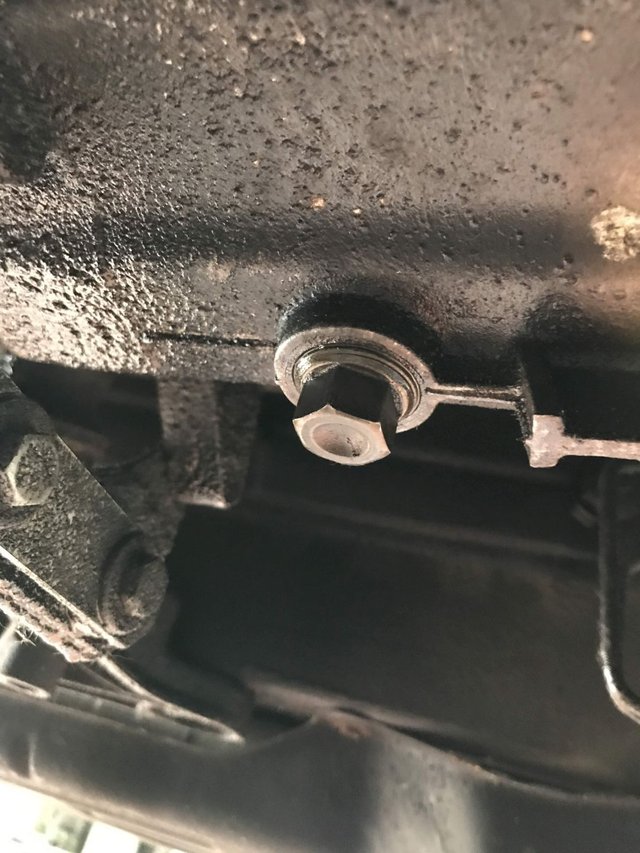
This screw was extremely hard to get out which it shouldn't be leading me to confirm my suspicion that the last time someone touched it was in the factory or, equally plausible, the last mechanic to touch it tightened it way too hard.

There's lots of oil sludge and dirt around the tranny and I haven't gotten around to cleaning it up.
Once it's drained you can open the upper 'filler' screw and close the bottom one for the refill. I replaced both screws with factory parts.
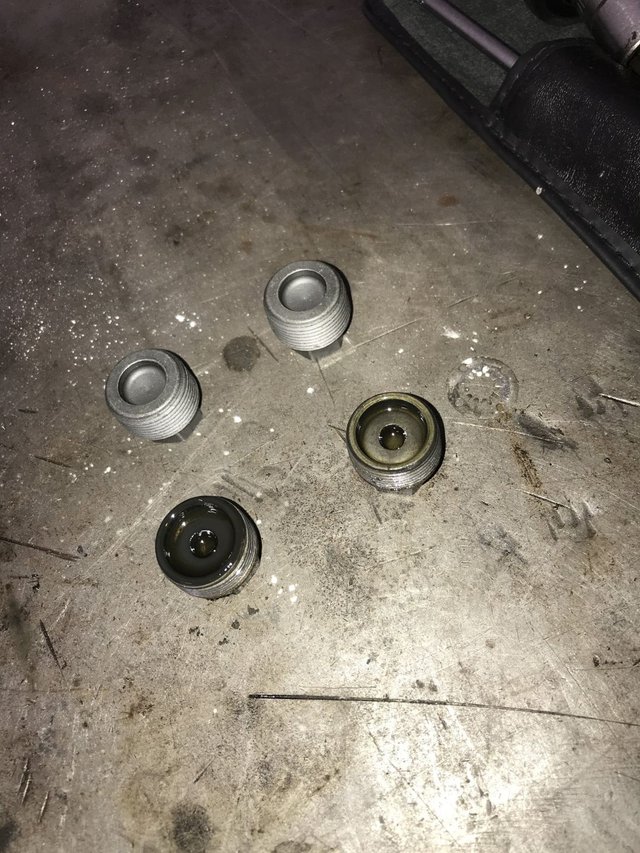
As far as I recall these are identical with the differential drain/filler plugs.
As with the differential refill the transmission has the correct oil level once oil starts running from the filler hole:

I used Castrol Syntrans B 75W MTF LT-2 which is the standard recommended oil for this manual transmission. You'll only need around 1.3L so two boxes of 1L will do.
Drain and filler plug torque is 45NM.
Offical BMW TIS instructions:
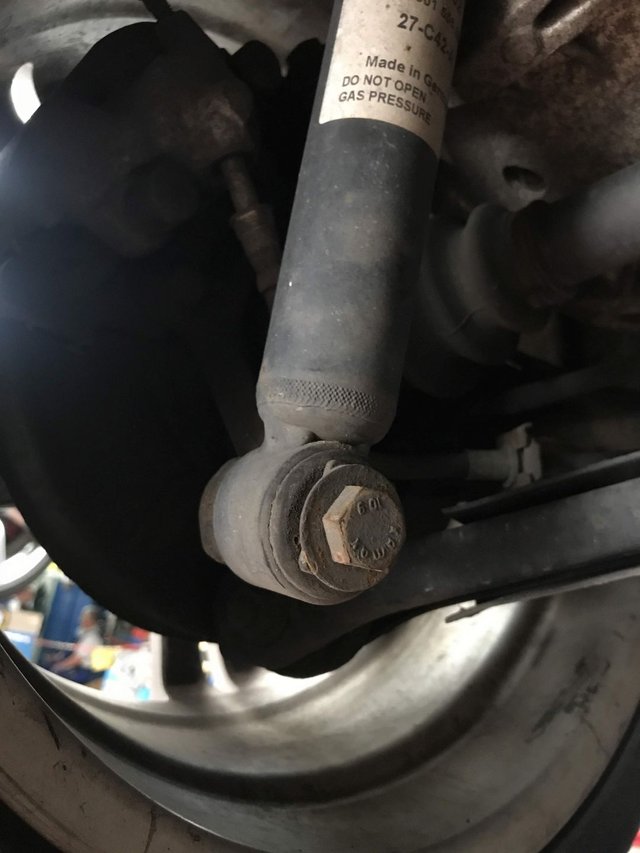
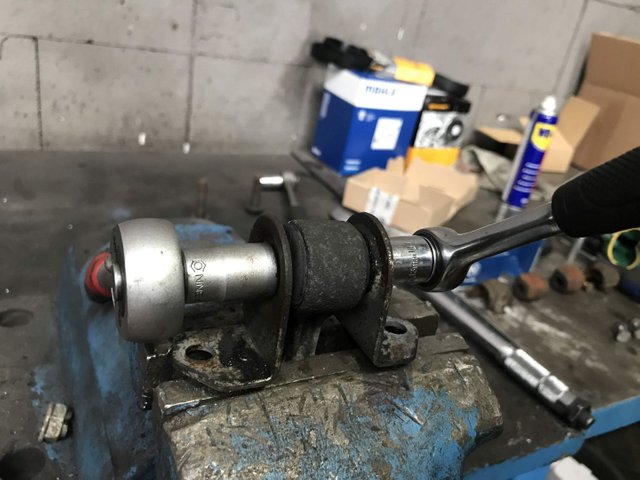
Front Coupling Rods Replacement
Now for one of the more pleasant suspension items - front coupling rods. Can simply be removed with the car up on the lift and require next to no effort at all.
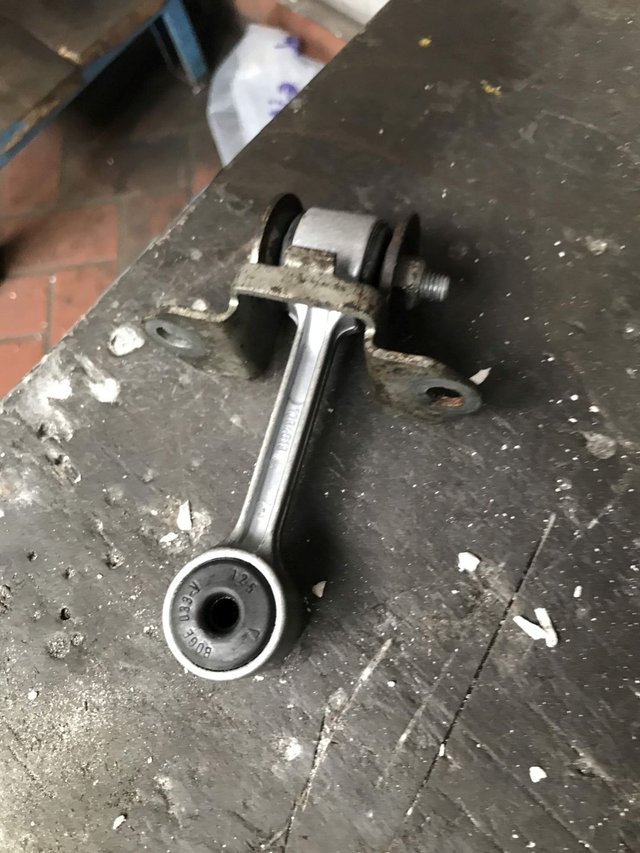
Here is the new one from Meyle:
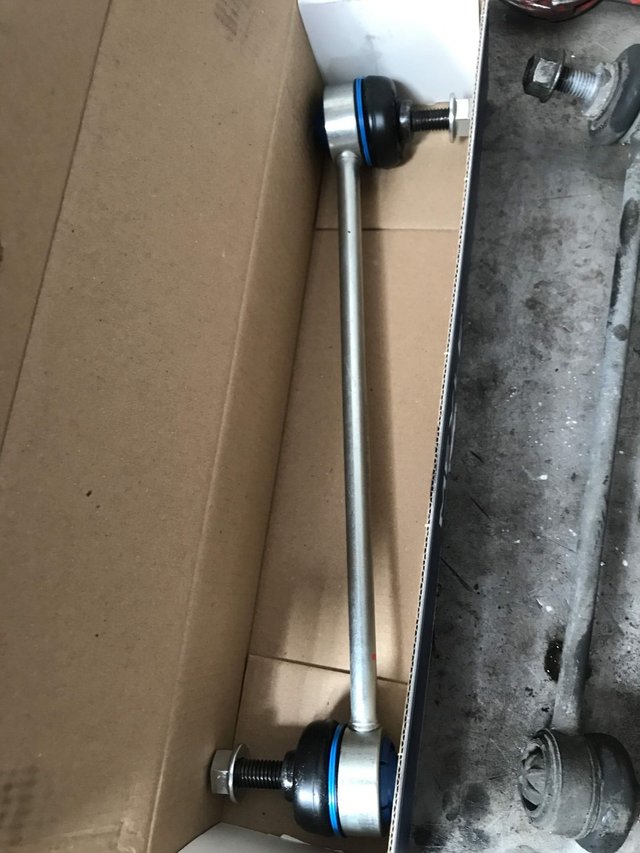
The only thing you can do wrong here is accidentally damaging the rubber sealing/bushing by mishandling the installation of tightening the screws too hard - both things the rods don't take lightly and will prematurely wear and possible be shot.
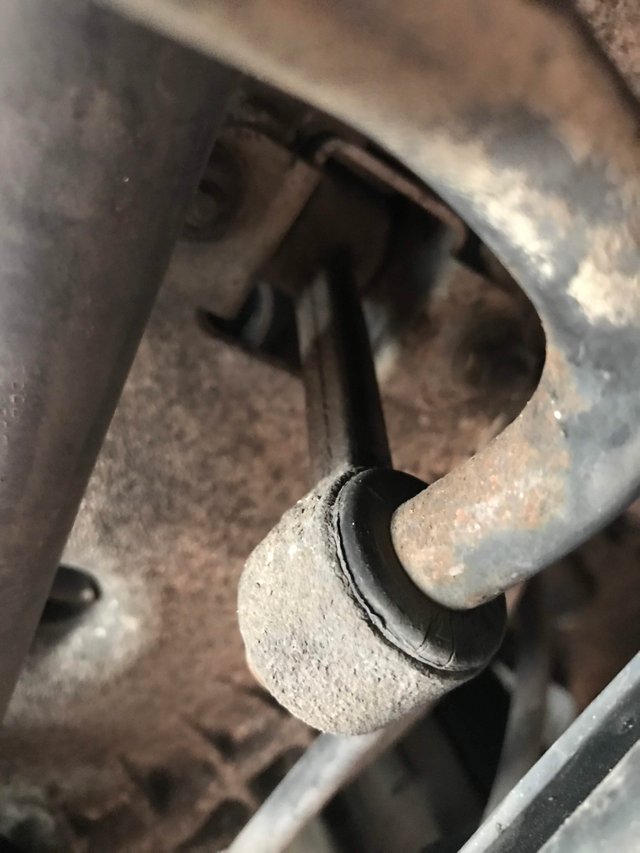
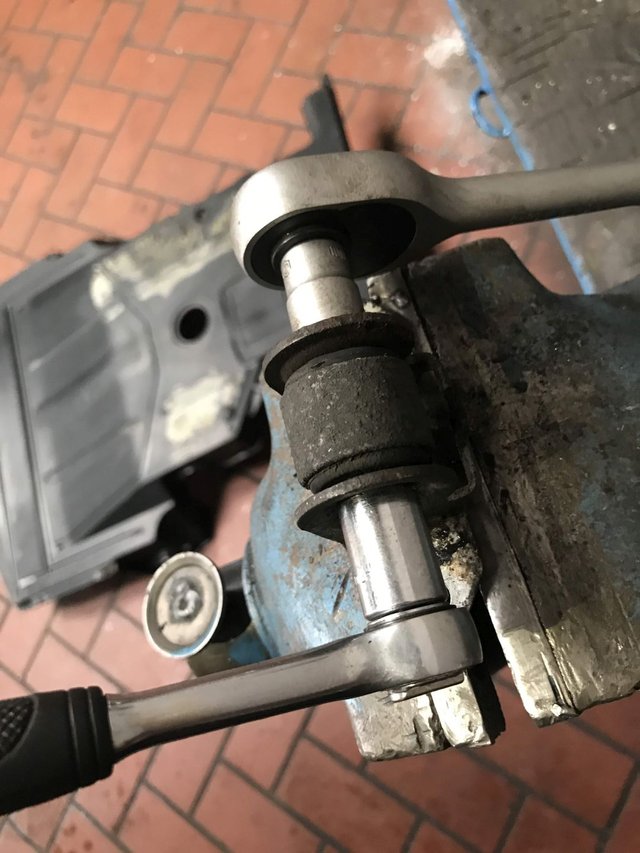
Front left strut with rod removed, note the unloaded stab in the lower right:
Old versus New:
I don't know how long these have been installed, the only thing I ever replaced on the front stab were the bushings around 64.000km / 2 years ago.
Safe to say they were shot. And it's back in:
Torque for stab coupling rod:
Rod to Strut = 65NM
Rod to Stabilizer = 21NM
It is vital to check for any damage to the rod as it has an adverse effect on ride and handling if damaged including steering that feels off and noises from slight clicking right up to violent shocks from the front when driving over uneven surfaces!
Useful list of all torque values for BMW front axle stabilizers:
Official BMW instructions on how to change the rod:
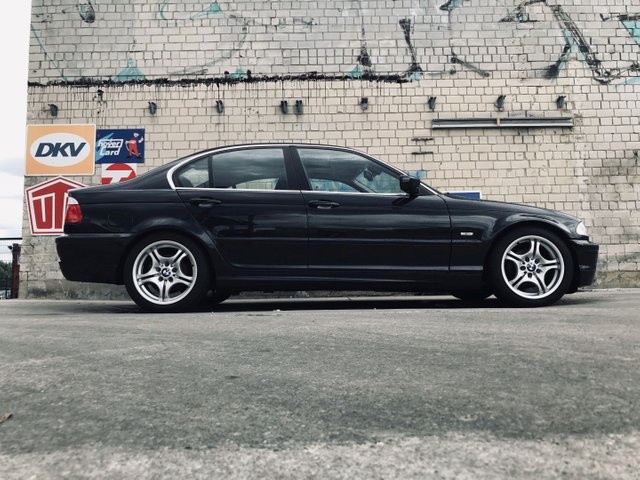
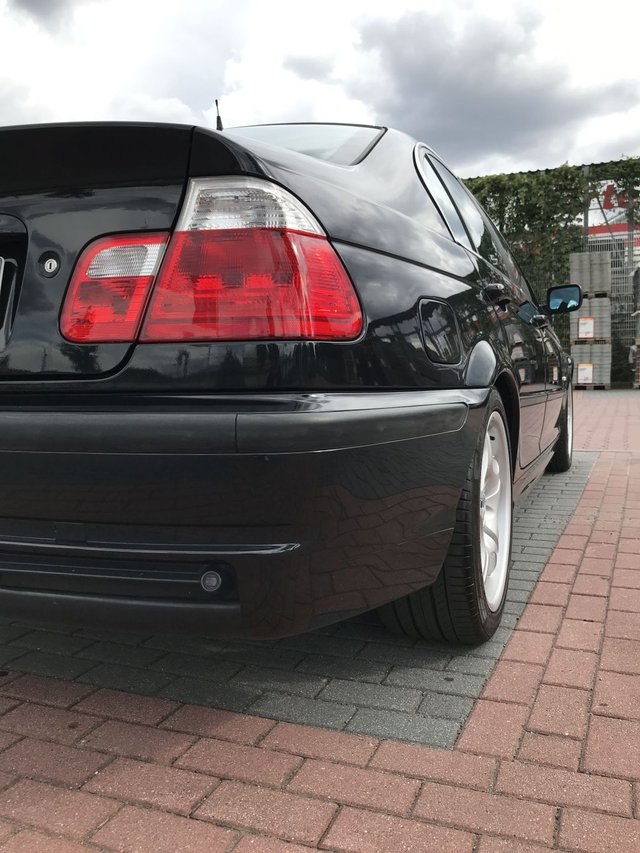
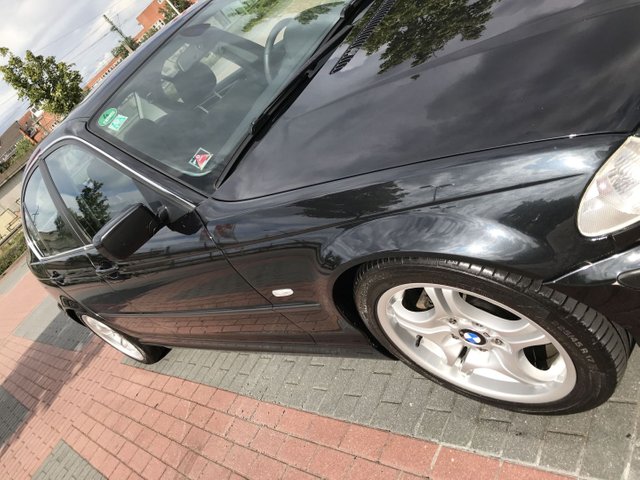
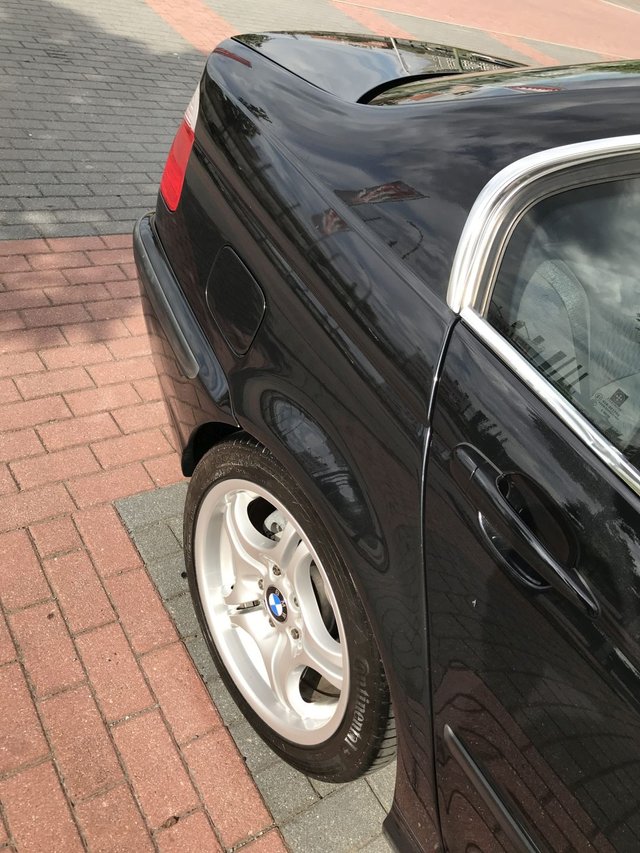
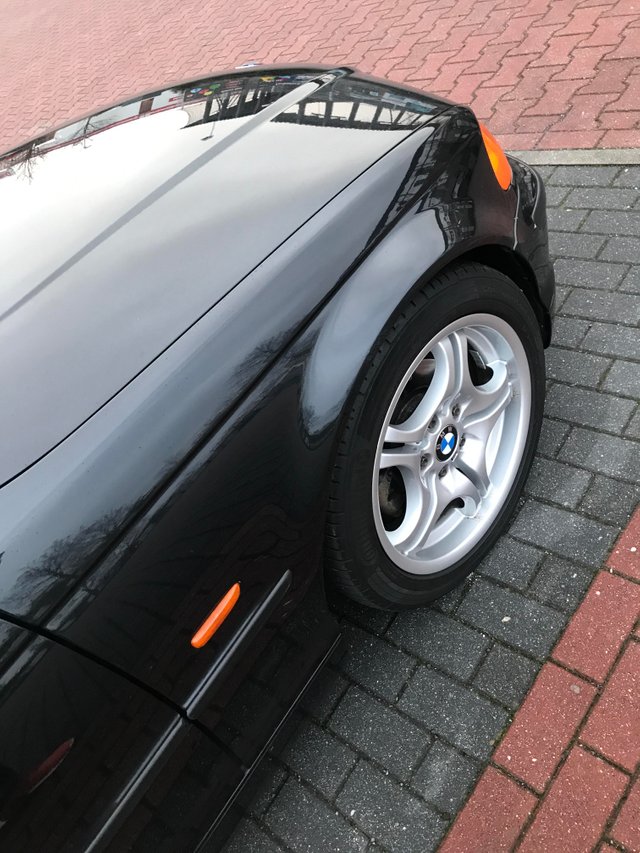
The Stance
\
Following the pad change in the rear the stance has noticably changed and car sits visibly lower at the rear:
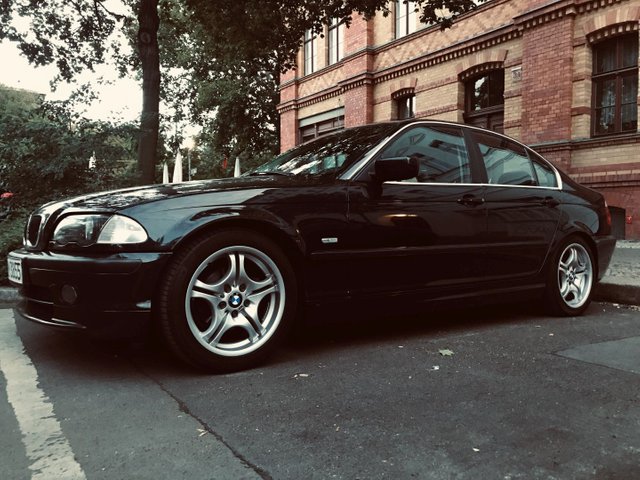
Here the before shot with a noticeable angle:
Mind you with the rear upper pads installed it will come up a few millimeters as it should. I actually think that the thick bottom pads were too much and now it's too low so maybe installing the upper pads will introduce the golden center of rear ride height.
Some more impressions as the car was only very rarely used from April to August when these pics were taken:

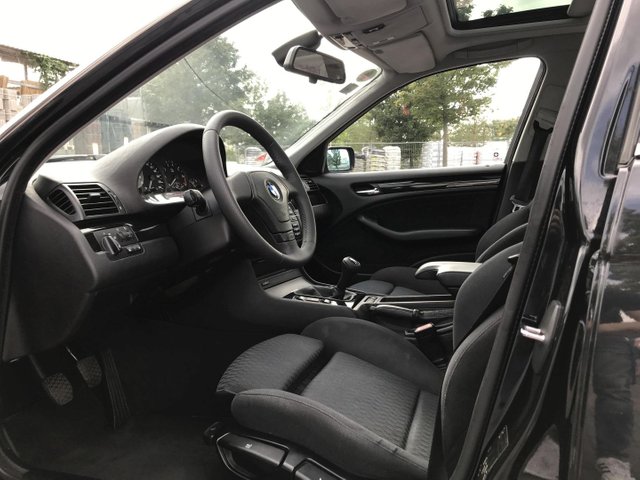
The steering wheel has turned out to be an excellent buy, I only installed it in March of 2019 I think so still very much in mint condition. The slightly thicker rim and soft leather make for a very nice driving experience.
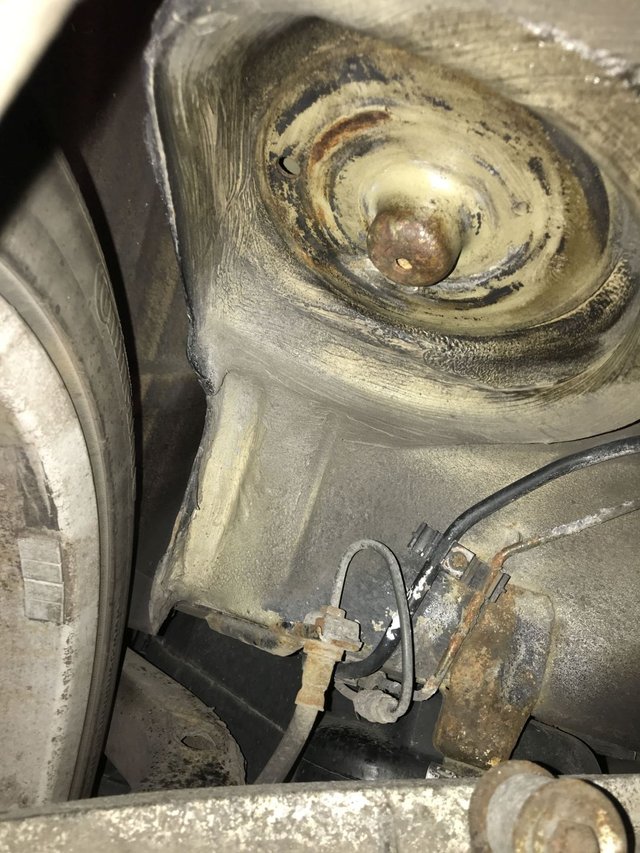
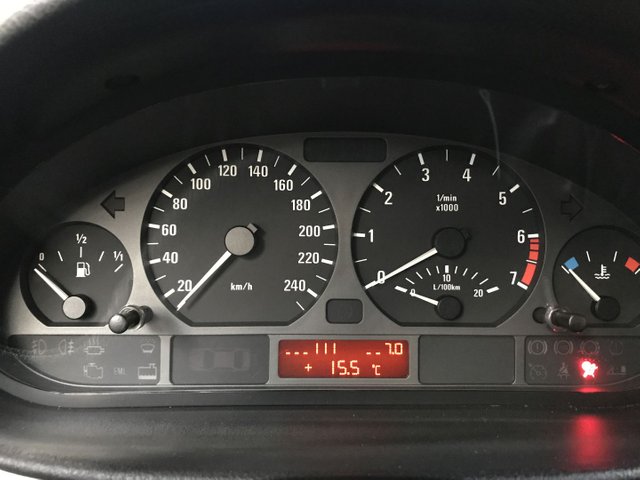
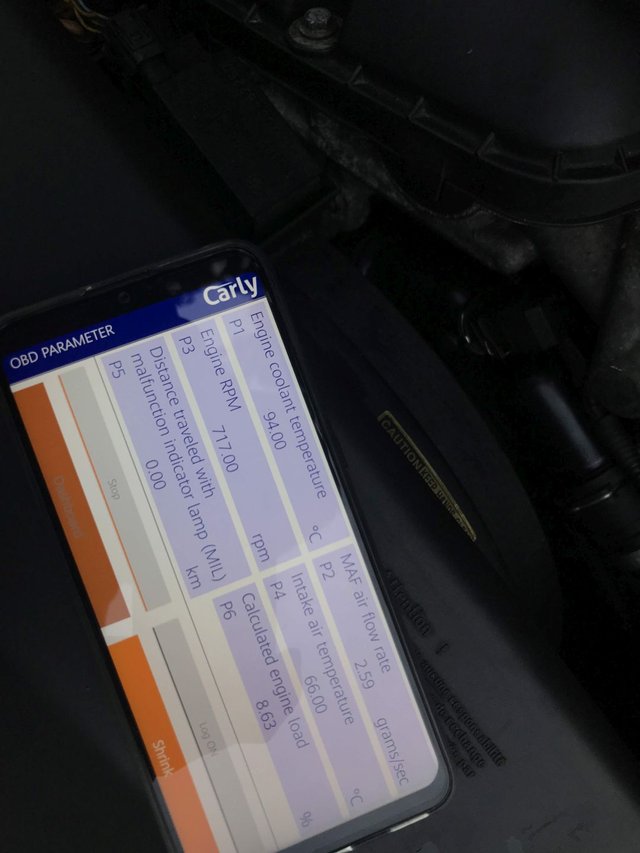
I've run a bit out of time now so the thermostat and cosmetics will have to wait for the next part but rest assured it won't get boring as the thermostat was not as straight forward as anticipated plus it generated heart attack inducing coolant temps of 111+C degrees. Some previews of rotten engine mounts, nerve wrecking general module electronics, mad max style engine temp swings and amber signal indicators.


And yes, I'll go there...full interior rebuilt:


Steem on and catch ya later!