Do It Yourself - Removing and Reinstalling a Roofliner | BMW E46/38/39 all models | 2019 Update Part 3
Welcome to part three of my 2019 maintenance and preventative repairs and enhancements update on my '99 320i.
You can find the first two parts below covering the following:
- front and rear sway bar links replacement
- front and rear sway bar bushing replacement
- rear spring pad replacement
- transmission oil change
- thermostat replacement
- temp sensor and aux fan replacement
- general repairs on the cooling system
- some cosmetic stuff
The Infamous Black Roof Liner
As some of you may know a black roof liner is a bit of a tell tale sign for cool BMWs. Nowadays it is quite common and mostly not even an option anymore but back in the 80s and 90s it was a very rare option on most BMWs. Some say it is a smoker option as a black roof liner will never have yellow stains from all the smoke. Whatever the case I had one in my E30, I actually removed it before it was crushed and still have it, and I always wanted one in the E46.
It could be ordered with any model and the option code is S775A - Roofliner Black.
The issue is finding one in the first place as they are mostly either not removed at all or get damaged in the process. The second challenge is getting it shipped as no carrier will take a package measuring at least 2x1.5m so you have to go through freight forwarders which is pretty expensive. The final challenge is getting one with all the necessary parts as everything from reading lights to handle bars, sunshades and pillar covers are black instead of light grey and rarely for sale anywhere.
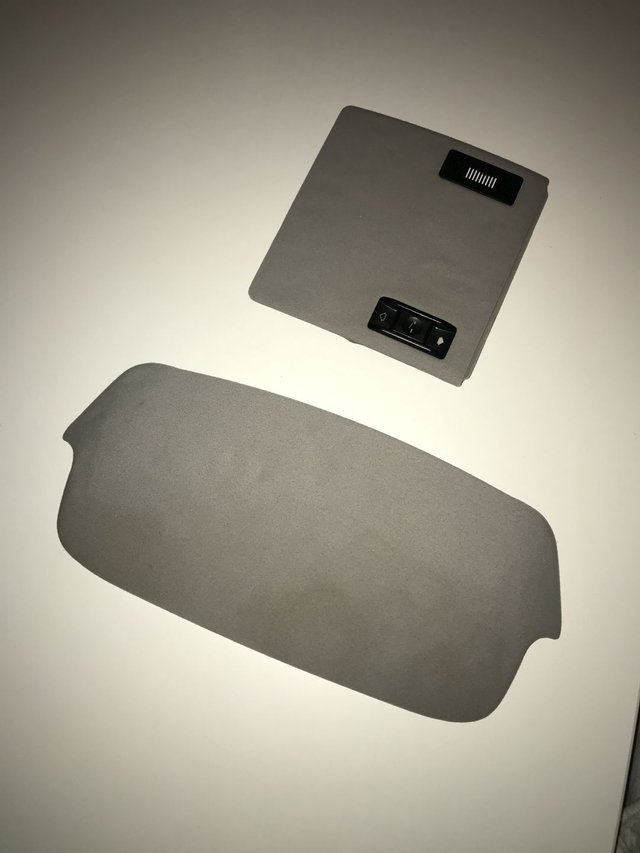
I managed to find a black roof liner for an E46 with sunroof (an additional complication) 150km from my home so I bought it for EUR 150 (they usually go for EUR 250+) and went to pick it up. The low price was due to some parts missing but it included the A/B/C pillars and the roof liner so I figured what the hell. The seller was nice and helpful in figuring out how to put it into the car. The part ended up travelling with us in the cabin hanging below the installed roof liner.
And here it is:
If you ever need to do this I can tell you at least for BMWs it will not fit in the trunk and cannot be put in through the trunk even when you fold the rear bench down. It needs to go in through one of the rear doors, on left hand drive cars the left one preferrably with both front seats reclined all the way to the back:
This way you can 'neatly' slide it inside and this is actual the official BMW repair manual instruction for installing it.
Here's the kicker: Upon initial inspection I noticed that the B pillar covers were way too thick and the C pillar covers were made of plastic - not the same as in any other E46 sedan. Further, the roofliner seemed a bit short and the material, while very nice, was not the same cloth/velours stuff you get in the sedan.
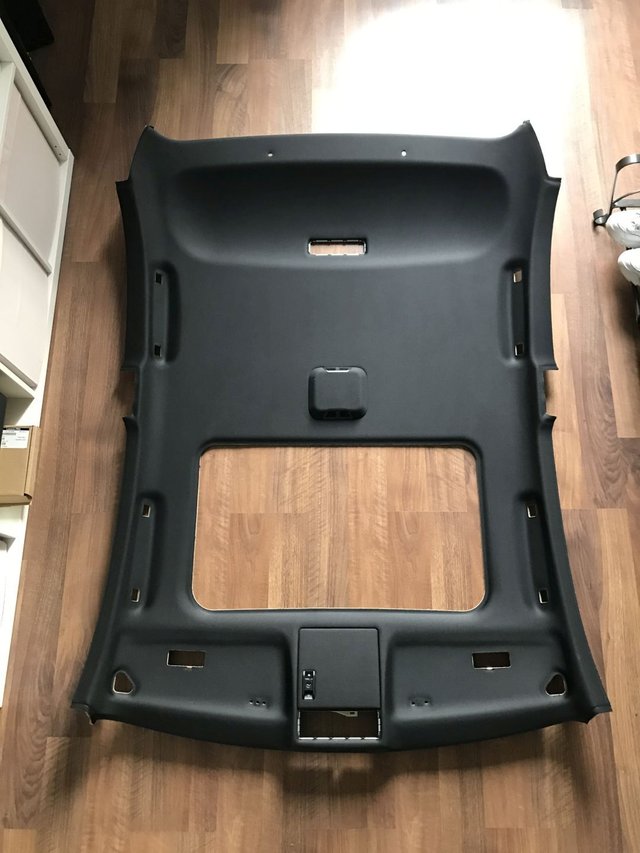
Then there were these two small holes on the back which I could not account for until I realized that this part is for the E46 Compact. The short wannabe Golf with the cut off trunk. It's a hatchback - hence the two little holes and plastic C pillar covers.
On to finding an actual sedan roof liner then!
By chance a guy on Ebay offered one a few weeks later, this time I authenticated that it's a match and the best thing was it came with every single part and was damage free. We quickly agreed on shipping and price and for around EUR 250 including shipping and packaging it arrived a few days later.
Removing & Reinstalling the Roof Liner
While this may seem like a daunting task it actually isn't too bad but you need to take your time. This cannot be done quickly and I don't recommend attempting it in one go as you will inevitably grow frustrated. In order to remove it completely you need to disassemble:
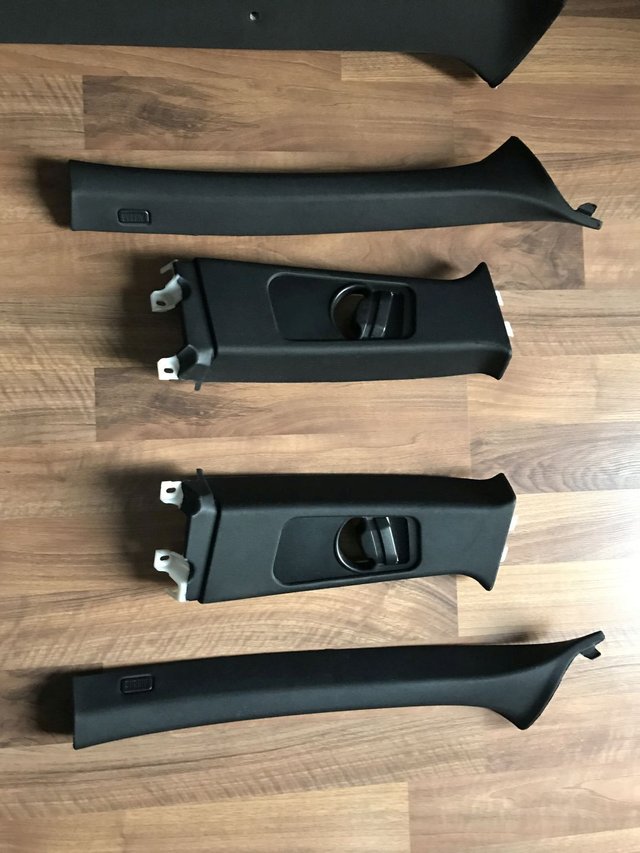
- A pillar covers
- B pillar covers
- Lower B pillar/Doorsill covers
- C pillar covers
- Sunshades
- Reading lamps
- Handle bars
- Rear shelf
- Rear headrests
- Rear seat upper part
- Rear seat side bolster
- Front safety belts
- Sunroof sliding cover
As you can see this is not a 2 hour job so best to go at it in little steps, the good news is you don't need any of this for the car to be roadworthy. I literally removed and reinstalled it over the course of a week.
Step 1 - Removal
This is what we need to get out, I'll quickly run through the steps so make sure you take your time when you do this to remove it damage free.
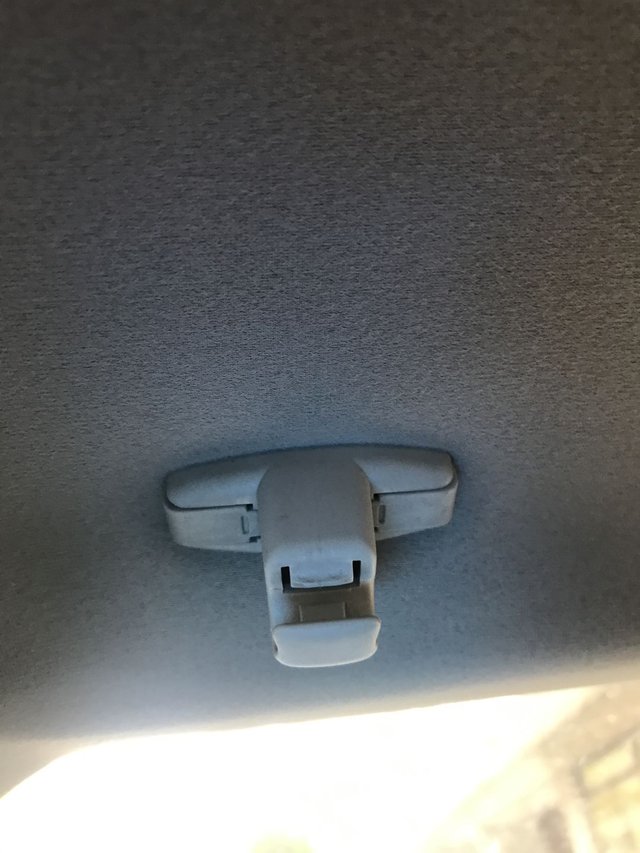
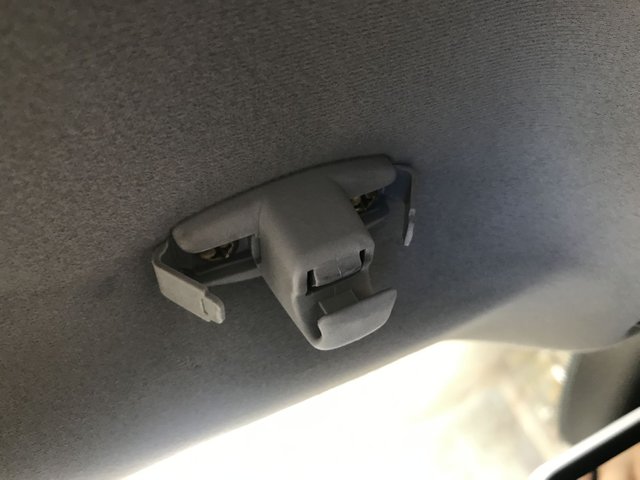
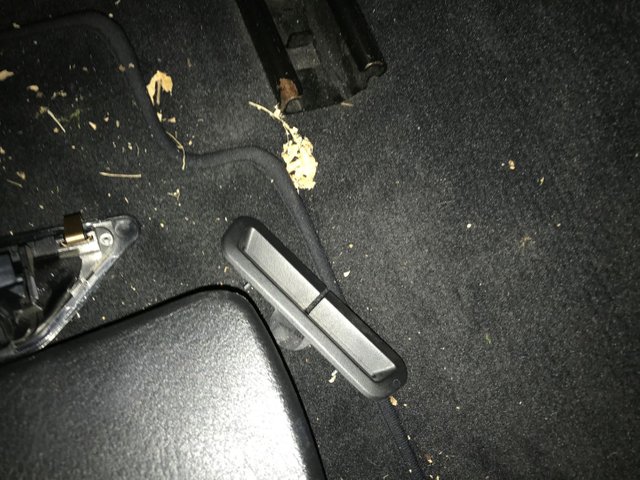
Handle Bars
\
Pull the plastic covers left and right away by prying them away to the left/right:

Loosen the philips screws and gently pull the metal latch out of the roof liner, you can now pull the handle down and out.
Do this for all four.
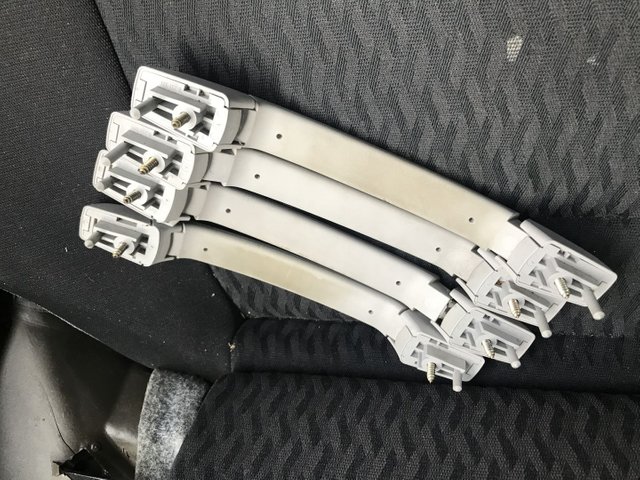
I cleaned them afterwards as it was just too nasty looking, bless the black ones :).
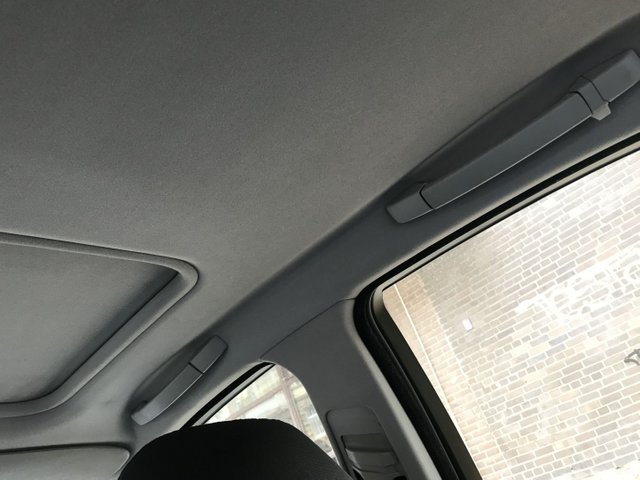
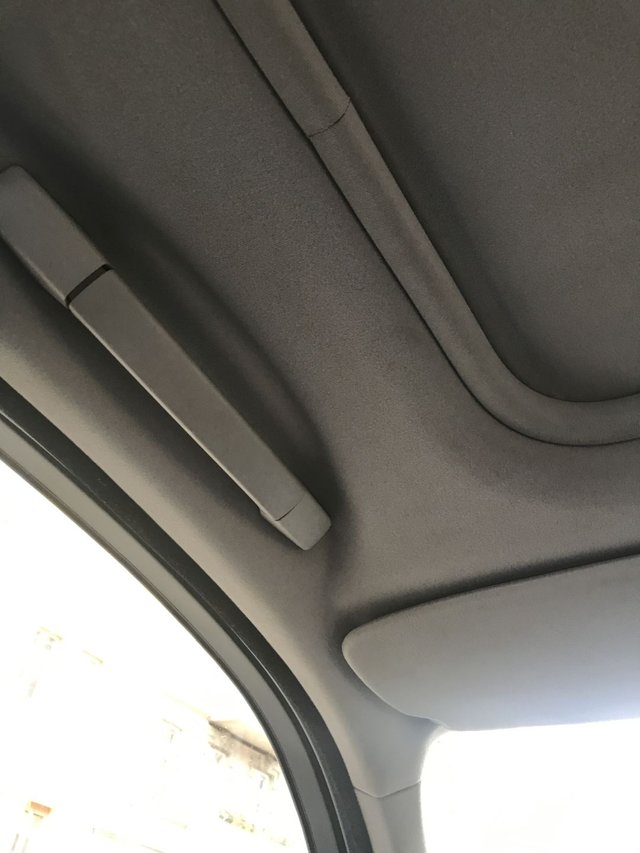
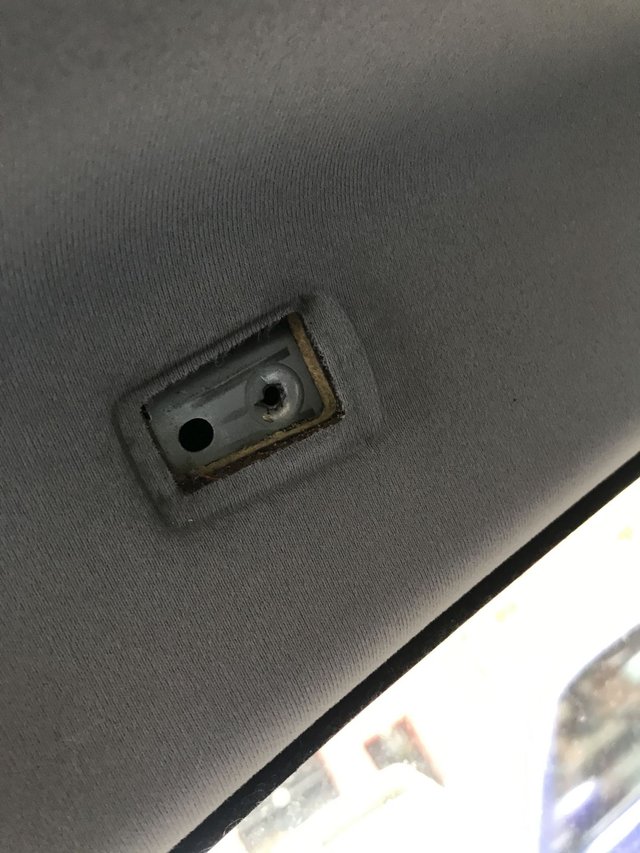
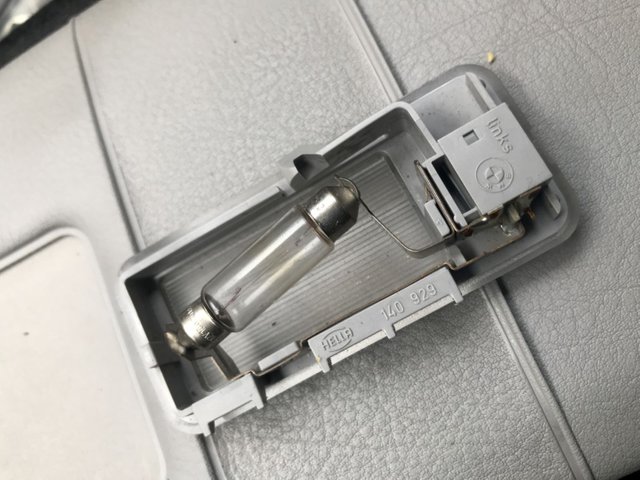
Front Reading Lamp, Vanity Lamps & Sunshade Front
\
Pop the front center reading lamp assembly out by prying it open starting on the backside, it should pop out easily and you can simply pull the connectors off and remove the lamp.
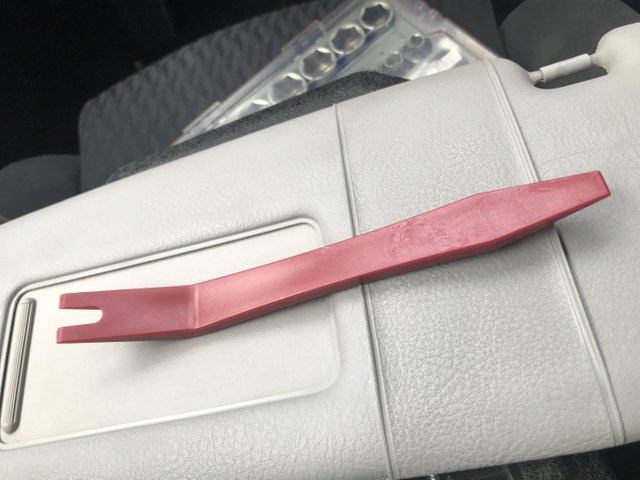
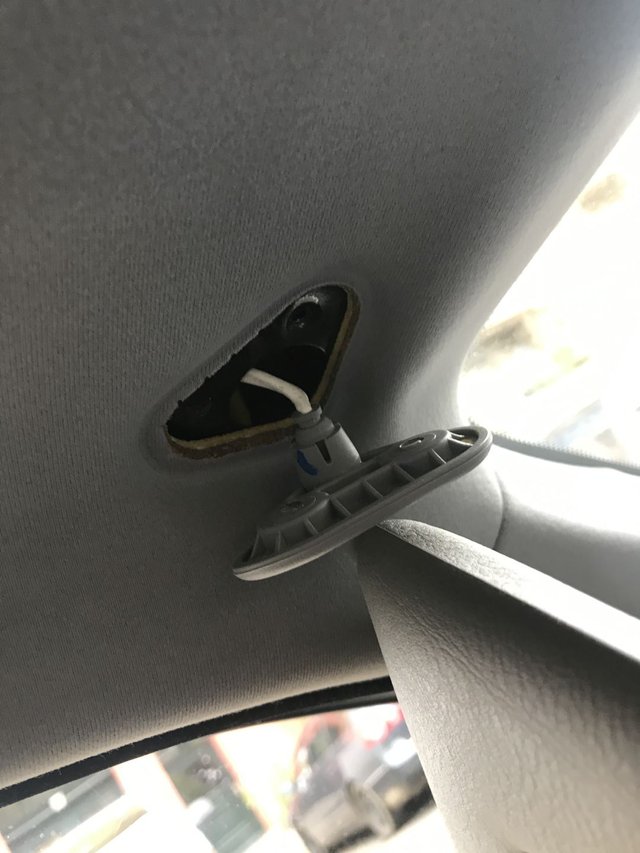
Next, move the sunshades to the side and use a prying tool like this to fold them out.
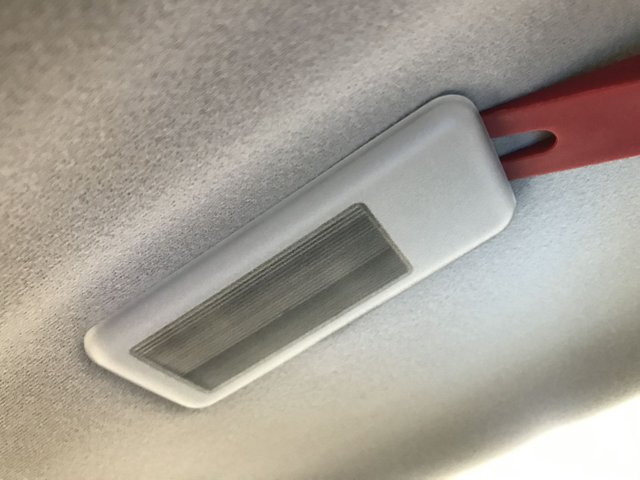
The front vanity lamps have a latch on the inside and backside so pull them from the front outside.

Disconnect the cable and put it back on top of the roof liner so it doesn't rip out once you pull it.
Here is the unit, left side:
Flip the screw covers for the inside sunshade fixture open using a prying tool or a small flathead screw driver:
Remove the screws and watch out to catch them as they are not arrested in the fixture and pull them down and out.
The sunshade is only held in by two screws which are uncovered, simply loosen them with a philips head screw driver and gently pull it down as it is connected to the sensor cable for the vanity mirror which turns the lamp on.
C Pillar Covers & Reading Lamps
\
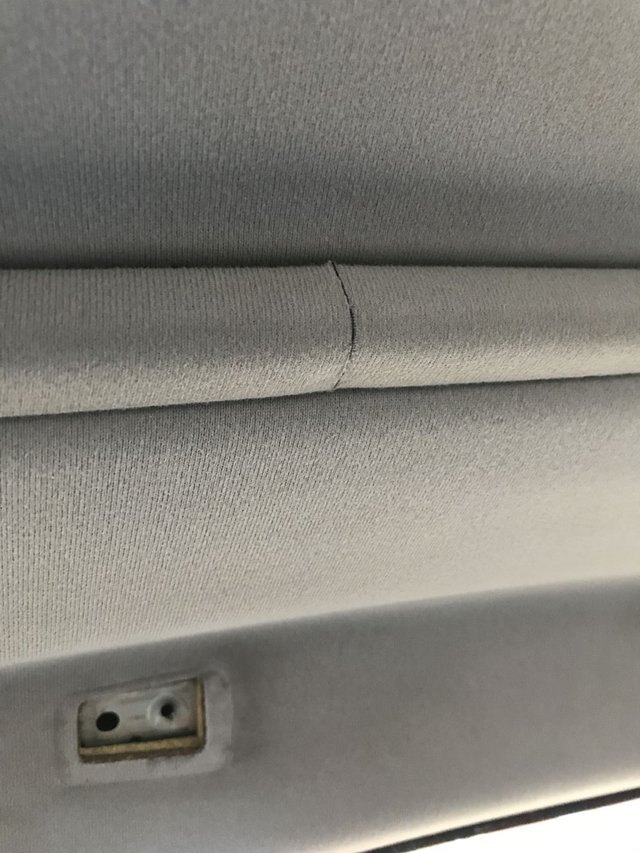
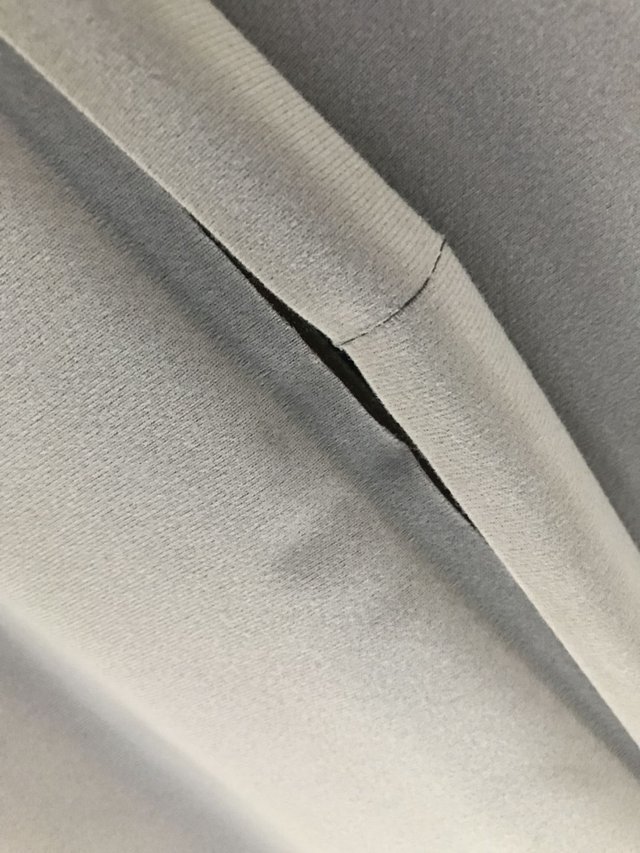
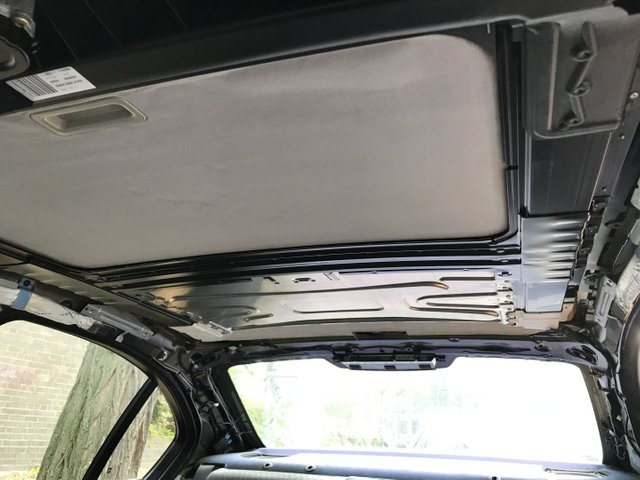
The deterioration of the materials can be seen here clearly:
Rear Shelf is bluish from too much UV exposure, the edges of every part are becoming lose (and this is after I applied some glue years ago) and the overall look is far from a light gray.
First off, remove the rear headrests by pulling them up and out. It may seem impossible at first but it works quite well when you put your hands around the two bars and counter with your arms on top of the rear seat. Keep wiggling and after a while they pop out.

As you can see above the C Pillar cover sits on top of the roof liner, it is fixed to the pillar by two plastic plugs on the front and back. You need to pull the door sill sealing out around the area of the cover. If you want even more room feel free to pull the side bolsters by simply pulling them towards you and away from the rear shelf:
You'll need to do this once we remove the rear shelf anyway.
Now use the prying tool to pop the cover out on top and fold it slightly until you can disconnect the reading lamp cable.
Now simply pull it out towards the front and up until pops out of the rear shelf.
Here you can see the two black pins for the cover, make sure they're in good order and replace them if necessary.
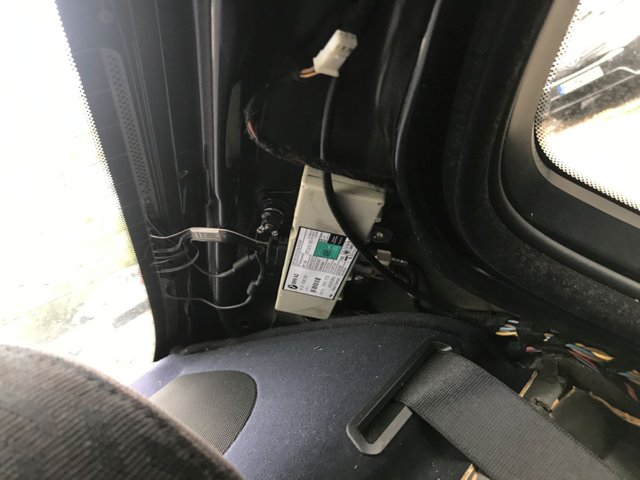
Right side houses the heated rear window control and antenna:
B Pillar Covers
\

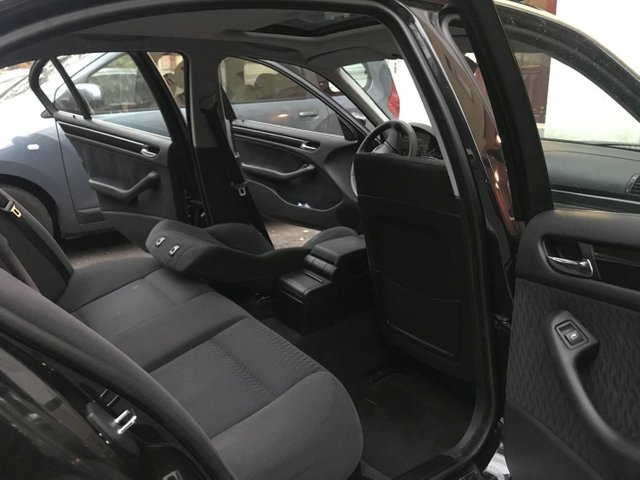
These guys aren't too hard to remove but it involves a bunch of steps. Before we deal with the cover we need to:
remove the rear bench by pulling it up in front and out
pry out the door sill entry covers front and rear which are held in place with plastic hooks every few inches, you will clearly hear them pop out one by one as you slide the prying tool along the cover
pull the door sealing off around the B pillar and door sill area
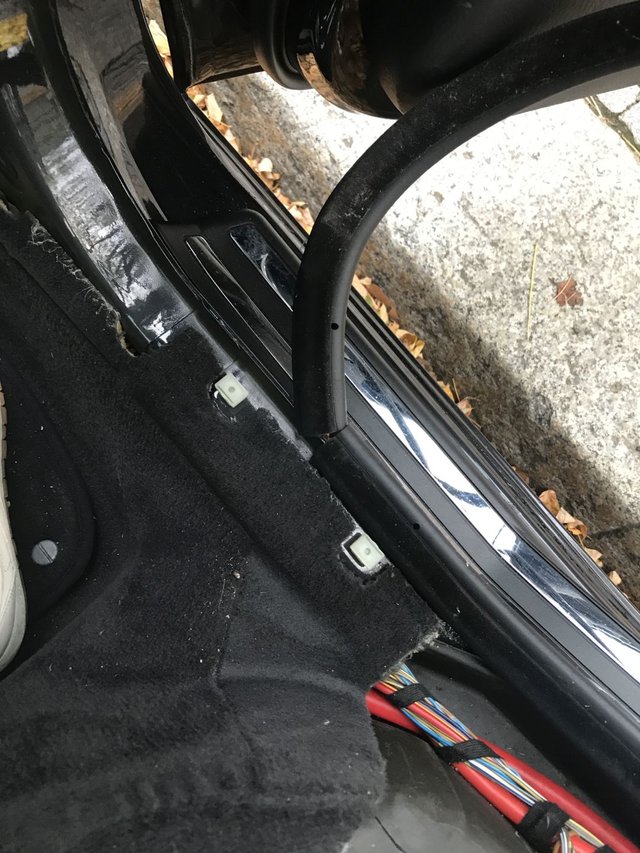
Here you can see the rear left side from above with removed door sill cover, removed rear bench and pulled door sealing.
You can now easily pull the lower B Pillar cover on the bottom front and rear side out and down to remove it.
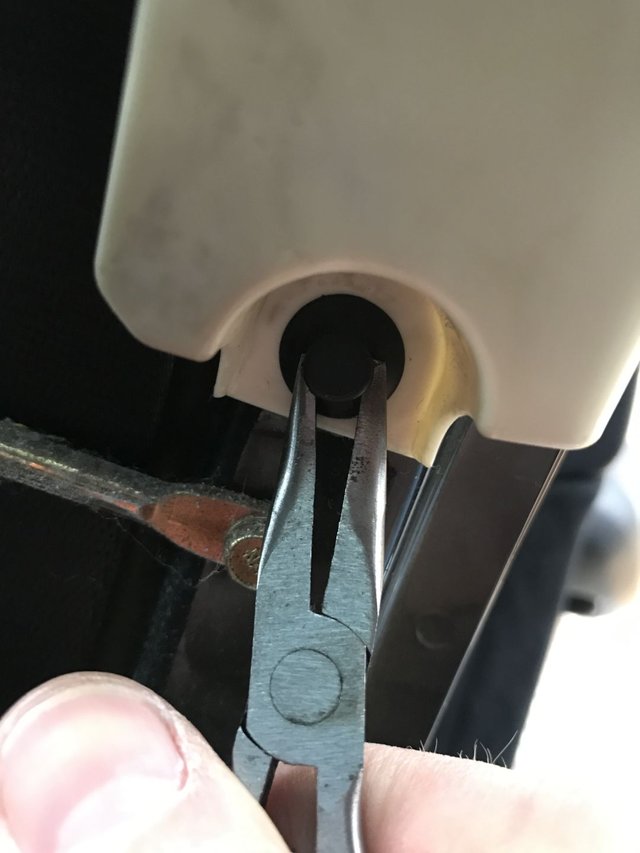
This will reveal the lower part of the top B Pillar cover which we need to remove to get the roof liner out:

Use small pliers to pull the pins out and watch where they're going ;).Do not pull them out all the way for now, just loosen them.
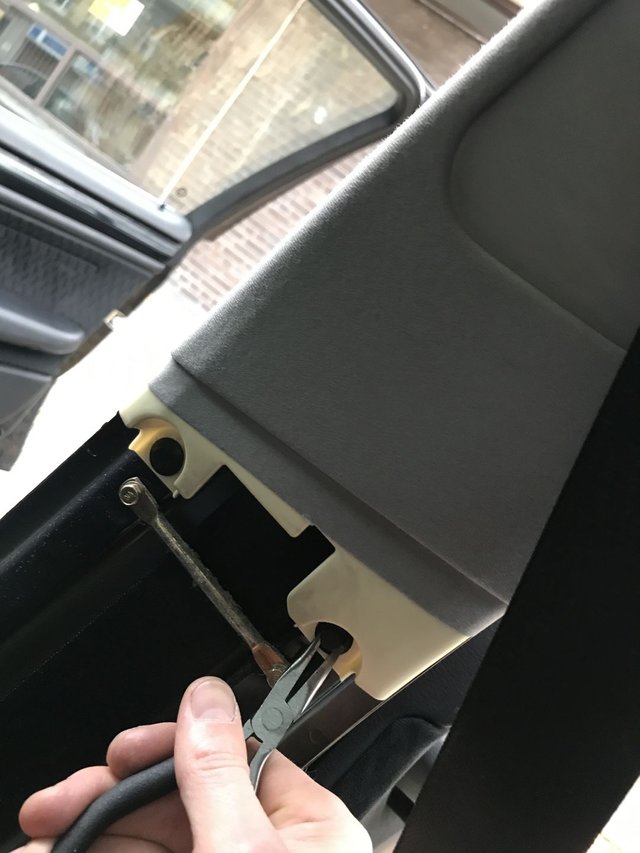
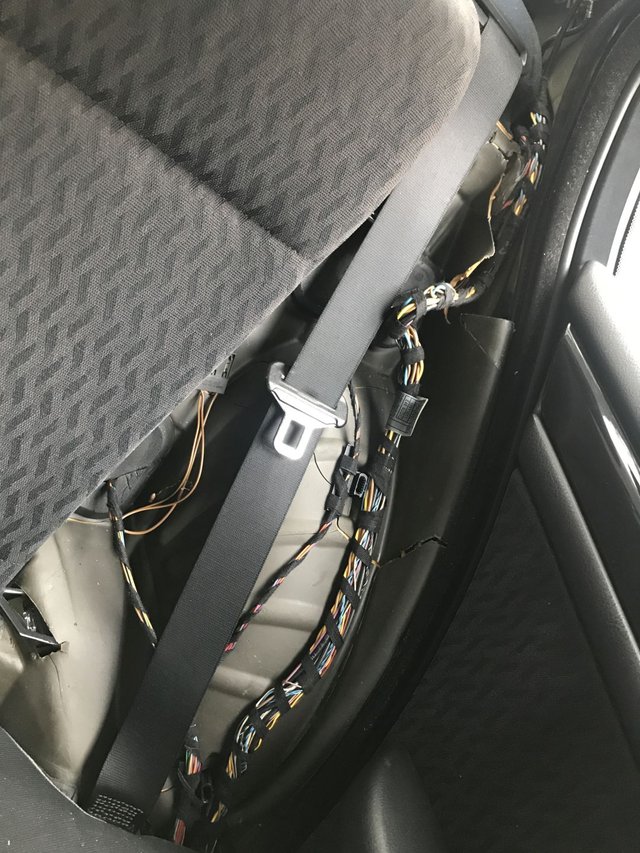
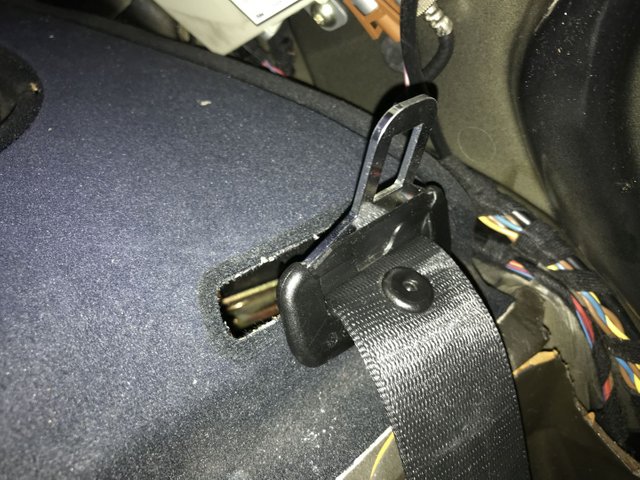
Before we pull it we have to remove the front seat belts from the seat assembly, use a size 17 nut and remove the seatbelt screws which will result in the belt rolling up towards the B Pillar belt height adjustment...
You can now pull the pins and seats out, pull the B Pillar cover down and fiddle the end of the seat belt through the cover and out.
So you see simply removing the B Pillar cover involves disassembling half the interior and takes a lot of time and it's just one part.
A Pillars, Sunroof, Final Pieces
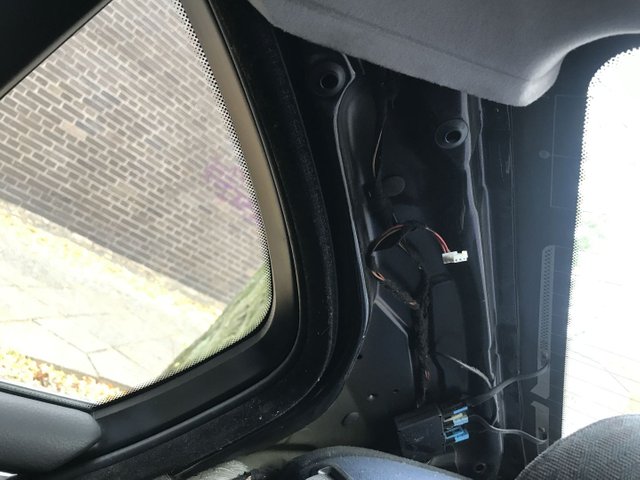
Time to get back up front and remove the final pieces. First pull the sunroof sealing off by pulling it to the inside on the driver's side center section where you will see a small indentation:
By pulling it off further and further you'll eventually be able to fully remove it.
Note that at this point your sunroof is not fully waterproof anymore as any water that does not evacuate through the drains will run inside in the absence of the sealing!
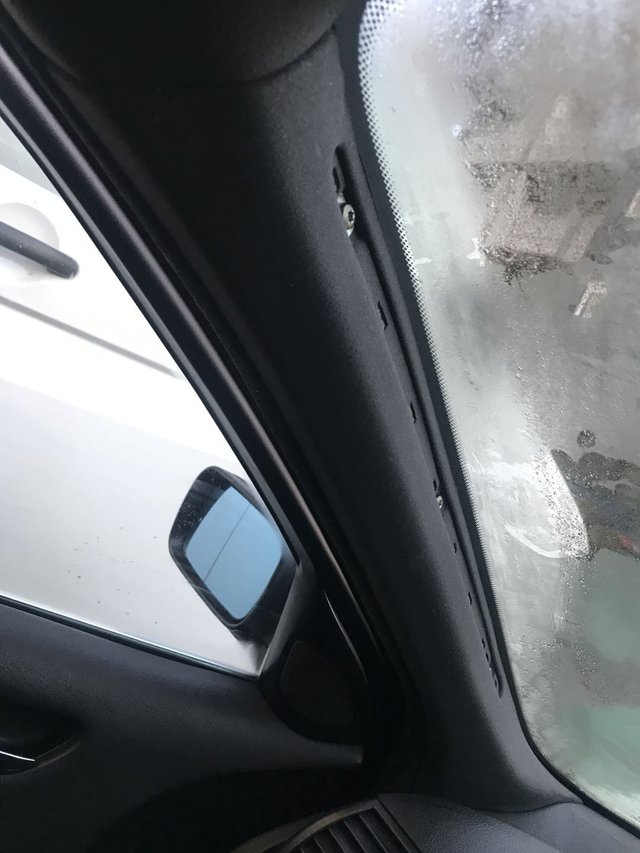
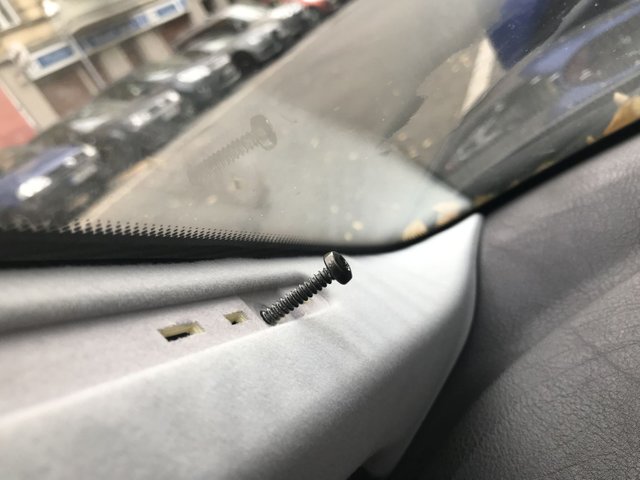
Towards the A Pillar covers we have to very gently pull the plastic strip out in order to not damage it.
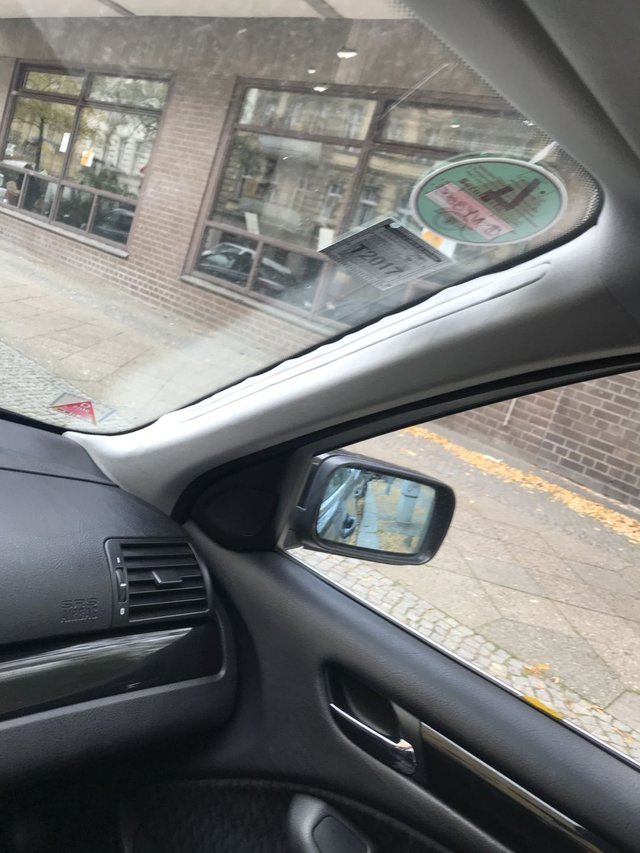
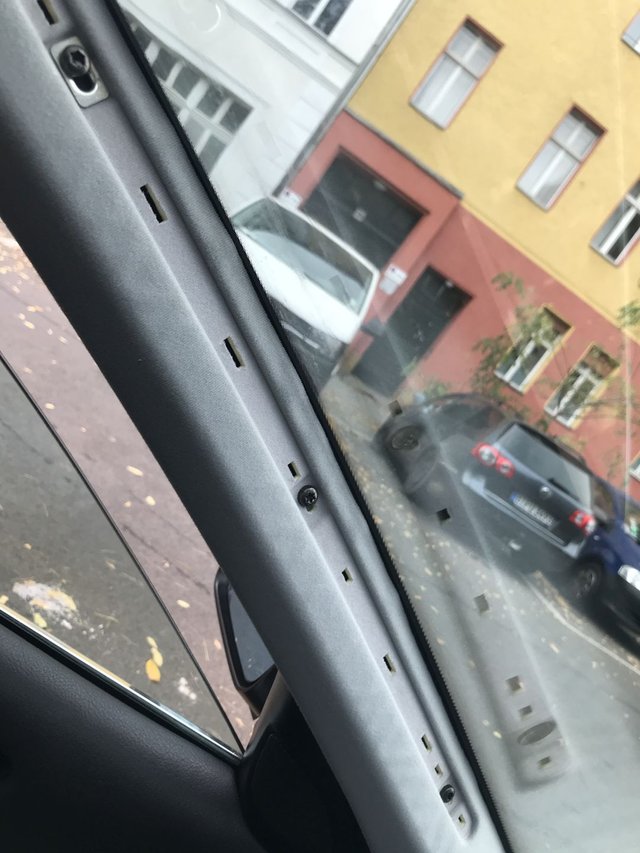
The only way to do this to insert the plastic prying tool starting on top (do not use a screw driver or metal tool) inbetween the strip and the A Pillar and gently slide it down towards the dashboard and you will hear it clicking out one by one. In my case the plastic was so deteriorated that this happened:

You have a 50/50 chance depending on age and mileage. Either way here are our screws exposed:
Note that there is an airbag inside the A pillar below this cover so disconnect the battery before proceeding!
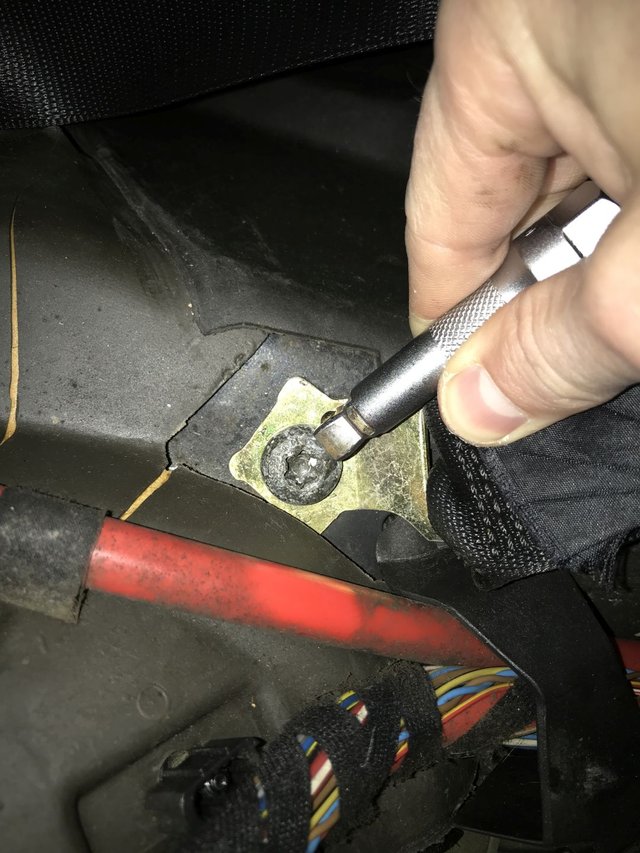
There are 3 small torx screws holding the cover in place and I removed them with a combination of tools:
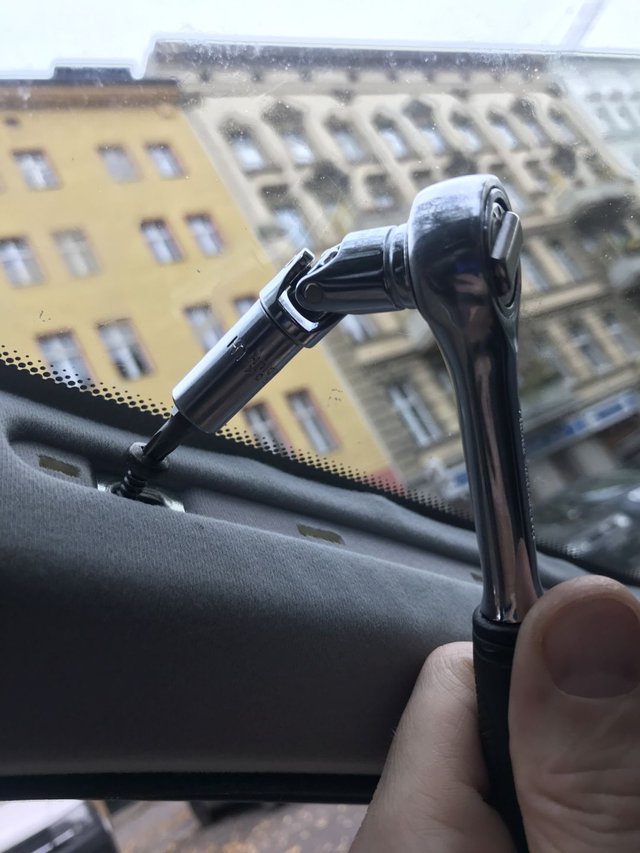
Due to the curvature of the windscreen you have less and less room the further you move towards the roof.
Once the screws are removed you start by pulling the cover off of the roof liner on top and then gently (gently!) wiggle it up and back again and again until it slides out of the dashboard. This is the hardest part to remove and install without damaging it as the cover has plastic stripes on the bottom inside that love to break.
Watch for the cable as it may be stuck to the cover as you pull it:
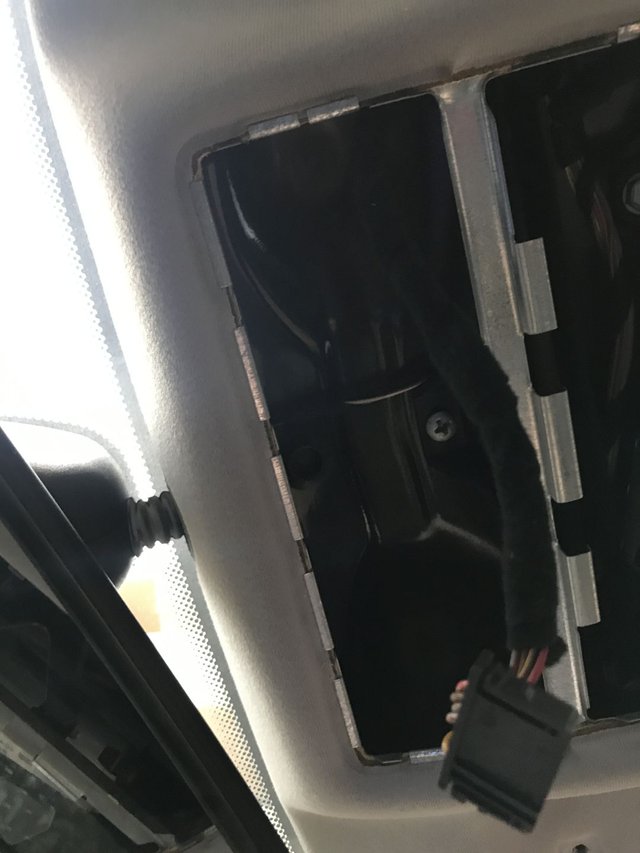
Finally pry the center section cover open from the front:
You can now pull it out carefully and disconnect the sunroof and/or microphone cable (if installed):

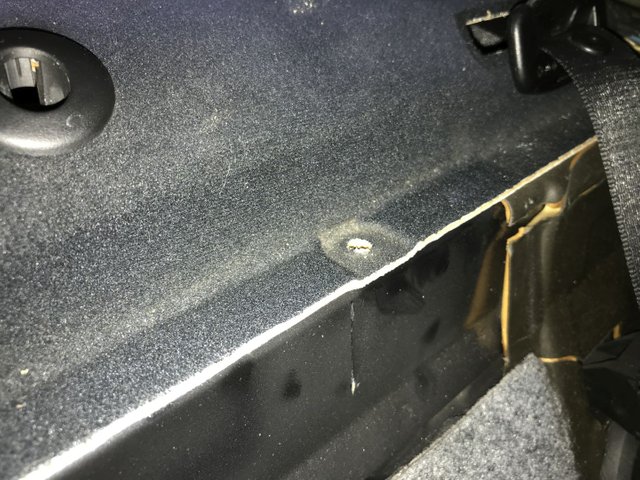
And there is the only screw that actually directly connects the roof liner to the roof...
And that my beautiful friends is it.
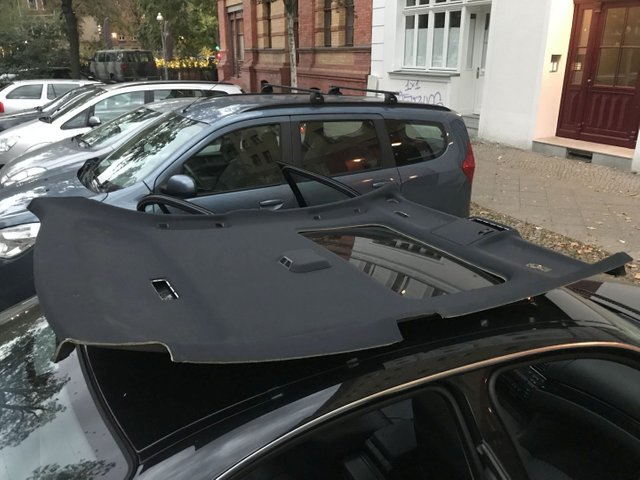
Removing the Roof Liner
\
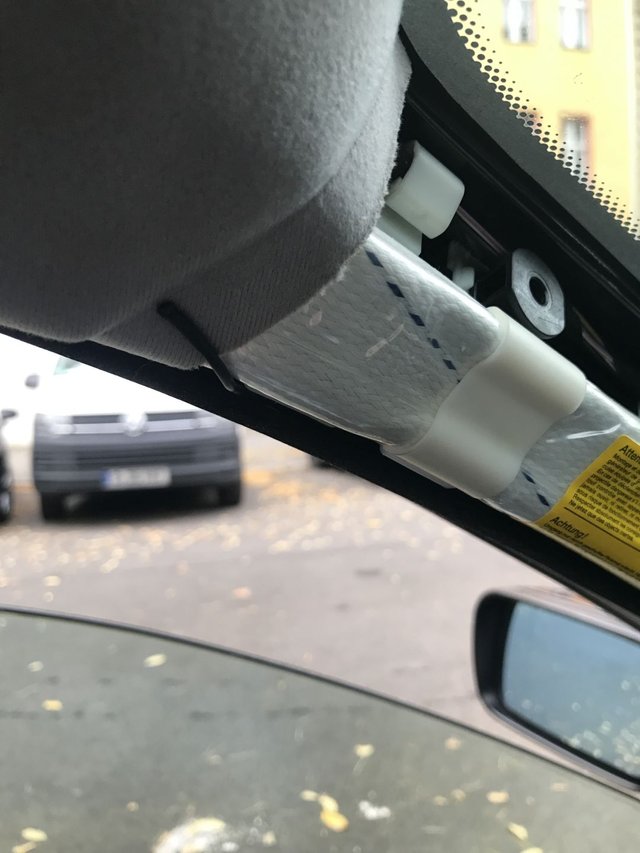
Now ideally you get a someone to help you to hold the roof liner up once you take out the front center screw:
There is a second one on the front left that we already removed when we took the inside sunshade fixture out, you may have noticed:
If you don't have a second person simply raise the front seats up and straighten the backrest so you can rest it on the seats.
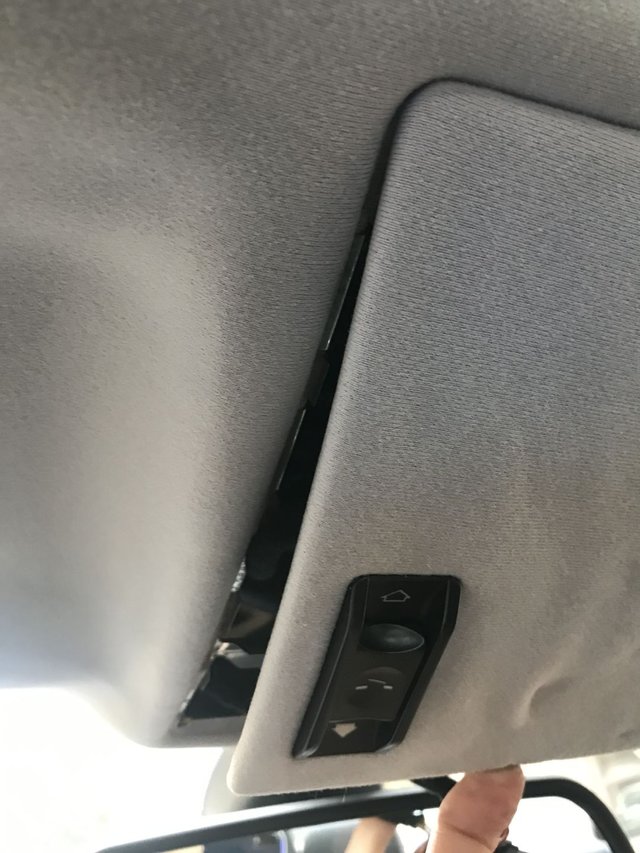
Now go to the back seat and pull the third brake light cover off by prying it down, it is held in place by Velcro fasteners (no joke). You can leave the brake light in.
Now you will see two final plastic clips like these:
Pull out the clips and plugs and voila it's out.
Remember the offical instruction on how to remove it from the cabin?
Yeah do that now and pull it out of the rear left door carefully.
As you can see the sunroof sliding cover is still installed and I recommend to leave it in place for now as it is another 2 hour operation.
Removing the Rear Shelf
\
In my case the rear shelf was completely done so I decided to replace it as well. This is important as the rear shelf always has to go in first. Once it is in you cannot remove it without taking out the C Pillar covers so keep that in mind.
To remove the shelf the headrests need to go which we've already taken out. C Pillar covers are also gone as are the side bolsters. Only other thing to take out is the rear backrest. In my case I have a folding rear seat so I simply popped them down. If you do not have this option you can simply pull the backrest up and out.
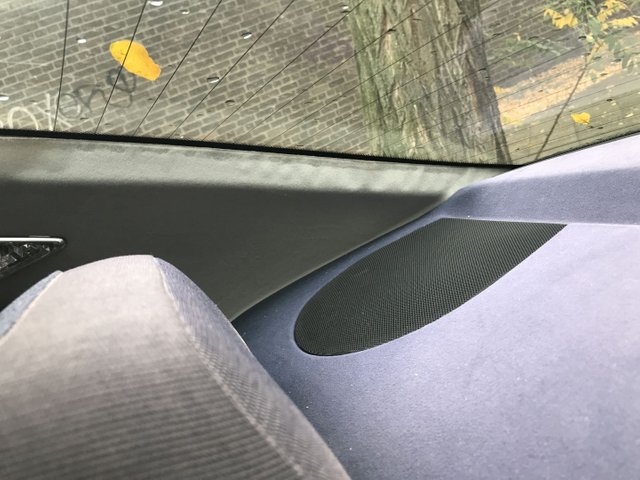
Next remove the speaker covers and take the speakers out:
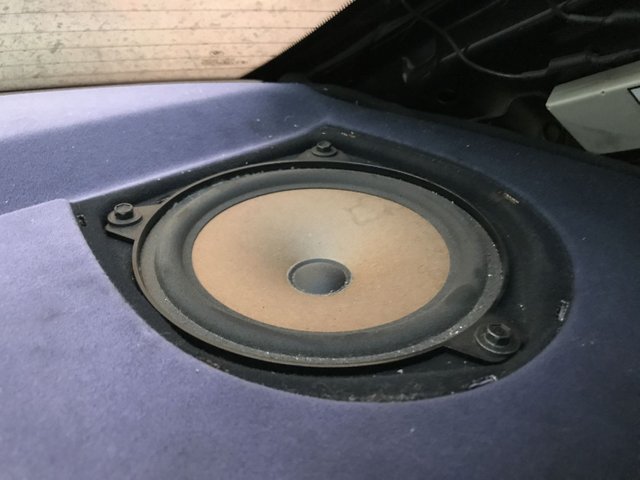
See that black color? Yeah, that is how the shelf used to look :).
Next up remove the seatbelt covers from the shelf:
And remove the lower belt screw:
Now you can roll it up and through the shelf:
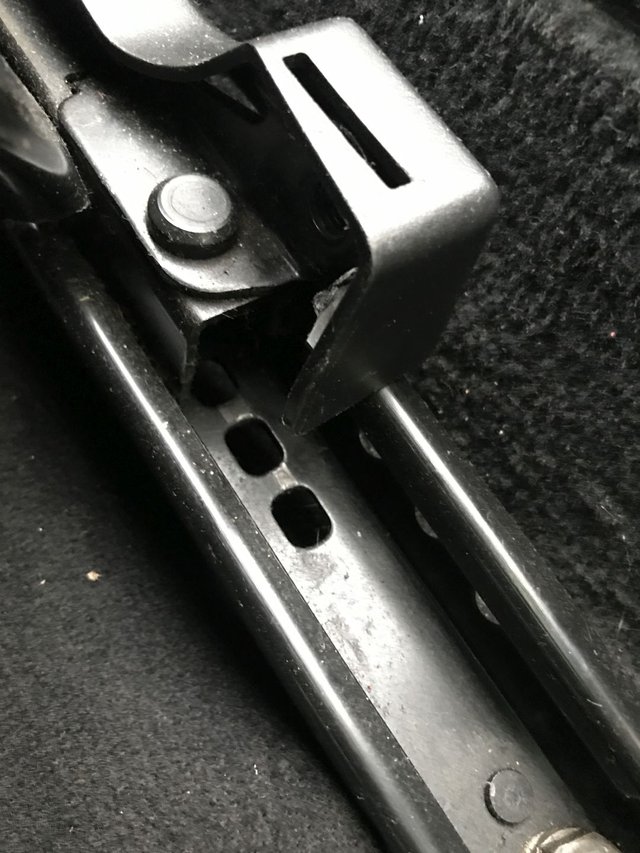
Finally, there are 4 plastic clips/screws that will not come out without destroying themselves so just do whatever you can to get them out - it is a bitch!
Step 2 - Reward Yourself!
\
If you've gotten this far congrats! You've just done one of the hardest, most time consuming and delicate things you can do by removing a roof liner from your BMW without damage.
Join me next time for installation of the shiny new (used) original black roof liner.
If you leave the car outside before continuing remember to put the door and sunroof sealings back in.
Steem on you crazies!