Ting's Thermal Paste Tutorial
I replaced the thermal paste for the first time ever on a computer I own. My laptop was getting too hot so I decided to replace the thermal paste on the CPU. Also, the thermal paste is 6 years old. I know it wasn't the GPU chip since my laptop doesn't have one or even able to have one. I did quite a bit of research before I replaced it because I surely did not want to mess up. I watched lots of YouTube videos, and read some articles so I know the proper way of replacing thermal paste and what kind to use.
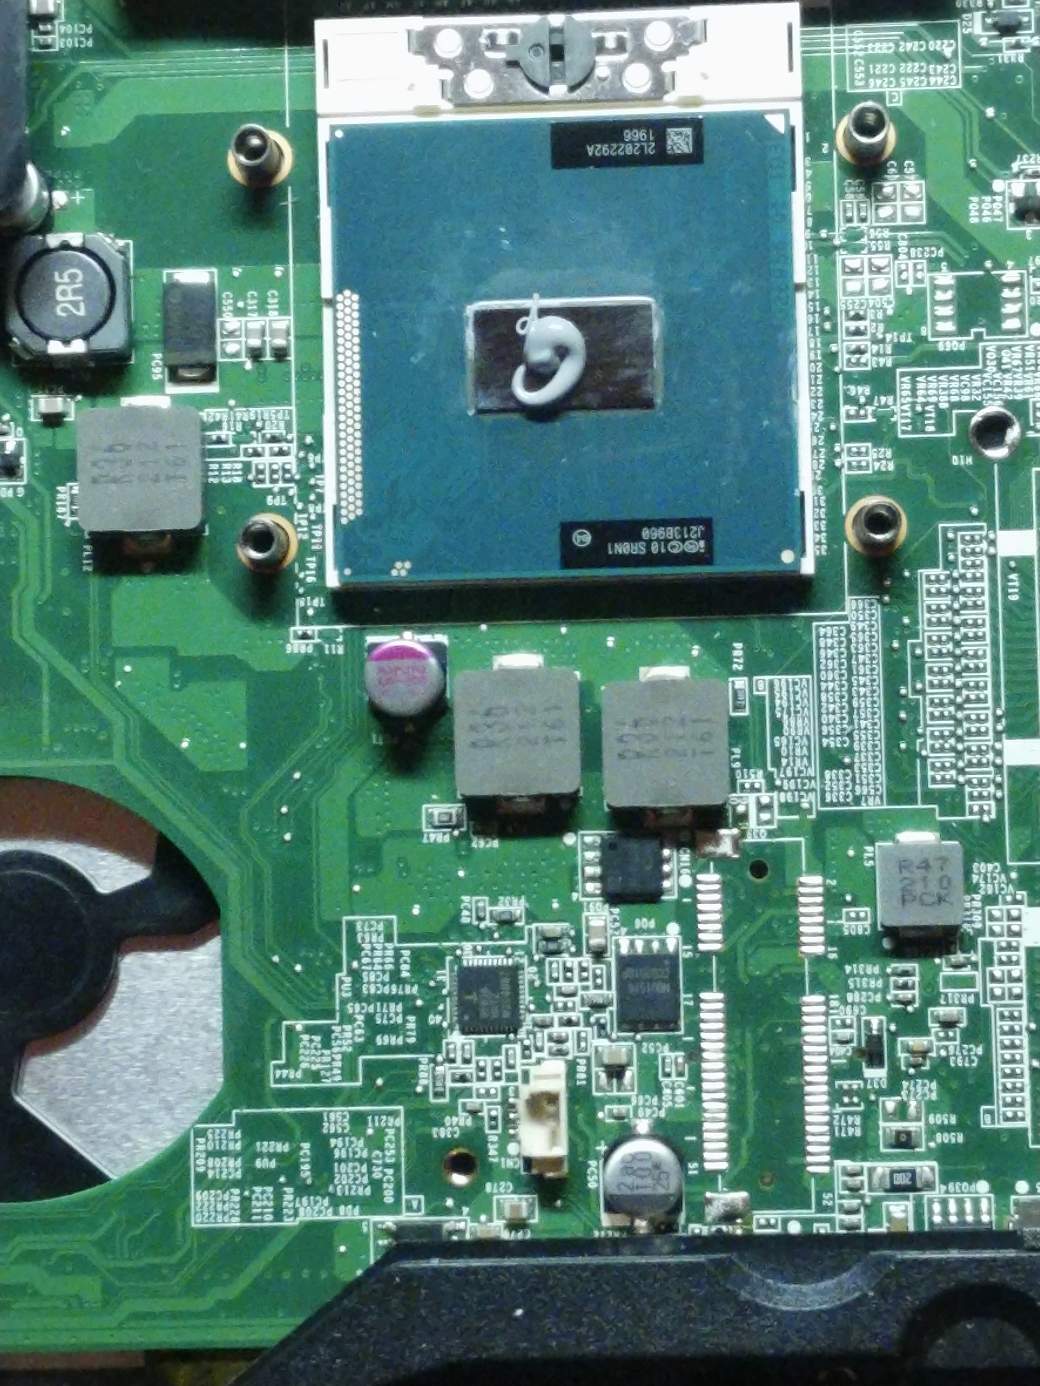
I decided to do an X shape with thermal paste on the cpu die, but it ended up being too much. It just filled up the entire cpu die (before the cover was placed.) I removed the new paste and started over. I did a pea-sized amount of paste next since that was the most accepted amount to use. It was a lot better, but the amount of paste was larger than a pea, and it was shaped like an embryo. I just kept it instead of wiping it off again. That is the top picture of this post. This post will just discuss how I replaced my thermal paste.
Here is a detailed, concise step by step tutorial on how I did it:
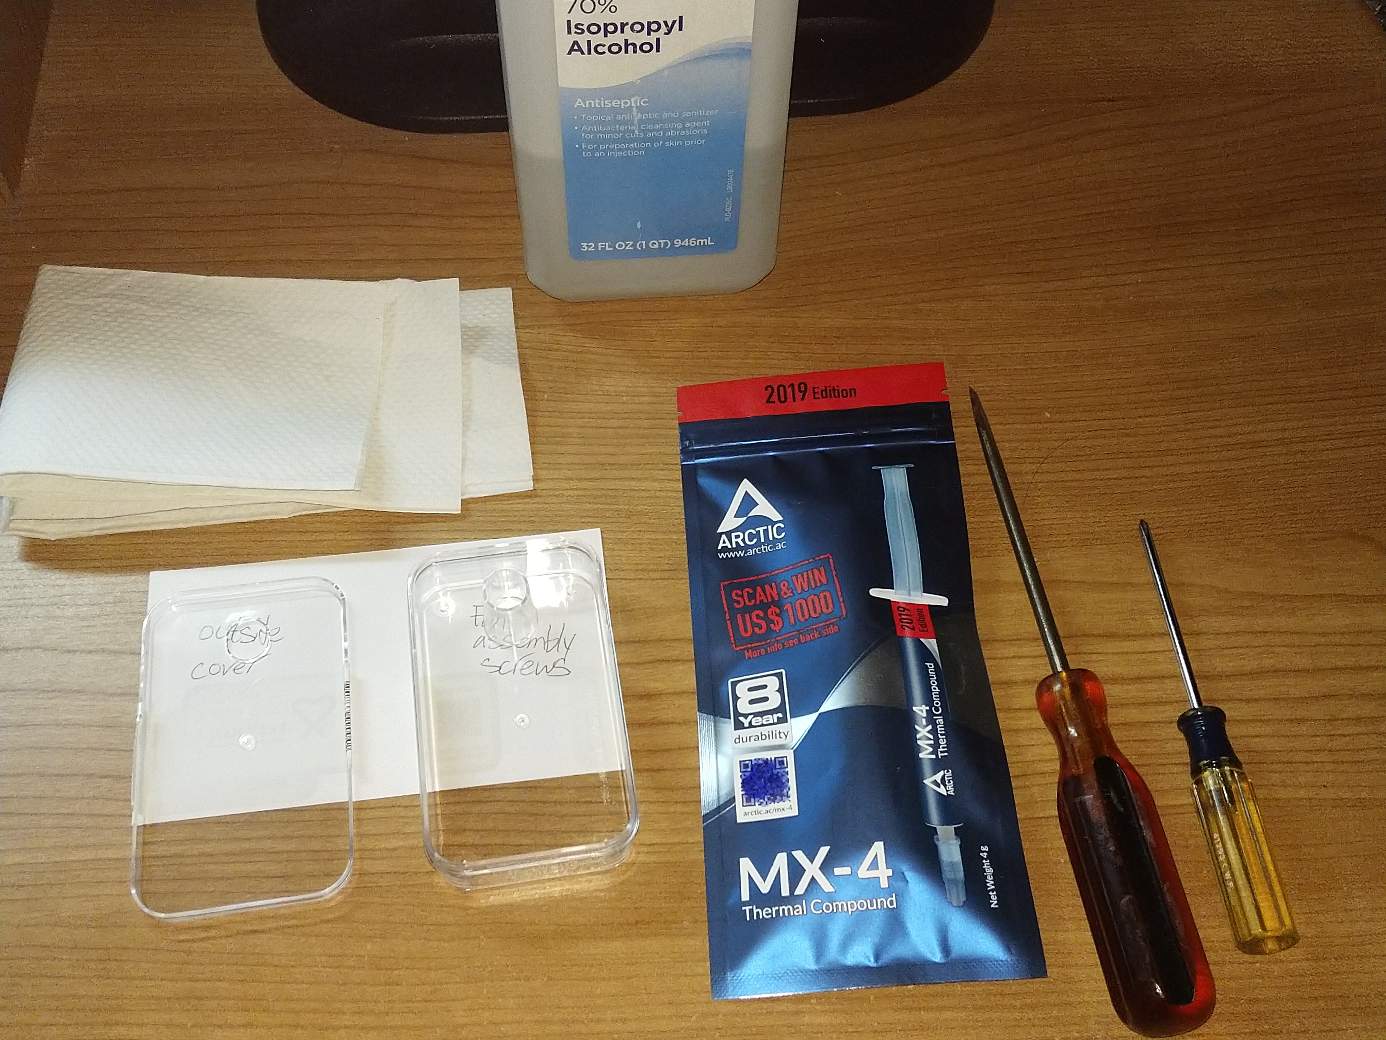
- Supplies:
-Isopropyl Alcohol at least 70% (this is safe for computer components inside the computer just don't intentionally pour it on the components) Rubbing alcohol helps the old thermal paste come off easily.
-Two Screw Drivers: Phillips (pointy), and flat end (for prying the computer off if needed)
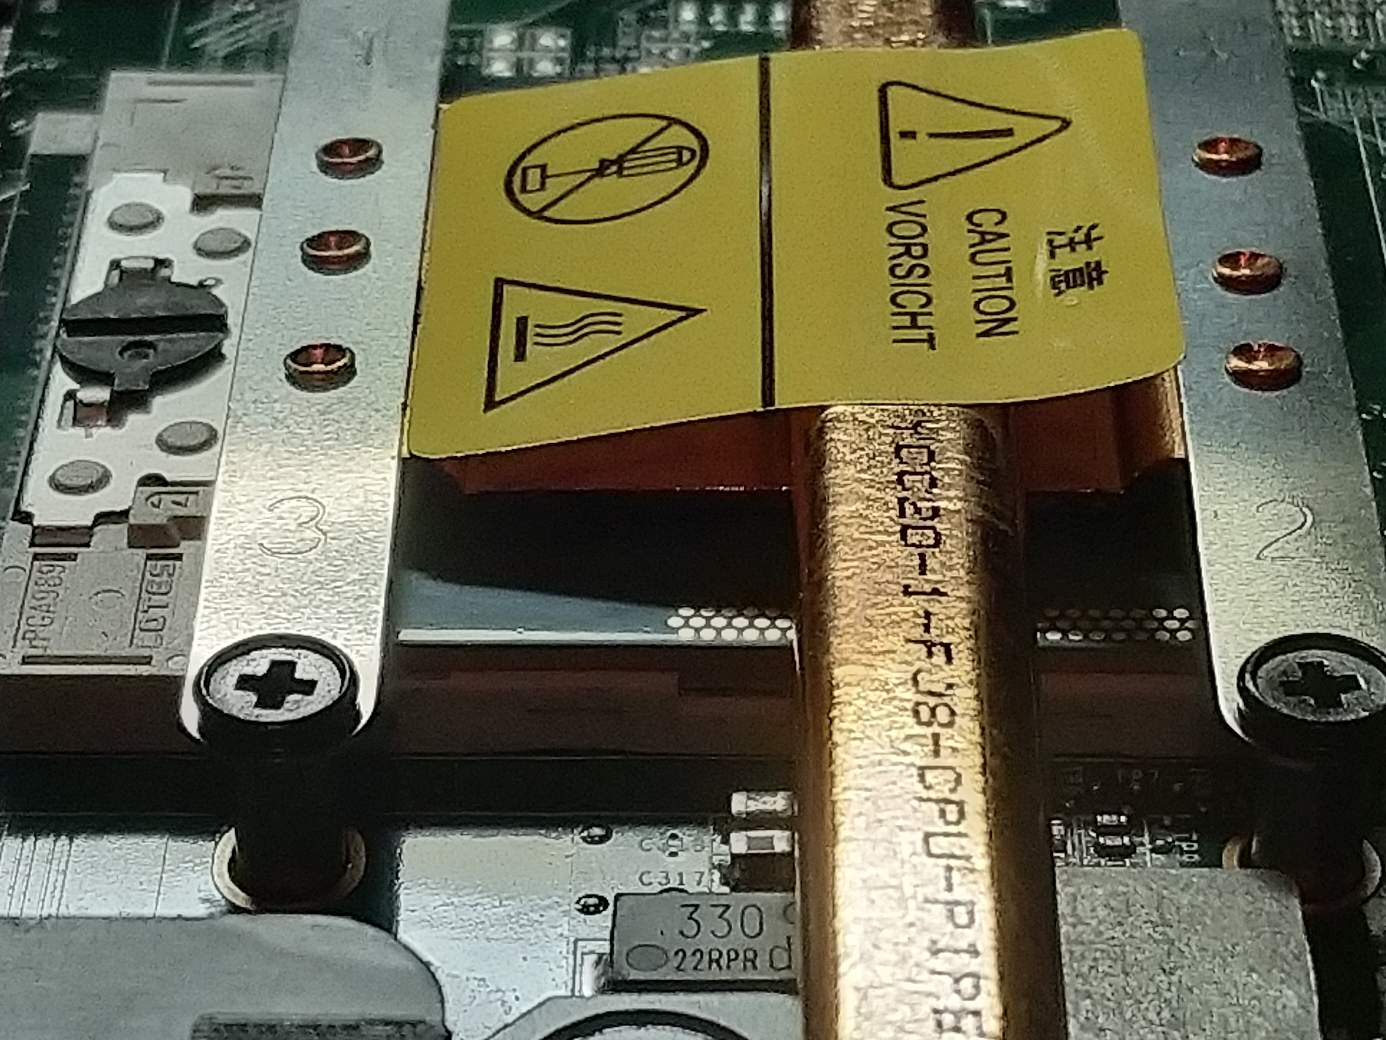
-Paper Towels to clean off old paste and excess paste from the clamp cover and cpu itself
-Thermal Paste: Arctic MX-4 non-metallic so if it happens to run off of the cpu it won't kill your motherboard components. That doesn't mean you should let it run off on to the motherboard just because it won't kill it since it can still cause problems.
-Plastic Containers for keeping screws separated and to avoid losing them. If you don't separate them, you may forget where it goes back in the computer.
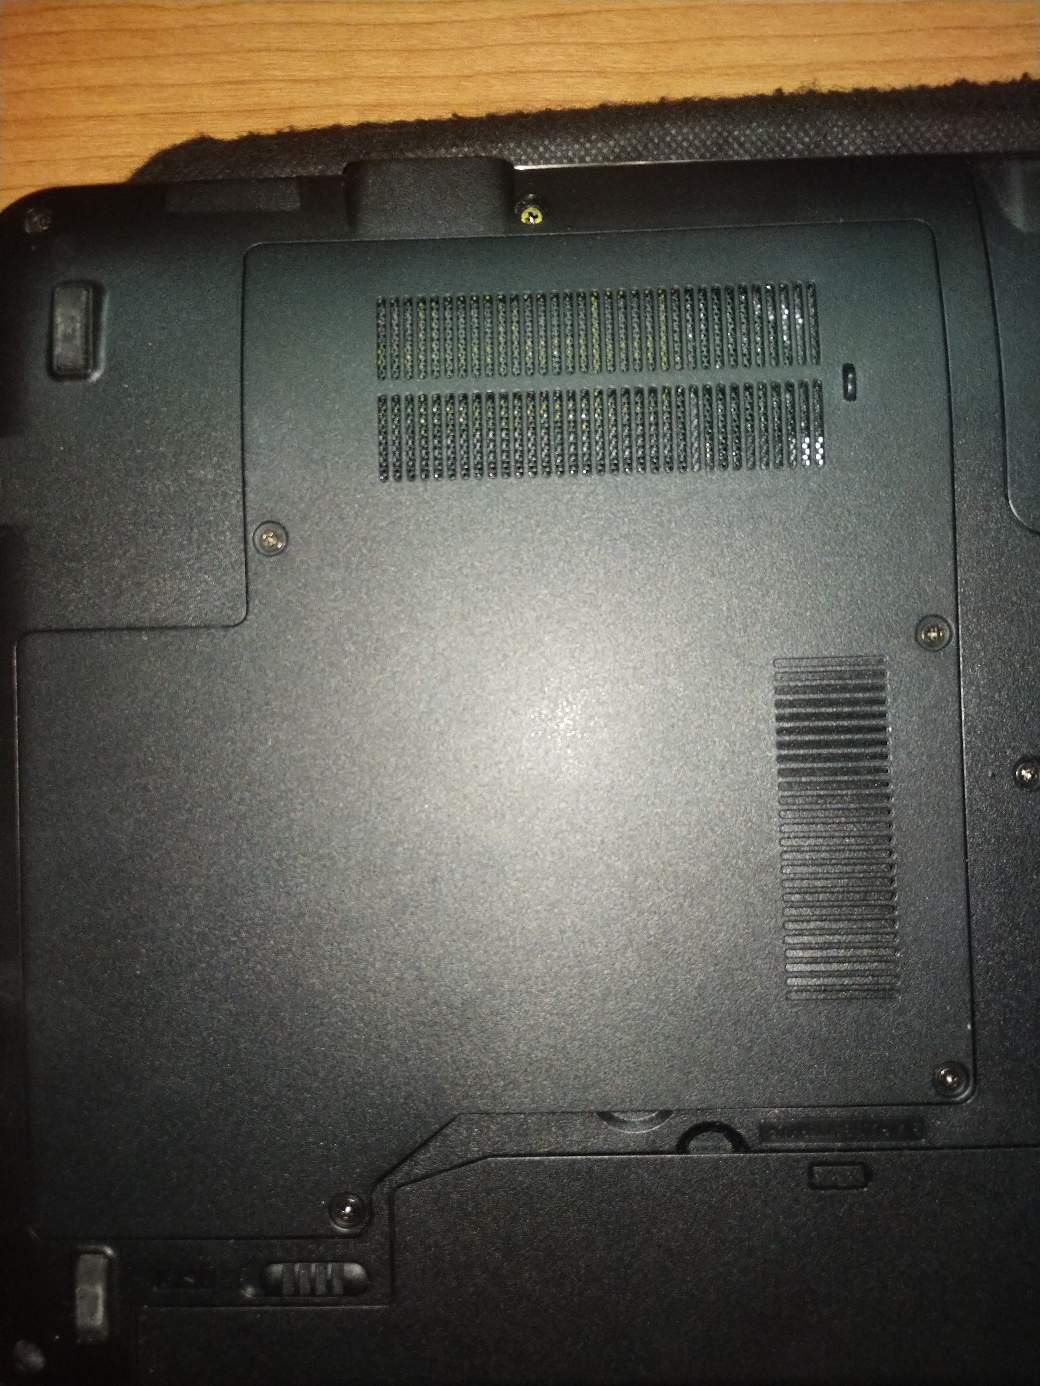
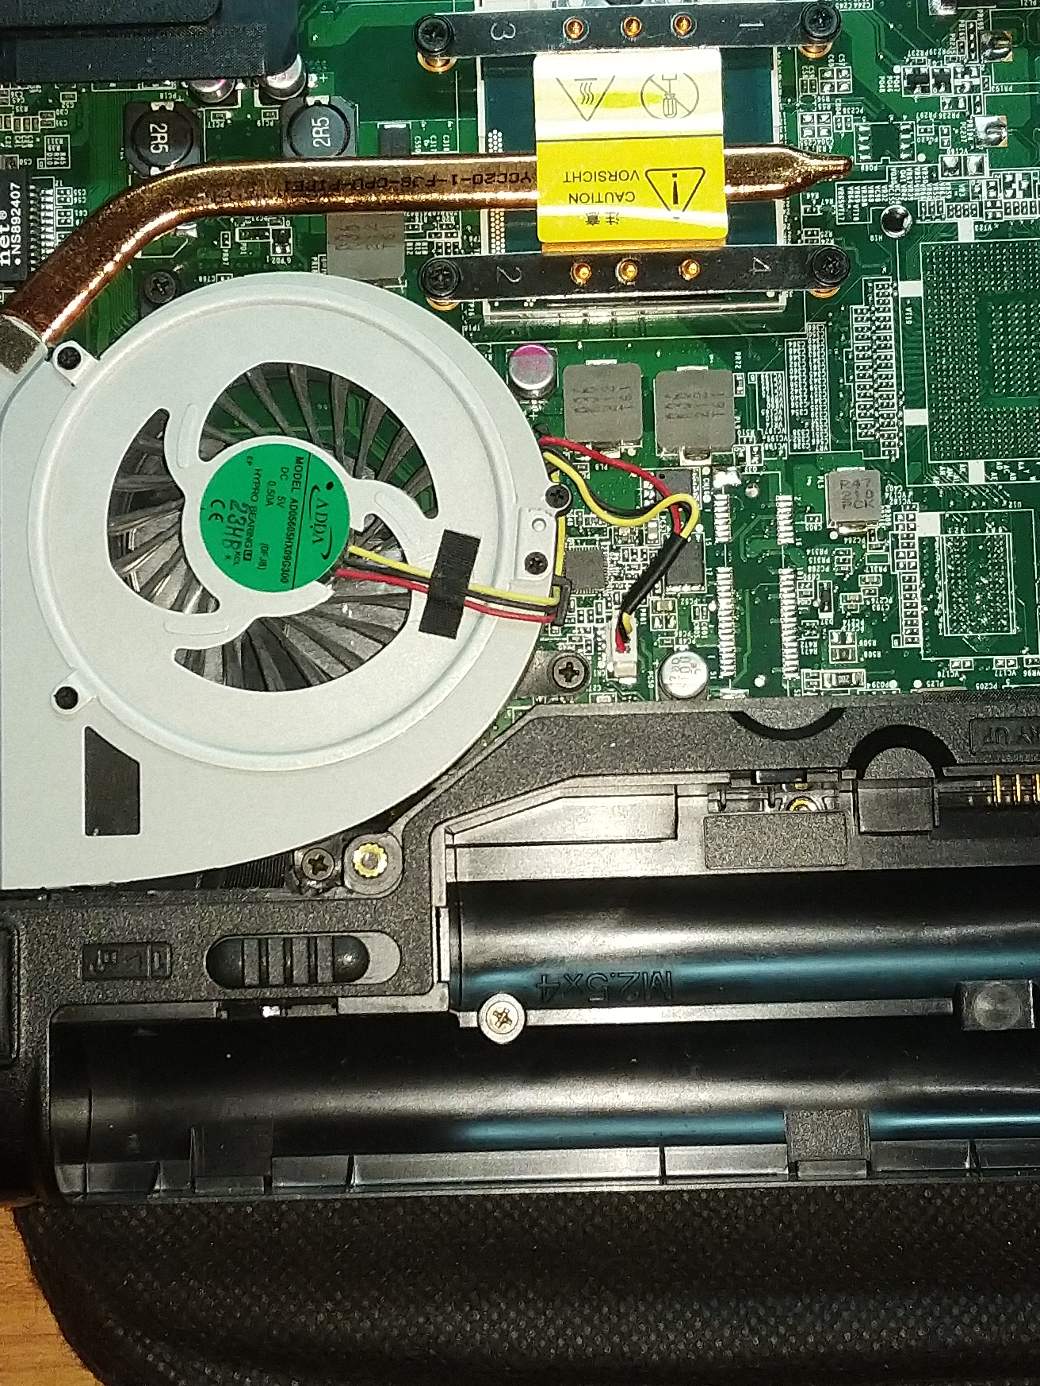
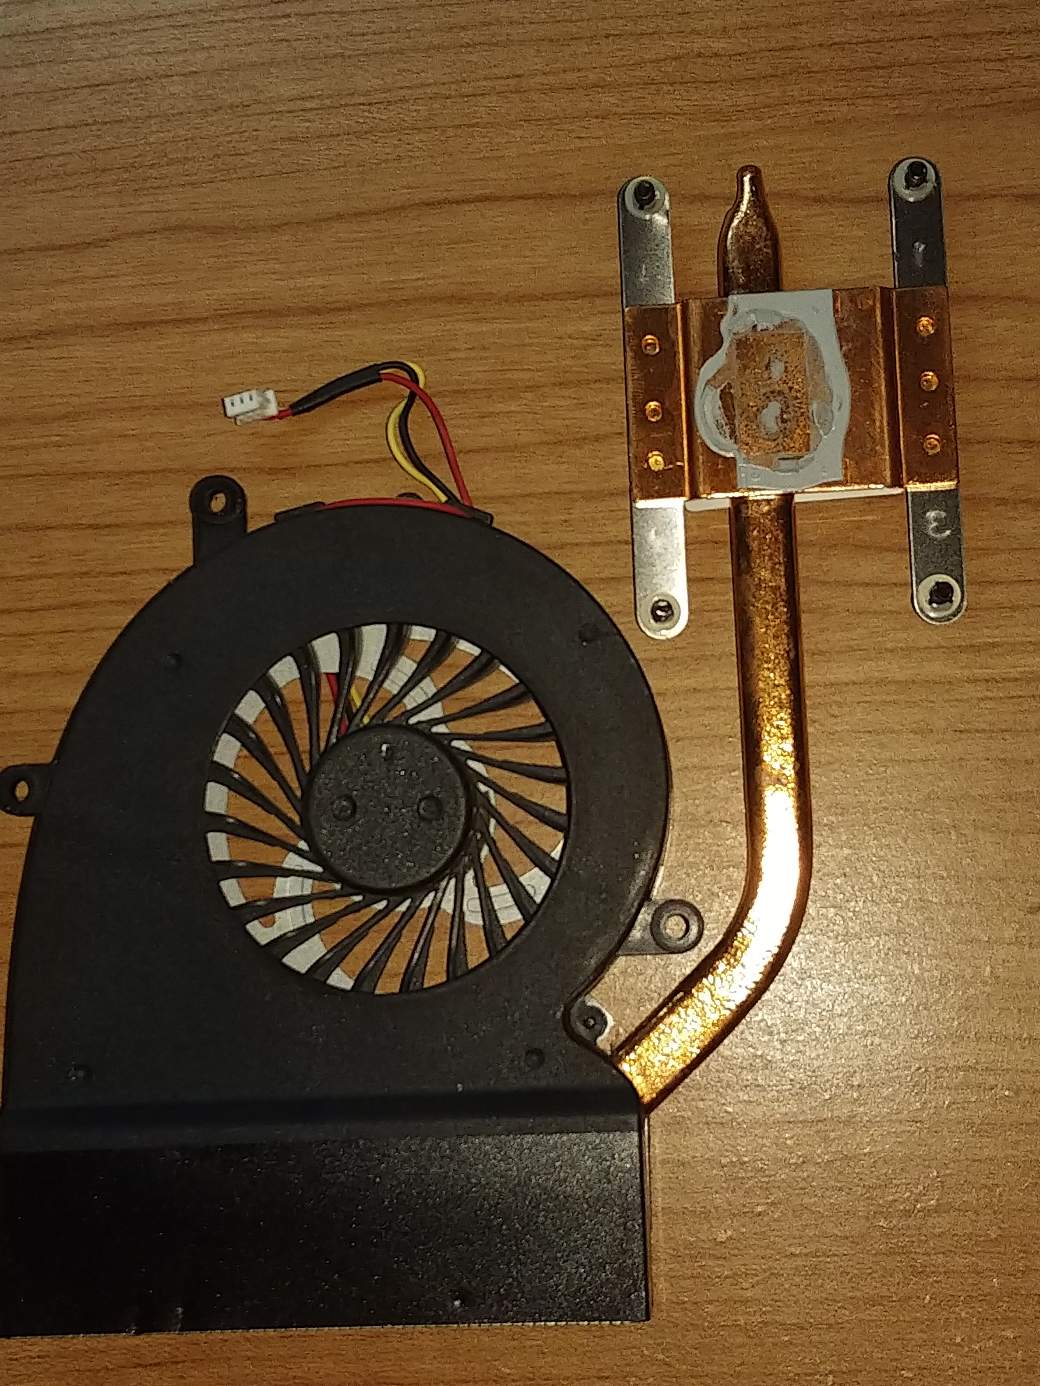
- Open up your computer, in this case the laptop by removing the screws from the cover. Remove the screws connecting the fan to the motherboard, and remove the screws for the heatsink clamp (the one with screws next to the numbers). The screws for the heatsink had washers on each screw so I didn't have to worry about losing them.
Make sure you unplug your fan plug (the one connected to the wires) before trying to remove the fan. I removed the fan by lifting it up and pulling it out after removing the screws.
Note: Make sure your computer/laptop is turned off before working on it.
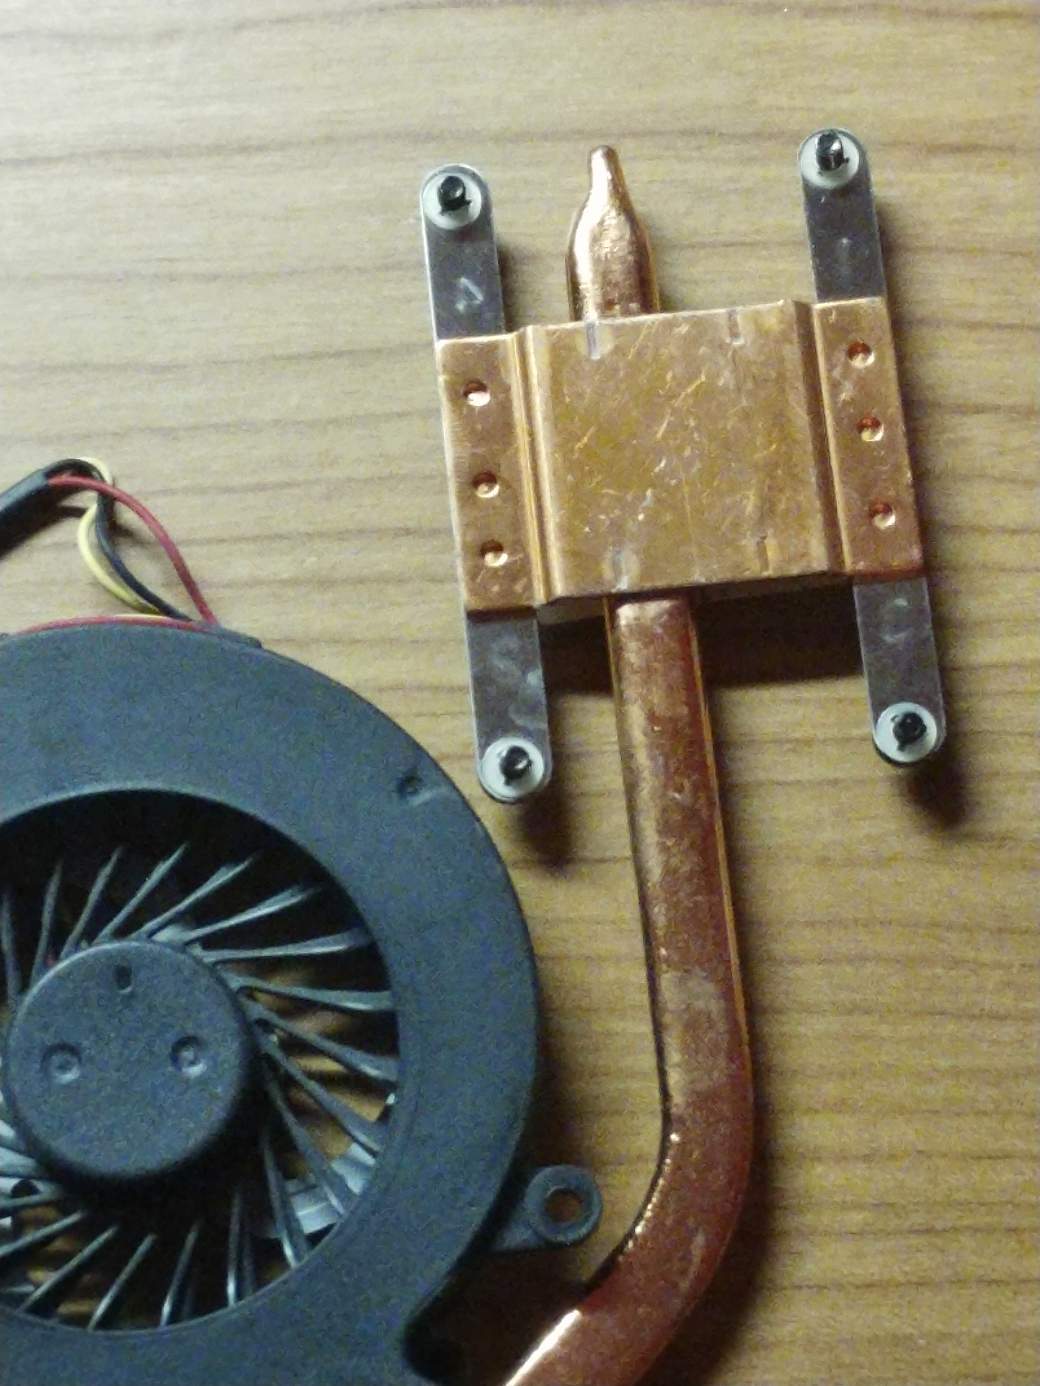
- Clean off the thermal paste from the heatsink clamp and cpu die by wetting the paper towel with the rubbing alcohol and wiping or rubbing it off gently.
Note: Always let the rubbing alcohol dry on the heatsink and cpu you just cleaned.
Uncleaned old paste

cleaned thermal paste
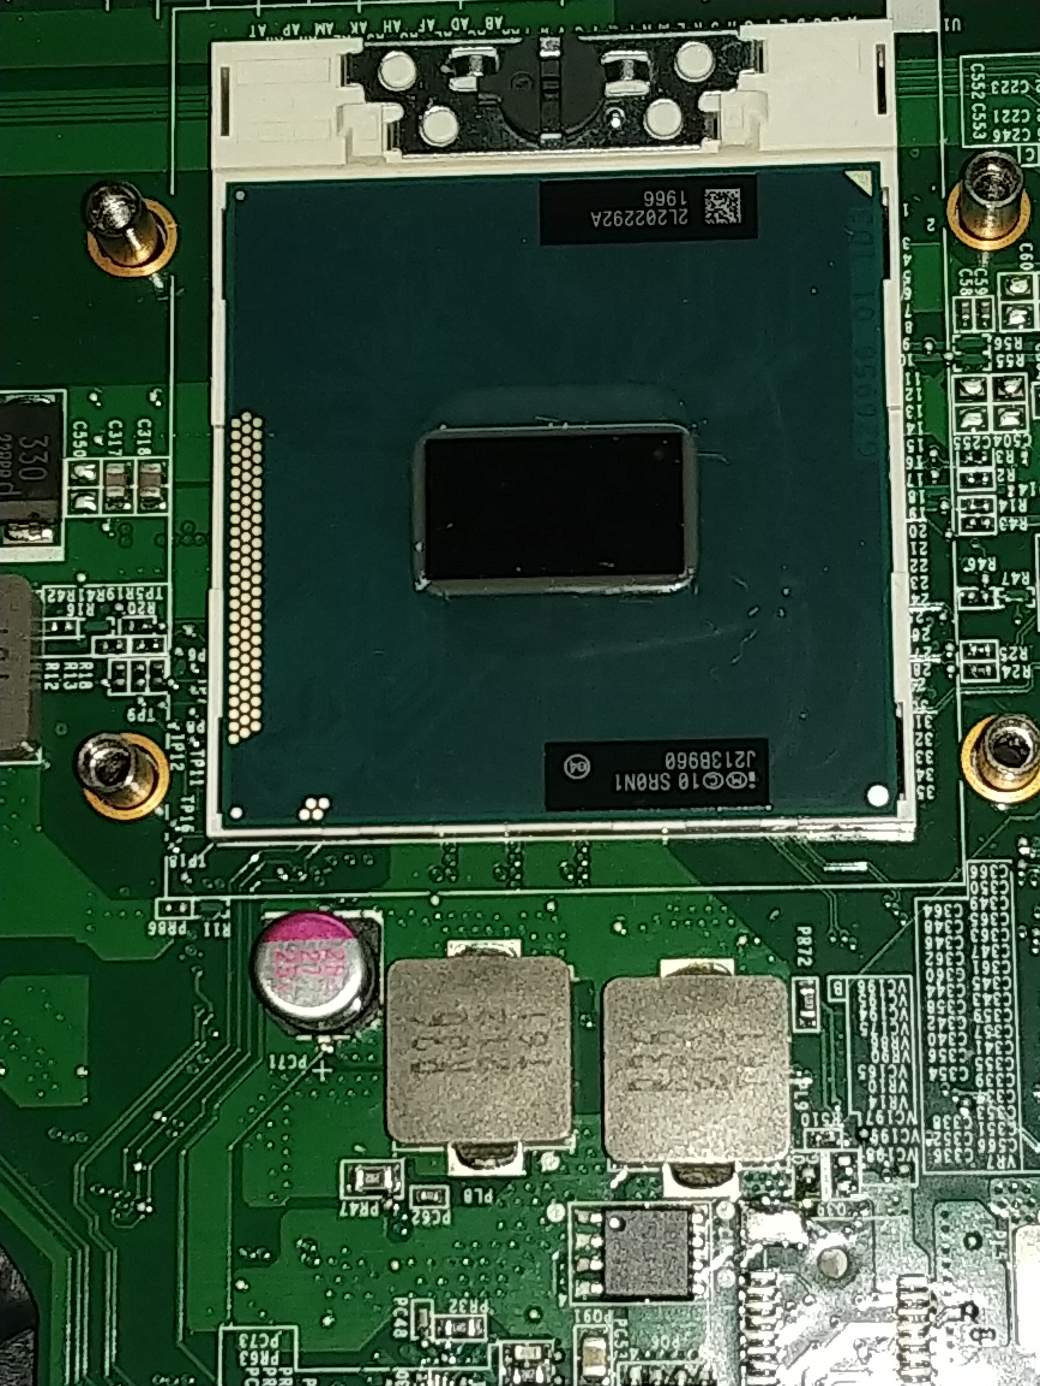
^^Note: The cpu die (contains the cpu cores) is the black rectangle for this computer. There can be more than one of those dies depending on your specific cpu. The cpu dies aren't always obvious like this one. Other cpus have a metal plate covering the cpu dies. If there are multiple cpu dies for your cpu, you need to put thermal paste on all of them
- Put new thermal paste just on the cpu die not the heatsink clamp.
You may end up putting too much thermal paste if you also put it on the heatsink clamp. What I learned is that you only need enough thermal paste to cover the cpu die. Most of the cpu heat comes fron the cpu die. I did not spread the paste. The heatsink cover just flattened it out.
Note: I had no thermal paste seep out like in the uncleaned thermal paste pictures.
- Place the fan side back into its slot. Then tighten the screws for the heatsink clamp in order from 1 to 4. Screwing them in this order makes sure there is proper tension. Also, plug the fan plug back in on the motherboard.
I screwed in one of the screws for the fan first since the fan holes didn't line up with the fan when I tried just screwing in the heatsink clamp first. It didn't cause any tension on the heatsink clamp when I screwed in a fan screw first.
- Screw in the remaining screws for the fan and place the laptop cover back on and screw that in. Pictures are not needed since the step is straightforward.
Note: Cleaning the fan with a compressed air duster was not included in the steps, but I did that too. If you don't have a compressed air duster, use what you have to clean off the dust. Never use water for cleaning anything in your computer. I didn't wear any anti-static wrist straps while touching computer components on the computer. My laptop is fine. I did research to see if it was necessary and it wasn't. It is a good idea to know what screws to remove beforehand and where they are located in your computer. I just YouTubed my specific computer model.
Hope you enjoyed reading and learned something.
-Ting
Posted using Partiko Android
Nice informations ! I'll definitely use them when i want to build my pc
Posted using Partiko Android
Thank you!
Posted using Partiko Android
Congratulations! This post has been upvoted from the communal account, @minnowsupport, by Ting! 😎🎵🎤🎶💡 from the Minnow Support Project. It's a witness project run by aggroed, ausbitbank, teamsteem, someguy123, neoxian, followbtcnews, and netuoso. The goal is to help Steemit grow by supporting Minnows. Please find us at the Peace, Abundance, and Liberty Network (PALnet) Discord Channel. It's a completely public and open space to all members of the Steemit community who voluntarily choose to be there.
If you would like to delegate to the Minnow Support Project you can do so by clicking on the following links: 50SP, 100SP, 250SP, 500SP, 1000SP, 5000SP.
Be sure to leave at least 50SP undelegated on your account.
Wow!! This is a great tutorial. I'm building my PC soon, and I'll be sure to reference this again for info on how to put thermal paste on the right away
Posted using Partiko Android
Thank you!
Posted using Partiko Android
found it in #PYPT discord channel..
Posted using Partiko Android
Thanks for the upvote and comment!
Posted using Partiko Android
Hi mrnightmare89 the SHADE tokens are on the way.
Thanks for sharing SHADE
To view or Trade SHADE visit steem-engine.com
!SHADE 1
Thanks for engaging with posts presented on PYPT
Thank you!
Posted using Partiko Android
I appreciate the love and support you all showed this post! Thank you everyone! It means a lot to me.
Posted using Partiko Android
@big-whale is still legit and active. 👍 It just took a little while. The lack of recent sends for post promotion and somewhat low account made me kind of worried.