*Balfore's Builds* Steampunk Top Hat Part 1
Greetings once again fellow crafters!
Lets do something a little different. Today will be the first of a multi part build.
Lets talk Steampunk!!
This was something I wanted to try to test my skills, and to try something I haven't done before.
You can make this for your cosplay needs, or just something to walk around wearing to turn a few heads.
(I love it when people stare, so why not direct their gaze to one of your creations?)
That way, they may ask about it, and who knows...you may be able to get a commission or make a sale.
First, I will say I was inspired by Chris, over at Lost Wax on YouTube. He makes some great builds.
After watching a few of his videos, and the inspiration was coursing through my veins... I quickly found out he charged for his patterns.
There is nothing wrong charging for your work, or even your patterns, like most people I know, I'm just always broke...LOL.
Then I found another fellow who made his own top hat, and made his own pattern. He even explained his process on how he made it. His channel on YouTube is called: DIY EVERYTHING. His video on making a top hat is pretty nifty, and again, he explains his process (however, I think the volume of his background music is a little too high, but you can make out what he's trying to accomplish)
Finally, I found another YouTube video by Eddy Hutchons, he made a very easy top hat pattern. It was this style I finally settled on.
As you which style, there are several shapes and sizes you can choose, as shown here:
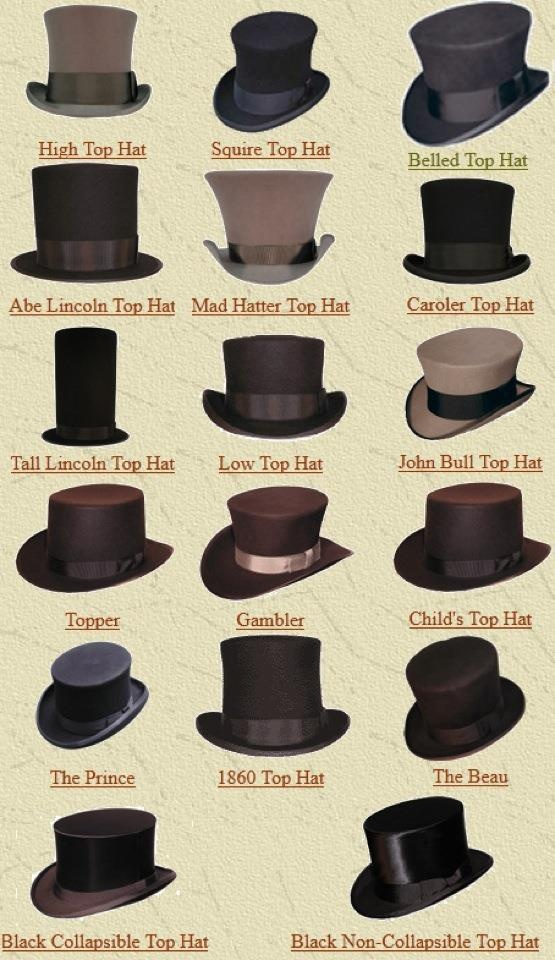
I went with the one on the bottom left: The Black Collapsible Top Hat (NOTE: its not collapsible, I just wanted a standard top hat to work with for the base)
I DID make a flared top hat similar to the first three examples in the image above, but for today, we will start with a simple build.
Anyhoo, I decided to make my own pattern, and go from there using the information in Eddy Hutchons video on YouTube.
Lets gather our supplies:
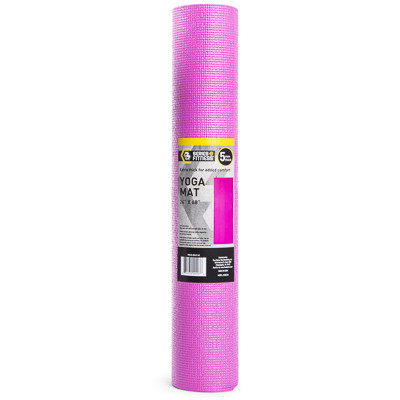
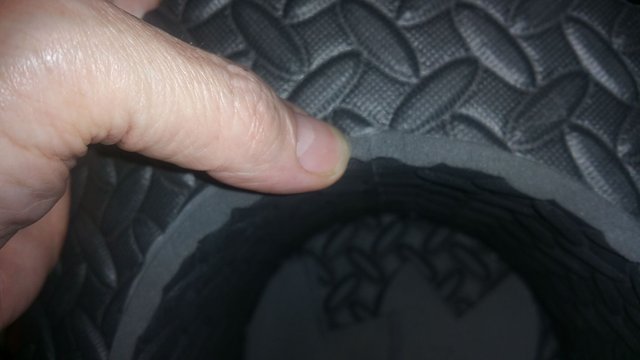
-Five Below yoga mat (make sure it's not the rubbery one. They make a stiffer version which is EVA foam, should be 1/4 inch thick, and more rigid than the rubbery one
-your trusty box cutter (be careful, sharp)
-black Sharpie
-ink pen
-scissors
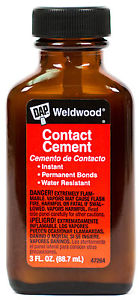
-contact cement/rubber cement (I use DAP, most people use Barge)
NOTE: use in a well ventilated area!!!
-hot glue gun
-fabric measuring tape
-a large pack of 3 mm craft foam,(color doesn't matter)
-heat gun (blow dryer may work, however, I cant guarantee that it will)
-a T-Square or a rigid metal ruler long enough to cut a straight edge. (You can freehand it if you have a steady hand)
Start by measuring the circumference your head. My fat head is a bout 23-1/2 inches. I would suggest making the size 1 inch larger than your actual size.
So, for a 24 inch head, you should make it 25 inches. The reason is, once you glue the ends together, you will lose some of the circumference.
Decide how tall you want it to be, I suggest starting with about a 6 inches tall by 24-1/2 inches wide.
Carefully cut out the
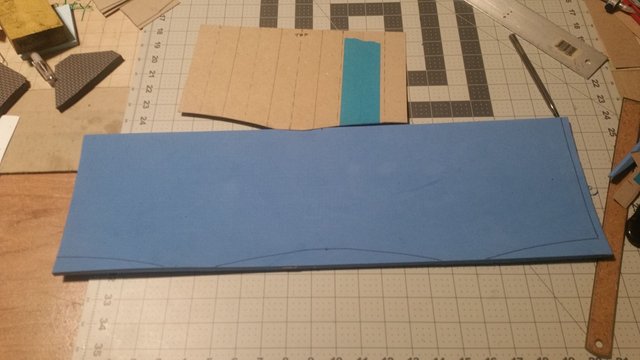
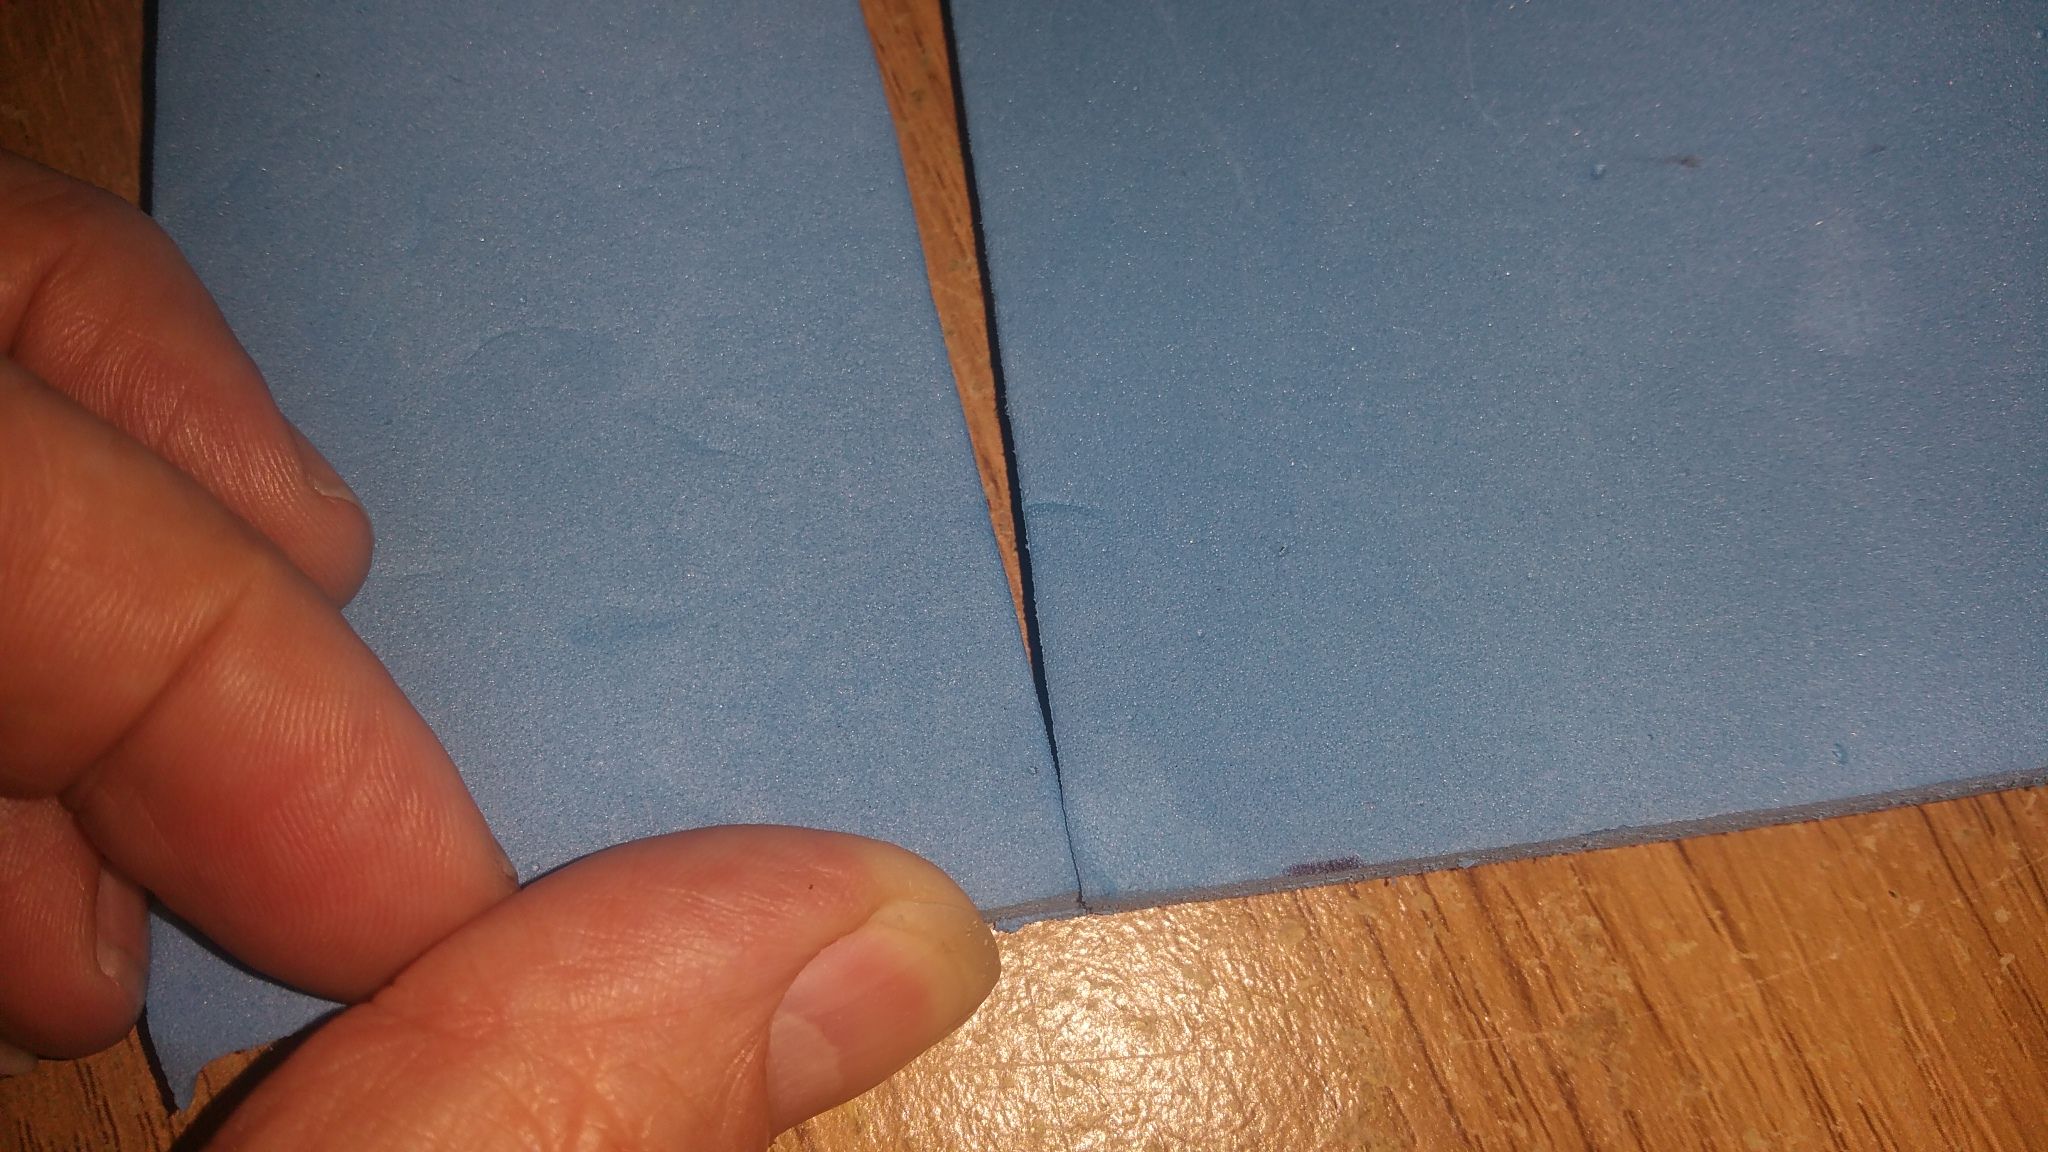
Measure out on your yoga mat a rectangle that is 6 inches tall and 24-1/2 inches wide.
NOTE: in the image below, disregard the shape of the pattern. All you need is a rectangle measurements as described above
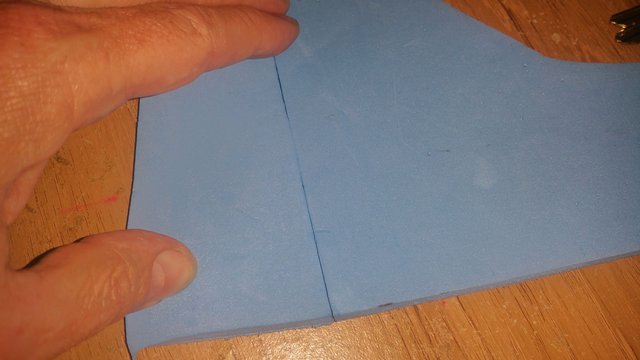
Use your contact cement (DAP or Barge) both ends of the 6 inch edges, and wait about 5 minutes before carefully putting the edges together. Make sure the edges are flush, and take your time... don't rush it.
NOTE: make sure your ends match up equally or else it will be uneven and you'll have to trim it off
NOTE: make sure you use contact cement in a well ventilated area!!
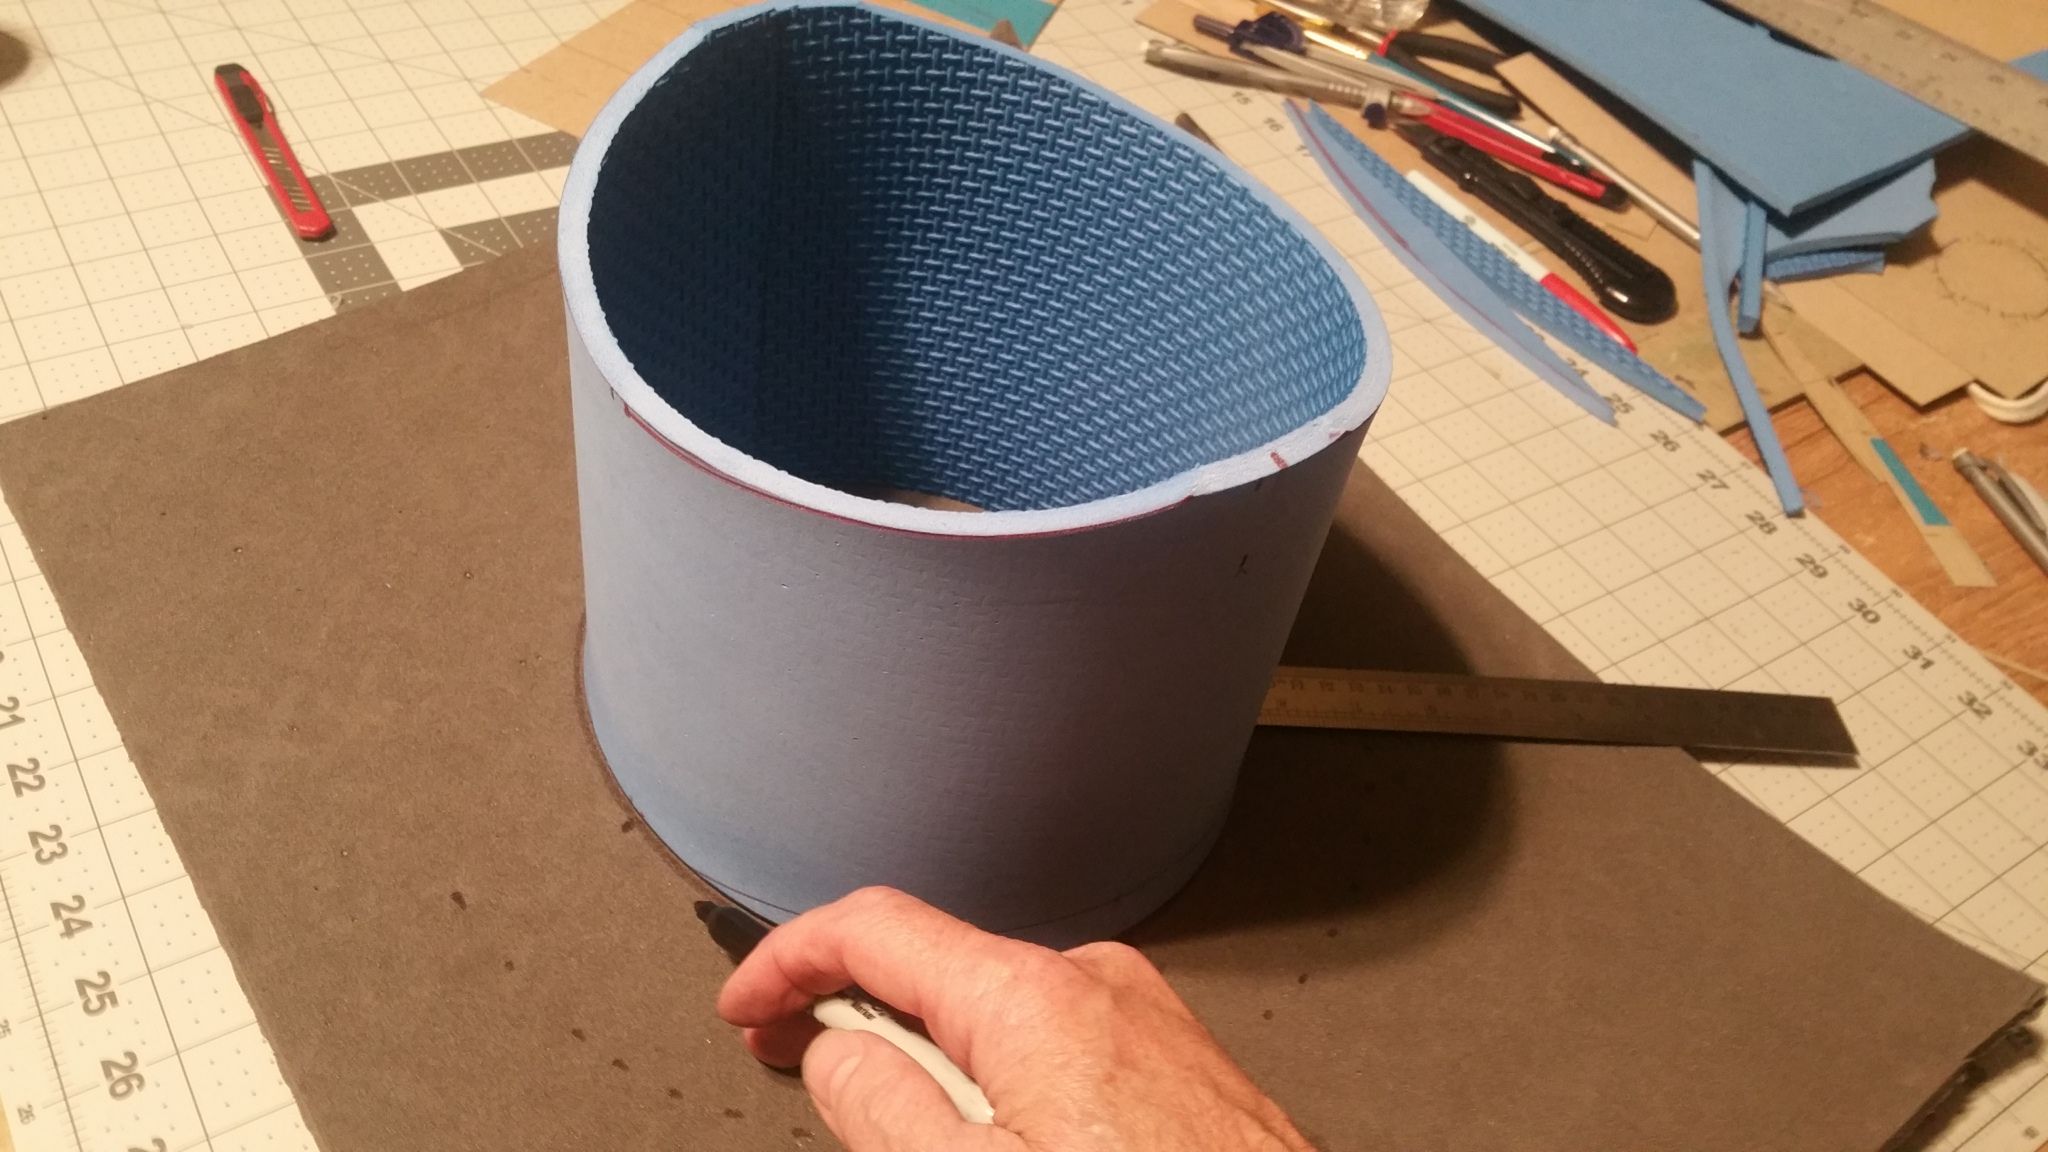
Once you have it glued, it should look like this...like a tube:
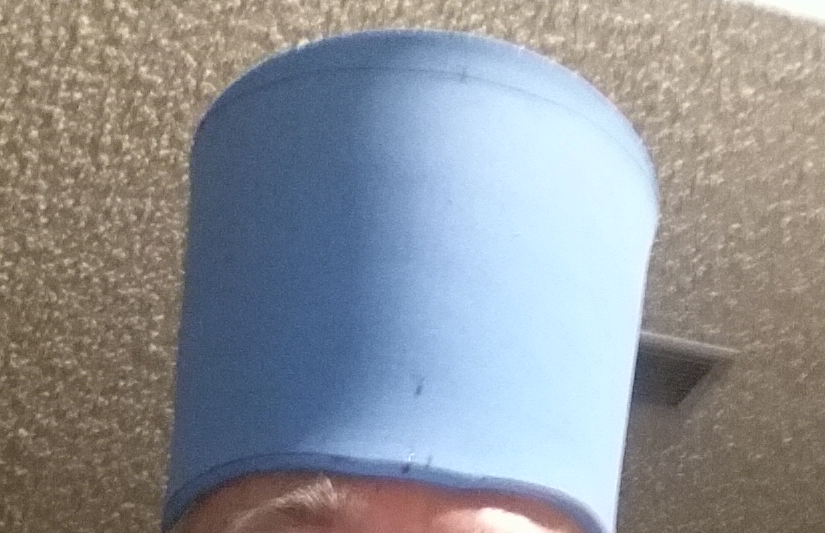
NOTE: Make sure you mark the front and back of your tube to let you know where they are-I would make the marks on the inside AND on the outside. A simple F for front will work, and B for back. I put the glued seam in the back (B)
Next, place the tube on another piece of foam, like this.
NOTE: make sure this piece is at least 16 by 16 inches to allow for the brim, and mistakes
Now grab your black Sharpie and trace around the outside like this:
Next, find the center and make a 2 inch circle from the outer edge like this:
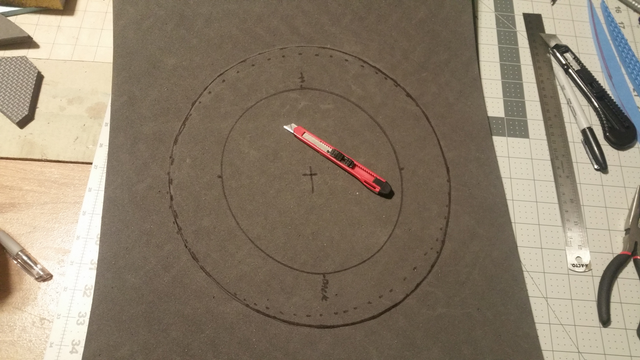
NOTE: Make sure you mark on this piece where the front and back are. This will help when you glue the brim to the tube
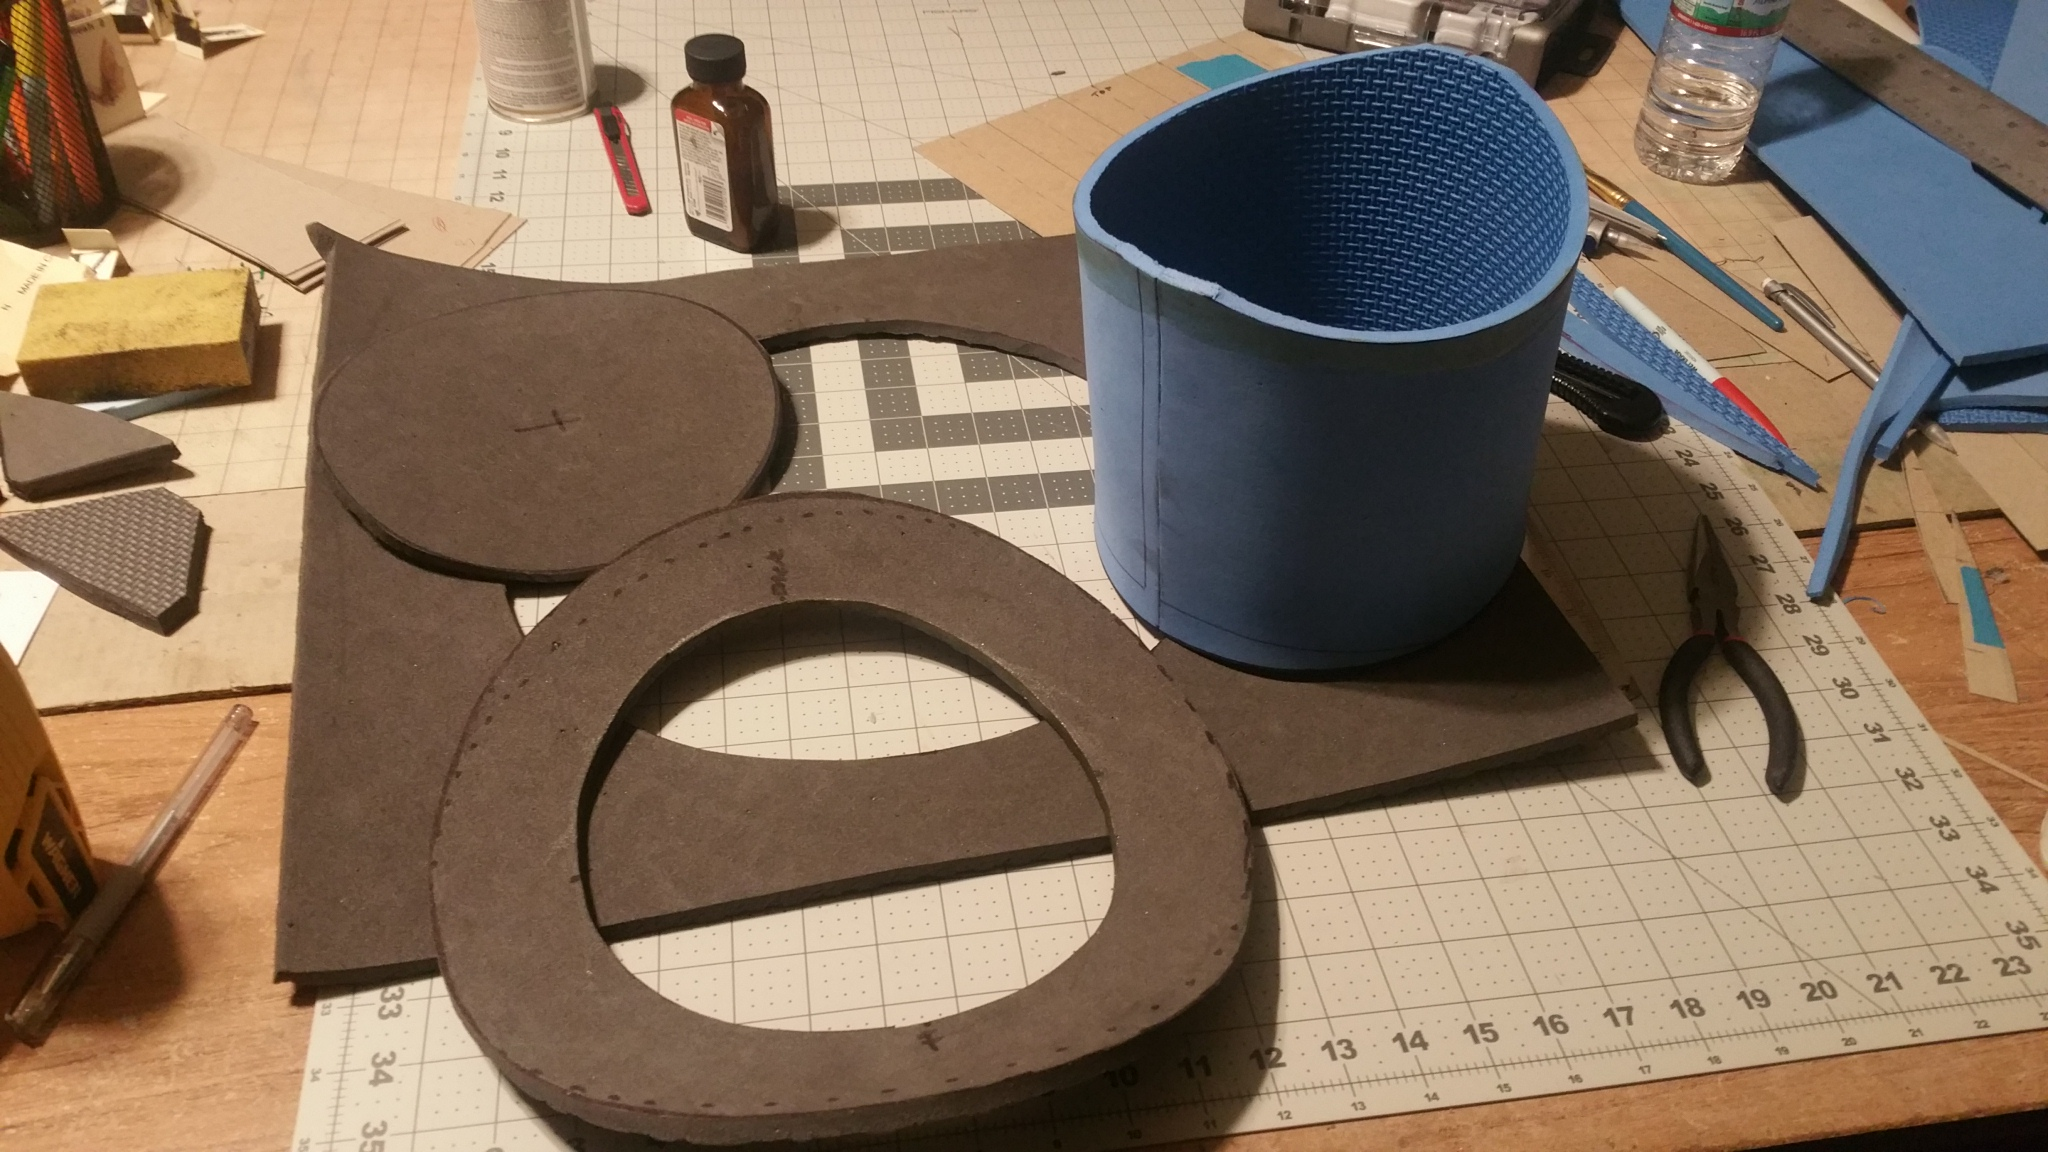
Now, cut out the brim like so:
NOTE: Make sure you cut along the outside of the black Sharpie mark. DO NOT THROW AWAY THE CENTER PIECE! This will be the lid for the top part of the hat.
Next, you'll want to hot glue the brim to the tube (crown). The key is to first: only glue a small area in the front in order to get it even. Kind of like tacking it in place.
Then you tack the bottom and the sides. Basically, if the brim was a clock, you tack the hot glue at 12 o'clock, 3 o'clock, 6 o'clock and 9 o'clock.
***NOTE: When doing the 3 and 9 o'clock positions in place, you want to raise it up and glue it a little higher than the front and back (12 and 6 o'clock). This will give it that sleek look like a real top hat.
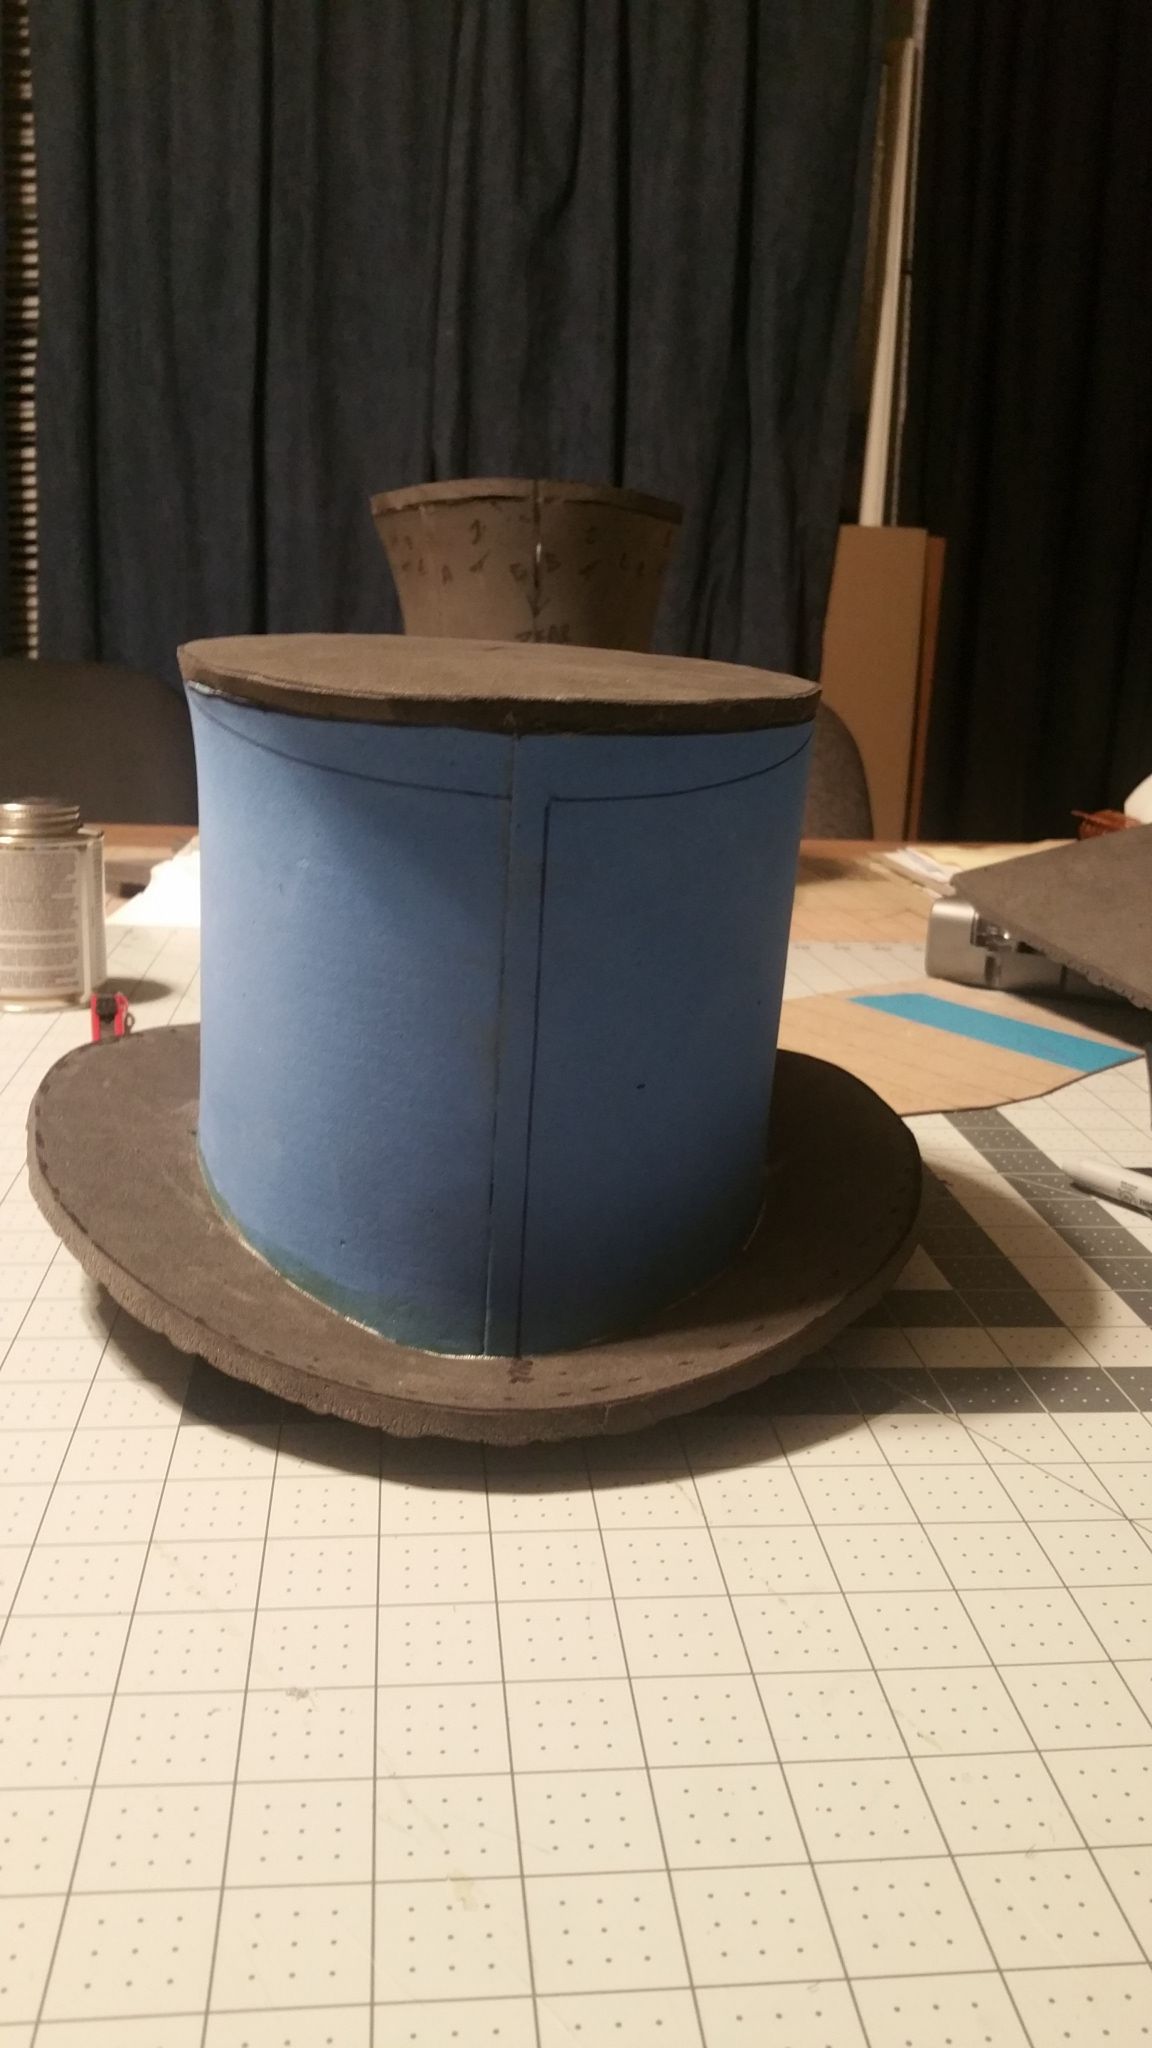
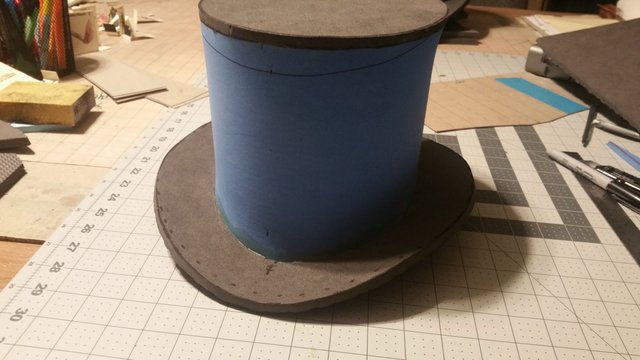
It should look like this when your done gluing:
Now, you want to glue the lid on the top. I prefer using the contact cement, because it leaves a better seam. But that won't matter, as you sill find out later. So, it's ok to use hot glue for this part. Just be careful... it's hot!
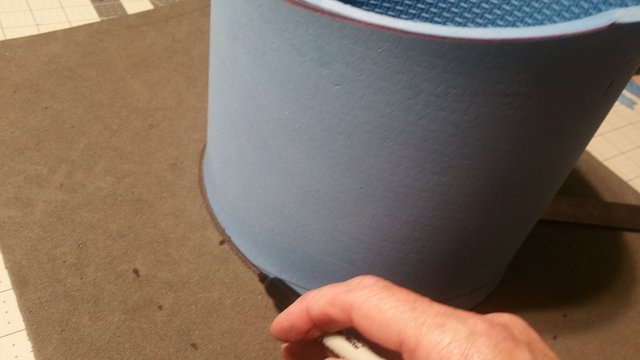
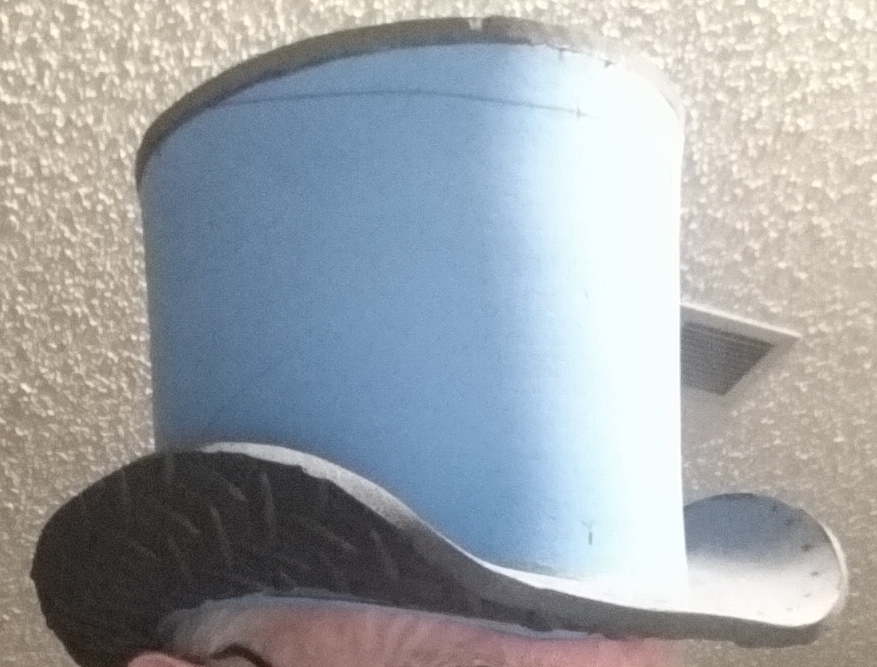
When its all put together... Here is what you should have!
You can use your heat gun to heat up the brim and create the natural curl, to give it that authentic look.
Well, that just about does it for Part 1.
Next time, we will add patchwork to make it look a little ragged...be sure to check it out!
I'd love to hear from you, so let me know what you think
glad i came across this, very cool how to man! following for more of this!
@armadilloman if you haven't seen this already you may enjoy it!
The last tutorial is up....
Congratulations @balfore! You have completed some achievement on Steemit and have been rewarded with new badge(s) :
Click on any badge to view your own Board of Honor on SteemitBoard.
For more information about SteemitBoard, click here
If you no longer want to receive notifications, reply to this comment with the word
STOP