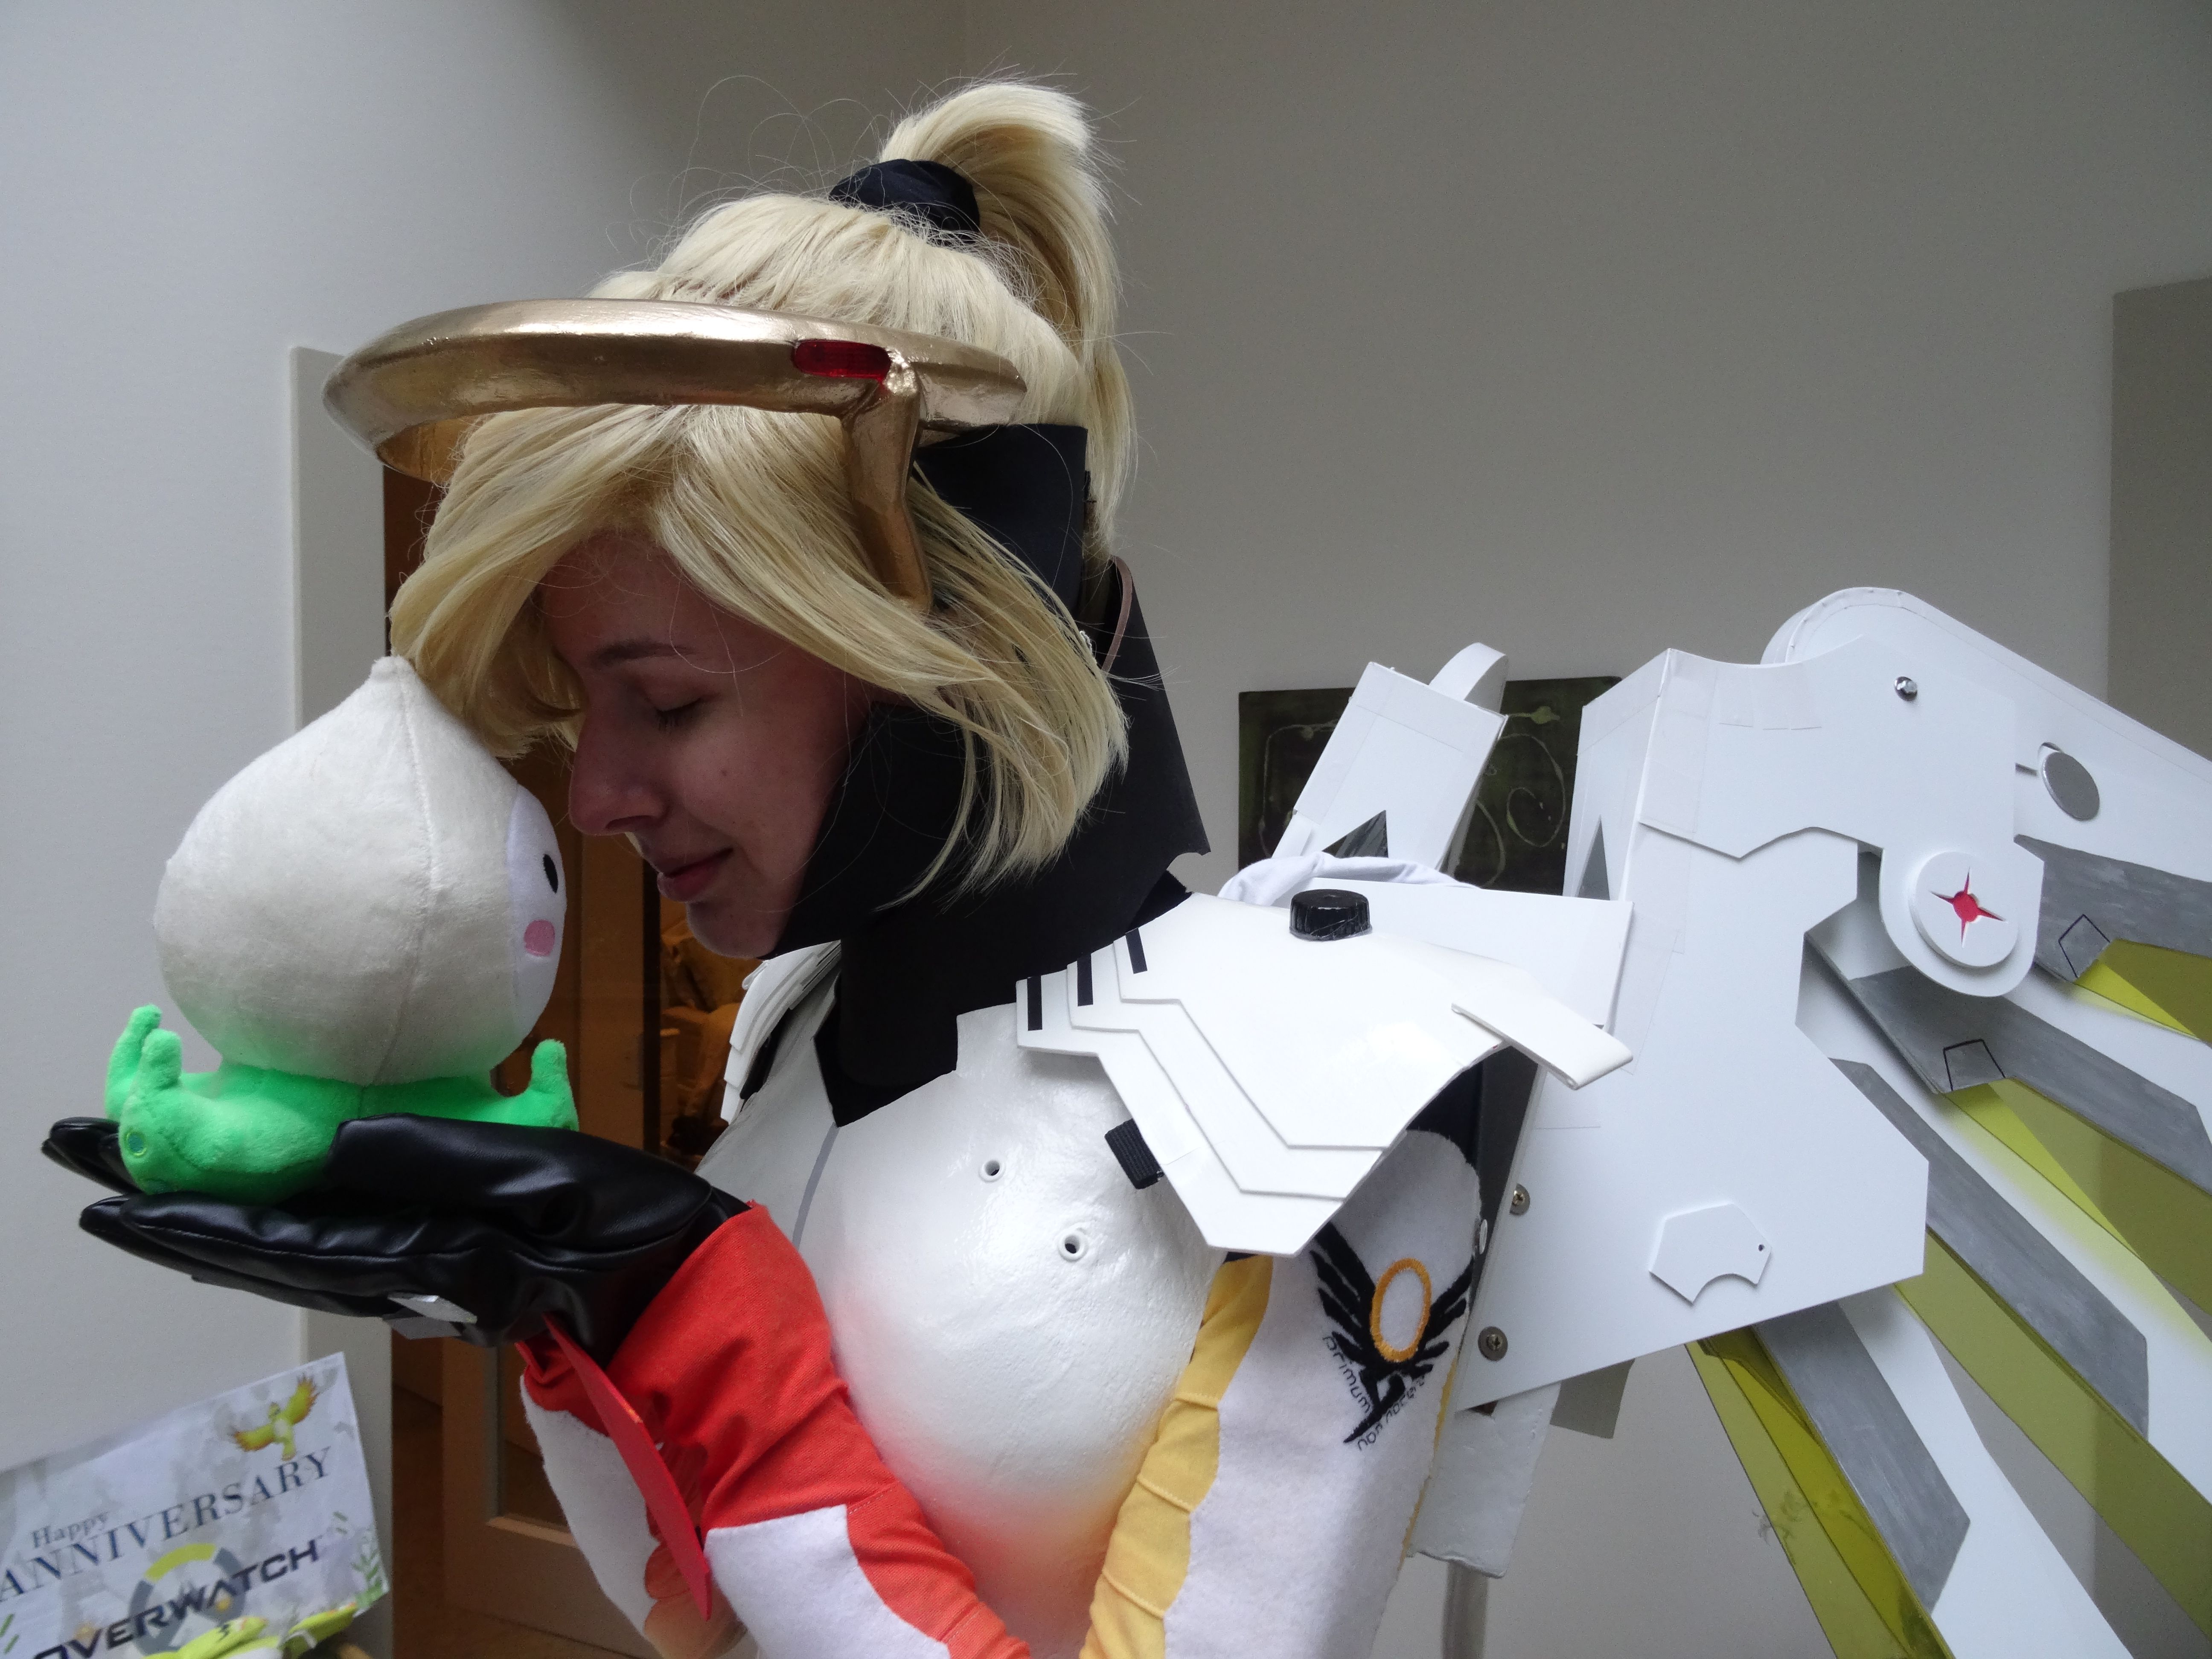
Making a Mercy Breastplate from Worbla
When I started making my Mercy cosplay I had no idea how to make a breastplate so I am going to show you exactly how I made it so that others can also make their own using this method. =)
What you'll need:
- A large sheet of worbla
- Heat gun
- Oven gloves/towel
- Mannequin/dress form
- Rivets
- Craft glue
- Paint Primer
- White spraypaint
- Red, grey and black acrylic paint
- Painters tape (optional)
- Orange reflector strip
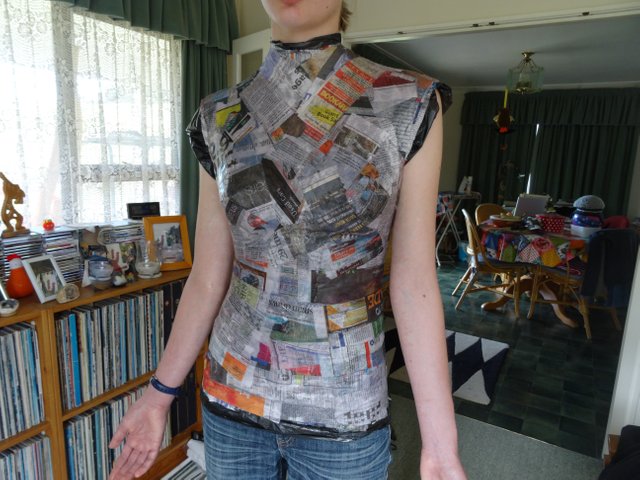
Step 1: making a dress form
If you don't have a dress form or mannequin you need to make or buy one (you need something approximately the same shape and size as you). Making one yourself is best done with help from someone else. To start wrap your torso in plastic wrap (or a rubbish bag) and then cover yourself with either duct tape or paper mache. I personally did the latter but I recommend the former (waiting for the mache to dry and using heat to speed it up has caused fainting in some people, nearly including me).
Once you have your basic shape cut it off you and tape it back together before filling it with expanding foam and once that's dry you've got your dress form. I recommend covering it in some fabric after this. =)
Step 2: making the base
Get your sheet of worbla and cut it to a size slightly larger than the dress form before laying it on top. You now want to start shaping the worbla over the form by heating it up with your heat gun (Worbla is a thermo plastic that becomes soft when hot). While you should only mould a small area at a time make sure to also heat the surrounding area a bit otherwise the hard areas will prevent you from shaping it properly. Take your time with this and make sure not to overheat the worbla (it will start melting and dripping off if you do).
.JPG)
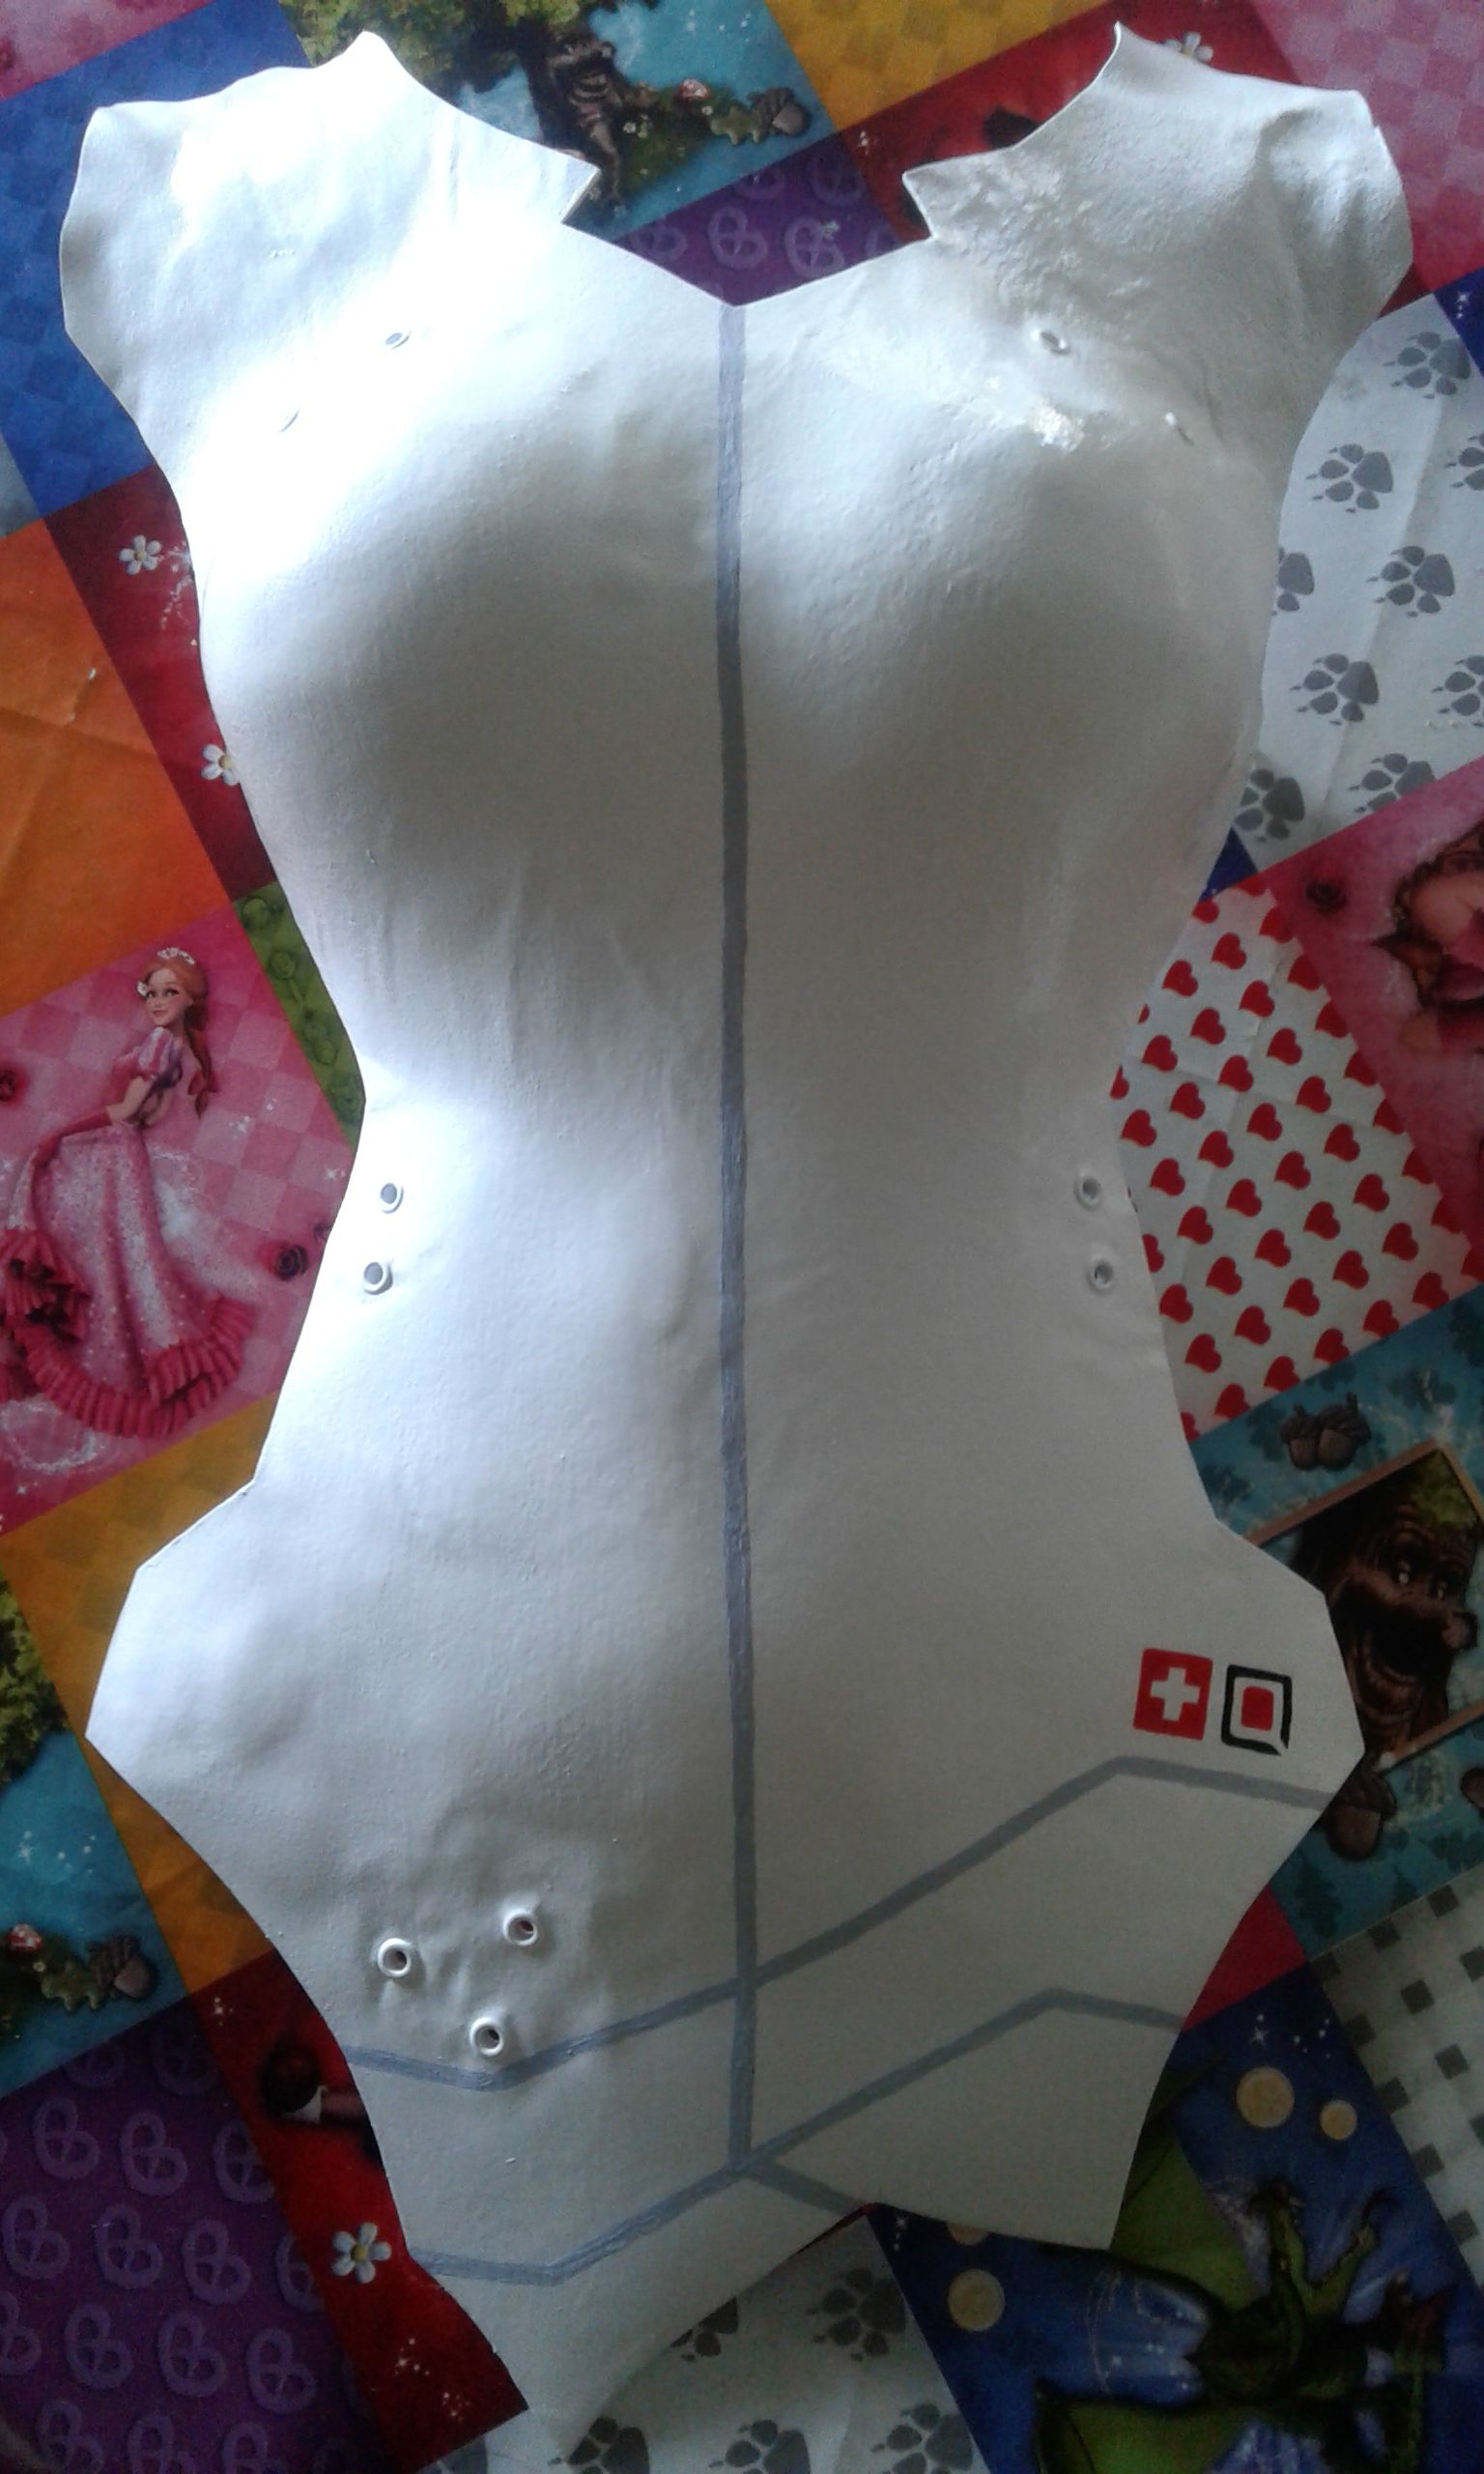
Step 3: adding details
Once you have your worbla shaped, draw on your breastplate and cut it out. Heat up small areas where the holes in the breastplate are for Mercy and push rivets into them. Once cooled off and hard again glue them in place on the inside (you usually hammer these down, but the worbla would probably break if you did so glue is the safer option).
.JPG)
Prime and spray paint the whole surface white (inside and out) before paining on the lines and smaller symbols. To get the lines as straight as possible I recommend using paint tape, but be careful since it can sometimes go underneath it.
.jpg)
Step 4: finishing touches
Glue a strip of orange reflector along the sides of the breastplate to add on the final piece of detailing. For attaching it you can use any method you’d like but I personally used Velcro strips that are attached to the shoulder pieces and another piece that goes around Mercy’s lower back.
.JPG)
And there you have it your own Mercy breastplate. There are many other ways to make this piece of course but I personally really liked this method and will definitely use it again in the future for other characters. =)
Hey, this is great. Would be awesome if you posted more of this stuff. I'm really interested in how all this kind of stuff is made and would happily throw upvotes your way all day long for it (and quite happily try to get more exposure for this kind of stuff on here)
Keep it up and hope to see more of it soon
Heya! I'm hoping to keep posting tutorials in between other stuff so hopefully you'll enjoy future ones too. =D
fantastic work!
Thanks! =D
Worbla has been an inexisting material in my country, it would be great if you could share tips with other type of materials ! This has been great, please post more of these :D
I definitely will and I'm glad you enjoyed it! =D