[TUTORIAL] Mining XMR (v7) with MinerGate (GUI)
We all know this XMR Fork really messed up alot of Miners with the new Algorithm to Prevent ASIC's from mining on XMR's Network. So today we will break down on how to mine XMR (v7) on MinerGate! If you already have a MinerGate account and know your way around MinerGate's Website, Skip to "Download".
"MinerGate does NOT endorse or have any relation with this article. This Article was written from a non-biased Point-of-View, No Favoritism or Discrimination."
Getting Started
First, You must make sure we have a account at MinerGate. Direct your Browser of choice to "https://www.minergate.com/" (without the quotes) and Click on "Sign Up" in the top-right corner of the Page. (or click the link above)
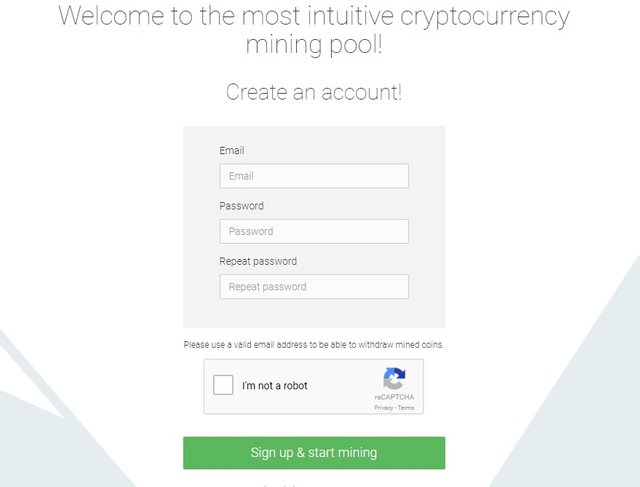
You sign-up with your current email and desired password.
Download
Click on Downloads to move to the "Downloads" Page. (Click the Link if

Download the correct version depending on your OS. (Operating System, i.e. - Windows, Ubuntu, Fedora) For this Tutorial we will use Windows. The current version at the time of this article is:
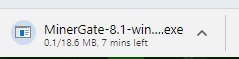
Version 8.1 for Windows 7 and Up MinerGate-8.1-win64.exeYou should see your Web Browser ask to confirm Download on the File. "Accept" or "Save File". Make sure to REMEMBER where you saved the File.
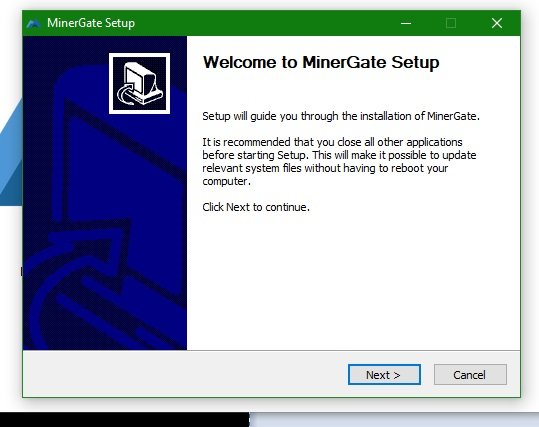
Install (ONLY for GUI)
Next you are going to Install the EXE (Executable File) you downloaded from MinerGate previously. Please make sure you have permission to use the Device(s) you are installing MinerGate Software on.
Go-to the Folder where you previous Saved the File from MinerGate. - In our case its the Downloads Folder.
Double-Click "MinerGate-8.1-win64.exe". This will start the Installer for the Software, Please be patient as not all Device's are the same. Performance may vary.
Windows UAC (User Account Control) will pop up and ask if it is alright for you to run the Software, click "Yes" to continue.
Now you will actually start the Installation Process. -
Click "Next".
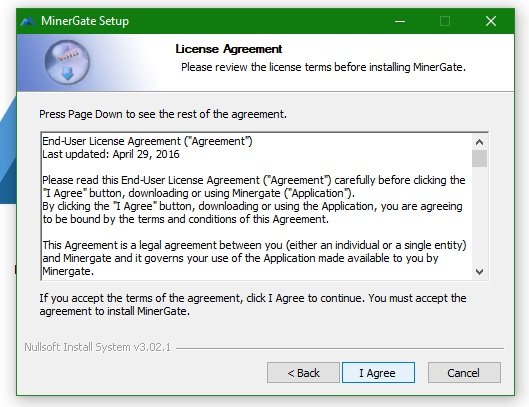
Read through the Terms of Service. (or Not) Click "I Agree".
In this Tutorial you are just "installing" MinerGate into the Computer, So you will leave these next settings alone. (Choose "Create MinerGate Desktop Shortcut" if you want to automatically get a Shortcut placed on your Desktop.)
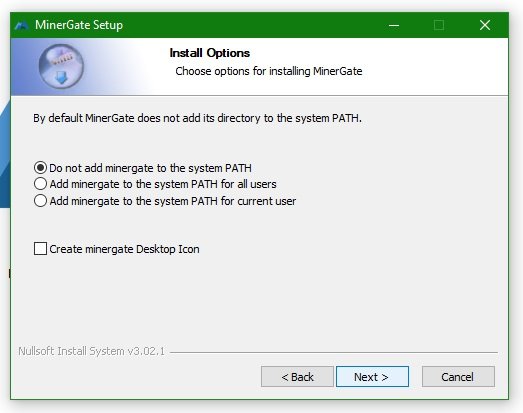
- Click "Next".
Choose where you would like to have MinerGate Installer put the Program Files for MinerGate into your Computer. You will keep it "stock" location for the sole purpose of this tutorial.
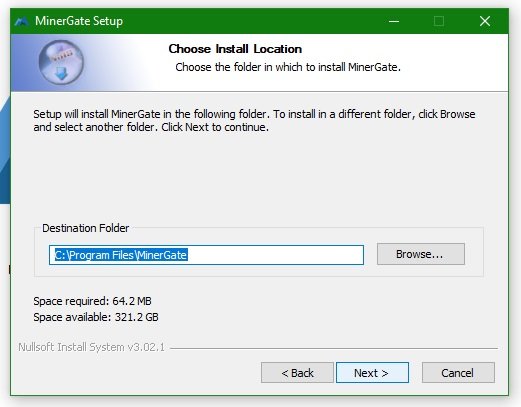
- Click "Next".
This next screen is asking "What Start Menu Item do YOU want to call this?". Since it's already set to "MinerGate", You will leave this setting alone also. (You can optionally click "Do not create shortcuts" to not have the Program create a Start Menu option.)
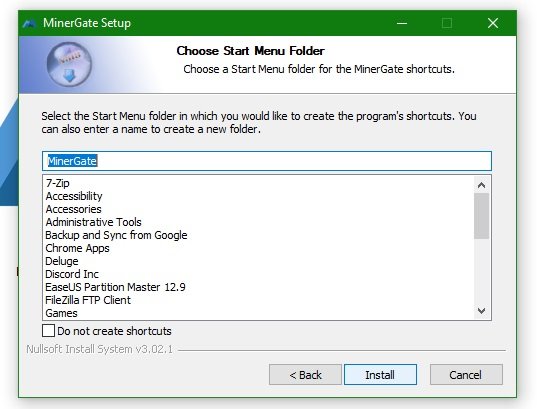
- Click "Install".
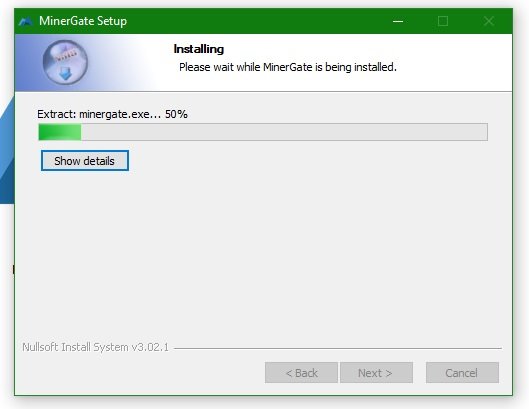
- During this Time it will load all files needed to run the MinerGate GUI (Graphic User Interface).
- Take this time to get ready your account Email & Password.
Running the Miner (GUI)
MinerGate GUI will open and you will be shown this screen.
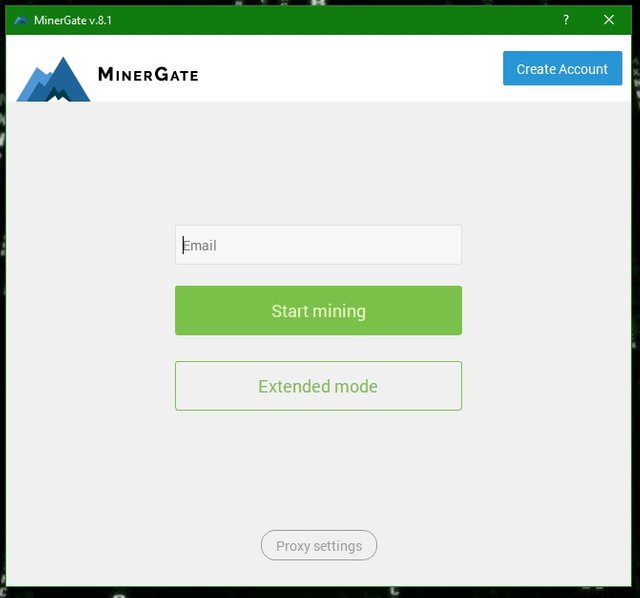
You are going to use "Extended Mode", so go ahead and click that now. This option allows you to see and view your Dashboard, while also giving you the option to withdraw/transfer. (Logging in without "Extended Mode" can lead to "Invalid Token" Errors.)
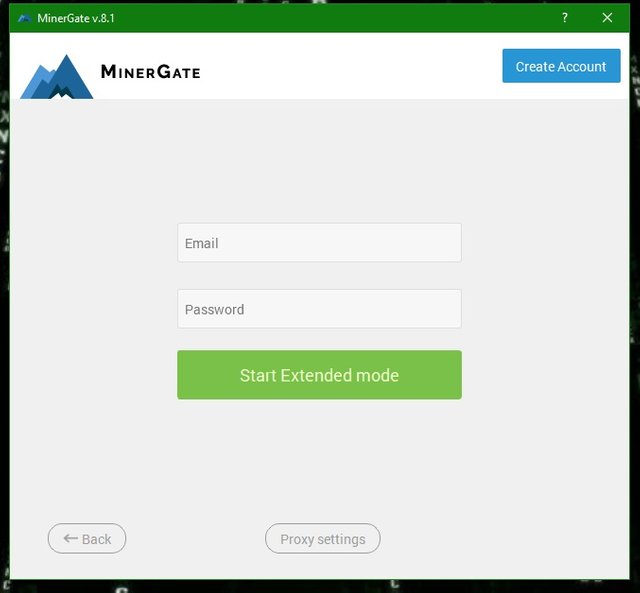
Fill out the Email and Password fields with the Account Information you used to sign up for MinerGate earlier. Once you are finished, click "Start Extended Mode".
The "Smart Miner" will activate, in the Green box where it displays the "Hashrate" for the Currency it has selected.

Click the "Pause" button to stop the Smart Miner.

Now that you have stopped the Smart Miner, you can choose XMR on the Miner tab in the Program. (This is if the Smart Miner has not already started XMR in the earlier step.)

Now find "XMR" in the left column of the Program, displaying all MinerGate's available currencies to mine. - Click the "Play"-style button to start mining XMR.

That's it! We (you) have successfully started mining the new XMR v7 Fork at MinerGate! Other algorithms are looking to adopt this new fork of XMR into their coins too. So best believe we will see more of this "Cryptonight v7" algorithm.
More Tutorials to come, Stay tuned!
Posted from my blog with SteemPress : https://www.private-locker.com/cryptocurrency/tutorial-mining-xmr-v7-with-minergate/
https://steemit.com/silent/@princeyasir/silent-mining-1-0-0-14-minergate-without-dialog-module-rename
u can try this one.. its working..
also has a video.. u can check it out.. it works for me
Silent mining including the new BTC, XMO, XMR and ETH etc
Channel: https://www.youtube.com/channel/UCPSC4NaAbILxsMzbGtWpwUQ?sub_confirmation=1
MinerGate:https://minergate.com/a/eec708d061ebda9dc319d895
Support: [email protected]
Steps
Watch full video(YouTube):
1- Download Silent Miner VERSION 1.0.0.14
2- Extract files;
3- Generate INI file for configuration;
4- Off the Msg on Startup.. just click and start mining;
5- Change the .exe name from process;
6- Set the configuration parameters;
7- Choose any system folder to hide the miner;
8- Run the program again.
Download Silent Miner 1.0.0.14
Alternative Url 1:https://mega.nz/#!ubYDFZAA!6QT6N-UO1IQSheDpqbriIn3N_veK3BTygRzDs8HzQcs