Week Two of How to Build Electronics: Part 2 - Microcontrollers, Remote Control, and LCD Displays.
Part Two
And here, my friends, is part two.
LCD dislays. These, when used with a microcontroller, can be programmed to display letters, numbers, and other characters.
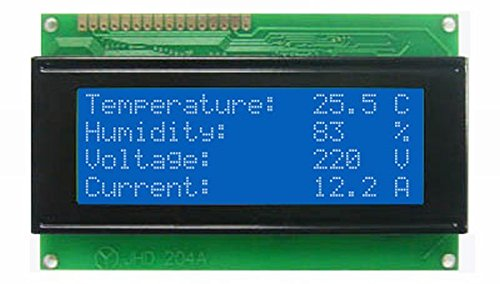
An LCD Display
Here is an example wiring diagram (The microcontroller on the left is an arduino uno r3, keep in mind other microcontrollers can be used):
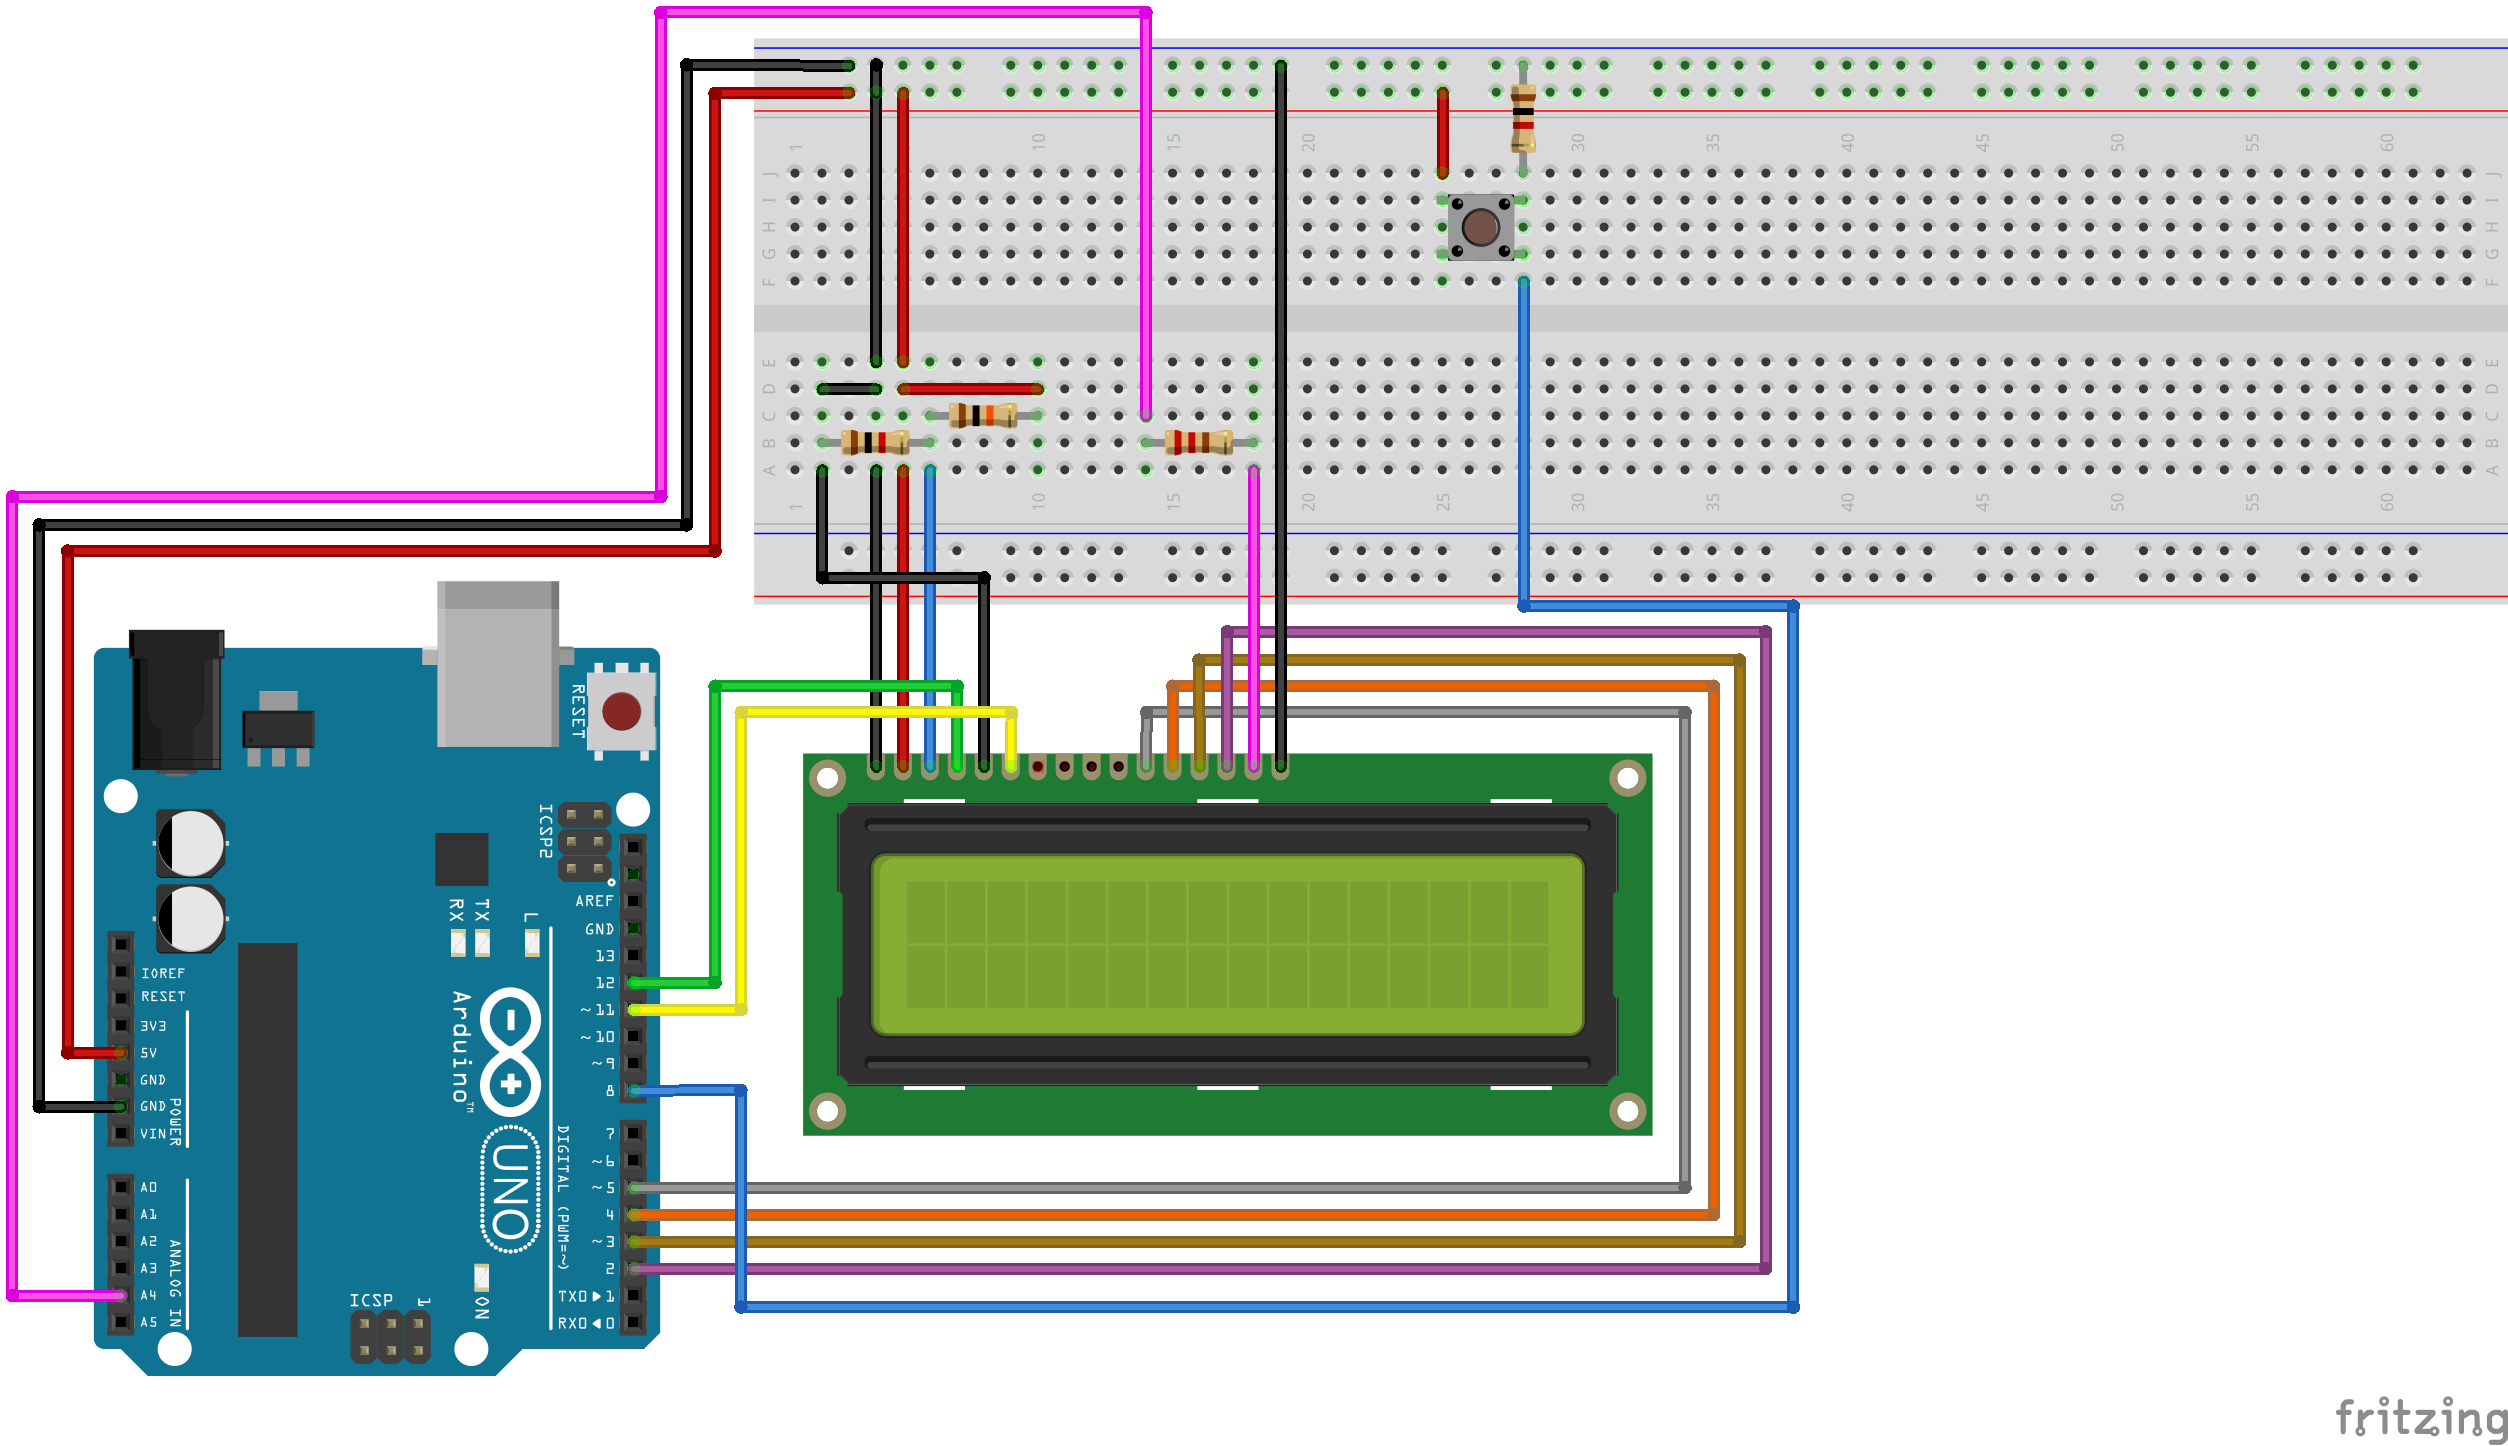
LCD wiring
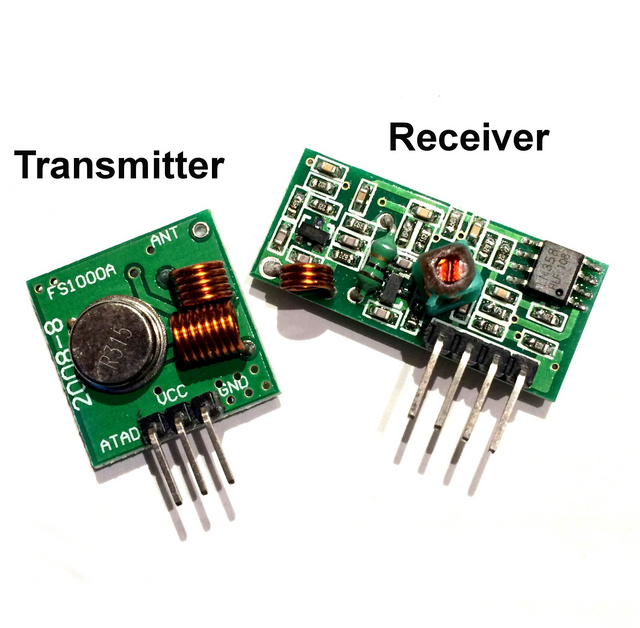
Transmitters and Recievers. These project and recieve signals wirelessly, and produces the same result as a wired device. You can use these to communicate with bluetooth devices, wireless devices, gaming controllers. If you look around your house, you can probably find a device with these inside of them. These are invaluable pieces for remote control.
Microcontroller. Microcontrollers are a relatively newer piece on the market, and they have really revolutionized electronics in many ways. You can program them with various codes to control and interact with other electronic components and devices. Ill probably post tutorials in the future how to interact and control circuits with the arduino microcontrollers or raspberry pi (for internet of things).
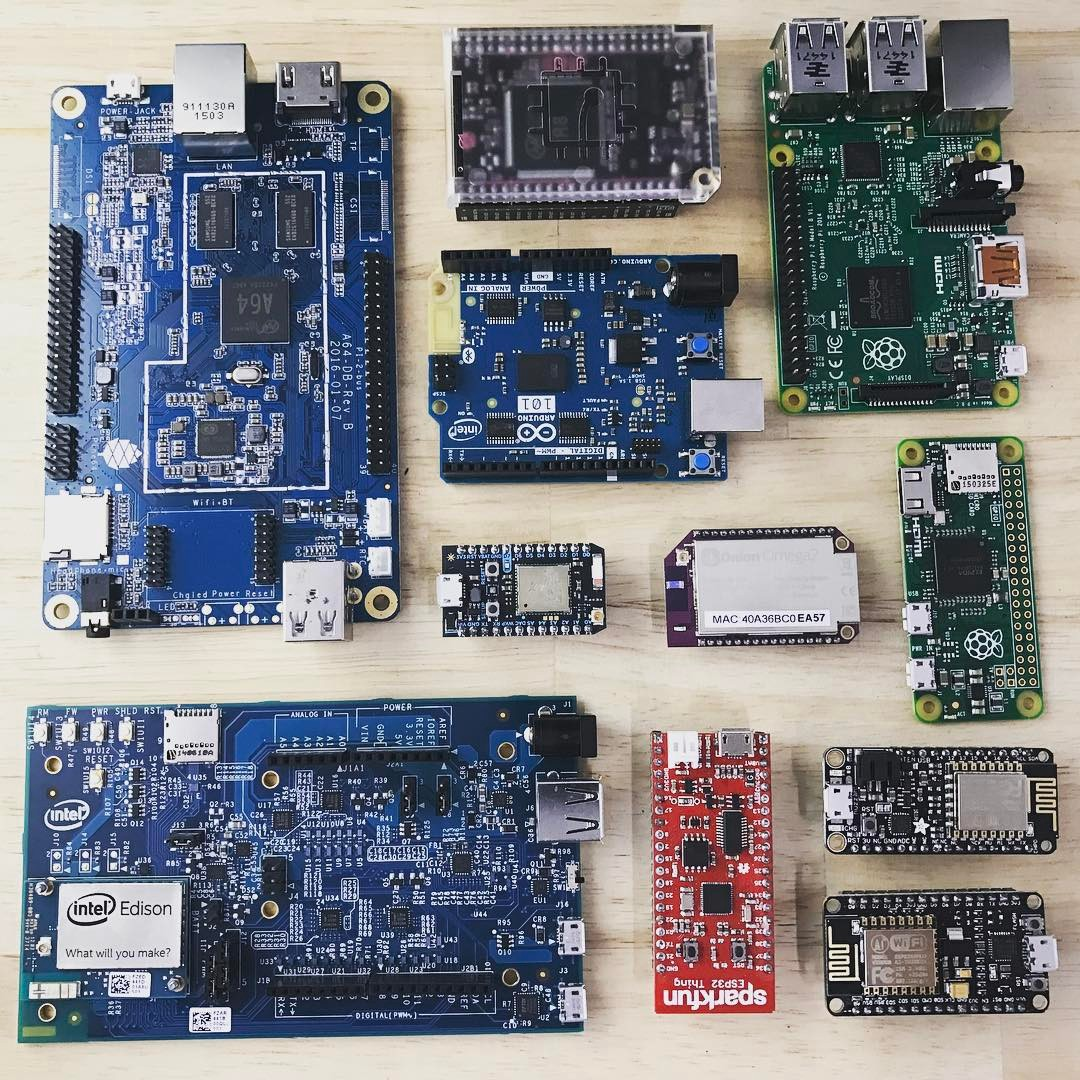
An assortment of microcontrollers
Well, that about covers the main electronic components used in circuits. I hope you all learned alot, and enjoyed this weeks article on electronics. Next week, I will try to explain these in more detail, as well as teach how to use them in a more advanced way. We will also be talking about the different sensors your device can use to communicate with the world around it.
Thanks for reading :)
Max