The Easiest Way to Make Concrete Countertops
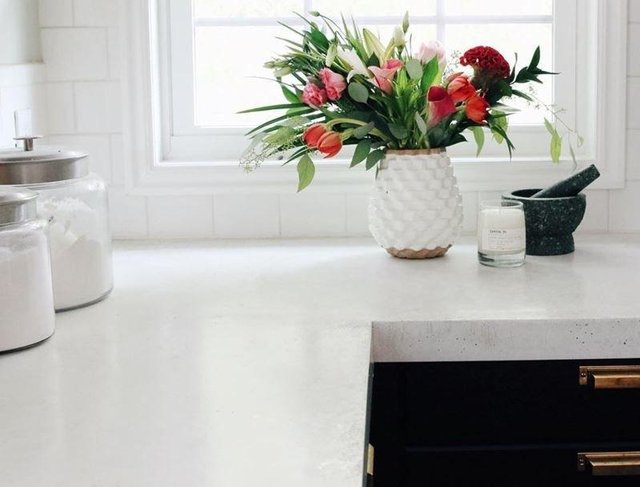
Concrete countertops have been gradually getting market space and with good reason. Apart from the fact that they look great, they’re also a very sustainable type of countertop to have in your space. The best part about them is the fact that you can make them on your own, meaning you can make your own, unique concrete countertop. There’s no better way to personalize your space than with a countertop as it helps set the style for the rest of the room’s design. The beauty of it is that DIY concrete countertops are not as difficult as you may think they’d be, granted you have the right tools. That’s right, even the most inexperienced DIYers shouldn’t have trouble making their very own concrete countertop. Don’t believe us? Keep on reading to find out how simple it actually is.
DIY Concrete Countertop
Before you do anything, we recommend that you give our video a watch on our site, Concrete Countertop Solutions. Regardless of whether you’re a visual learner or not, having watched someone go through the motions will help ensure that you don’t miss any steps and do each one properly. It’s also important that you get all of the necessary tools and materials before you begin. You can find exactly what you’re looking for on our online site. You can even find an exact project with tools necessary all organized on one page that way you aren’t jumping from one page to another attempting to find something you’ve never used before. In addition, should you have any questions, we’ve tried to make your online shopping experience resemble the one you’d get in-store, therefore, if you’ve got a question, you can ask us right away via the chat window located at the bottom right of every page. However, we also offer the option of calling should you prefer that. In other words, if you’ve got any questions, we’ll be right there!
Preparing and Pouring the Concrete Countertop
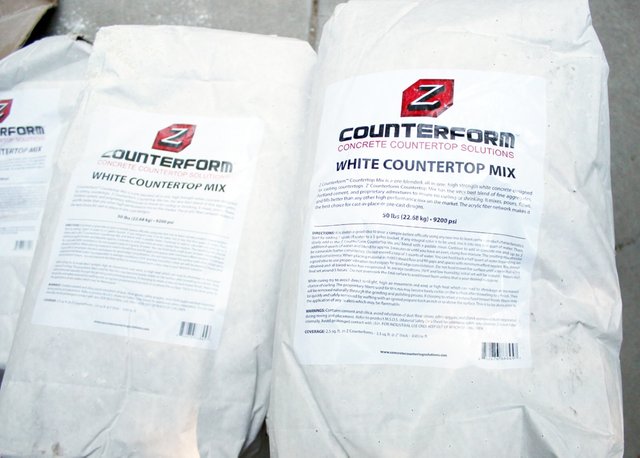
Some tools that you’ll need to start out with include the Z-Counterforms, which are very easy-to-use countertop forms, the edge expert set, the sink form, the gem pads, and a miter saw. However, you may need more or fewer tools depending on your expertise. Begin by attaching the forms to the Durock, making sure that the corners fit in perfectly together. Then, mix the cement in a bucket and add water to it according to the instructions. As soon as the concrete mix is of the right consistency, you can begin pouring it into the forms. Pouring is one of the hardest parts as there’s a lot that goes into the process. Let’s go over a few of the tips and tricks that’ll help you out throughout the whole process.
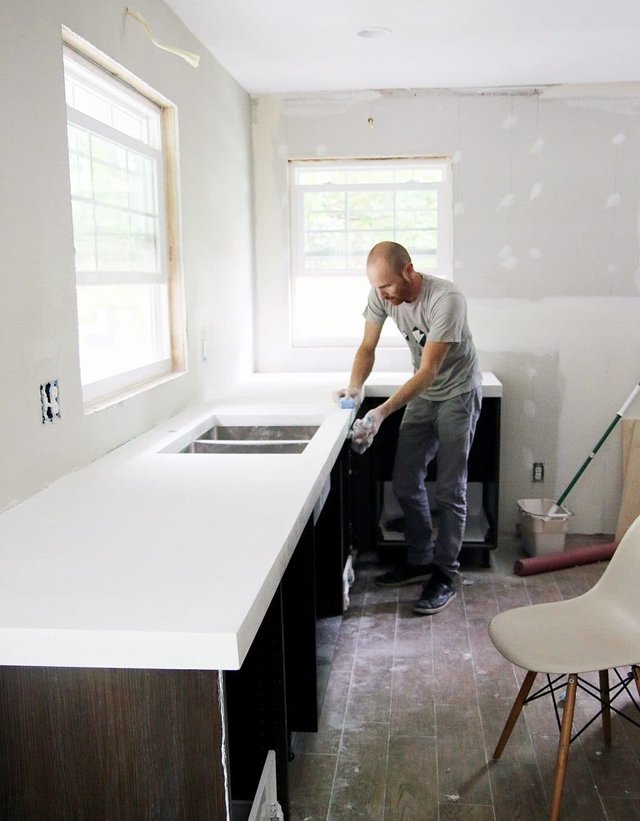
First things first, be sure that you’ve got plenty of time for this because as soon as you start, you won’t have much time for a break! As you pour as well as smooth it out, don’t forget to vibrate the form multiple times in order to ensure that your edges will look good. Also, try to get as many hands working on the pouring and smoothing process as possible as that will be a huge help. You’ll need to give it some time to dry, too, before you begin the last half of your DIY concrete countertops.
Removing the Forms and Staining the Concrete
Removing the forms may look like a daunting task in the video, but in reality, you’ll find it to be a pretty easy task. You just need to apply a bit of pressure and they’ll snap right off. If you’re planning on sanding it, this is where the Gem Pads come in very handy.
Now, all that you have to do is stain the concrete whatever way that you’d like. Our Z Aqua-Tint can be used in so many different ways to give you the end goal that you were looking for. For instance, take a roller for a more monochromatic look or a spray bottle if you want to make your own, personalized color design. You can choose from 15 different colors that you can mix amongst one another. As soon as you’ve created your desired design and color, all that’s left is to seal it in order to keep it protected. Our Z SiAcryl 14 is a penetrating sealer will do just that. The outcome is a low luster finish, therefore, if you want something with more of a shine, your best bet would be to use the Z Counter-Shine on top of it. It’s also a great way to add even more protection to your concrete countertop. The staining process is simple as it rolls on with ease. Keep in mind, though, that it dries very fast so you’re going to have to do all of the stainings per color at once. As you can see, in the end, it’s up to you to decide what mixture of colors that you’d like and how shiny you’d like the finish to be.
The Cost of DIY Concrete Countertops
First and foremost, because you’ll be the one making the concrete countertop, you’re already getting rid of the big fee typically associated with hiring someone to do it for you. Apart from that, though, it’s a cheaper alternative to Granite, let alone more durable while offers way more design options. Now, although we can’t tell you exactly how much concrete countertops cost, it’s estimated that it would be anywhere from two to three grand for a 30 square foot kitchen counter, for instance. That being said, depending on the number of tools that you already have and how big your space is, that price can increase or decrease by a couple hundred bucks. In addition, it also depends on where you get everything. Here at Concrete Countertop Solutions, we can guarantee that you’ll be getting the best prices for the highest quality tools and materials possible. In other words, you know that you will be getting your money’s worth. In the end, the cost is always worth it because the outcome is your very own, personalized countertop that you know will last you a lifetime. Now, how can you put a price on that?