DIY Bathroom Restoration Step by Step Guide with Lessons Learned
Hello beautiful Humans! Today I wanted to show a walkthrough for my bathroom restoration project and give some of my lessons learned from the project.
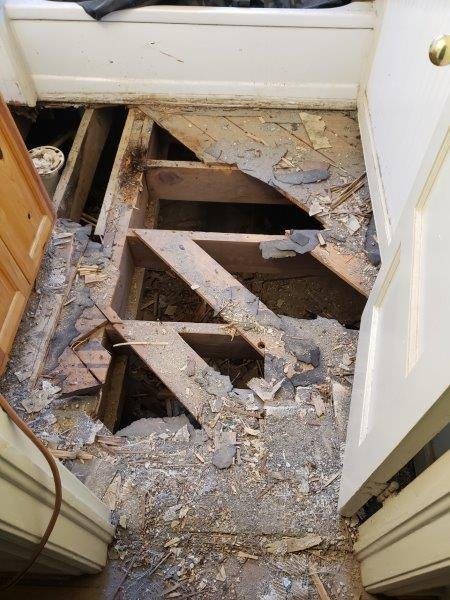
This project started with the demolition of the existing tile bathroom flooring. Most of the wood surrounding the toilet area had rotted away even through the sub flooring.
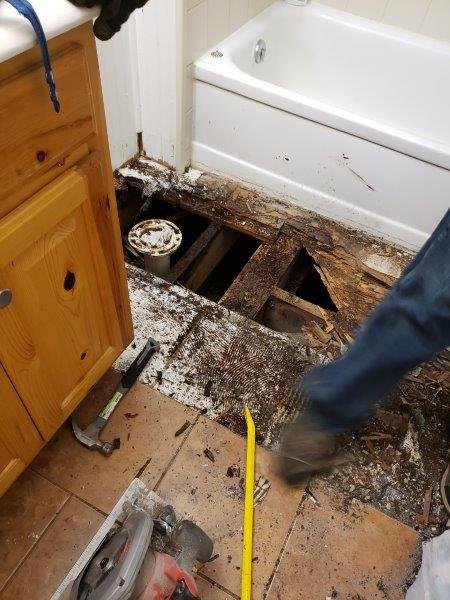
With my Dads help we removed only the flooring around the area of the toilet that was affected.
After getting a majority of the tile up I decided it only made sense to remove and replace the entire floor because obtaining the correct floor level and obtaining and cutting the tile would take more time than just replacing the entire floor.

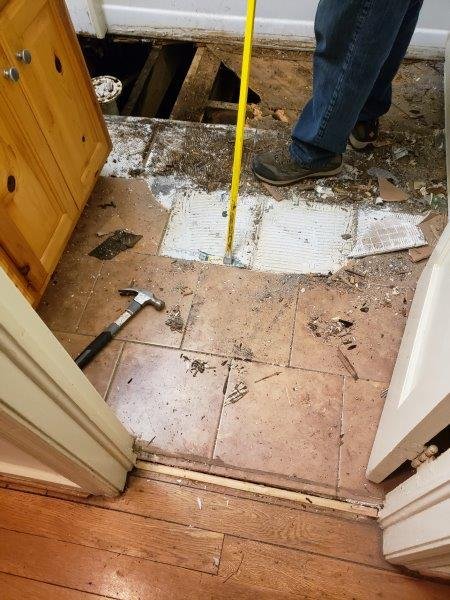
We continued demolition using a long crowbar and my hatchet with a hammer.
A smaller sledge hammer would've been perfect for this job, but I had to use what I already had. You need to get a good deal of force behind something solid to remove the old tile from the mortar.
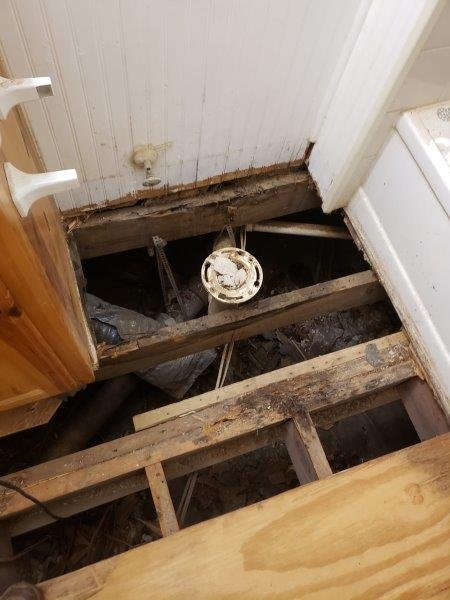
It was revealed that the previous owners had built on top of some old vinyl tile so there were several layers of floor that had been built up in the bathroom.
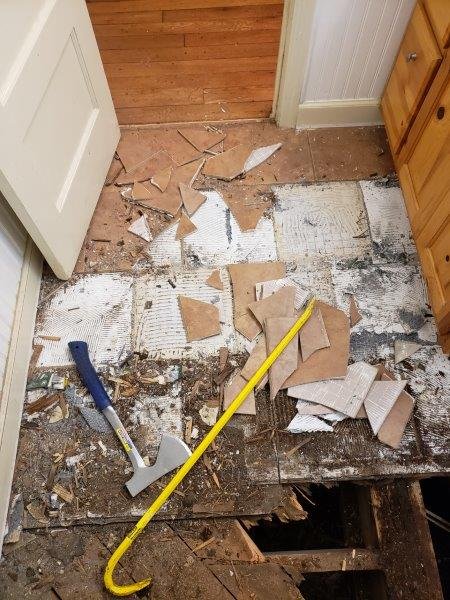
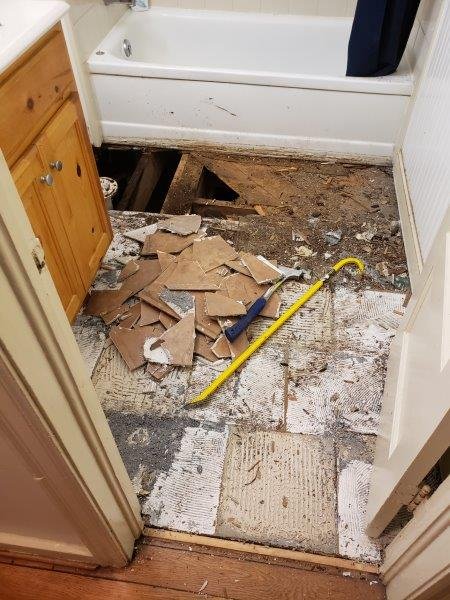
The demolition work was no small feat and ended up taking 3 days to complete.

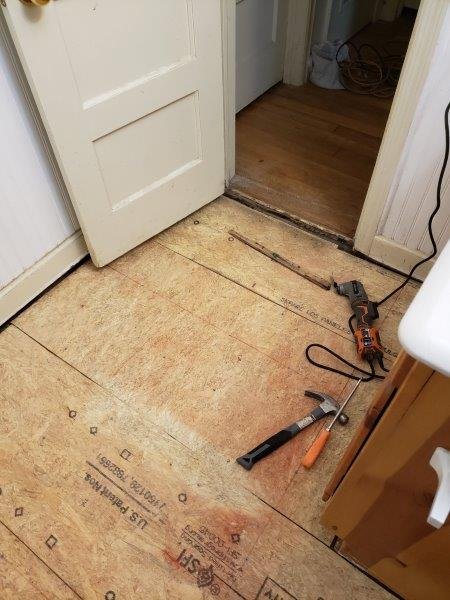
A few strips of subfloor were left to make it easier to walk on while the demo work continued.
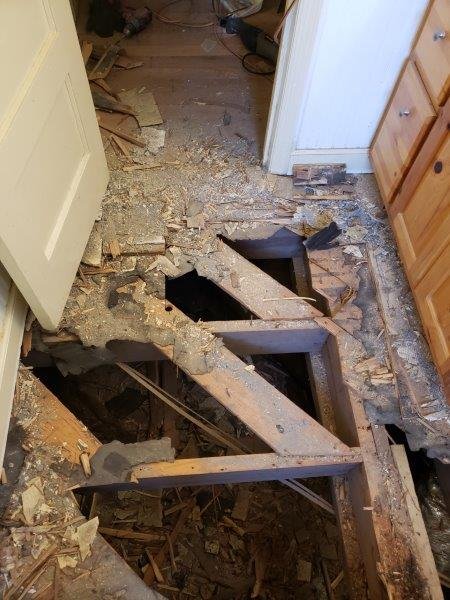
It was quite challenging to cut into the subfloor as it was all hardwood planking. Eventually we decided to use a circular saw to remove the boards as close to the walls as possible.

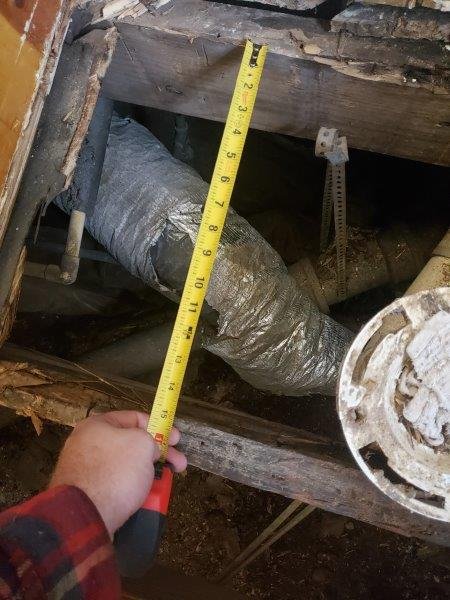
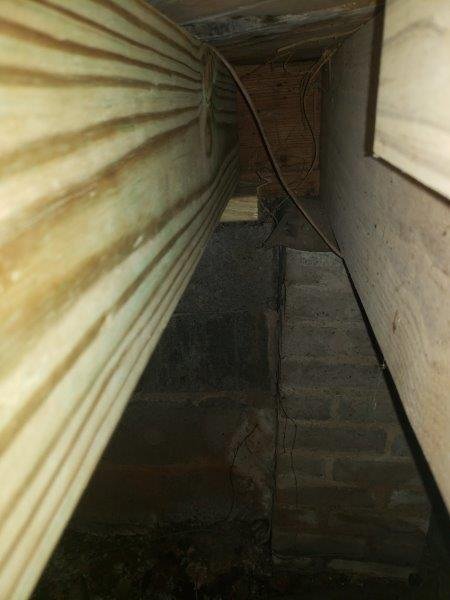
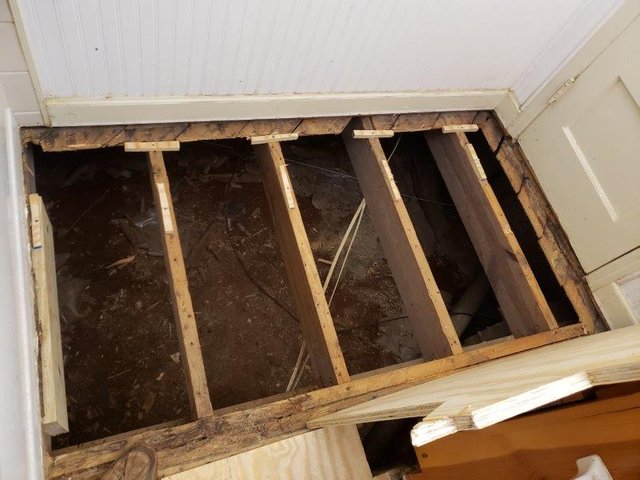
I laid down a scrap piece of 3/4" plywood to help move around instead of balancing on the joists. As you can see in this photo there was work that needed to be done to reinforce the joists surrounding the toilet. Two 2x8' x 8' boards were used to create these supports.
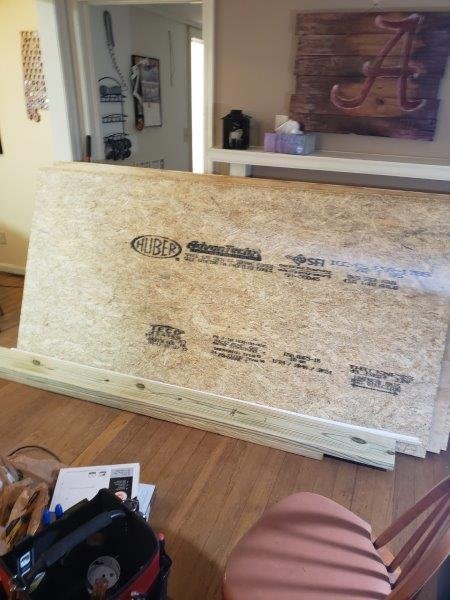
Material were purchased for the new subfloor and finish floor as well as the 2x8' boards and necessary hardware needed for installation. It was a lot of fun moving those pieces of plywood around myself. I had no help for a couple days so I had to use some brute force and muscle to move the plywood. If I was smarter I would have built or went and bought a moving dolly from Harbor Freight.
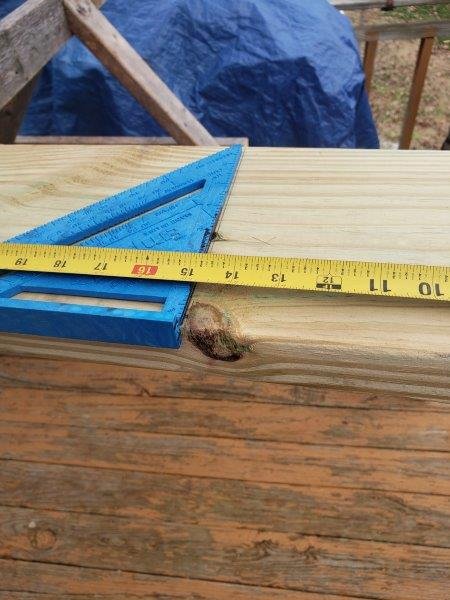
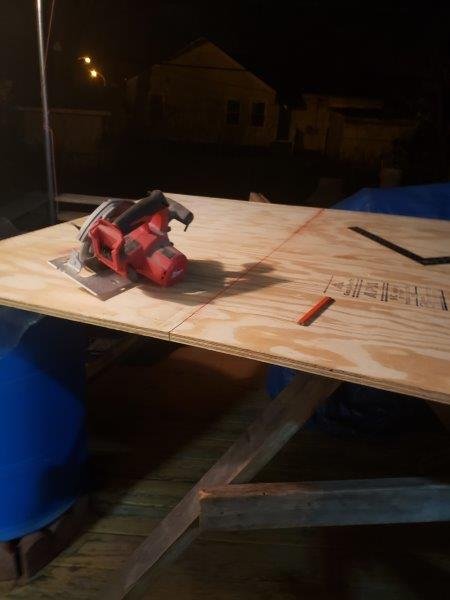
I measured out the length of 2x8' that I needed to cut to add for reinforcement for the joists around the toilet.
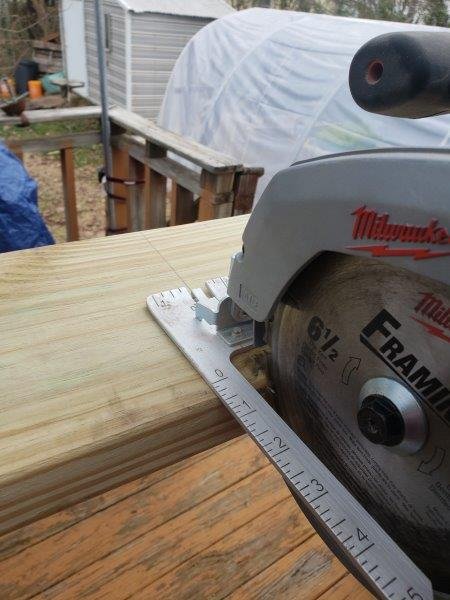
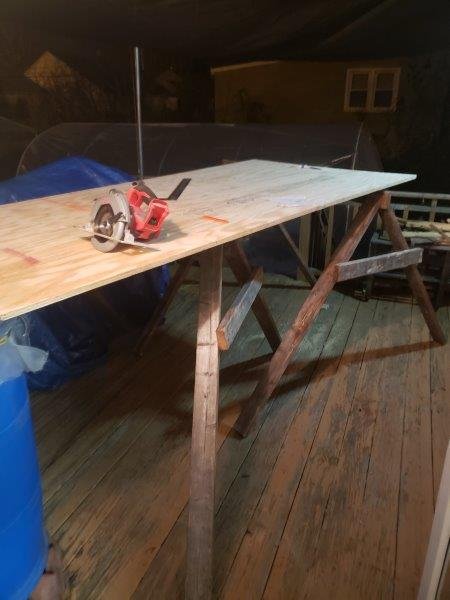
I then proceeded to measure and cut with a cordless circular saw on some of my homemade sawhorses.
I noticed that the treated 2x8' smell like powdered sugar doughnuts when I did my cuts. Probably not the best thing to inhale so I recommend always wear a dust mask and safety glasses when doing this work :)
I test fit the boards before adding the mounting steel hangar brackets and deck screws that were used to attach to the joists.
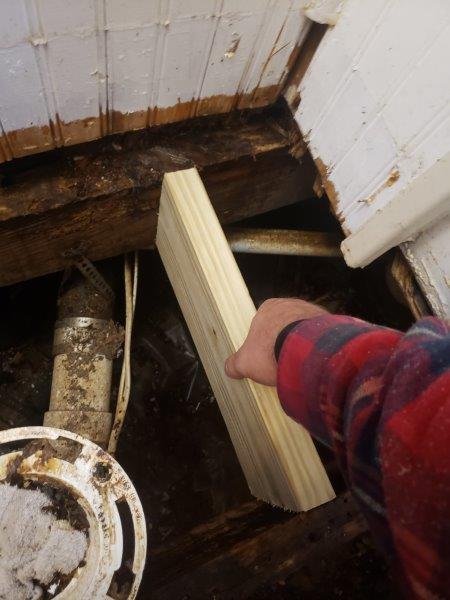
Here is one of the boards I installed just under the vanity as I removed one of the boards supports that lie beneath.

Here is how the 2x8' boards were set up with the steel hangar brackets.
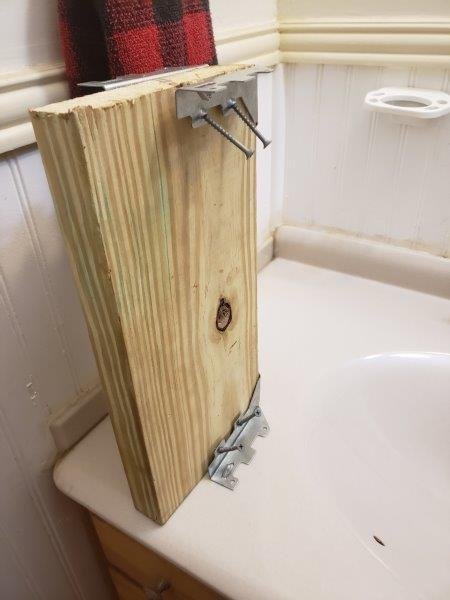
I had to get a little creative using one of my 8' board sections and flip the hangar around in order to give it some support for installation.
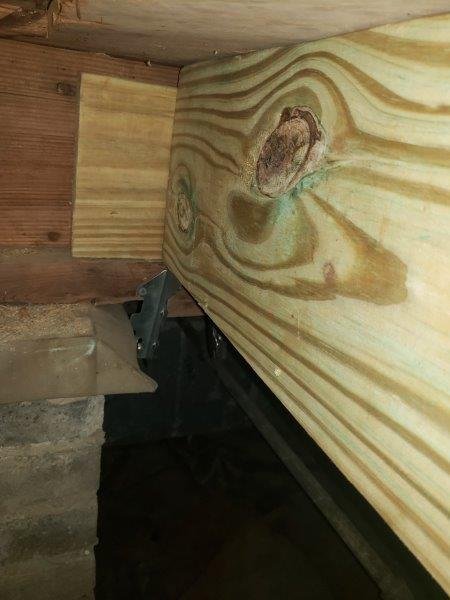
The opposite side was set up to be supported with a section of 2x8' resting on a chipped piece of concrete that I was able to wedge under the board to allow the new board to mate snugly against the subfloor. This board was screwed liberally down the entire length of the board on both sides alternating the screws in a zig zag pattern.
Here's the results from that work.

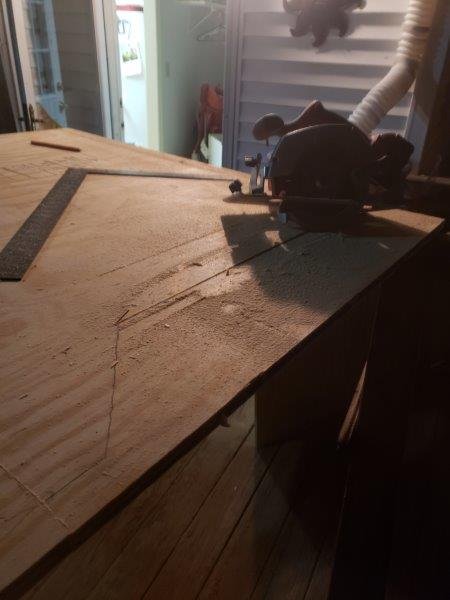
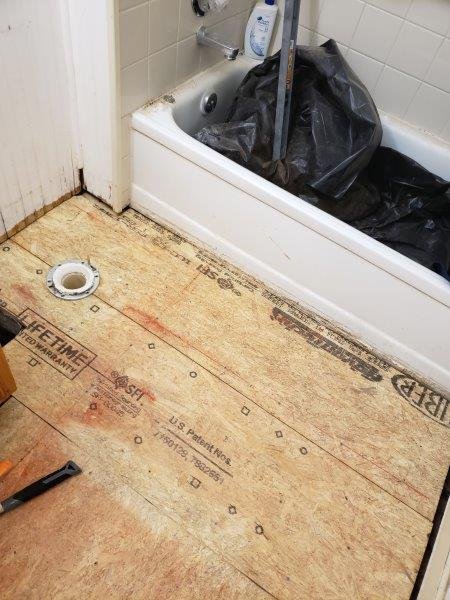
It was then time to measure and cut sections needed for the new subfloor which was 3/4" plywood.
I decided to cut 2 sections of the plywood in case this event may happen in the future.
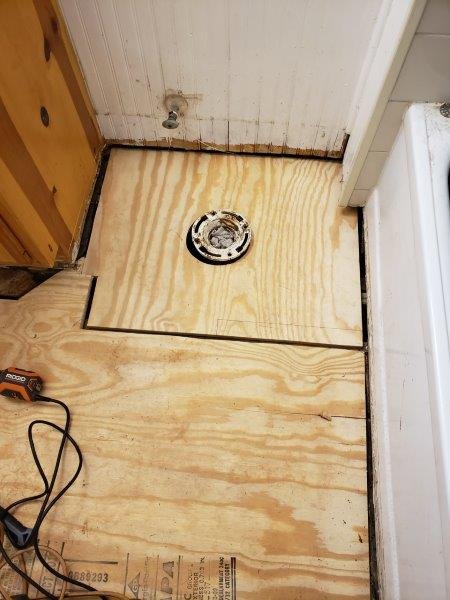
I cut one section to go just around the toilet area.
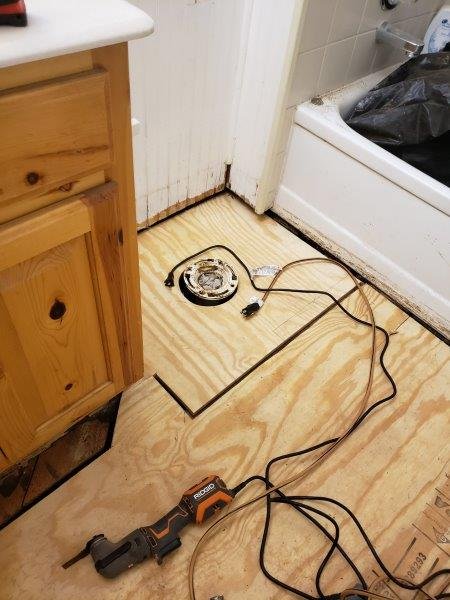
The other section covered the rest of the floor in the bathroom.
Here was the result of that operation. We had to purchase this rigid reciprocal saw tool in order to cut away the old floor right up against the vanity. We could have removed the vanity, but it was going to be even more trouble/time so I scrapped its removal and just added that extra support for the subfloor that was needed below the vanity.
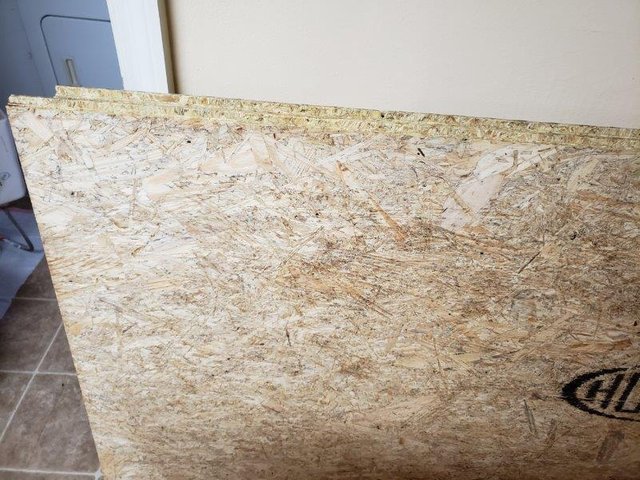
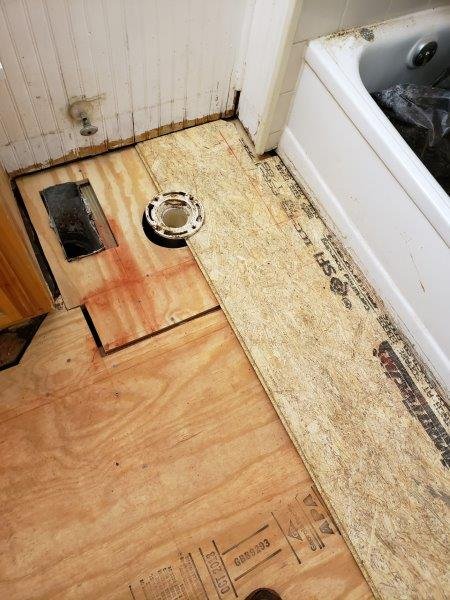
Here the 3/4" osb that is supposed to be waterproof that was used for the finish flooring. We originally bought 2 sheets of this and the plywood to make sure we had enough, but ended up returning the second sheet of both.
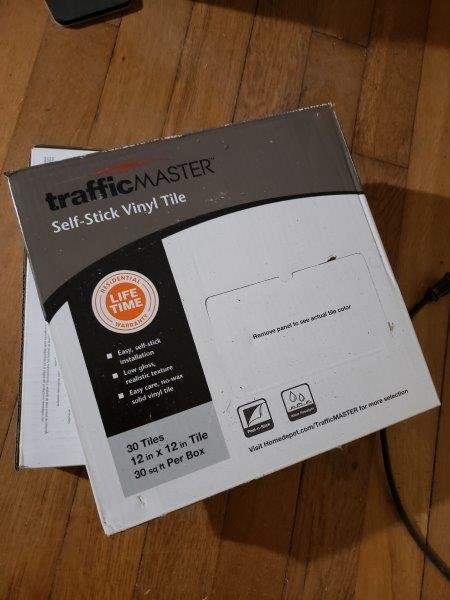
I decided to use self stick vinyl tile as I was familiar with it having helped a friend install it at his house this year.
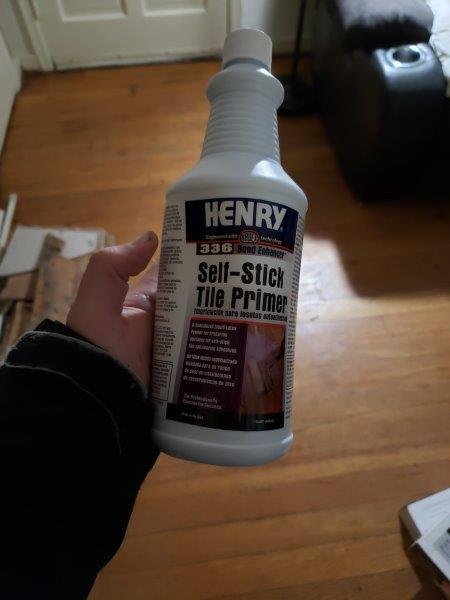
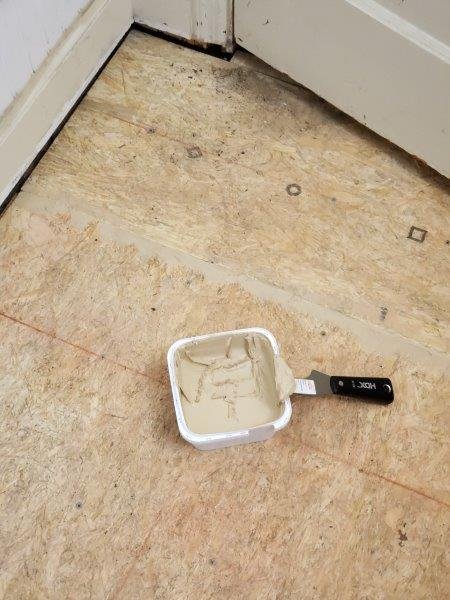
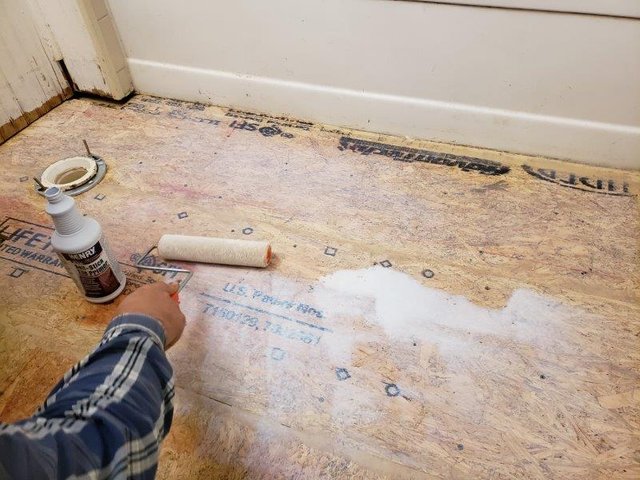
It was recommended to paint a layer of this tile primer product to help the tile stick to the finish floor material.
Before the new subfloor could be screwed down the floor needed to be shimmed and leveled. It turned out the floor was sloping away from the toilet about 3/4" so I used some of the scrap plywood to create some shims that would help level the floor.
Once that process was complete I marked where the joists were on the walls and baseboards and created chalk lines to let me know where my joists were. I screwed the plywood down along the joist using 2&1/2" deck screws at a 6" spacing along each joist.
It was then time to put down the finish floor.
I cut the floor in sections in the opposite orientation to the subfloor. I used the sections as it is supposed to keep the floor from creaking over time.
There was a high spot in the middle of the floor that was sanded down using a 60grit sandpaper and the Rigid reciprocal tool (this tool was a major lifesaver in this project).
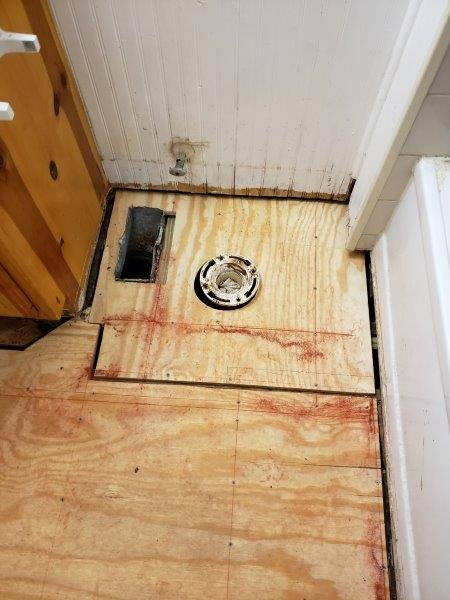
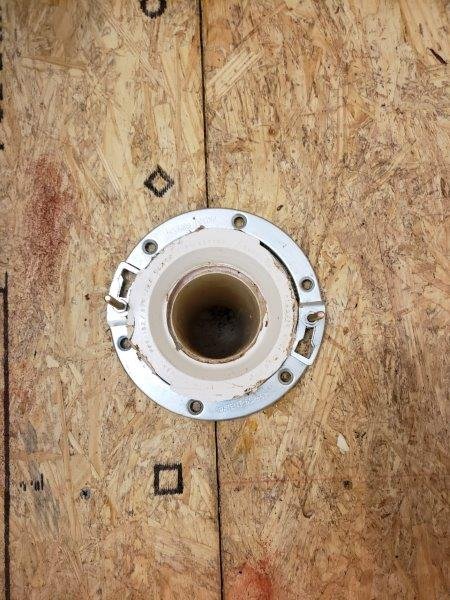
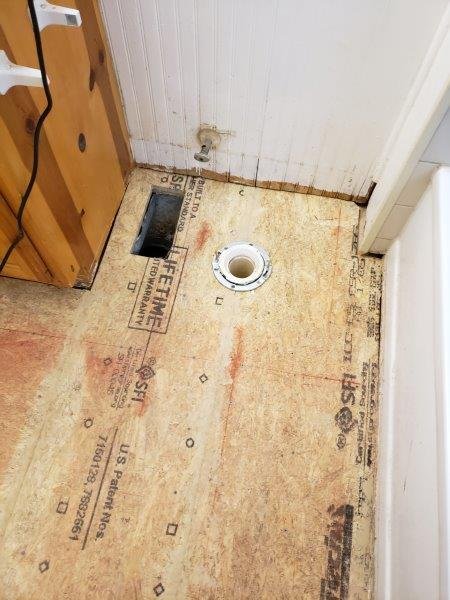
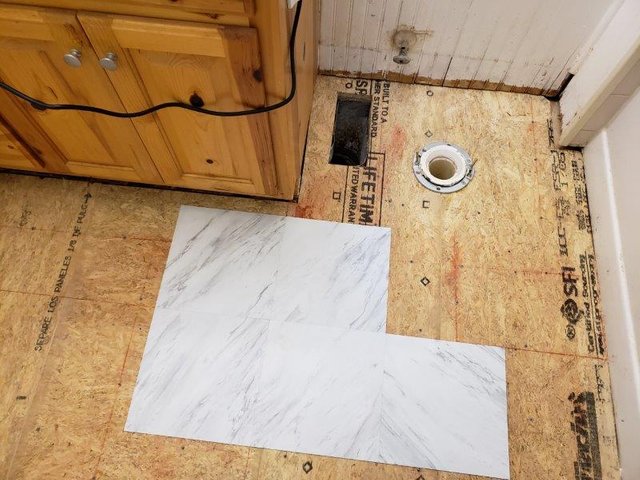
The plastic around the toilet flange was cracked and we found a metal product that slips around the plastic flange that repairs it.
I used wood putty to fill the gaps between the floorboards and allow it to dry then came back to sand smooth with an 80 grit paper.
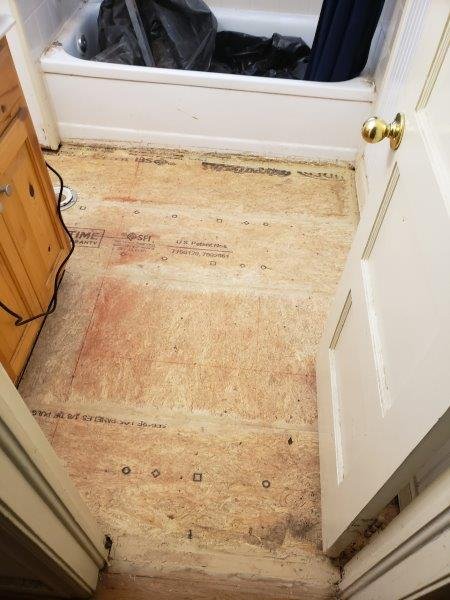
Here's the floor after that was completed.
I then layed down chalk lines again for my joists and put several screws down to fasten the finish floor down to the subfloor. Once the floor was screwed into the joists I put several screws in between to make sure the floor pulled down well to the subfloor and wasn't going to flex in the future.
I rolled out the self stick tile primer across the entire floor starting around the tub/toilet and working my way back to the door.
I measured and found the center of both walls and laid down chalk lines to create my central tile placement. This step is critical for tile as the first tiles are laid using this center mark. The first 4 tiles were placed edge to edge in the center of the chalk lines. Once those tiles are placed you move outward placing full tiles until you make your custom cuts around the walls, toilet, tub, and vent.
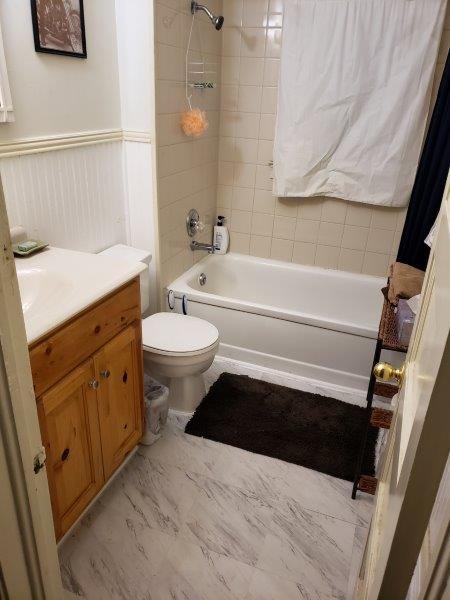
The final step was to add 1/4" round along the baseboards of the walls and in front of the tub. The Quarter round was glued with gorilla glue for vinyl/wood around the tub and the toilet and hammered in with finish nails along the walls. We used a white GE11 silicone to seal everything up at the end.
Here was the final result!
Thank you for your time if you gave this post a read!
If you enjoy my content and efforts please consider the following ways to support me.
I have some homemade products for sale @ https://homesteaderscoop.com/store/thetinkertribe/ grab a homemade upcycled candle or a T-shirt hand pressed by a local friend.
Make a one time donation:
https://paypal.me/Gregmakinstuff
Bitcoin Addy: 15JkFZp7L9k62JSi5XvvEzmwe22Djv3ZX2
As always if you Follow, Upvote, and Re-steem it really helps me out as well!

Howdy sir makinstuff! what a job, really professional and with beautiful results too!
Congratulations, your post has been selected to be included in my weekly Sustainability Curation Digest for the Minnow Support Project.
Editor of the The State of Steem SoS Daily News.
Promoter of The State of Steem SoS Weekly Forums.
Editor of the weekly listing of steem radio shows, podcasts & social broadcasts.
Founder of the A Dollar A Day charitable giving project.
Thank you so much good sir!
Posted using Partiko Android
👍
Nice job, glad you used treated Lumber underneath! That will work well for you down the road. Attractive floor. I put a similar floor down in a rental house 25 years ago. and it still looks good. Good choice.
Stay Blessed!
:)>Awesome, glad its done and I do hope its going to last a long time now.
Me too, hope it lasts a long time for you! I hate that kind of work, myself. But it is exactly what I am headed for soon myself, LOL.
There are several rooms with substantial floor damage there I have to fix first. But it was included free with the land. It is the best free house I have ever had!
What a mess....
:)>Great work looks like itll last for a long time, those white tiles really brighten the room looks awesome bet your glad its finished so you can get back to the trailer 😅
Posted using Partiko Android
Thanks @digitaldan I'm so glad it's finished.
Posted using Partiko Android
This post was shared in the Curation Collective Discord community for curators, and upvoted and resteemed by the @c-squared community account after manual review.
@c-squared runs a community witness. Please consider using one of your witness votes on us here
Thank you so much!
Posted using Partiko Android