How to Make a Flannel Shirt Pillow Cover: Memory Pillows
Hi Steemit friends!! Does anyone else like to change the decor and color scheme in their living room all the time? I know I do! If your like me and like to change the decor in your space frequently, you're probably always looking for easy inexpensive ways to achieve a new look on a budget. One of the things I love to do is to switch out my pillow covers!! Pillow covers are so easy to make and transforms a room in no time! I love picking out new fabric (or old) and whipping up some covers in an hour or two!
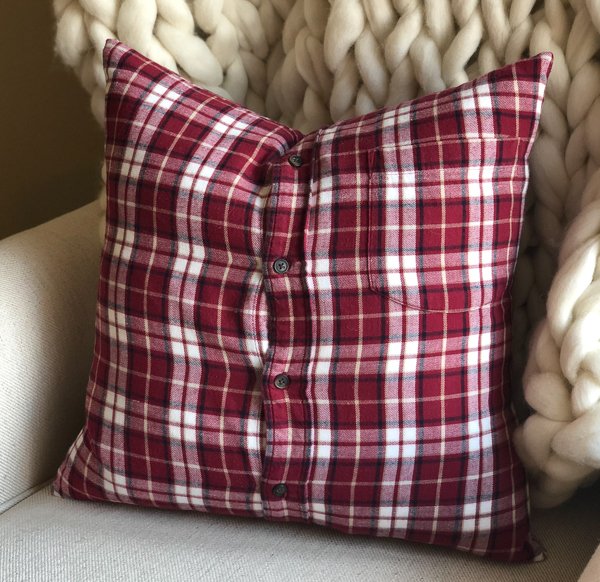
In light of my major pillow making kick lately, I am excited to announce that over the next few weeks I will be sharing a series of different techniques on how to make pillow covers! Today I am going to share with you how to make a pillow cover using an old flannel shirt! I love all of my pillows, but my favorite has to be the pillow covers I made out of my grandpas' old shirts! (one of which is this flannel shirt)

This DIY sewing project had been on my to do list for quite awhile (this list seems to grow faster than it gets accomplished haha). I'm so glad I finally got around to making the memory pillow covers. Memory pillows are such a unique way to upcycle something with sentimental value that most likely would have gone to the Goodwill or thrift store otherwise. You can also make pillow covers from sweaters or pretty much any shirt you want.
Okay, now lets get started on how to make your own flannel shirt pillow cover.
I used two different techniques to make the pillow covers. For the flannel shirt I was able to sew completely around the perimeter because the shirt had a button closure. For the collared t-shirt I used an envelope closure. (I'll be sharing a tutorial on how to make an envelope pillow cover next week!)


Before you start your project you should know what size pillow form you are going to use. Mine is an 18" X 18". Making the cover smaller gives your pillow a nice full look. If you were to make the pillow cover the same size it would be loose fitting on the pillow.
Since my pillow form is 18"X 18", I wanted my final sewn cover to measure 17" X 17".
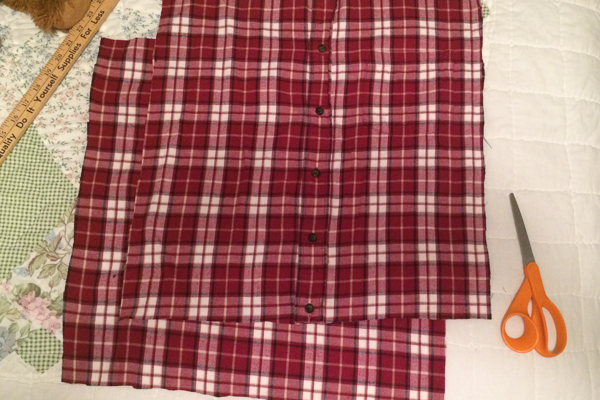
Lay your shirt out flat. First, measure equal distance from the center of the buttons on each side. I made mine 9" on each side, keeping in mind that I had to allow for a 1/2" seam on each side of the pillow when sewing it. Cut the shirt where you made your marks. Next, measure 18" from top to bottom. (I centered this measurement based on where the buttons fell so it would close nicely after it was sewn into a cover)
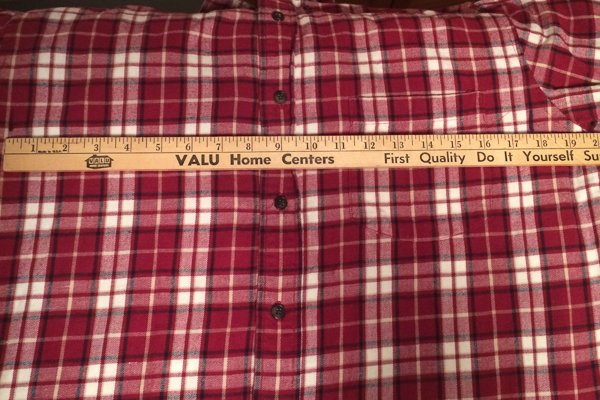
Cutting the flannel shirt in a straight line was super easy because I was able to follow one of the lines in the plaid design.
.jpg)
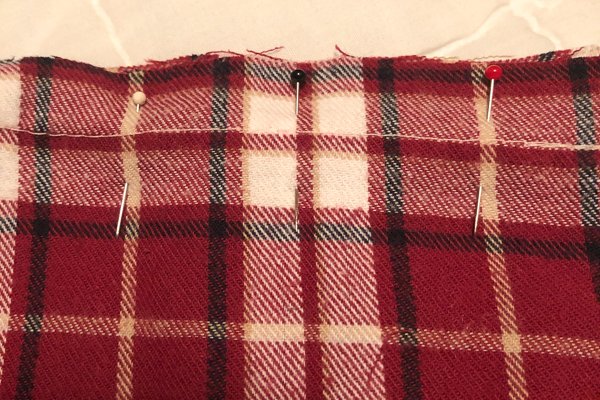
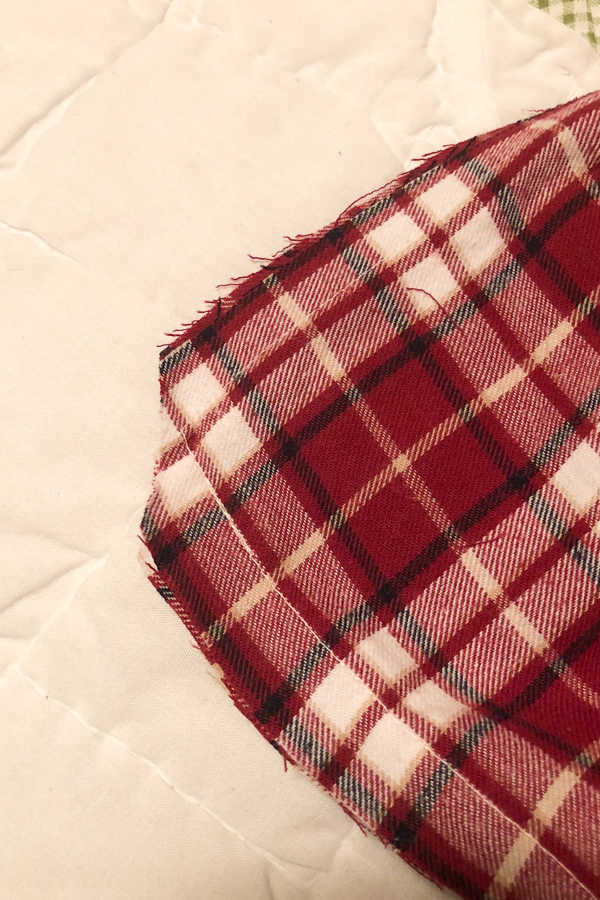
After your pieces are cut, lay them face side together and pin all the way around the perimeter. (Before you do this you may want to unbutton some of the buttons so its easier to turn right side out after you sew the cover together.) Once pinned, sew with a 1/2" seam all the way around the perimeter, making sure to backstitch at both ends.
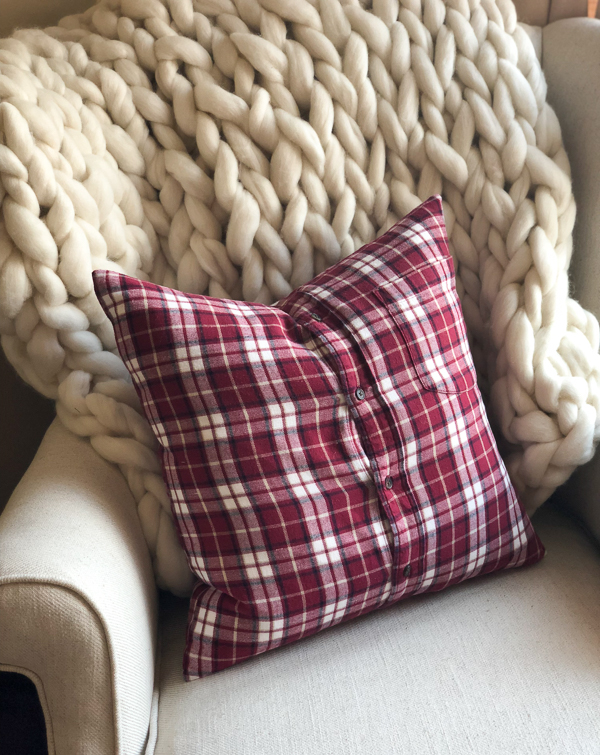

This is one of the easiest pillow cover sewing projects I've done. It actually took longer to measure and cut the fabric than it did to sew it! I just love the idea of using my grandpas' old shirts to make pillow covers. It brings such wonderful memories of them every time I see the pillows. My grandma keeps the pillow I made her in her bedroom and she loves to tell everyone about it!
Have you made memory pillow covers or plan to make them now? I'd love to see them! Feel free to share your pillow pics in the comments, or tag me on Instagram or Facebook!
The next DIY tutorial I will be sharing is how to sew an envelope pillow cover, so stay tuned for that!
Congratulations @poppiejanes! You have received a personal award!
Click on the badge to view your Board of Honor.
Do not miss the last post from @steemitboard:
Congratulations @poppiejanes! You received a personal award!
You can view your badges on your Steem Board and compare to others on the Steem Ranking
Vote for @Steemitboard as a witness to get one more award and increased upvotes!