Getting My Rear End in Gear - Part 1
I'm really on a roll with these #diy projects lately. Now that I've got all the tools in place I've begun working on fixing the rear end on my truck. As I said in my travel blog post about the cross-country move, something in the drivetrain started howling. It sounded like a siren that would change pitch with the vehicle speed. My suspicion was the pinion bearing on the rear end after I did some research online about the noise. Let's find out.
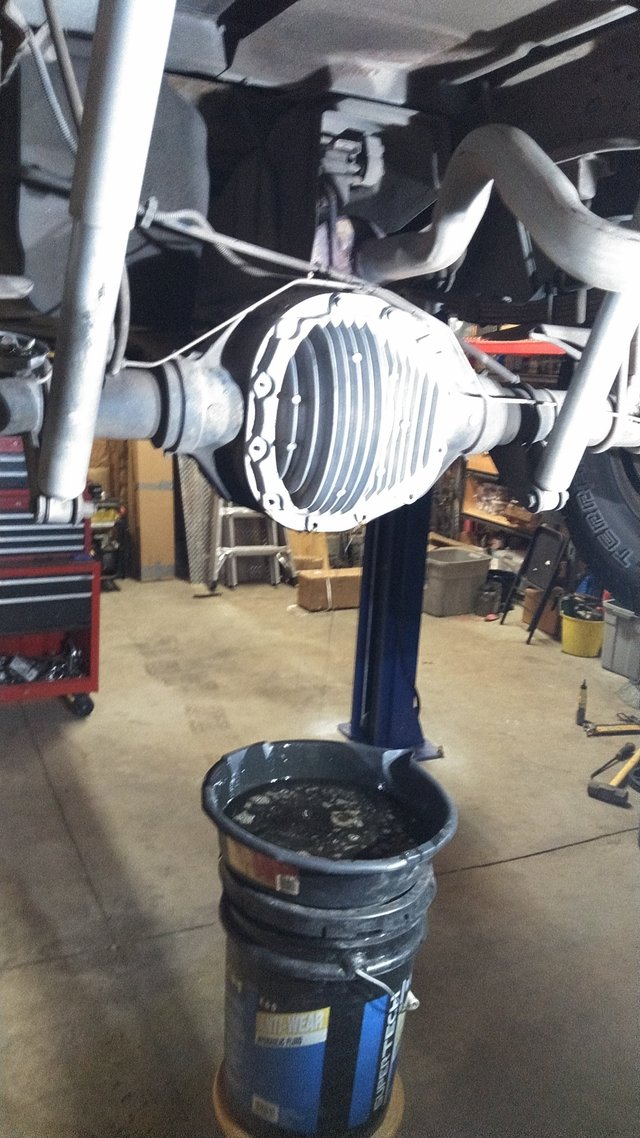
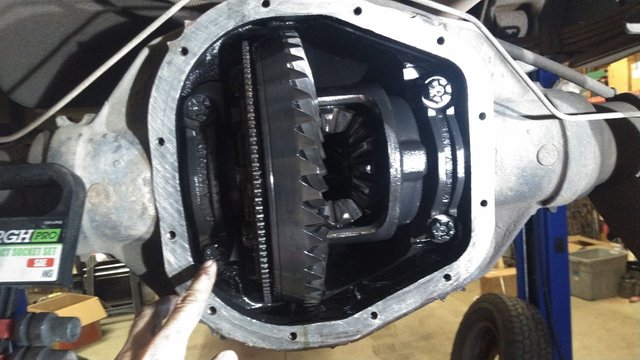
After moving the spare tire out of the way I had to pull off the diff cover.
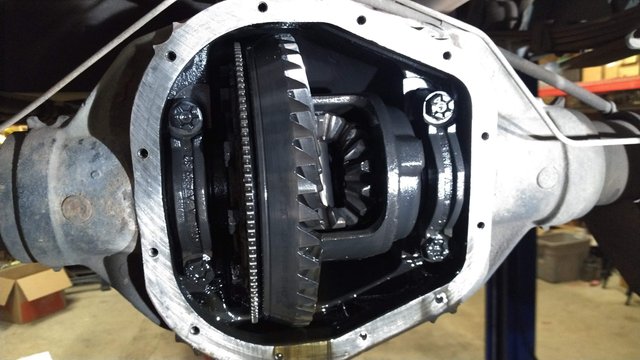
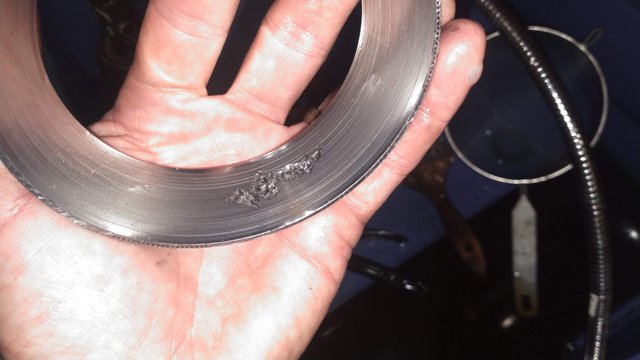
Everything in here looks surprisingly good except for the glittery metal flake in the gear oil. The gear teeth look like they're still in pretty good shape.
To get the diff carrier out I had to pull the axles first. It's pretty easy on these 10.5" Sterling (Ford) rear ends because they're full floaters and don't have c-clips that need to be removed. They just slide right out once they're unbolted from the hubs.
Next I pulled these four bolts to get the carrier bearing caps off. Prying this out is always interesting because it's really heavy, but with the shims in there so tight it won't just slide out. If you aren't careful they'll pop out unexpectedly, and if you're trying to save the existing gear set that's a very bad time right there.
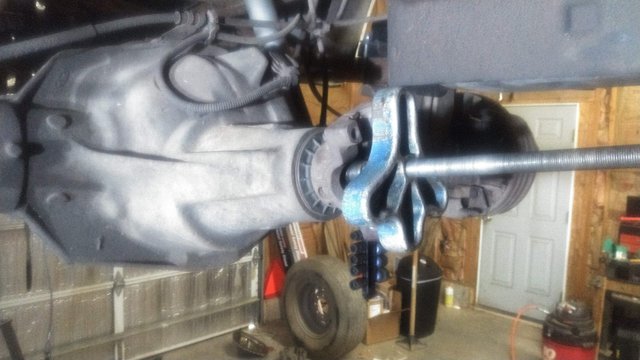
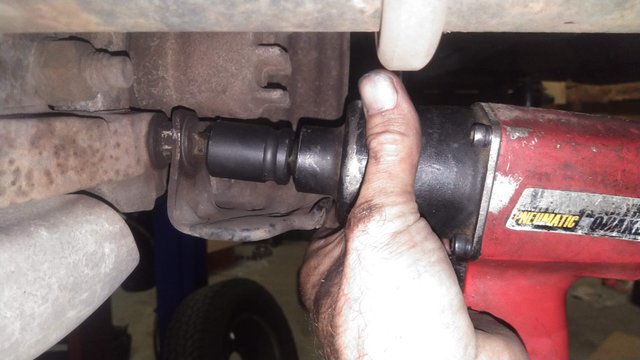
I used this wheel puller to pull the driveshaft yoke off. Sometimes these just slide off but on this one they're a press fit.
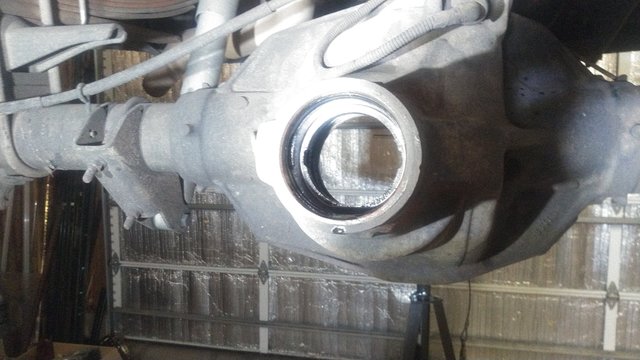
With the yoke off I drove out the pinion assembly and then the bearing races and front seal. Time for an inspection to see what failed.
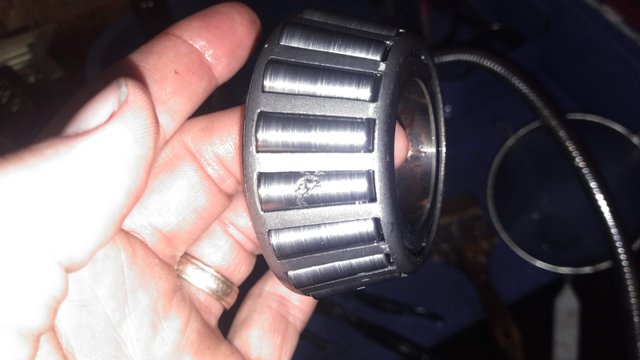
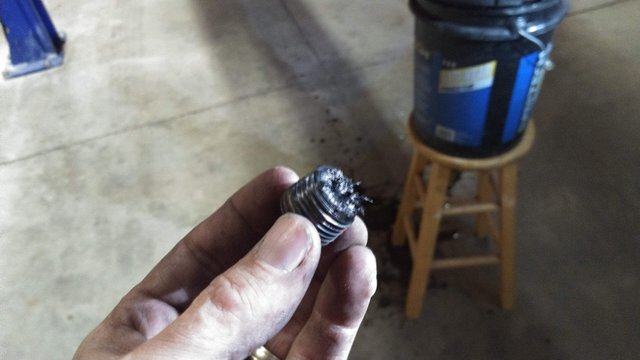
Here is the front pinion bearing and the rear pinion bearing race, and as you can see, they've got some horrendous pitting. What's interesting is that the front pinion race and the rear pinion bearing looked fine with only minor scoring. I'm wondering if I over-tightened these when I swapped out the seal a couple years ago when the truck was new to me. In my research I found that this is typical damage seen on a vehicle with over a hundred thousand miles. These bearings have twice that on them, and with 4.30:1 gear ratio, they spin more than on a typical car with lower numerical gear ratio, so it's a good chance they just wore out. I also found evidence of hammering on the spider gears showing me that someone was probably doing burnouts with this at one point. These trucks are prone to axle wrap and wheel hop under wheel spin so it's really hard on the drivetrain. That might have had something to do with this as well.
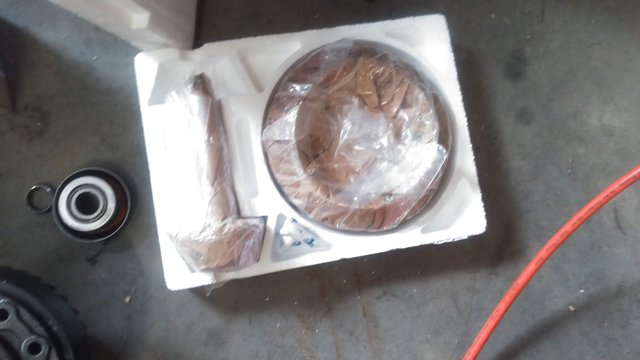
I could probably reuse the gears on this rear end without issue but I've been wanting to re-gear this truck since I bought it. With the 6.8L (415 ci) V10 engine this truck has more than enough torque to haul or pull anything that a pickup truck will see at pretty much any RPM, so I think the 4.30:1 gears are overkill. They make first gear useless in most driving situations and the highway gas mileage takes a huge hit as well. These came factory optioned with 3.73:1 gears, so I decided to go with those.
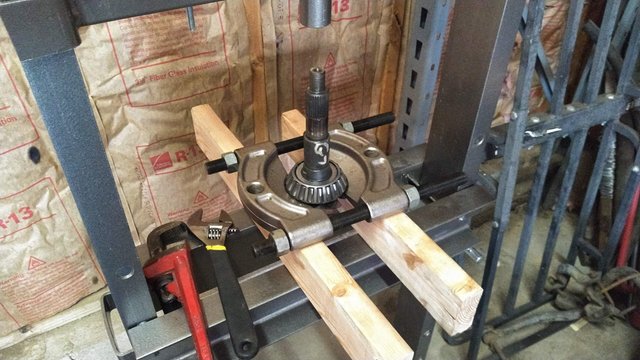
I need the old bearings to set up the new gears, so here I am pressing them off. The trick is to widen the bore on the bearing ever so slightly so that it's more of a slip fit than the press fit the new bearings will have. This allows easy disassembly once the pinion depth shims are set and the pinion can then be installed permanently with a crush collar and the new bearings pressed in place.
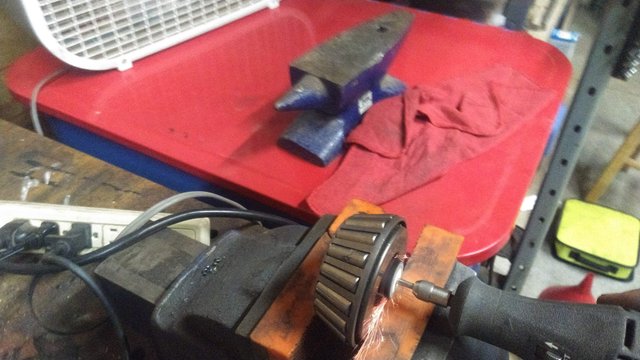
I used an 80 grit flap wheel on my dremel tool to do the grinding. If you ever do this be careful when test fitting. Grinding on these will make them warm and metal grows when it's warm. It can quickly cool once it's set on the pinion and can shrink into a press fit on you.
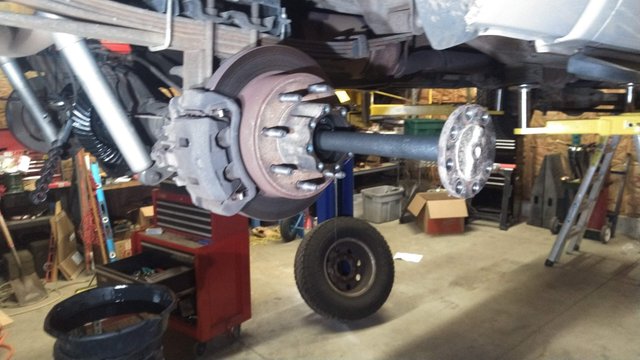
I was getting a little ahead of myself with the differential setup since I plan on doing the wheel bearings and seals, and I also needed to clean all the old gear oil and metallic residue out of the housing. I started by pulling off the calipers.
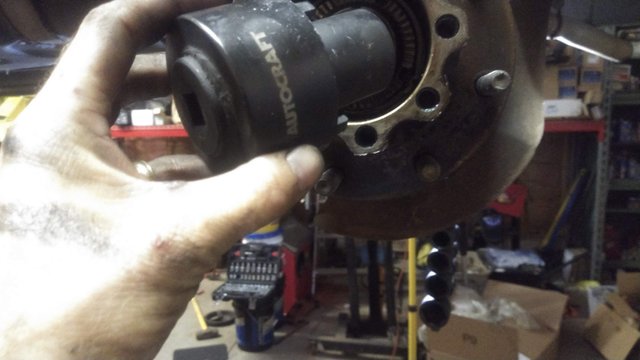
Then the hubs using this special tool. The driver side nut is left hand thread.
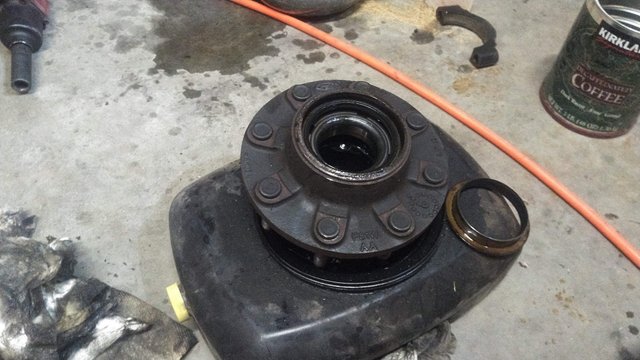
That's as far as I got today before it got too late. I'll include the rest in Part 2 (hopefully there's not a Part 3), although at some point I need to do this same work on the front axle as well. Until then, Steem On!
Questo post è stato condiviso e votato dal team di curatori di discovery-it.
This post was shared and voted by the curators team of discovery-it
Congratulations @randr10! You have completed the following achievement on the Steem blockchain and have been rewarded with new badge(s) :
You can view your badges on your Steem Board and compare to others on the Steem Ranking
If you no longer want to receive notifications, reply to this comment with the word
STOPVote for @Steemitboard as a witness to get one more award and increased upvotes!