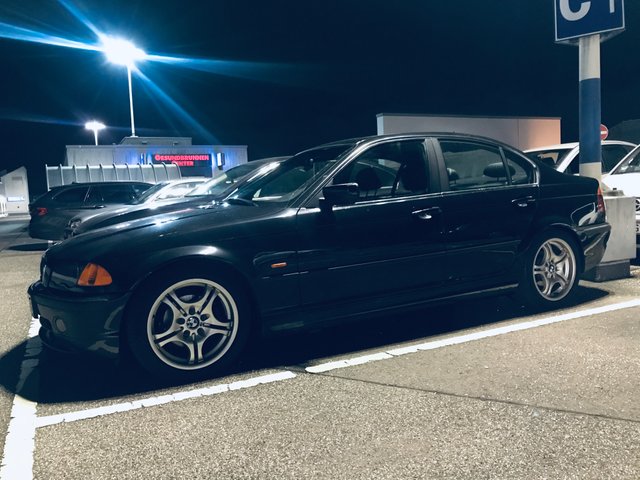
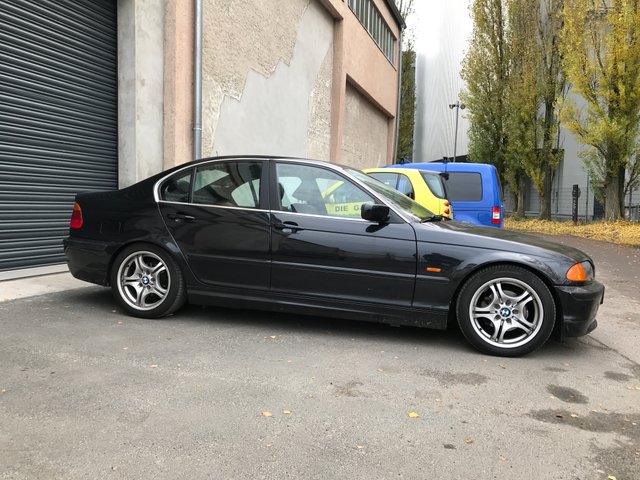
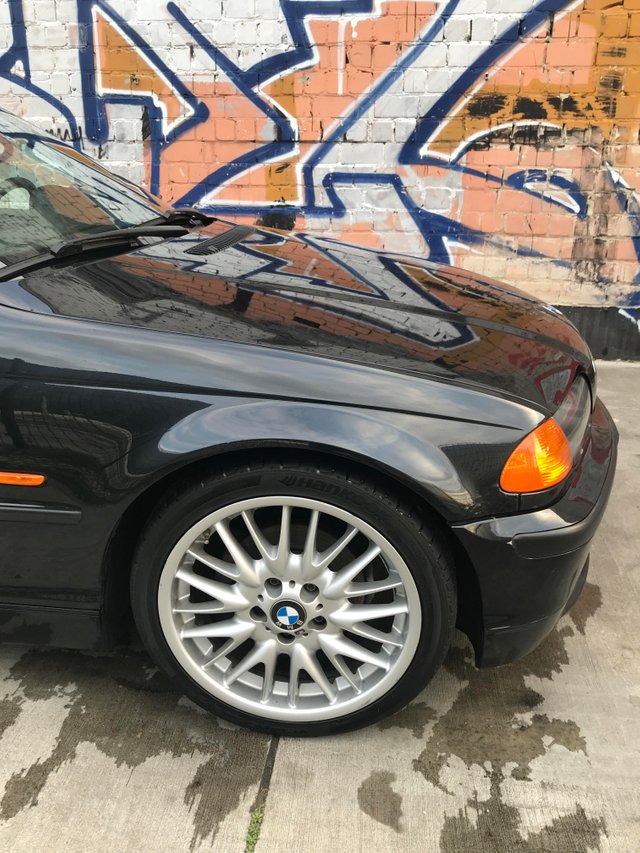
DIY BMW 320i E46 > Propeller Shaft Center Bearing, Leather Door Panels, Sunroofliner, Flex Disc | 2019 Update Pt. 5
Welcome to the final part (5) of my 2019 maintenance and preventative repairs and enhancements update on my '99 BMW 320i.
In case you're wondering what you've missed below is a list of items I covered in the previous 4 posts on last year's work on the car:
- front and rear stab coupling rods replacement
- front and rear stab bushings replacement
- rear spring pad replacement
- transmission oil change
- thermostat replacement
- water pump replacement
- temp sensor and aux fan replacement
- general repairs on the cooling system
- some cosmetic stuff
- engine mounts
- transmission mounts
- removing and installing the roof liner
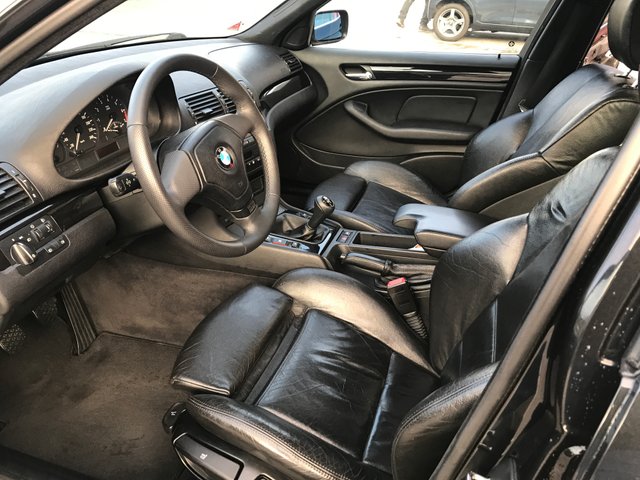
- replacing all seats
At this point we're in November of 2019 and the car had done most the miles that year already which was in total roughly 16.000km. Compared to previous years of 30.000km per year quite a low number and, as usual, most of those were done on the Autobahn at long distance. Total consumption for 2019 was 8.05 liters/100 km compared to 5.55 liters/100km in 2018. The very easy explanation is that I did drive faster more often in 2019 and also did a bit more urban commuting while 2018 was almost exclusively done long distance. Even still, the average range across the whole time I've had the car is 740km per tank of gas (63L). Another reason for this is probably one of the broken lambda nodes which has adverse effects on consumption as it sends faulty data to the ECU. Will check into that some time soon.
For now join me on the remaining 8 weeks of 2019!
Propeller Shaft Center Bearing & Flexdisc
\
This repair is one of those things that rear wheel drive cars go through every few years. The drive shaft has a center bearing which holds it in place and a flex dics which connects it to the transmission. If one of them or both start to go you get vibrations and shaking at first and violent shocks and heavy throbbing at the end. I first noticed a vibration over 180km/h which felt off - coming from the bottom/rear this can only be the driveshaft, the propeller shaft or the wheel bearings.
- Wheel bearings replaced 94.000 km back and doesn't show any of the other typical symptoms
- Driveshaft removed and reinstalled 94.000km back and also no other typical symptoms
- Leaves the Propeller Shaft, more specifically, it's bearing and the flex disc
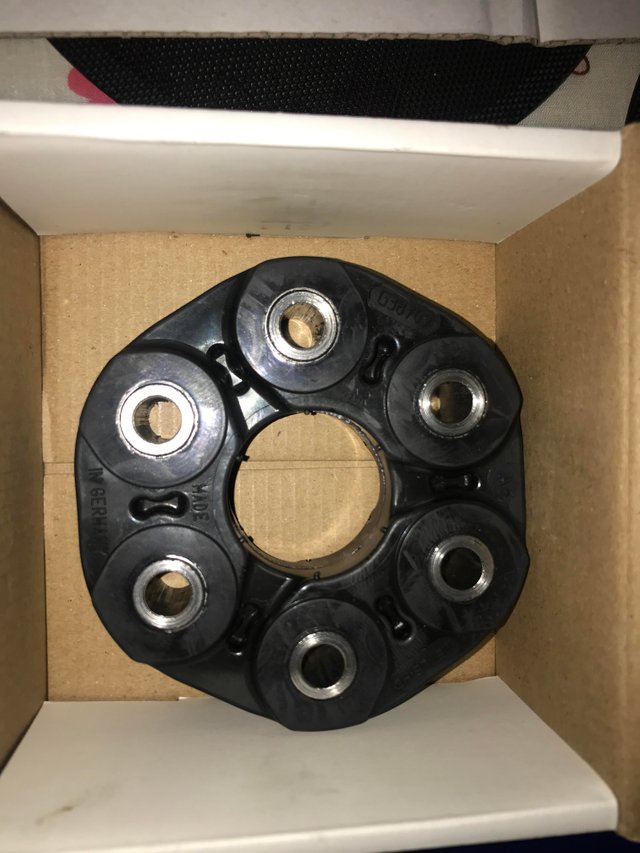
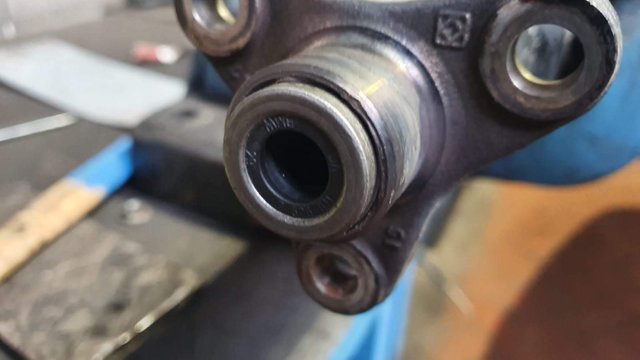
This is the flex disc, matter of fact it is not the correct one as it turned out, but it looks just like that. I had never replaced it and it looked pretty done which you can tell by small (or big) cracks around the metal tubes in the rubber.
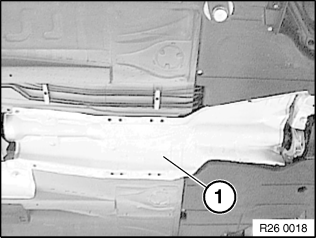
I had this done by a mechanic as I didn't have the time so I don't have many pictures but the one thing you need to consider when you attempt to do this is taking out the exhaust system - it's not even the propeller shaft.
Chances are your bolts, nuts and studs around where the catalytic converters connect to the exhaust are clumpy rusty piles of metal which usually take extreme heat, pressure and will power to get off without destroying them. In my case this is what that looked like:

As you can see nothing actually broke - whoouhouu! Once the exhaust is out of the way it simply a matter of removing the heat insulation...
(Picture BMW AG)
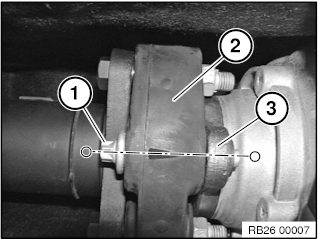
...and then you can disconnect the propeller shaft from the diff, push it forward and loosen the center bearing nuts, loosen the flex disc, support it in the center and tilt it down.
Importantly, the flex disc has a specific way it needs to be installed to avoid vibration and noise later on like this:
(Picture BMW AG)
It has arrows on the disc that need to point towards the transmission once reinstalled.
Also the center bearing has a bitumen based glue-strip which filters out vibration which has to be replaced if it is worn out or simply gone.
Here my old center bearing:
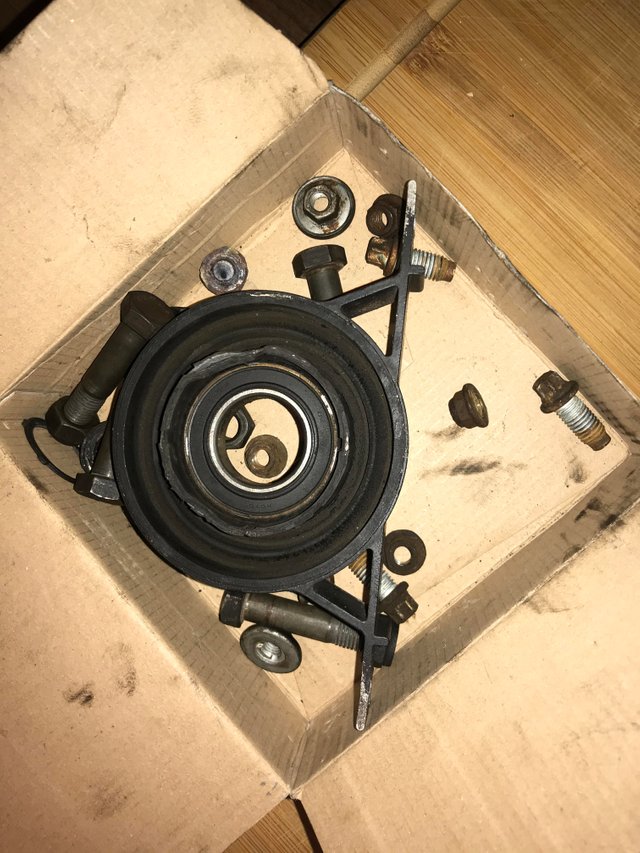
The rubber was in pretty bad condition and it was far from spinning freely.
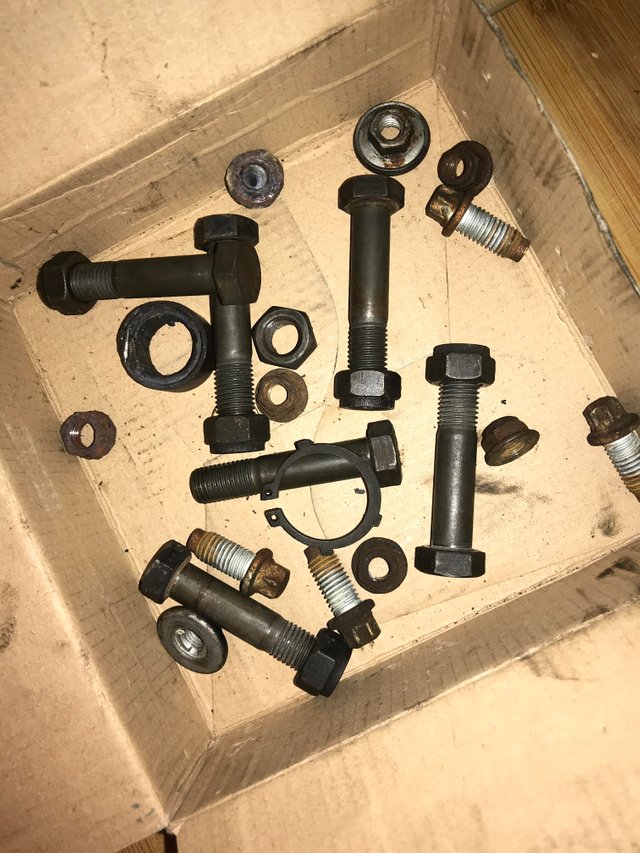
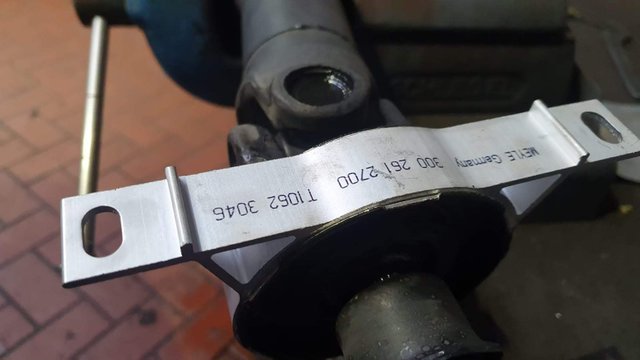
It is recommended by the manufacturer to replace all screws and nuts you're taking it out so the four for the differential, the two nuts for the center bearing and all bolts and nuts for the flex disc were replaced:
Finally, the propeller shaft needs to be disassembled around the center bearing and before it is put back together you need to check the 'alignment ring' for any damage and ideally replace it!
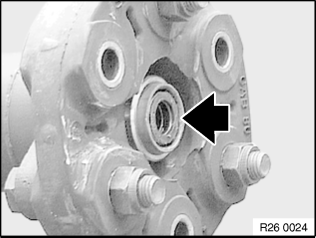
(Picture BMW AG)
Because I have a killer mechanic, he took a pic of exactly that ring for me post repair:
And here it is with the new center bearing installed:
It goes in the same way it came out, attach to the diff, attach to the transmission and then tilt into place before attaching the center.
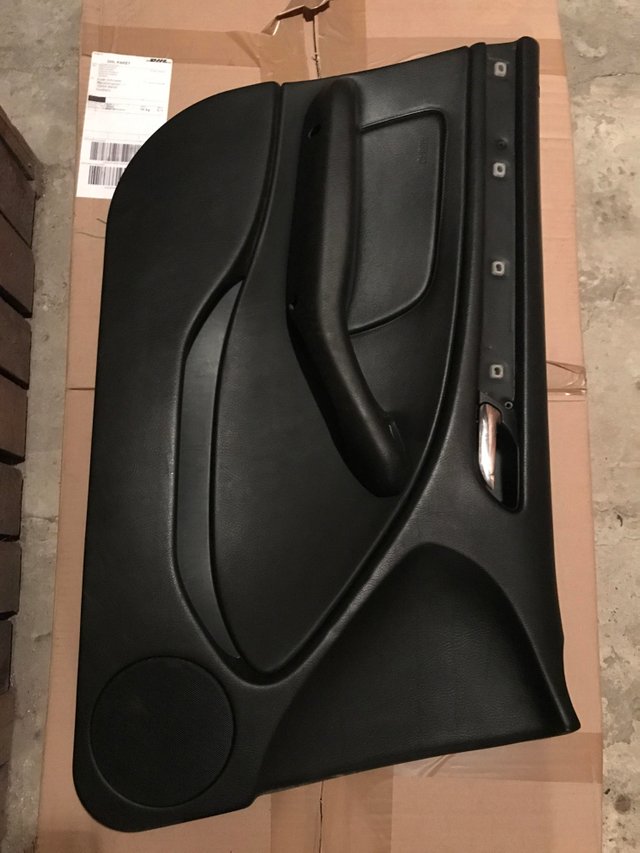
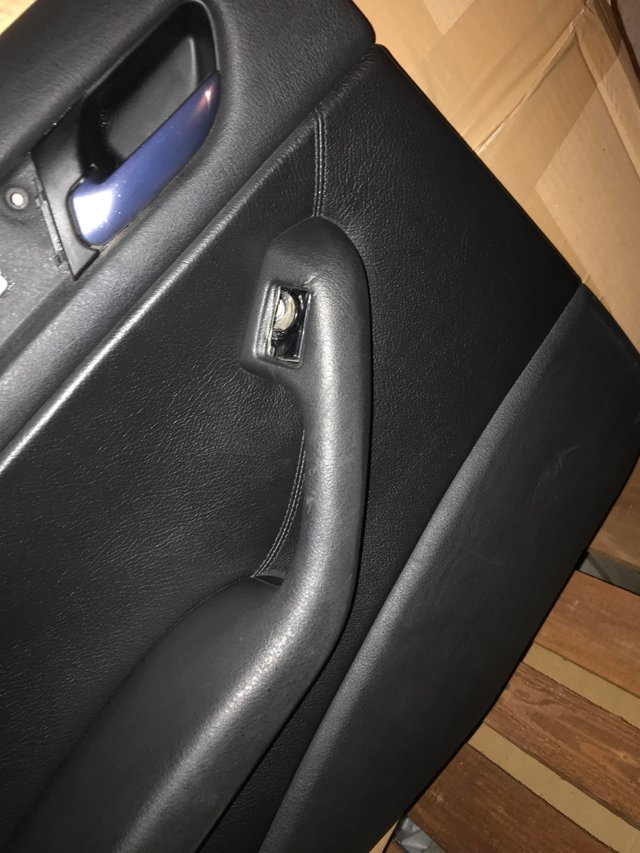
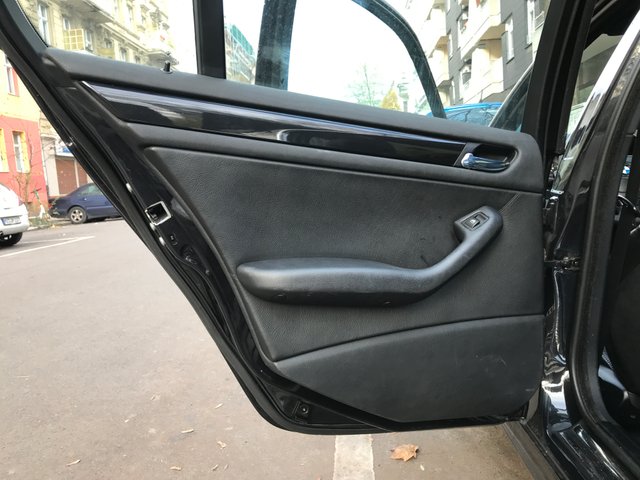
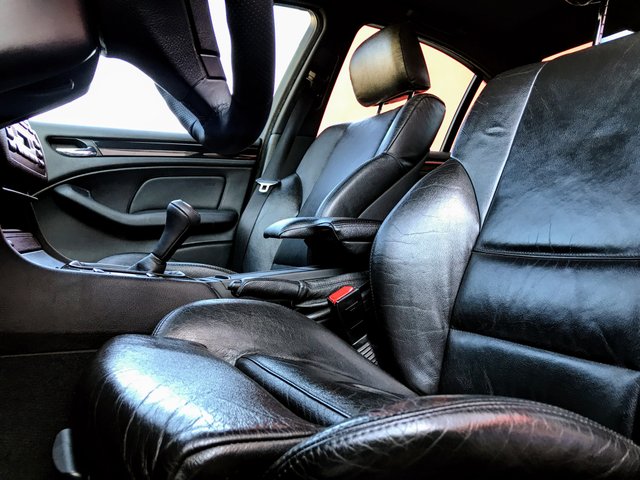
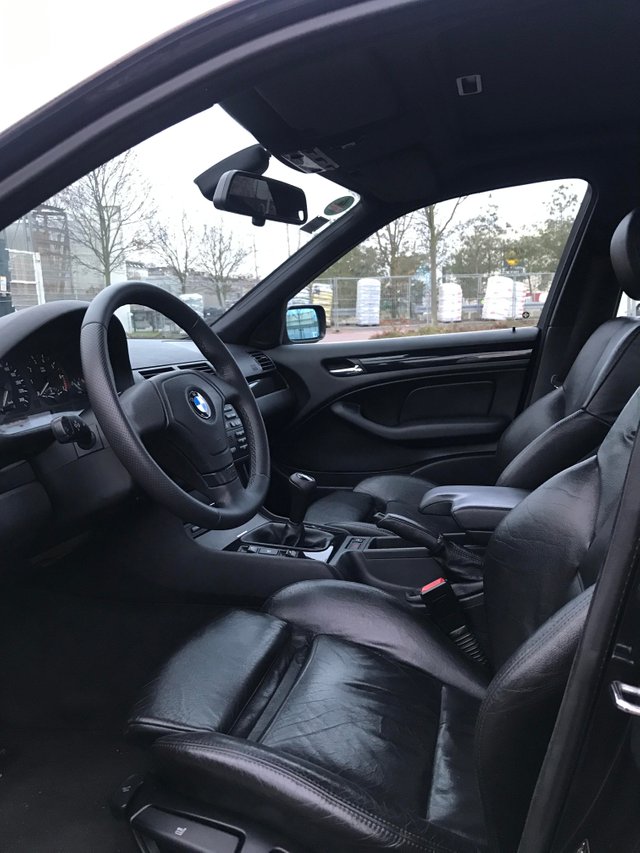
Door Panels - Leather Montana
In the last parts I detailed the replacement of the seats from cloth to leather. In most BMWs the seat fabric is continued in the door panels so these were now a mismatch. I hunted for some matching leather door panels for a sedan with power windows but without the large sound system and without side airbags in the rear - an option my car did not come with. Selection and availability is super limited so I was happy to find some for under EUR 100 for a set of 4.
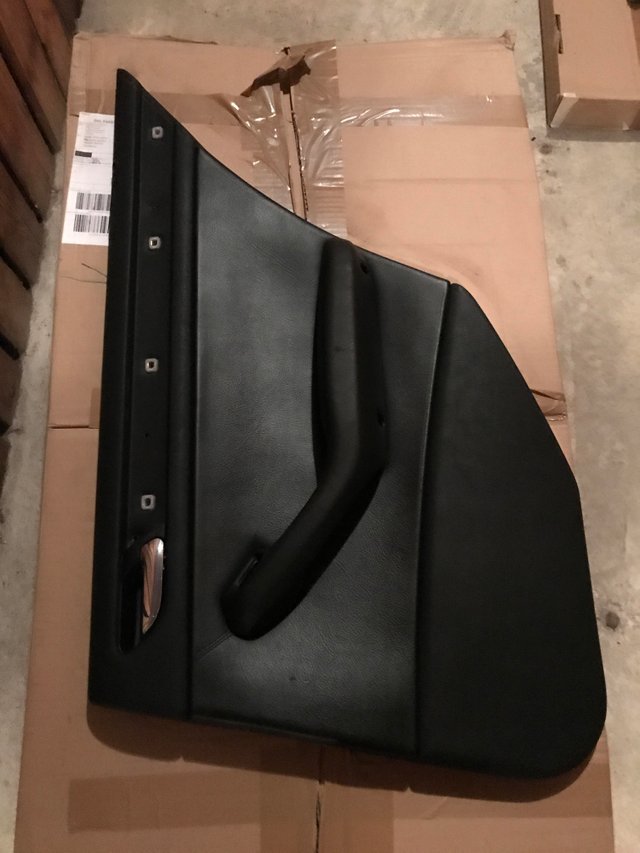
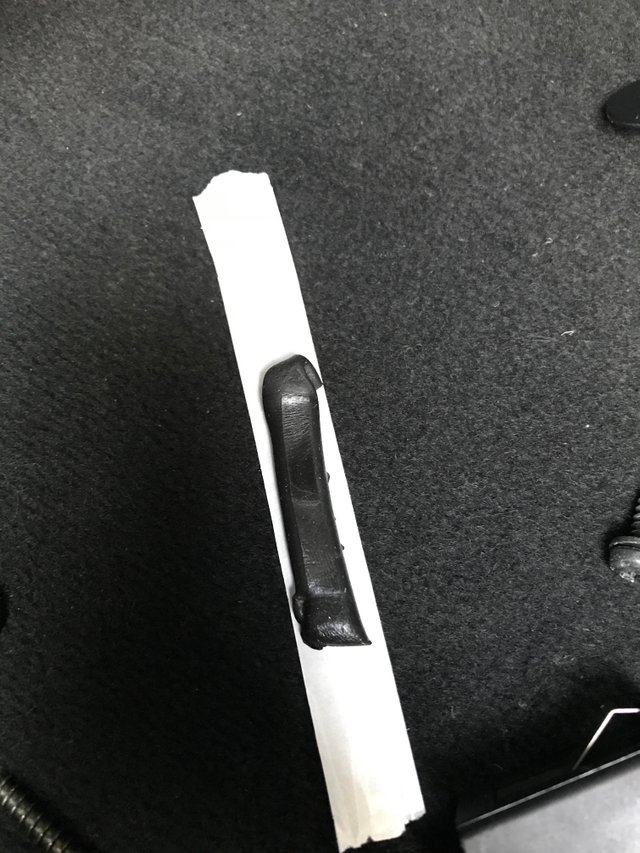
Unfortunately, the right rear panel has a broken door handle meaning it does not hook into the latch that pulls the lock. Replacing the door handle on these panels is harder and more expensive than replacing the entire panel so I'm still looking for the new one. Since the door can still be opened from the outside and I rarely ever have someone ride in the back seat I left it in as I only noticed when I was about to fix it to the door anyway.
The appointment is pretty cool given this is the budget leather on the budget model:

For details on panel replacement please refer to my post outlining this step as part of the window regulator fix:
Long story short, pull out power window switch and disconnect it, remove the 3 screws holding the panel and then pry the panel off the door starting in the lower rear...
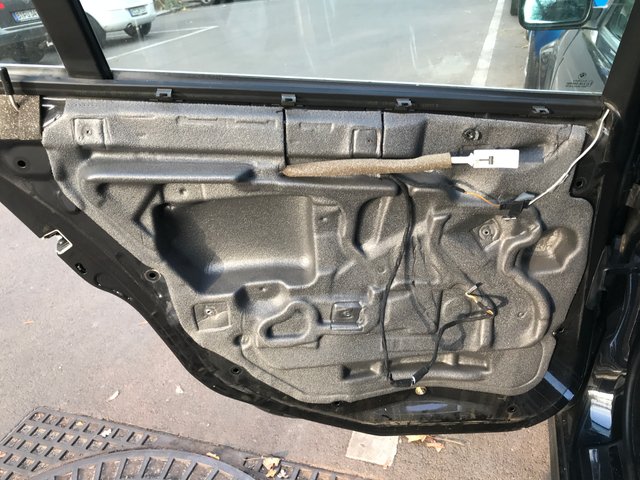
I did replace some of the glue that holds the inner cover to the door where it was worn out:
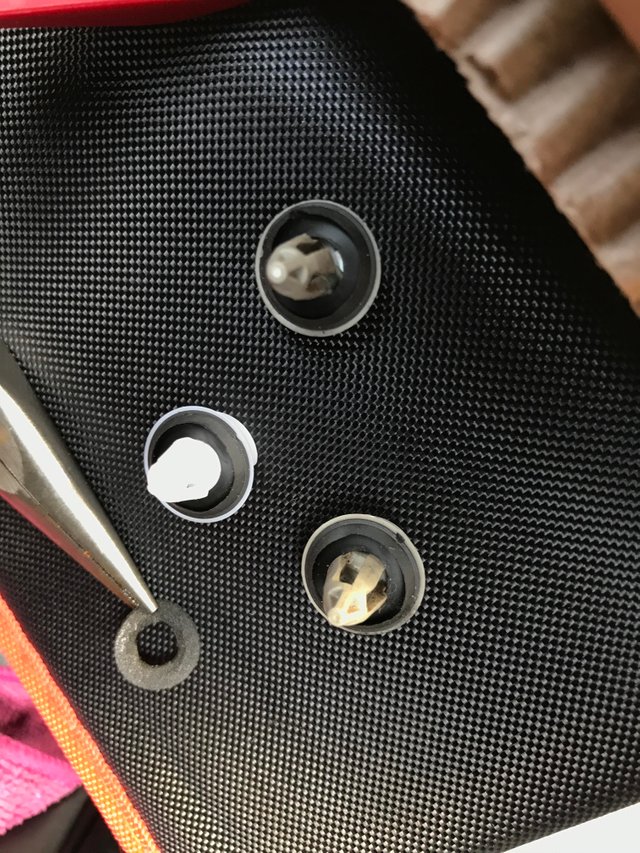
In addition, I bought some new plastic clips for the panels which turned out to be a total waste as these clips are made out of an inferior plastic which breaks upon removal while the 20 year old originals are still flexing as they should and survive multiple disassemblies - so I ended up buying the original ones for a considerably higher price.
And it's in:
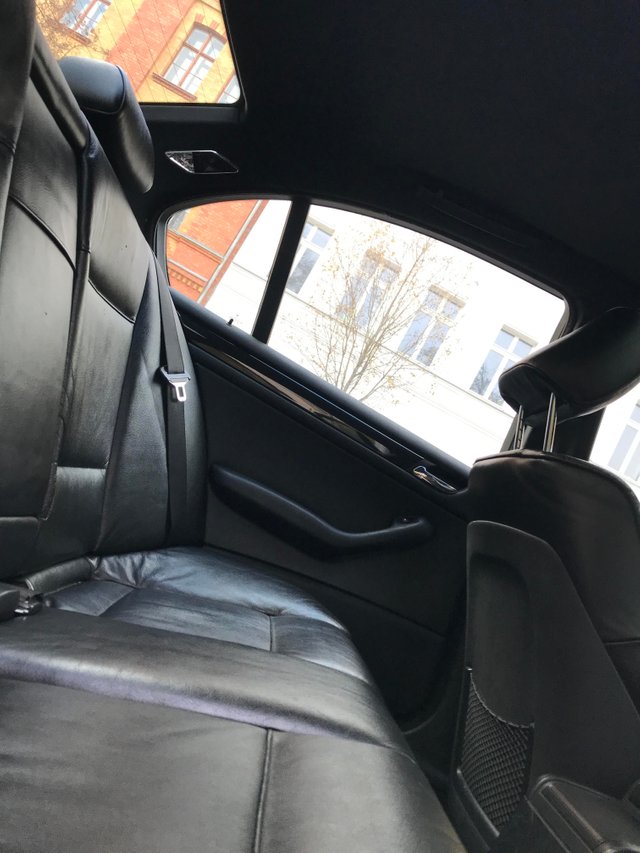
Nice to complete the interior transformation completed! It is hard to really clean the arm rests and plastic parts of the door panels so expect a detailing blog some time soon on those.
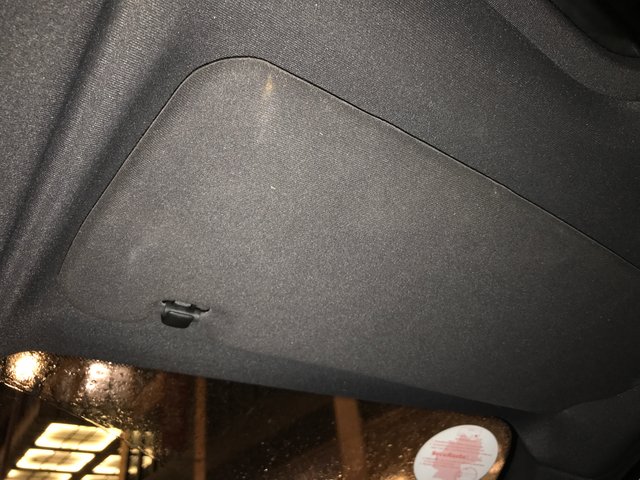
Sunshades - Greetings from the M3
\
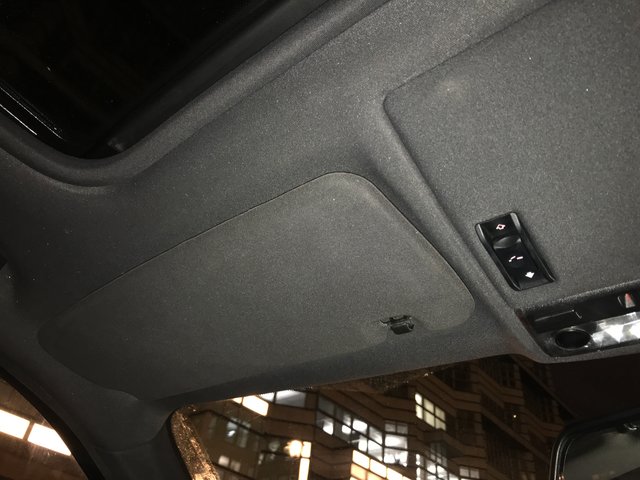
Nice little new (20 year old used) sunshade! You may recall that one of the original sunshades that came with the black roof liner had a completely smashed vanity mirror. Instead of just replacing it I found M3 sunshades on ebay for a really reasonable amount, seriously something like EUR 20 for the set.
The stock sunshades for all non-M3s are covered in this fake leather like plastic:
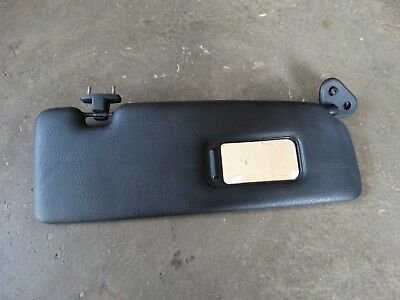
While the M3 ones have the same fabric as the roof liner. Much nicer to the touch but also looks more integrated, they are interchangeable.
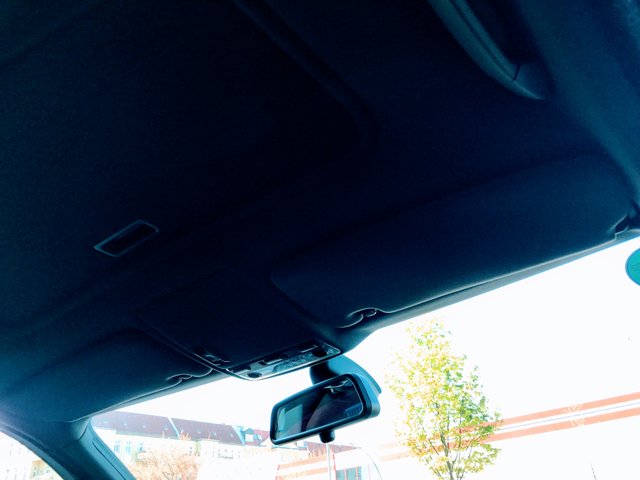
Sunroof-liner Replacement
\
Yeah so this is one of those painful things that take forever and a day and you have to be very careful while doing it.
Basically, the sunroof has its own sliding roofliner which sits inbetween the roof and the sunroof glass which has to be removed in order to work on it.
Make sure that you take extreme care when working on the sunroof. First of all it needs to be dry and sunny or indoors! Second the smallest screws and clips in the entire car can be found here so make sure you catch all the small parts and nothing gets dropped (happened to me and I had the car sitting on tiny light grey gravel - good luck finding a microscopic screw in that!). Finally, the sunroof assembly and mechanism is pretty sturdy but needs to be adjusted right so make sure to take note of the position of the glass and any other parts before disassembly so you can get it aligned again later.
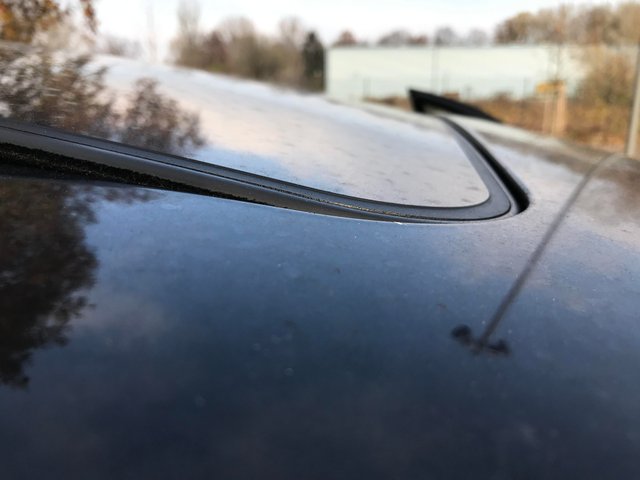
To begin raise the sunroof to the up position and slide back the sliding cover. Now remove the six torx screws, 3 on each side.
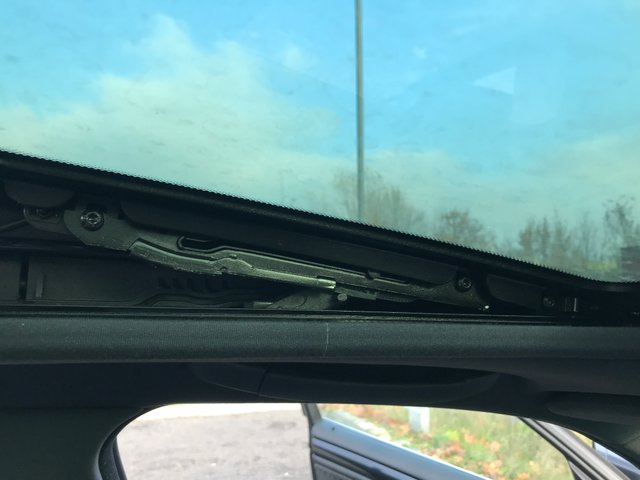
That's it you can now push and remove the sunroof - take care as it is quite heavy and rest it on soft ground.
Now close the sliding roof and you'll see this from the outside:
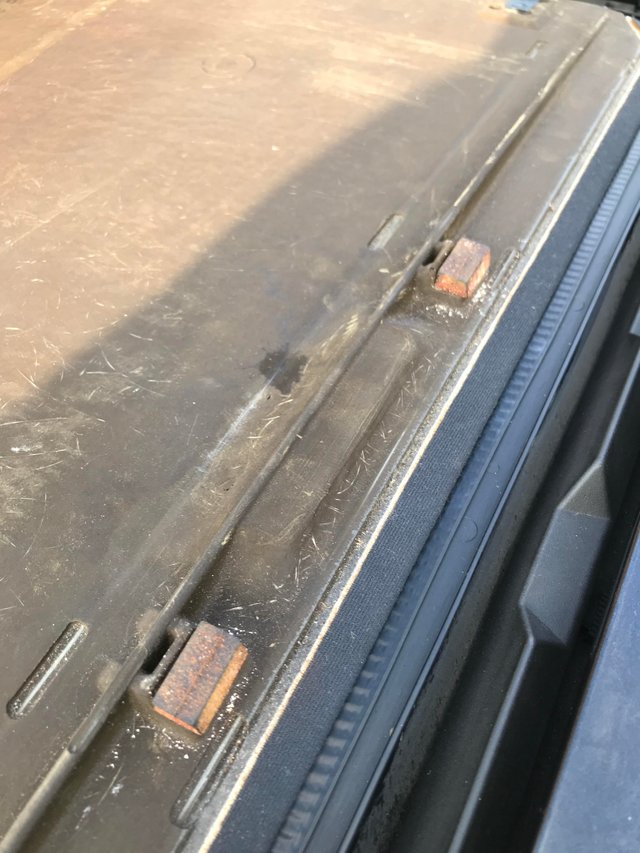
It is held in place by two sliding rails (gloriously made from plastic) and two metallic sliders on the other side.
Left:
Right:
Simply remove the 4 screws holding the left sliders and you can rotate the cover away and out of the rail on the right.
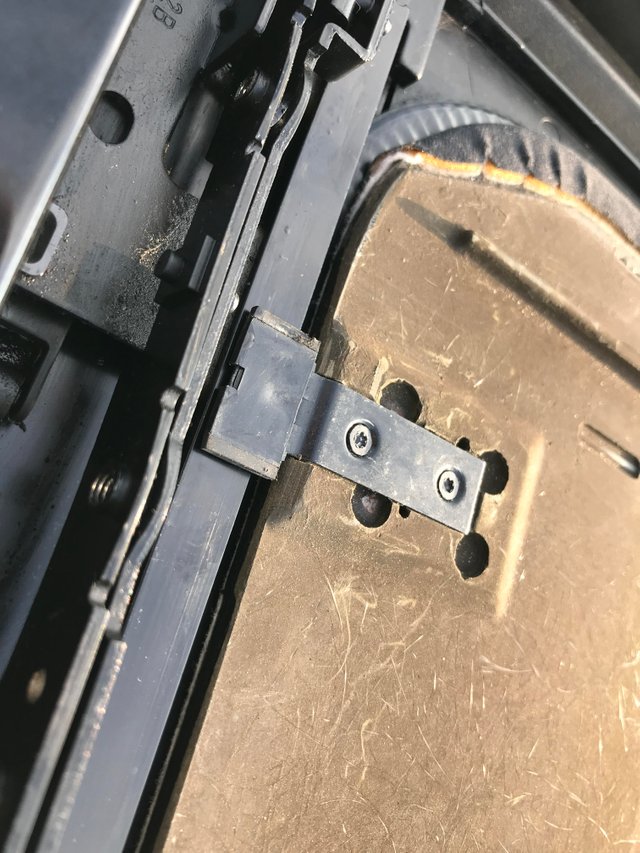
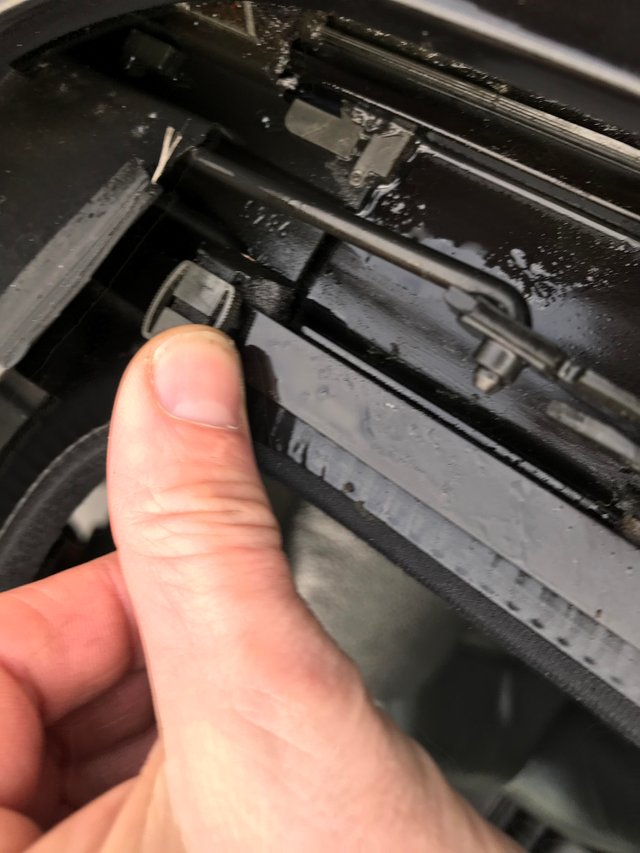
Now take note of this guy:
Right:
Located on the driver's side in the rear this slider acts as a catch for the rear left sliding rail when opening and closing the sunroof so it goes back all the way with the glass but also comes back into the cabin when closing it.
99% this piece will be worn out meaning it will not fully glide on the rail as you can see above it is bending upwards slightly. This leads to it not catching the slider all the time and you may find either not getting the cover to return or the roof glass getting stuck when opening closing as the motor notices resistance and eases off - it doesn't retort for safety reasons.
I simply pushed it down as well as I could but this will need replacement at some point - seems to be a rare and expensive spare part.
In any case, before installing the new cover remove the left (driver's) side sliders the same way you took them off the installed cover and then start by sliding it in on the rear right (passenger's) side into position and then fix the left side sliders to the cover.
Note to install the sliders before putting in the cover otherwise it is impossible to install them with the roof liner in place. Also, the sliders on the right side may be worn out so replace them when it's out and accessible. There's many shops online selling 'BMW E46, 38, 39, etc. Sunroof Repair Kits' which include these parts and some others and are very affordable.
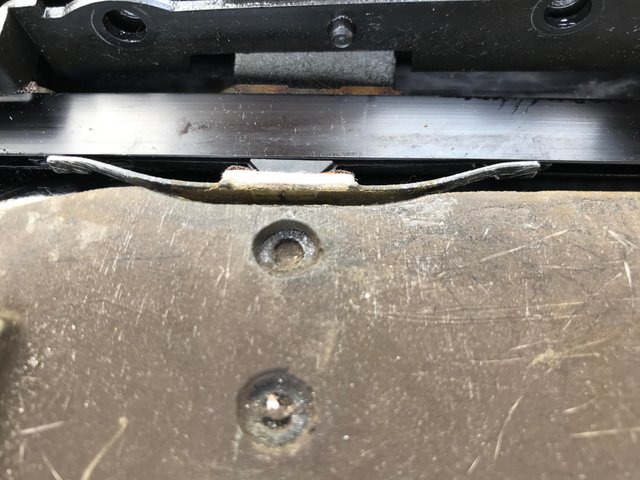
Also make sure this catch is where it's pictured above so it works after you put the roof liner in.
Slide it back and forth a couple of times to make sure it slides without interruption.
When you put the glass back in make sure it's aligned in the same position you found it before removal > if you don't clean the sunroof while it's out of the car you will be able to align the screws back to the exact spot they were in before ;).
And we're done. Enjoy your new black sliding cover:
Thanks for Reading Steemians!
\
This has been a very comprehensive post as were the others and with this I'm wrapping up my 2019 review. I will provide total cost of ownershop including all parts and remaining items in a separate post! You can find the previous overview here at the bottom:
2020 Updates will be coming soon and there's some surprises there for sure!
Peace out.
Good job , Well Done !!
Cheers!