Do It Yourself - Reinstalling the Roofliner, Replacing Seats, Engine Mounts | BMW E46 2019 Update Part 4
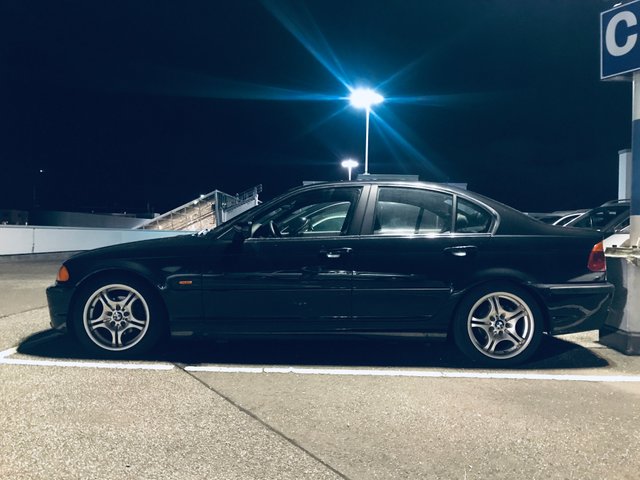
Welcome back friends! This is part 4 of my 2019 Do IT Yourself maintenance and preventative repairs and enhancements update on my '99 BMW 320i which you can see below on a not so deserted parking deck long before anyone had heard anything about shop closures.
Reinstalling the Roof Liner and Related Parts
So let's jump right into it, yesterday we left it off at this point:
Time to move the seats back into this position:
If you have removed the rear seat there'll be even more room to slide the new roof liner in and here it is:
Before getting into reassembly let me run through some parts you may need to replace:
- Pins and Plugs for the upper C Pillar, 2 on each side, cost a few cents at the dealer:
In my case the plugs were fine and I used a combination of new/used pins.
light bulbs > now that all lights are out it is an easy fix to replace all light bulbs (9 in total)
make sure you have all screws and nuts as well as plastic pins and clips before attempting reinstallation
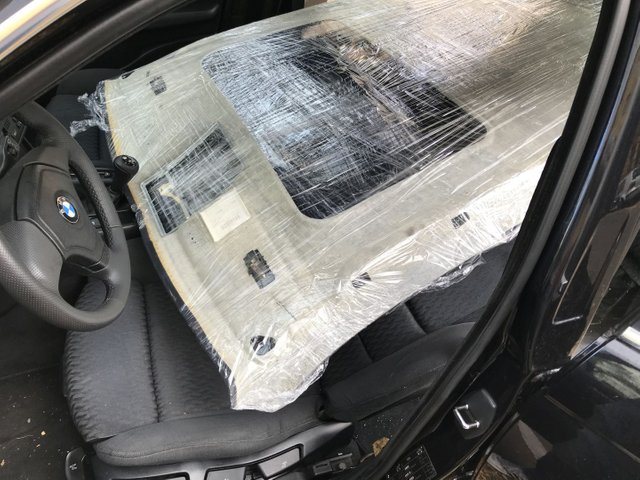
As you can see I removed the wrapping only after I put it in the car so it wouldn't get any scrubs and scratches from the move.
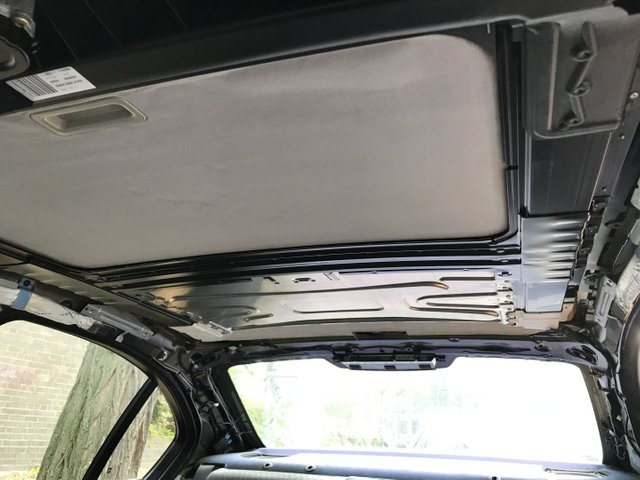
Roof Liner
Once you've carefully taken the wrapping of it is merely a question of two screws and two pins as we know from the disassembly. For this job it is definitely useful to have a second hand to avoid excessive bending of the roof liner. I did it on my own by, again, using the front seats with headrests in them and at max height setting to hold the front part while I plugged the two pins in in the rear.
And here we go:
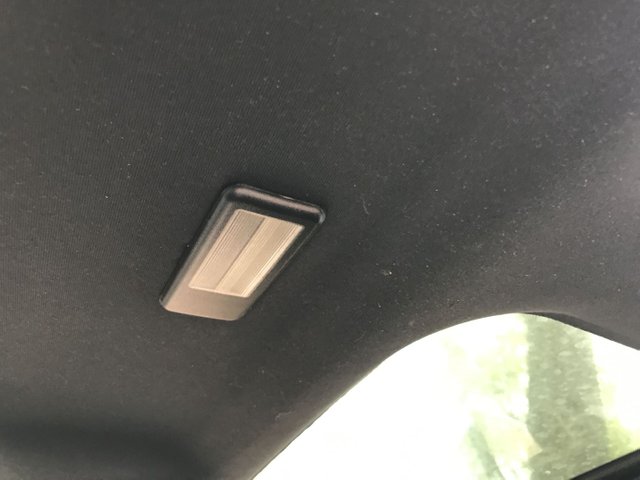
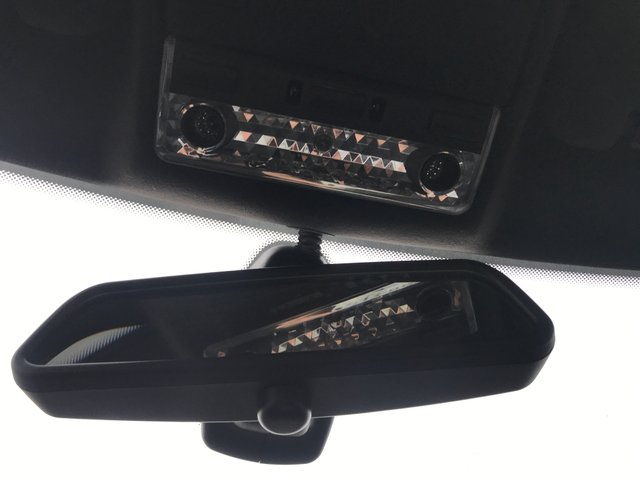
Front vanity lights are in:
And the back looks good too:
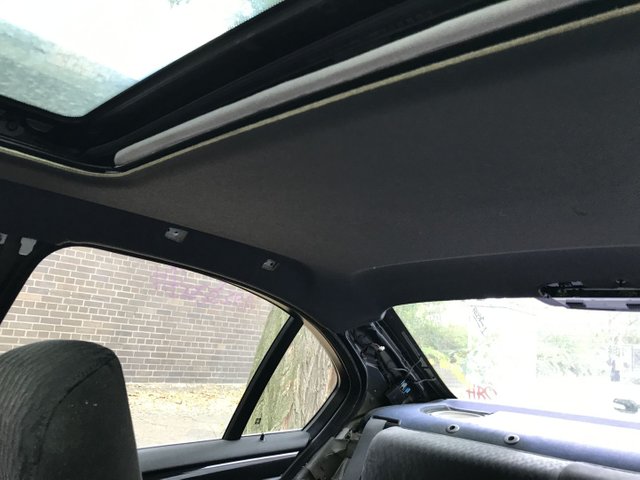
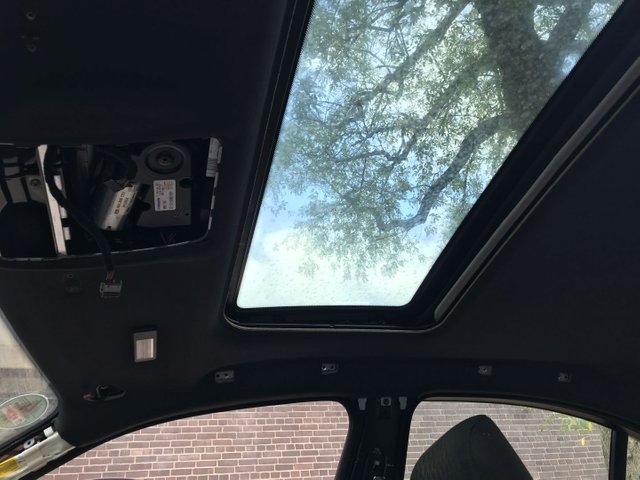
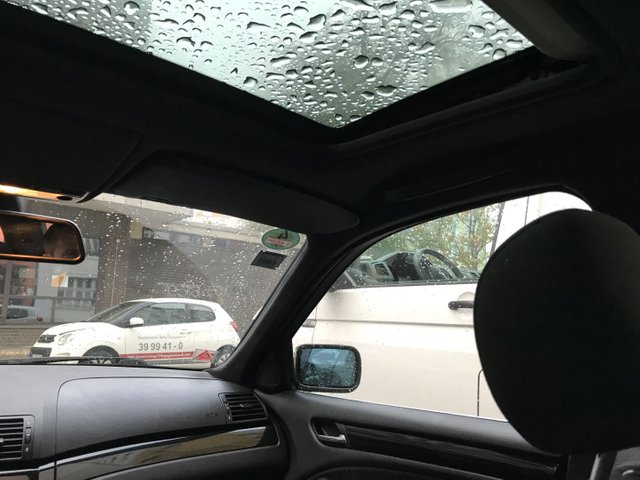
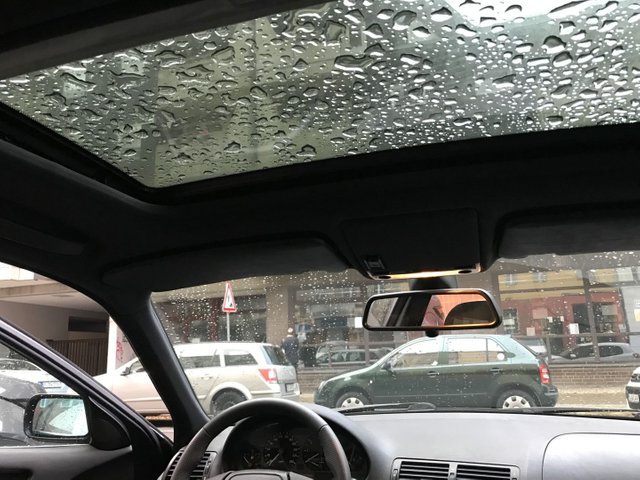
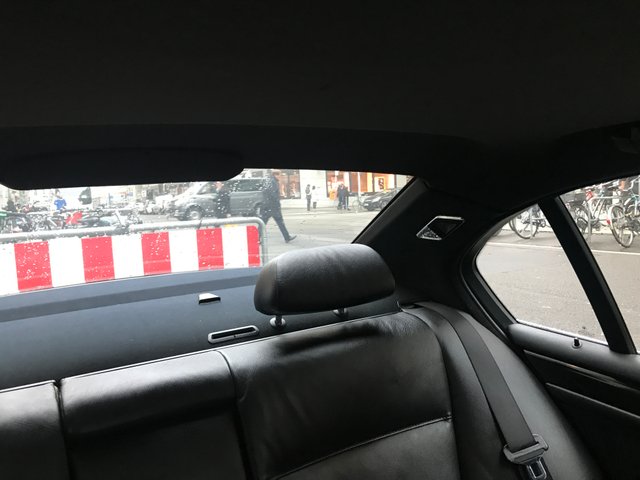
The roof liner is in excellent condition as you can see. Note how badly the greyish sunroof sliding cover sticks out. We'll get to that later as it involves removing the sunroof glass itself.
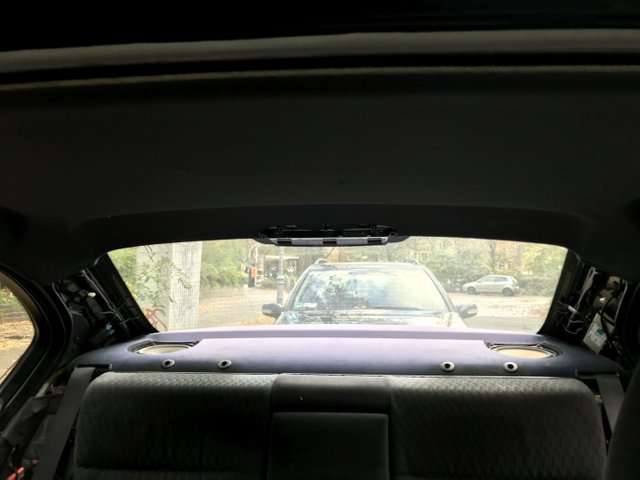
Rear Shelf
Time to put the rear shelf in before we can connect it to the roof liner via the C Pillar covers...
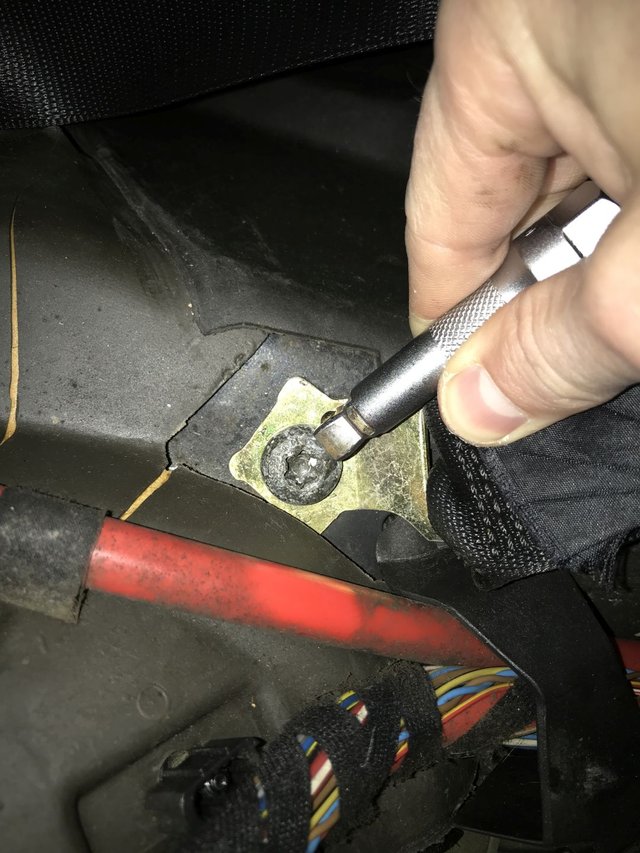
Simply slide it into the rear window air vent assembly and you will hear a noticeable clicking. Life it up slightly to put the seat belts through the openings in the rear shelf and fix them below - tighten as much as you can, the nuts self arrest.
You can now move on to the C Pillars or reinstall your speakers, speaker covers and headrests.
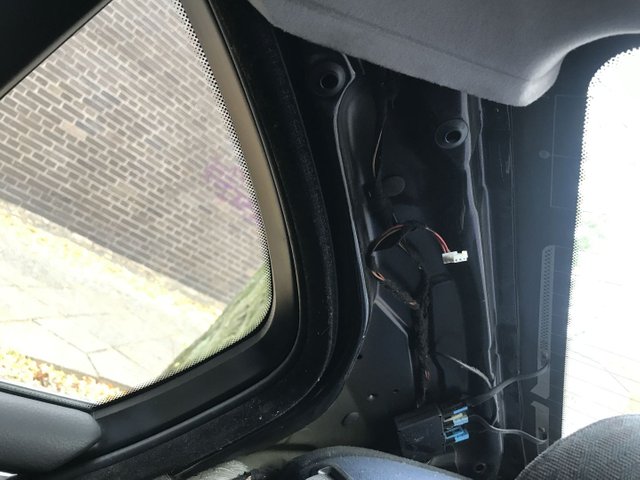
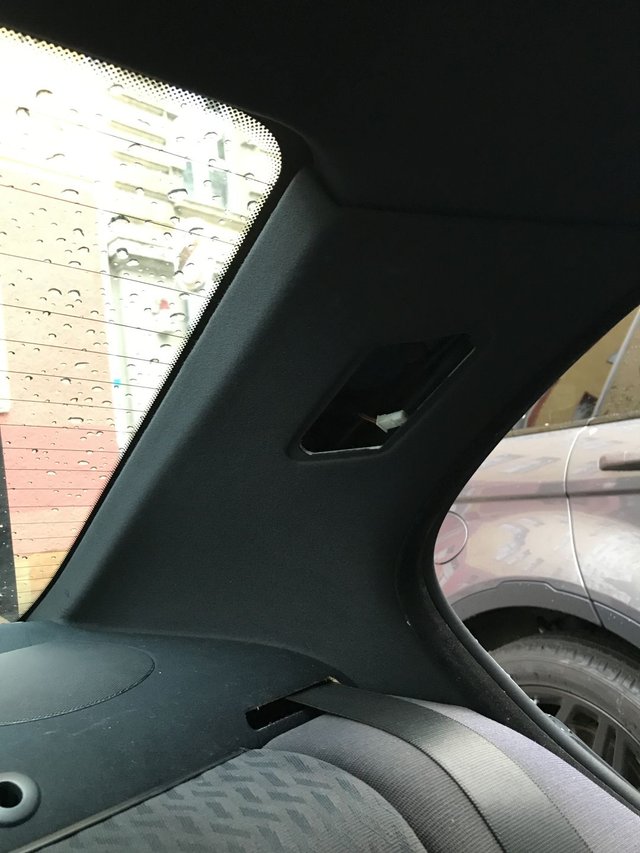
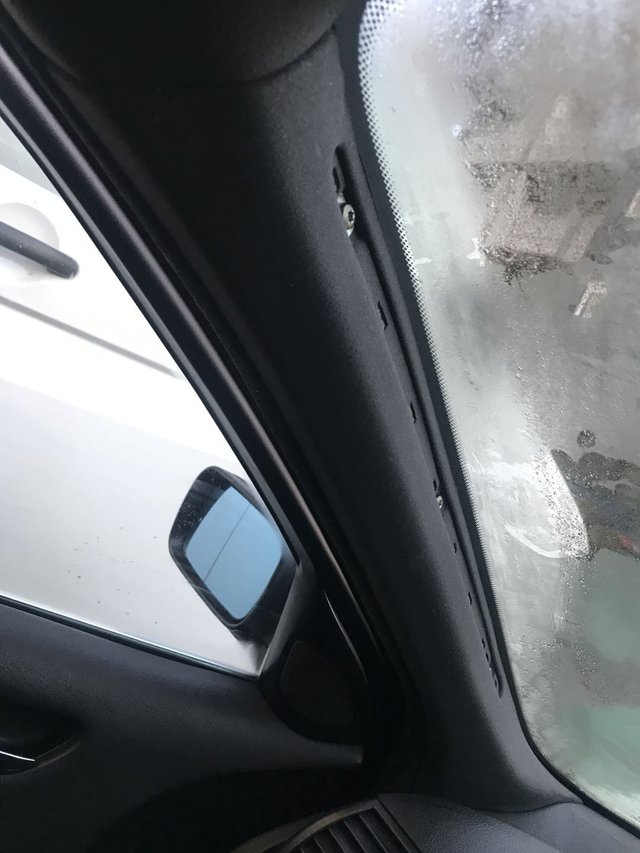
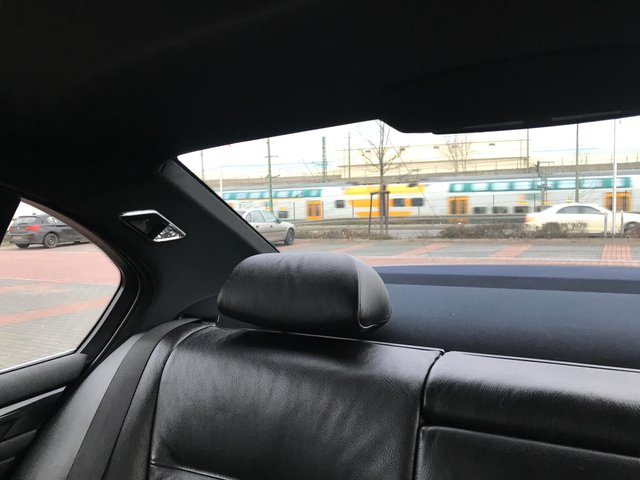
C Pillar
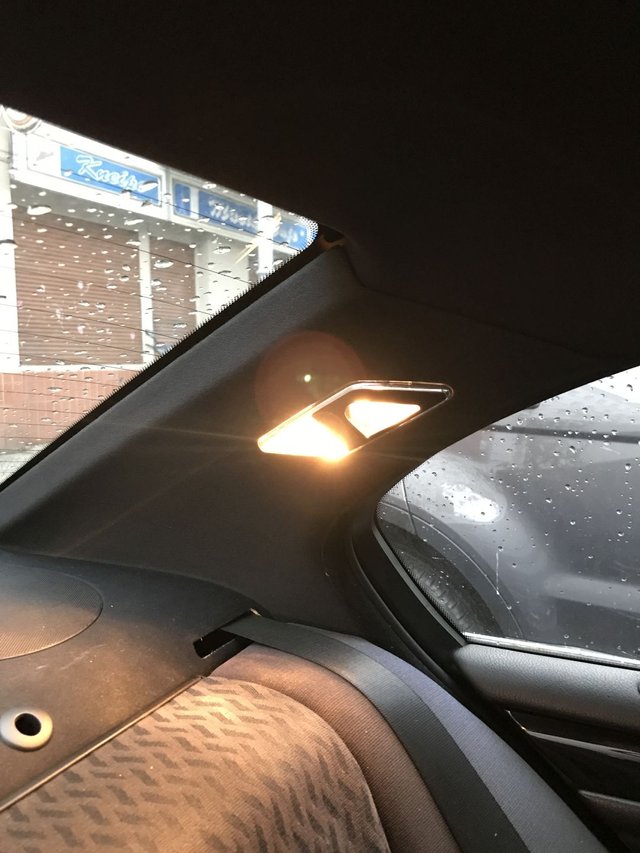
Simply slide the C Pillar parts into the rear shelf indentation after removing the door seal around the area. I installed them without the reading lamp so check that you fetch the cable before clipping them in on top:
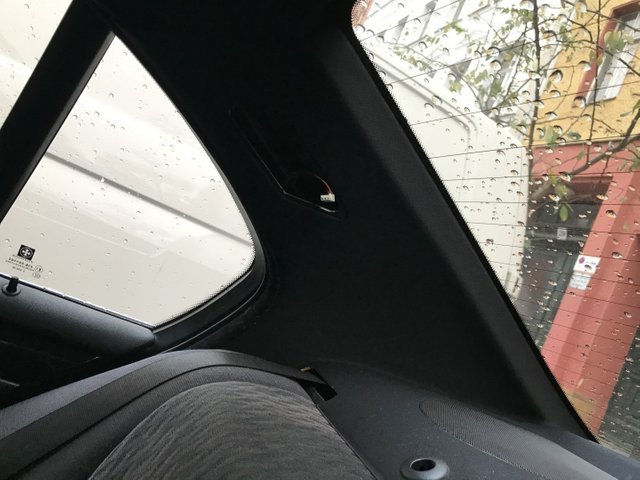
Left side:
As you can see the door sealing fetches the bodywork and the C Pillar cover and holds it in place.
Note that the covers have two plastic hooks on the top and bottom backside that you need to hook into two metal lashes so it sits tight at the window. If you miss them you have to start all over again so feel free to bend the cover accordingly and make sure that after you slide it into the rear shelf you arrest the hooks firmly into the lashes. Only then put the top two pins into the plugs!
Here the same side correctly installed with door sealing back in place and light turned on:
Right side:

B Pillar
Please refer to the B Pillar section here for more details.
We do the same in reverse:
- Slide the B Pillar cover into the roof liner after you've put the seat belt ends through the height adjustment
- Fix the two plastic pins on the bottom side of the cover
- Put the lower part of the B Pillar cover back in and pop it into the two plugs at the bottom
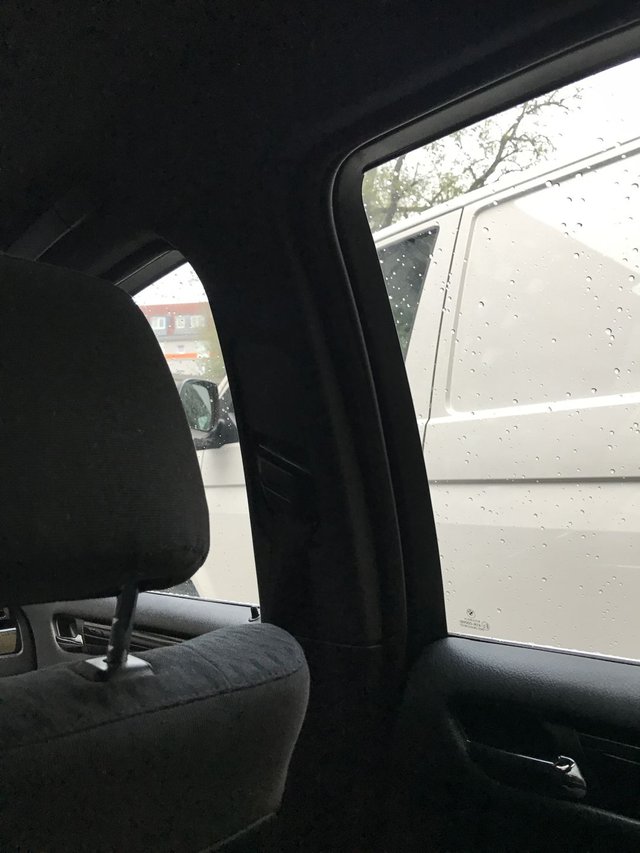
- reinstall front and rear door sill covers > the rear is tricky, I suggest to put the plugs into the door sill and then slide the cover onto them - either way it is one of the worst things to get right in the interior
- fix the seat belt to the seat assembly
- You're Done!
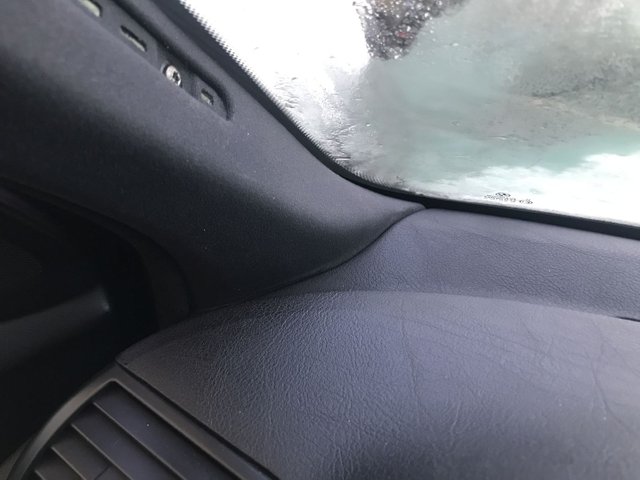
A Pillar
If you thought the rear door sill panels were tricky *you ain't seen nuttin' yet' :).
Before you do the A Pillars, have a coffee, sit down and relax and clear your head as this will require a lot (A LOT) of patience and resilience. Ready? Start by pulling the door seal around the A Pillar area off, as with the C Pillar the sealing holds the part in place.
First we slide the A Pillar cover into the dashboard. As with the C Pillars they have a plastic hook at the very bottom which slides into another plastic latch fixed to the dashboard. There's no clear instruction, just try to get it in without damaging the cloth glued to the pillar.
In my case I had some cloth wrinkled at the bottom but there's enough room to use a plastic prying tool to slide the cloth into the dashboard so you end up with a clean look.
Right side:
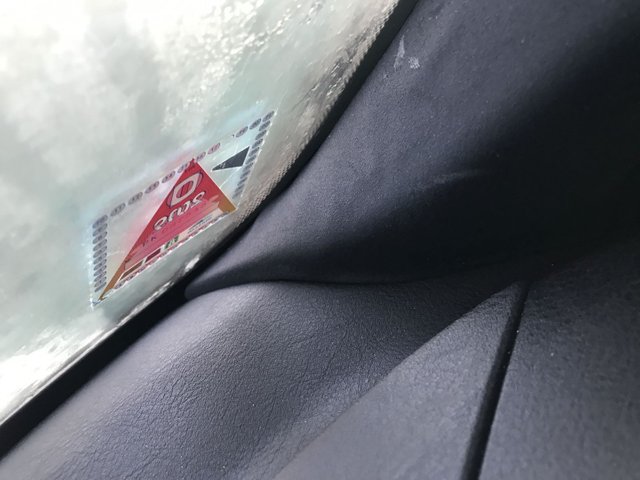
The top simply wraps around the roof liner and there are no more clips to worry about. Reinsert and tighten the three torx screws and you're (almost) done.
Watch to not tighten the screws too much as that will bend the A Pillar and create an uneven look.
Finally you need to pop the covers back in, simply clip them in from top to bottom.
Looking mighty good:
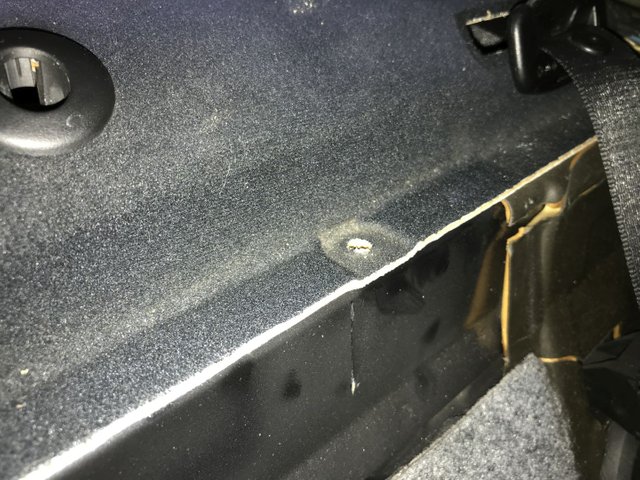
There are a few small bits and pieces like seat belt covers in the rear shelf that I needed to replace but all in all this is how you do it and you should be done by now.
All in all I have to commend the seller of this roof liner as it included every single part required and the only thing that was damaged at all was the vanity mirror of the passenger side sunshade - I'm not sure if he even noticed.
Like I said, I did this over the course of a few days and also ended up replacing the rear shelf again which involved taking the C Pillar covers out again (as you by now know:)) as I put one in for a third rear seat belt which I don't have.
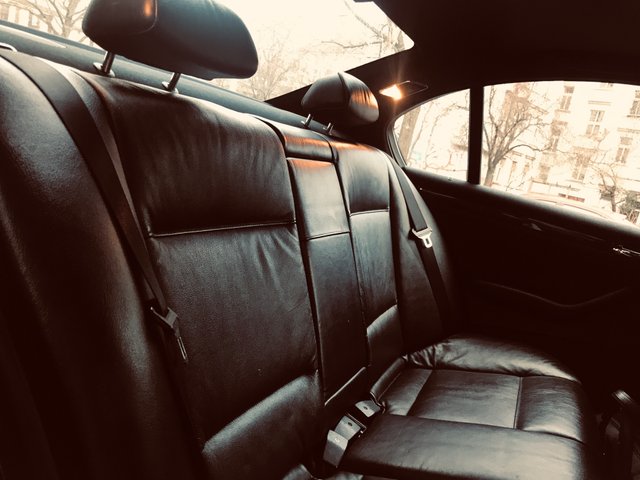
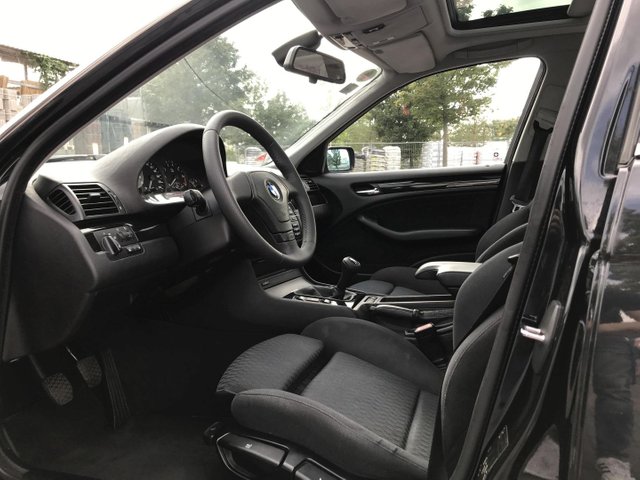
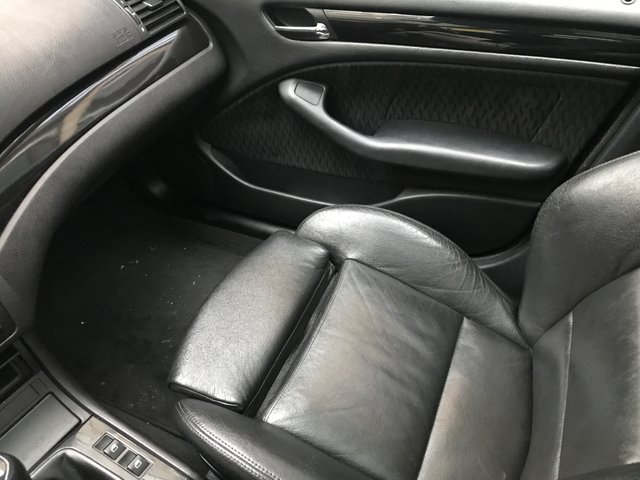
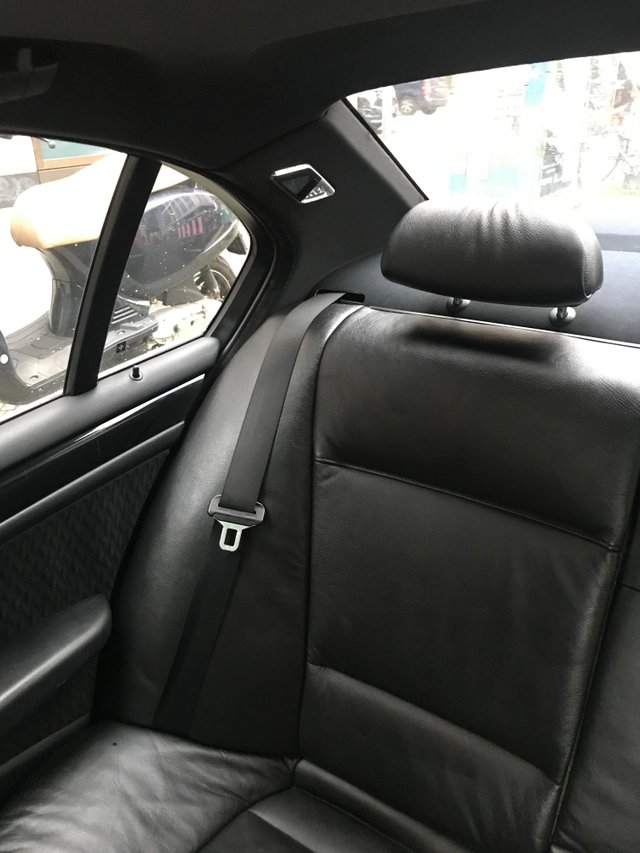
Whew, what's that? Leather seats? You bet.
New Seats for your E46/39/38 or any other BMW
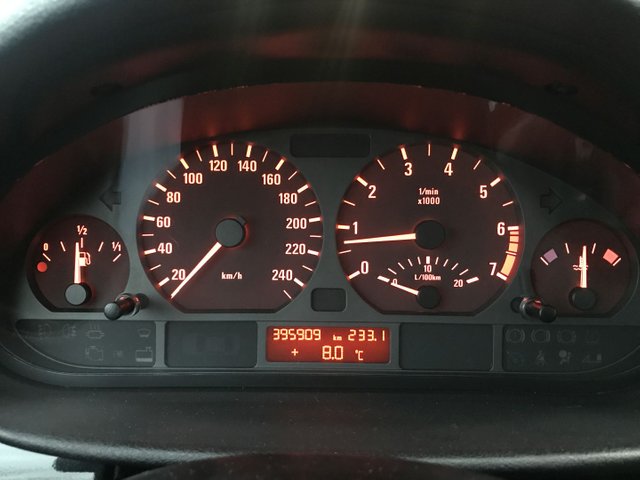
I wasn't really planning to do this but always thought that if I get the chance to get a set of black leather sport seats with a folding rear bench in complete and good condition I'd go for it as there's not really a way to get the not so black anymore cloth seats to look new and shiny after 400.000km - the color is just gone and the fabric started to go.
So instead of this:

It is now this:
And instead of this:
We now got this:
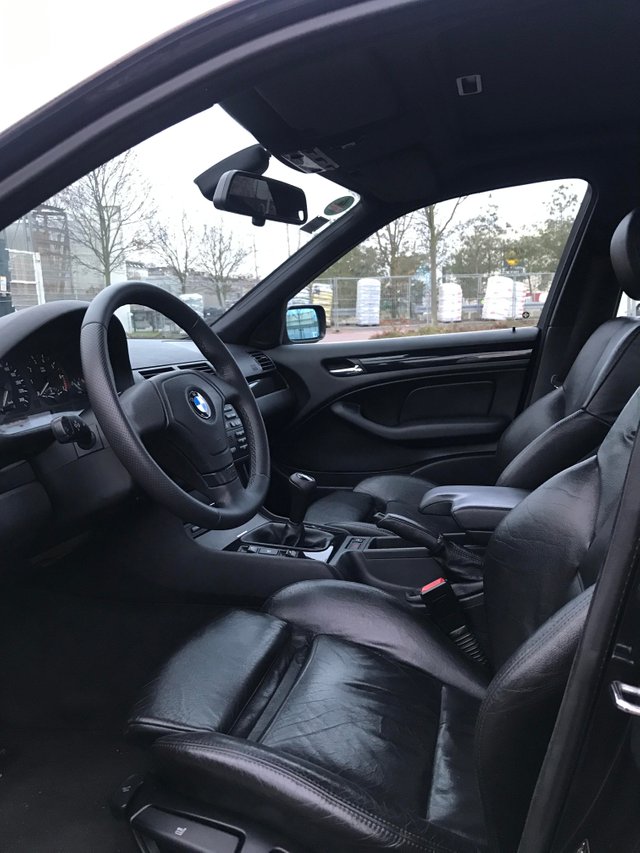
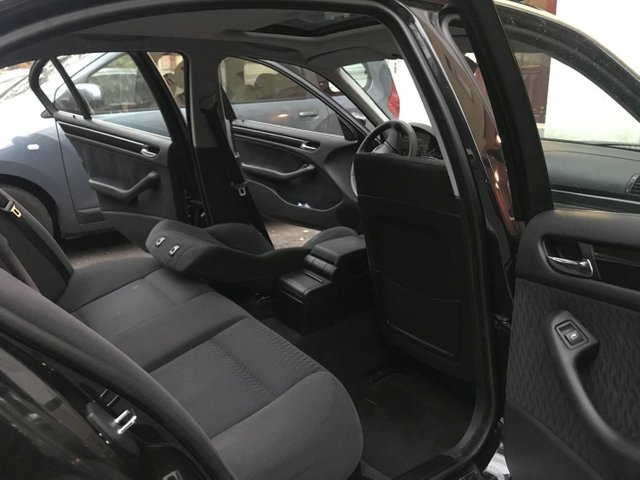
Replacing Front & Rear Seats
The installation is so simple you can do it in 30 minutes.
For the front seats:
- put them in the lowest position and slide them all the way back
- pop the two covers off of the size 16 nuts and remove them left and right
- put the seat in highest position and slide it all the way forward
- loosen and remove the two size 16 studs left and right
- remove the size 17 nut holding the seat belt
- put the seat in the lowest position and raise the backrest forward
- take out the headrest
- now you can tilt the seat backward and remove the cable connector
- from the outside tilt the seat forward and lift it out over the door sill
For the rear seat:
- lift the rear bench bottom part up left and right on the front until it pops out of the hooks
- pull the seat forward and up and remove it from the car
- pull the left and right side bolsters forward until they release and remove them, make sure to remove the upper plastic fixture from the car as you will need to put it in the bolster before reinstallation
- for the backrest non folding > pull the backrest up and out
- for the backrest folding option > pop the backrest and fold it down, now remove the studs on the bottom and pull it
Official BMW instructions on the bolsters:
I'll have more info and pictures on the seats in the upcoming blogs for now let me just say it is beautiful leather, adds immense value to the cabin and driving experience and is worth every penny. a very nice side effect of these new seats is the passenger seat's working occupancy sensor so the airbag light went away forever (fingers crossed):
Engine & Transmission Mount Replacement
You knew I couldn't do a post with some oil right?
It is good practice to regularly check for your car's engine and transmission mounts especially when they're filled with oil like mine. You may then find yourself looking at something like this:

That is one shot engine mount.

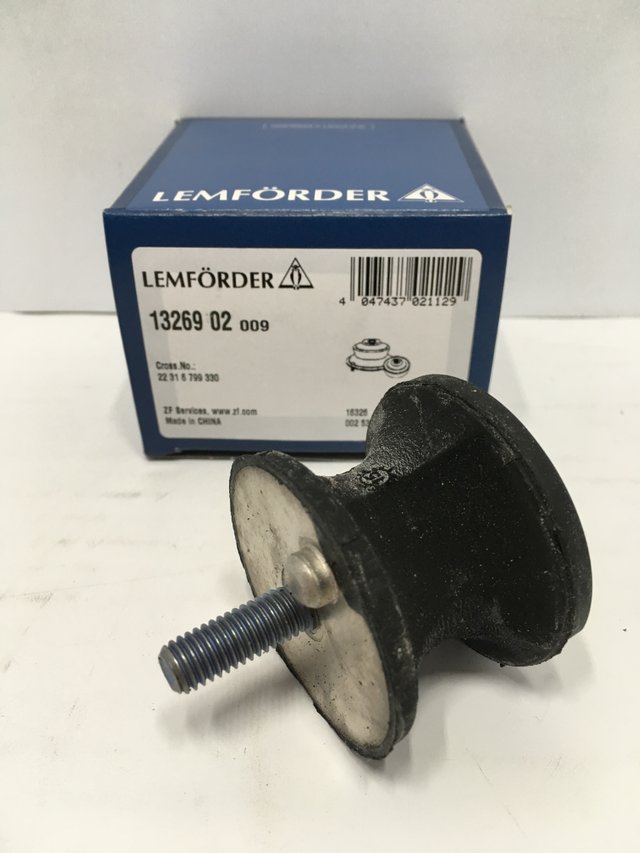
What you need is this set:
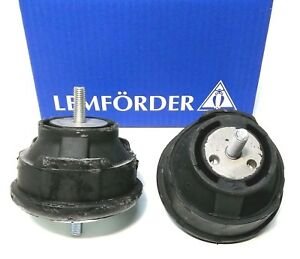
I had never replaced the driver's side and the passenger was years ago so I had them both done. While you're at it you may as well do the transmission mounts as well:
I had this done by my shop as I didn't have time to do it myself. You basically loosen the top and bottom nuts on the mounts and raise the engine by a few millimeters, then replace them. Takes a bit of wriggling and grease but can be done in 30 minutes.
Transmission mounts are even simpler as they sit on top of a support beam so stabilize the transmission, remove all screws, clean the beam and put everything back together with new mounts.
Steem on my friends and catch you later! As usual, please leave questions, suggestions, corrections in the comments and I'm looking forward to them!