Build This 12 x 16 Greenhouse for $100. DIY Tutorial. Lots of Pictures and FUN!!!
The challenge of getting an early start to the growing season and the excitement that comes with it will be understood by many here.
As market gardeners there are certain crops we start in February. We are in USDA Agricultural zone 5/6, which means our lowest possible winter temperatures are -15. This is an unheated greenhouse, more properly termed high tunnel, that can be used in colder or warmer climates to extend the growing season at the beginning and the end of the grow season.
I highly recommend Eliot Coleman's books on season extension for more concise information for your exact climate.
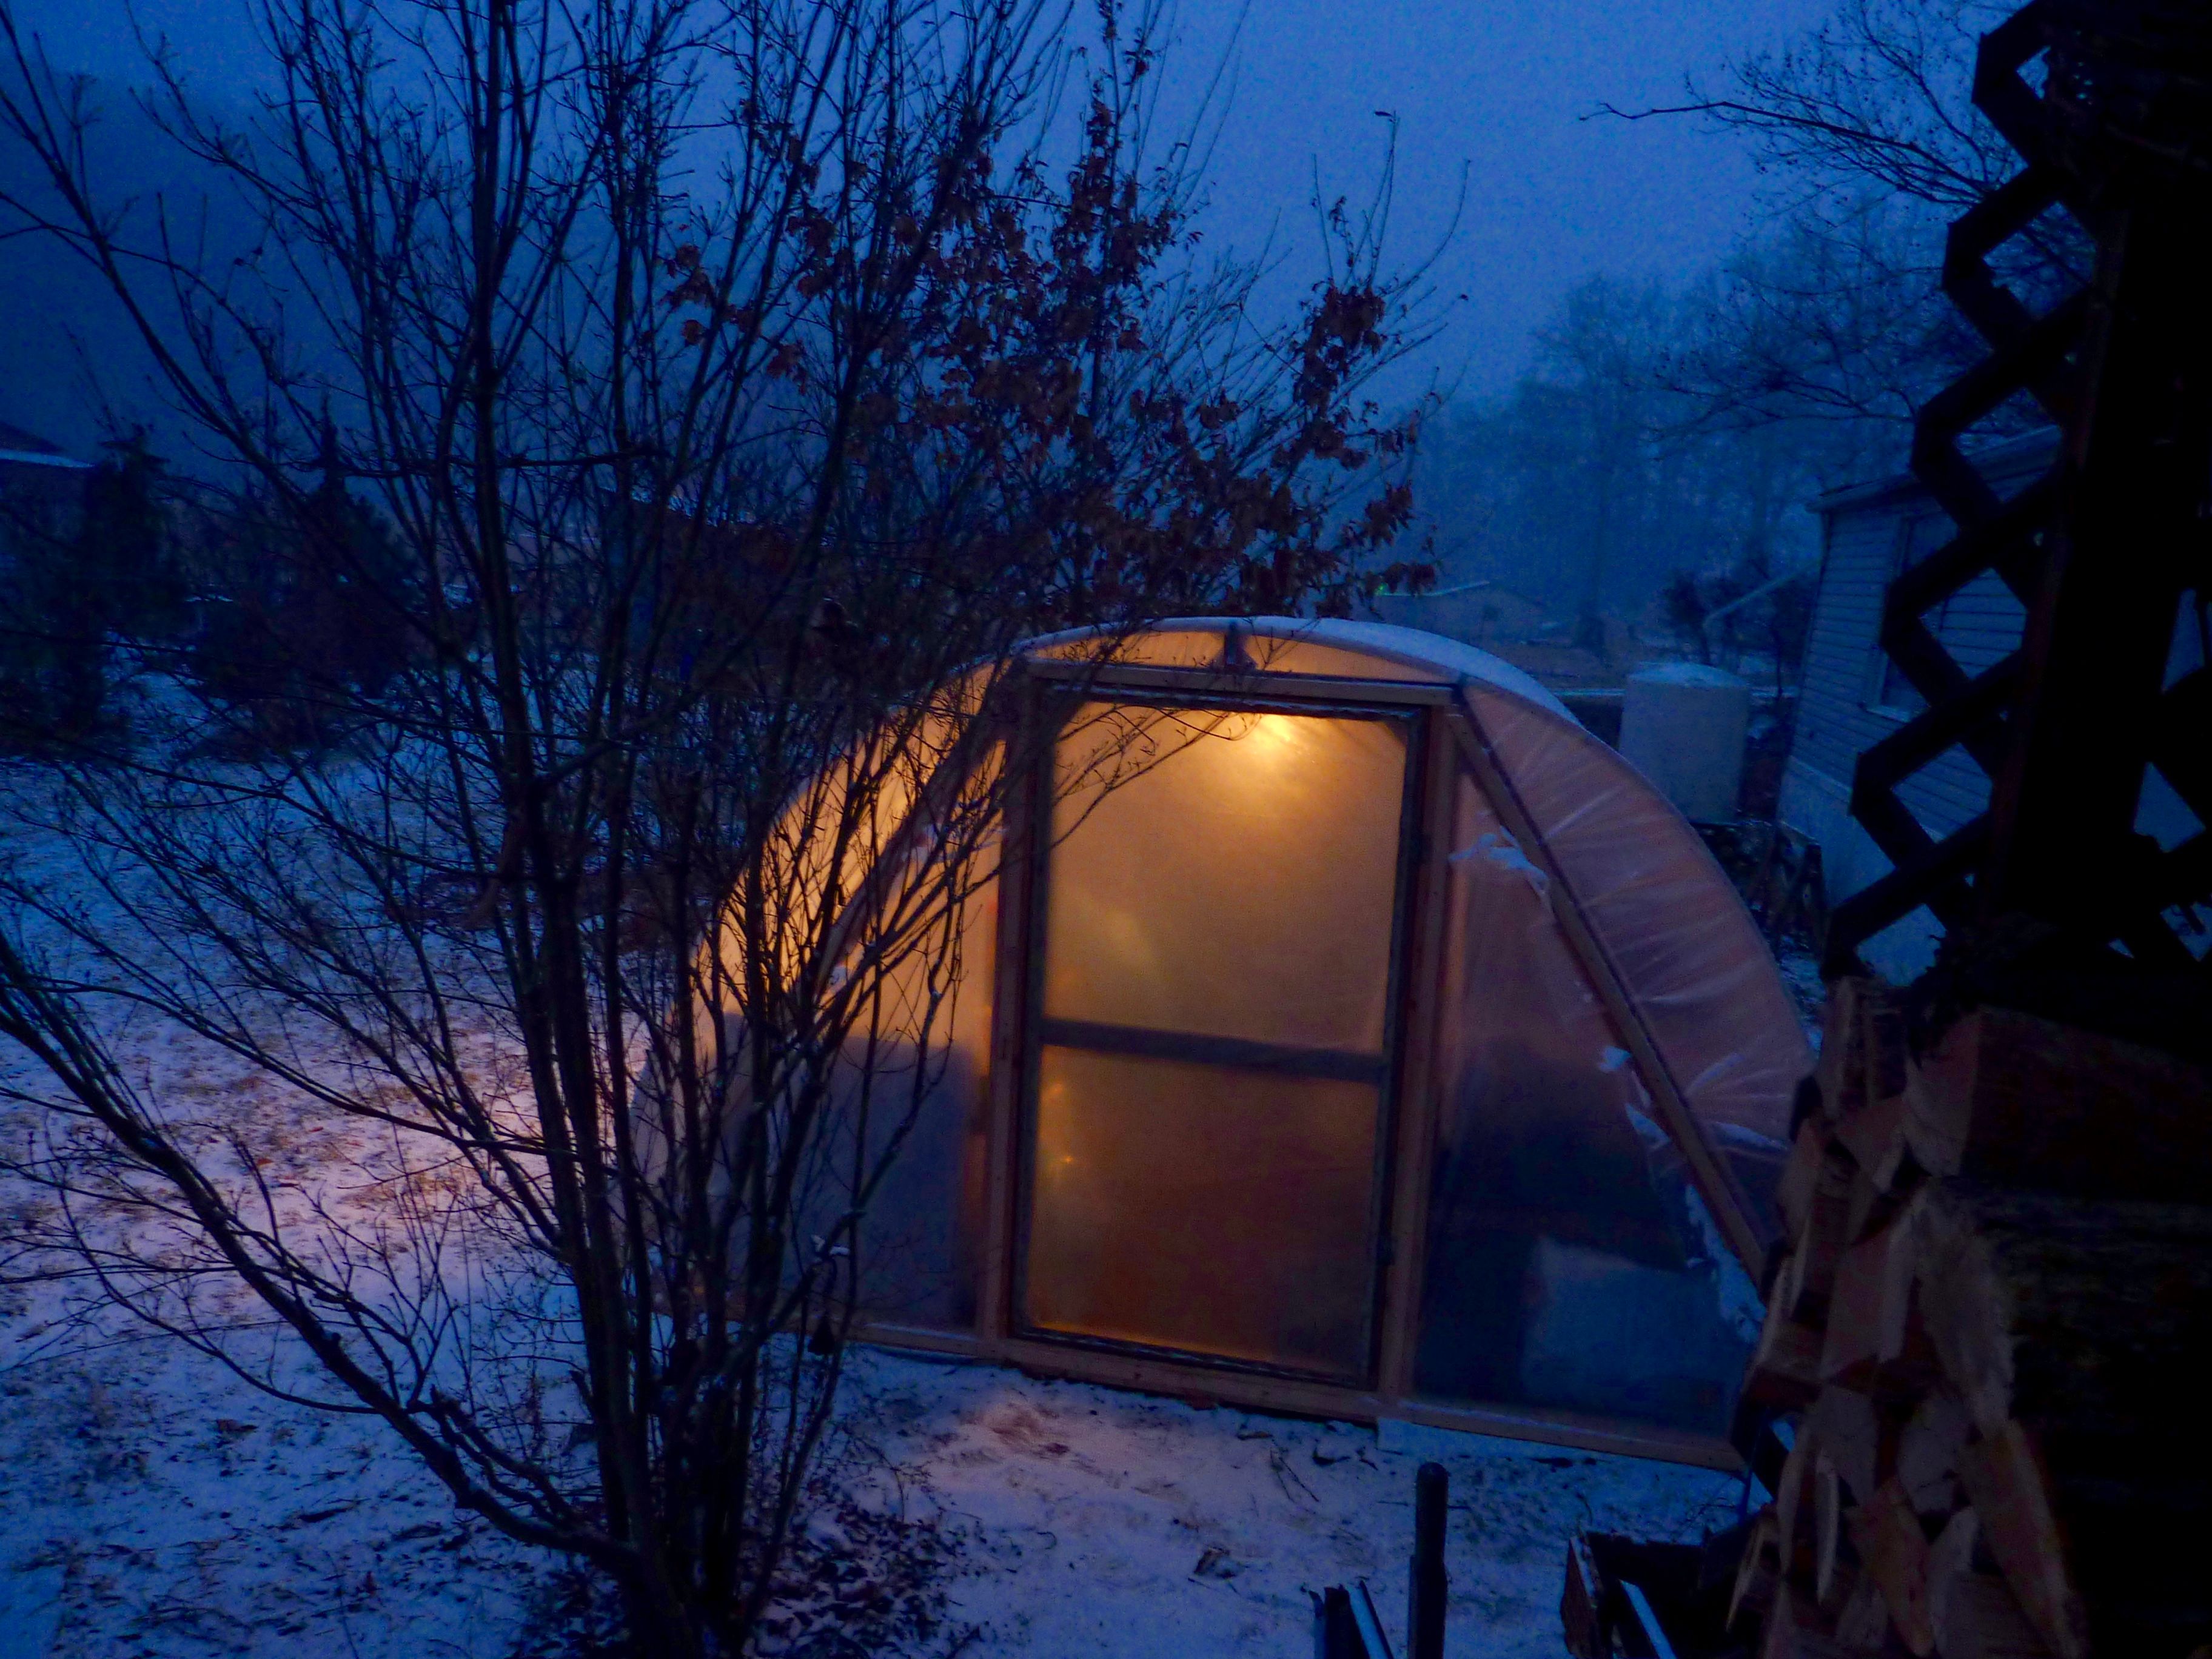
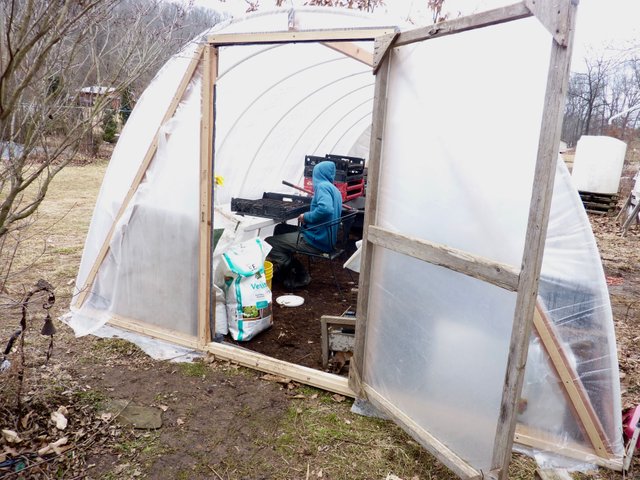
Today I'm going to tell you about this little life saver, our unheated seed starting high tunnel that we use every year. This style can be very useful on the homestead. With clear plastic for plants, and with canvas or old billboard tarp for portable animal shelters, it can even be a quick, inexpensive shed!
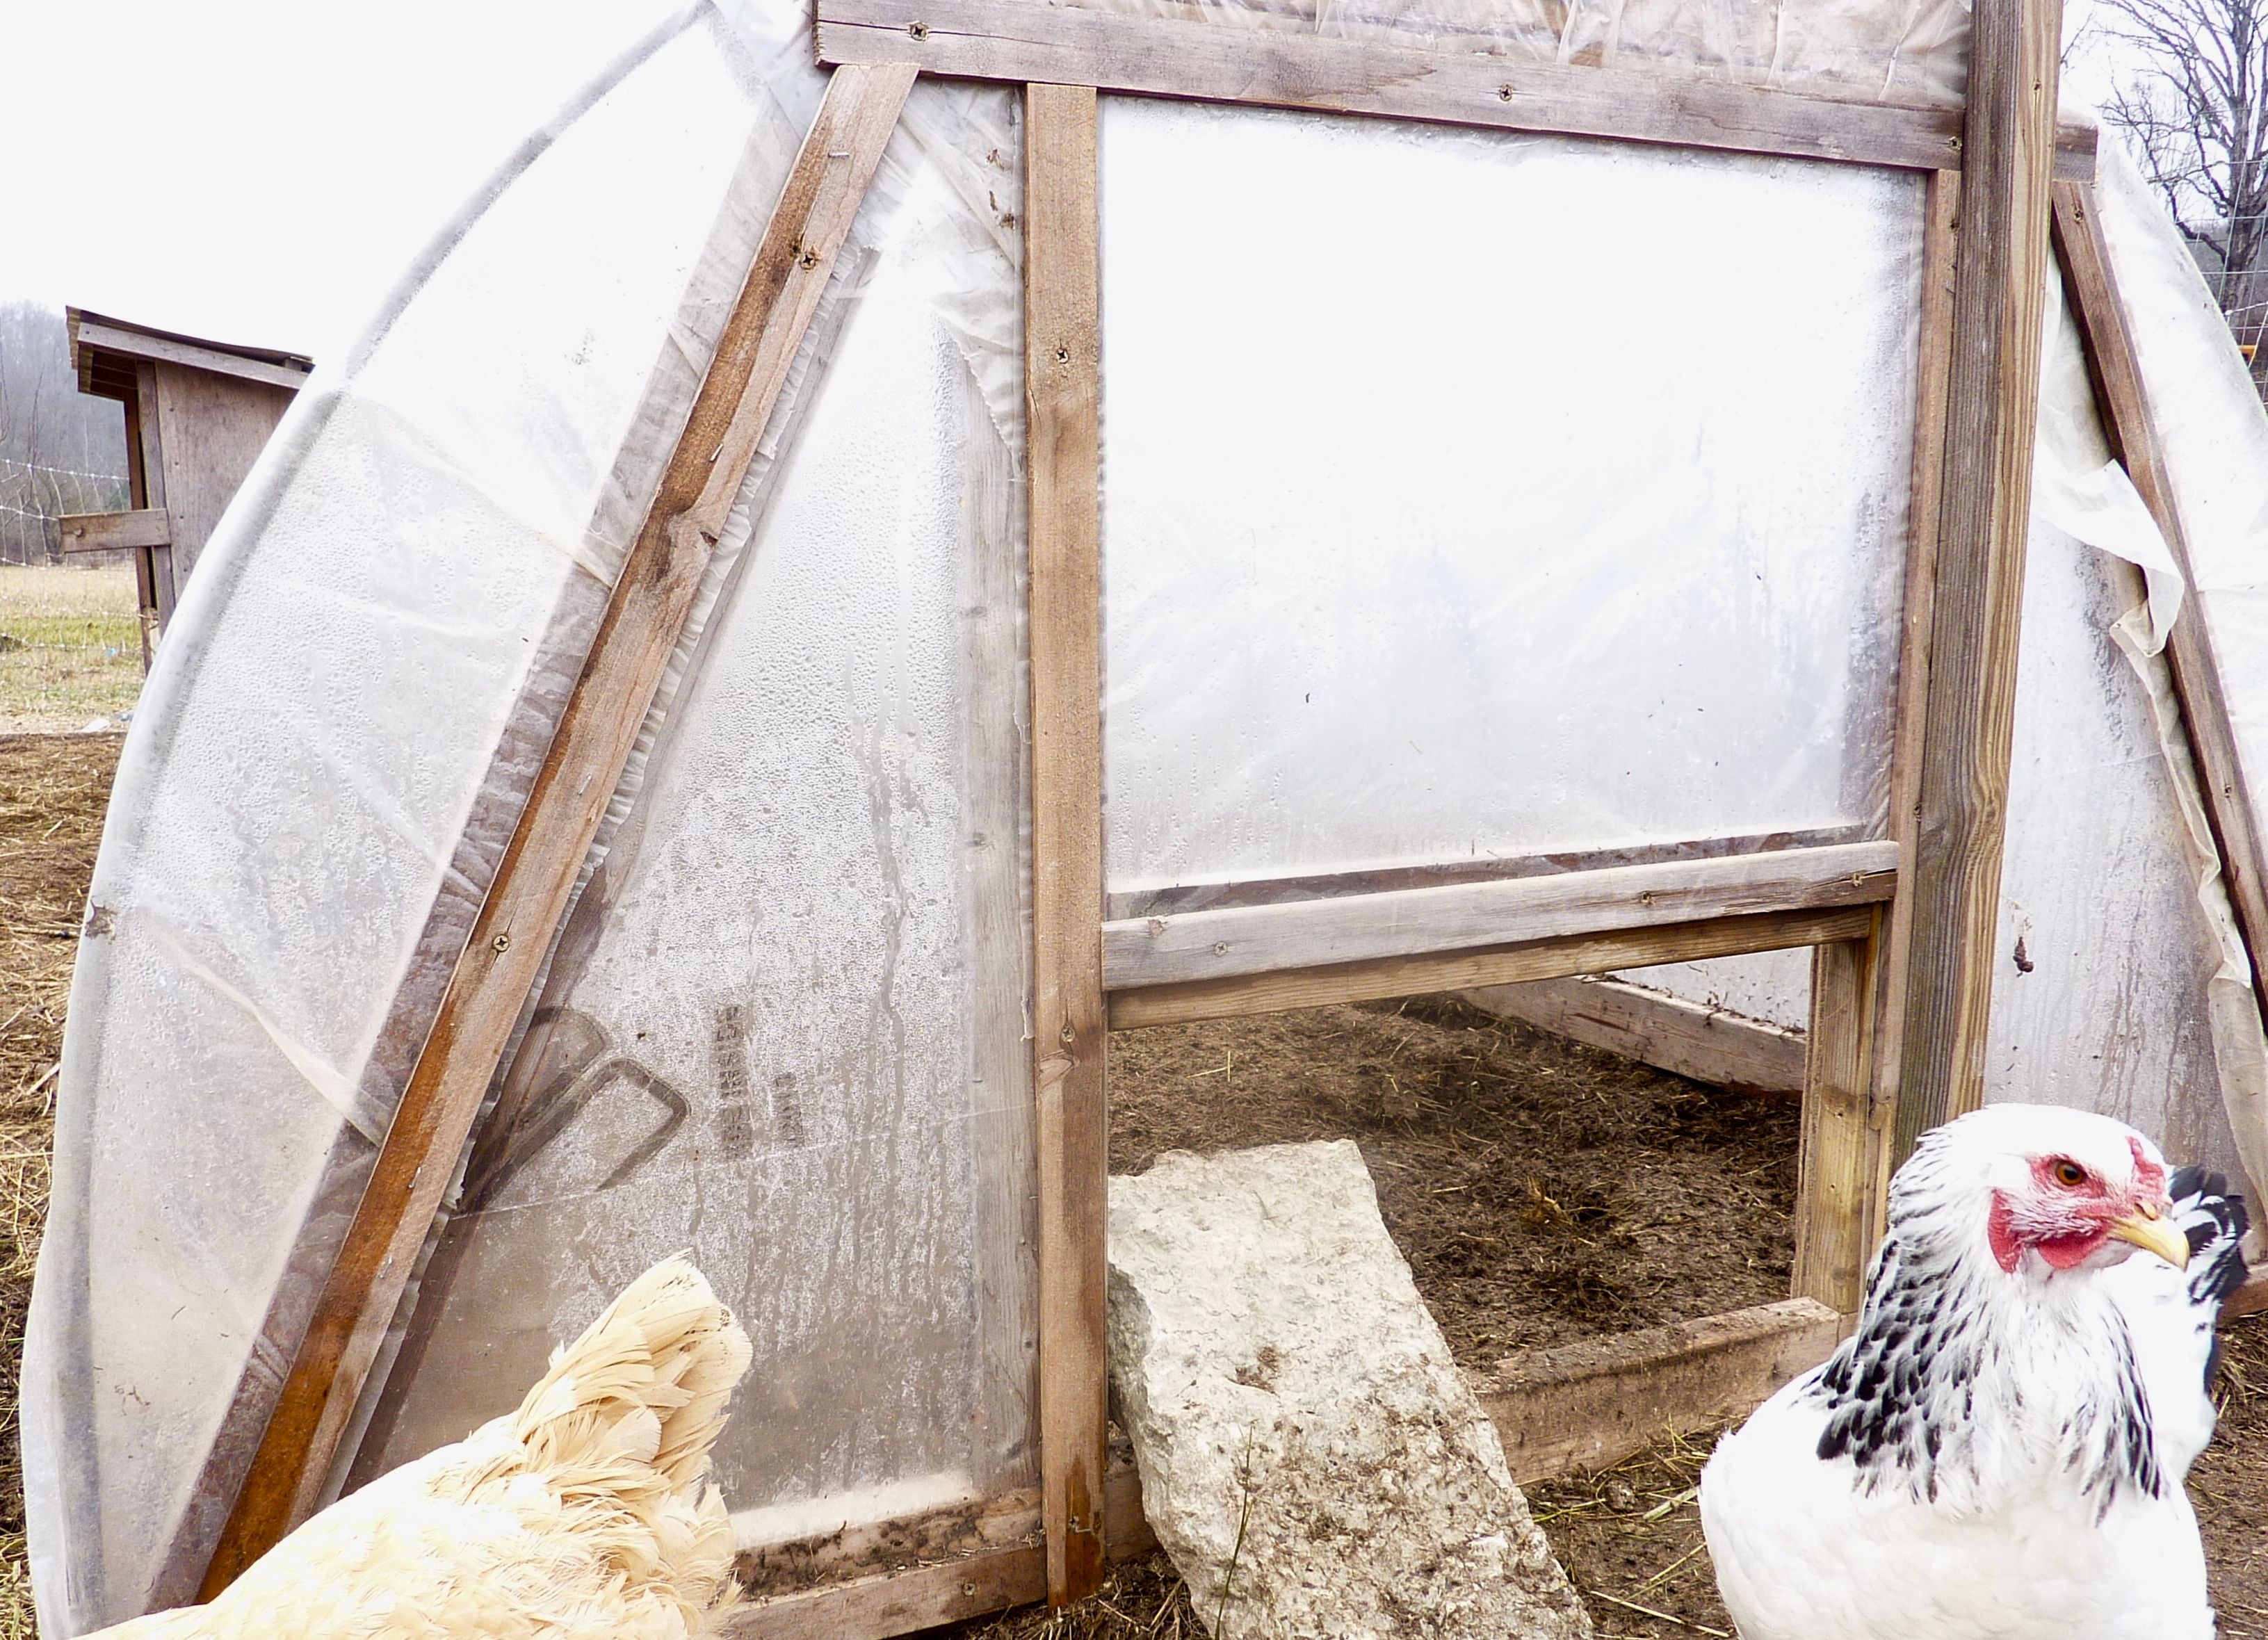
Here you can see a miniature version that is our chicken coop:
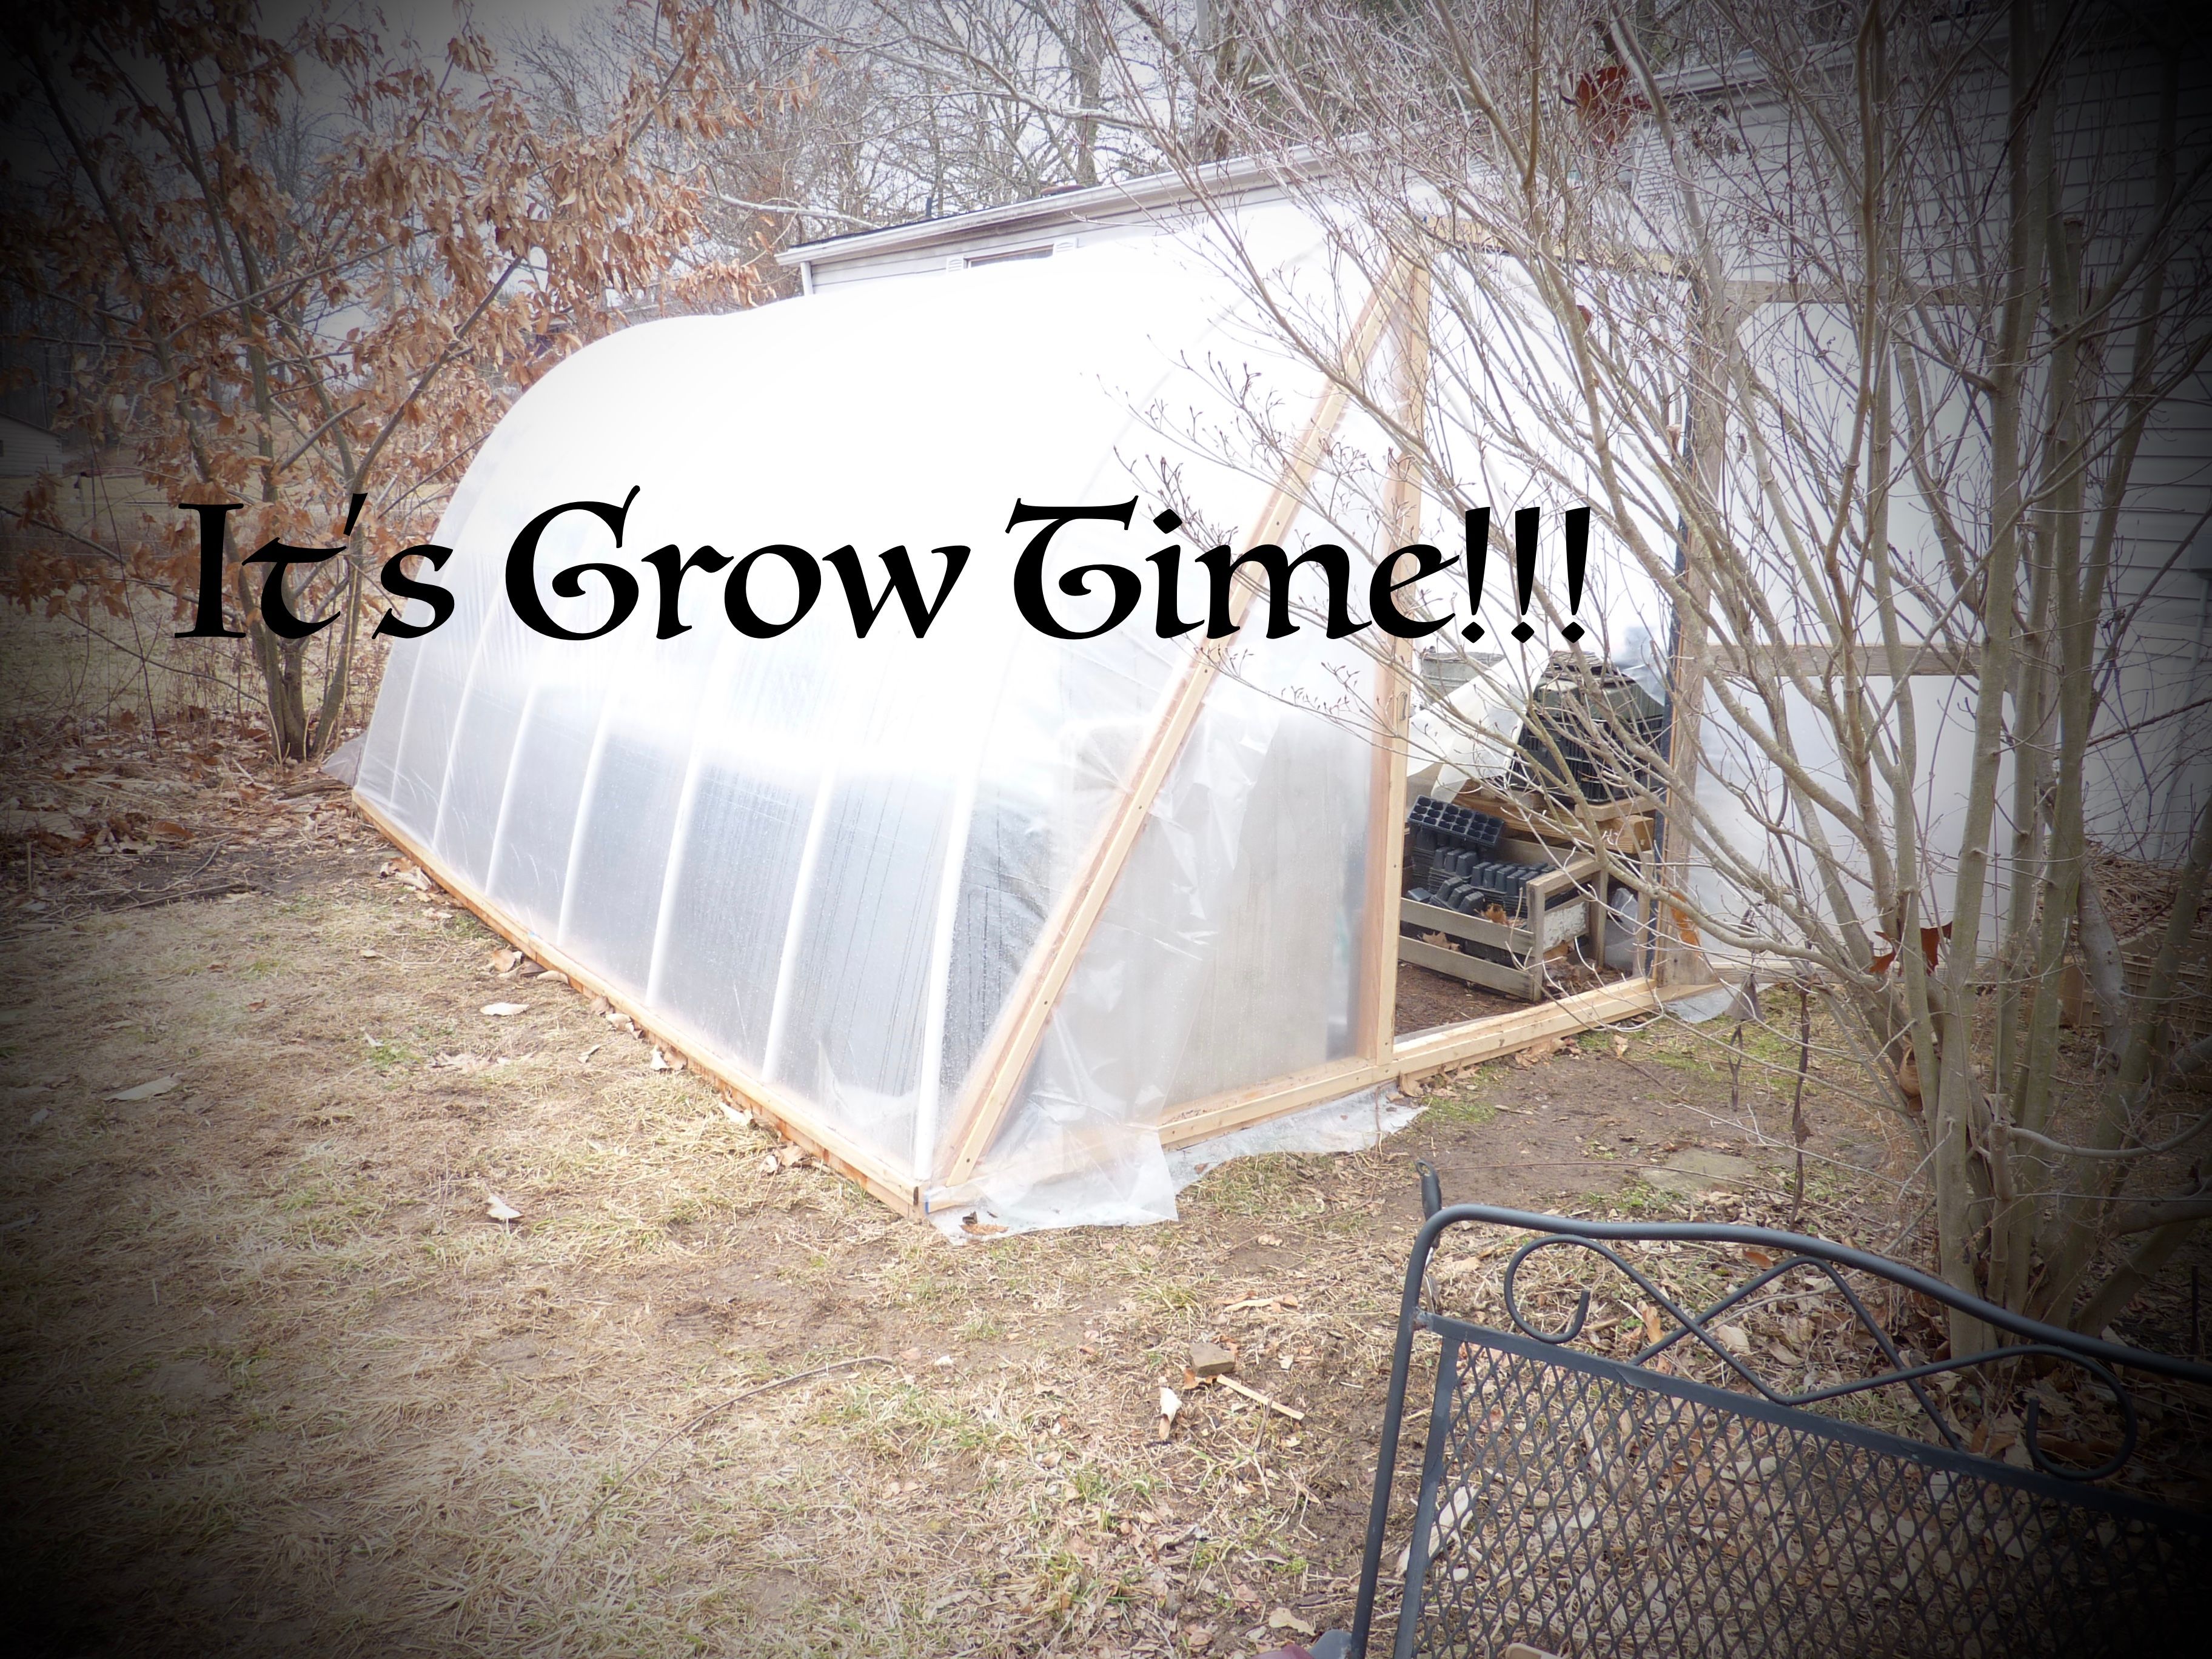
We see the plastic used in this case as appropriate technology, and although it is still plastic, and not exactly highly aesthetic, it enables us to grow so much more food than we could without it. It is also a stepping stone for us until we have a permanent plexiglass or recycled glass window greenhouse.
We sometimes run a small space heater for extra cold nights for the flats of seedlings that are on tables and benches. We also have planted directly in the ground in February using this same tunnel. (Things like lettuce, spinach, carrots and beets do just fine and are ready for harvest in April!
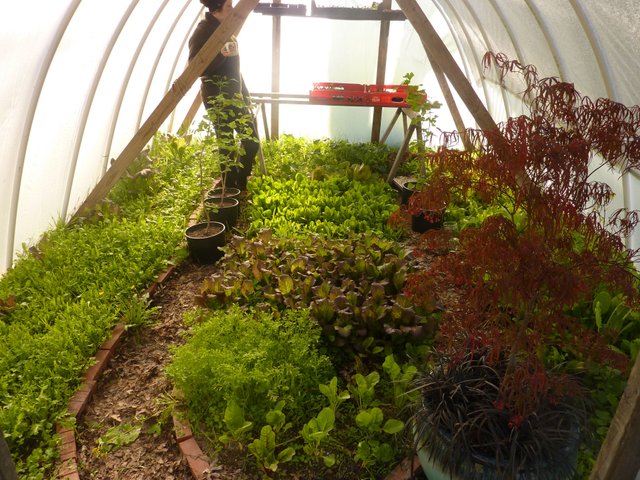
The crops get a good start with the passive solar during the day, and can tolerate some cold temperatures at night. If it's going to get very cold in late winter when we have seedlings in there, we cover them with row cover an agricultural fabric that can be purchased from Johnny's Seeds.
On sunny days it is important to vent the tunnel because it can get too hot.
Now that I'm done rambling, I am going to tell you how my husband builds these!
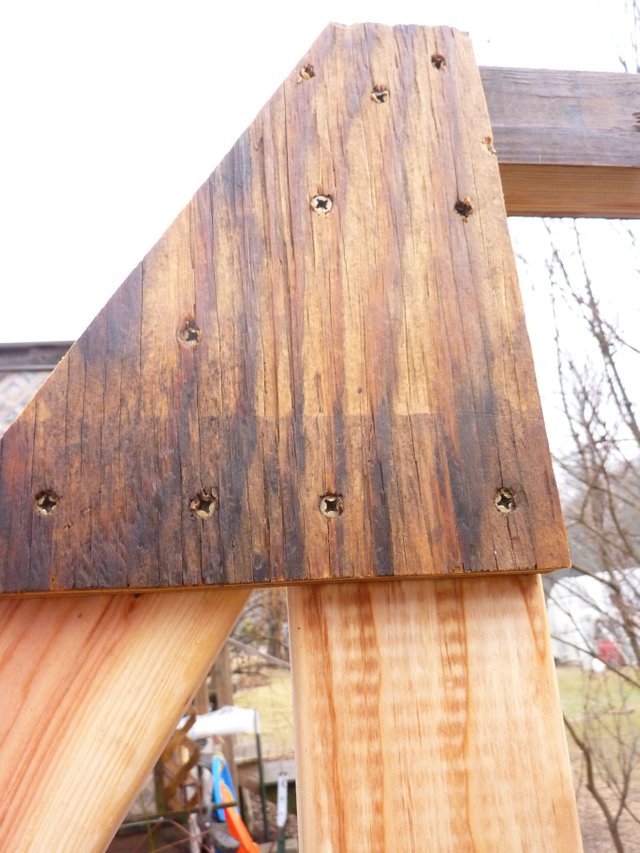
The first step is to build the end walls using 8' 2x4's with a 12' long baseboard. We had a greenhouse door he had built last year leftover, so he built one of the end walls with a door frame to fit that door. One of the end walls will be your back wall and one of them will be the "front" of your greenhouse, and will need a door frame. You can use any old door you might have laying around, and build your door frame to fit it, or you can build that end wall with a custom door frame and then build the greenhouse door to fit it. (It is helpful to be able to fit a wheel barrow through!)
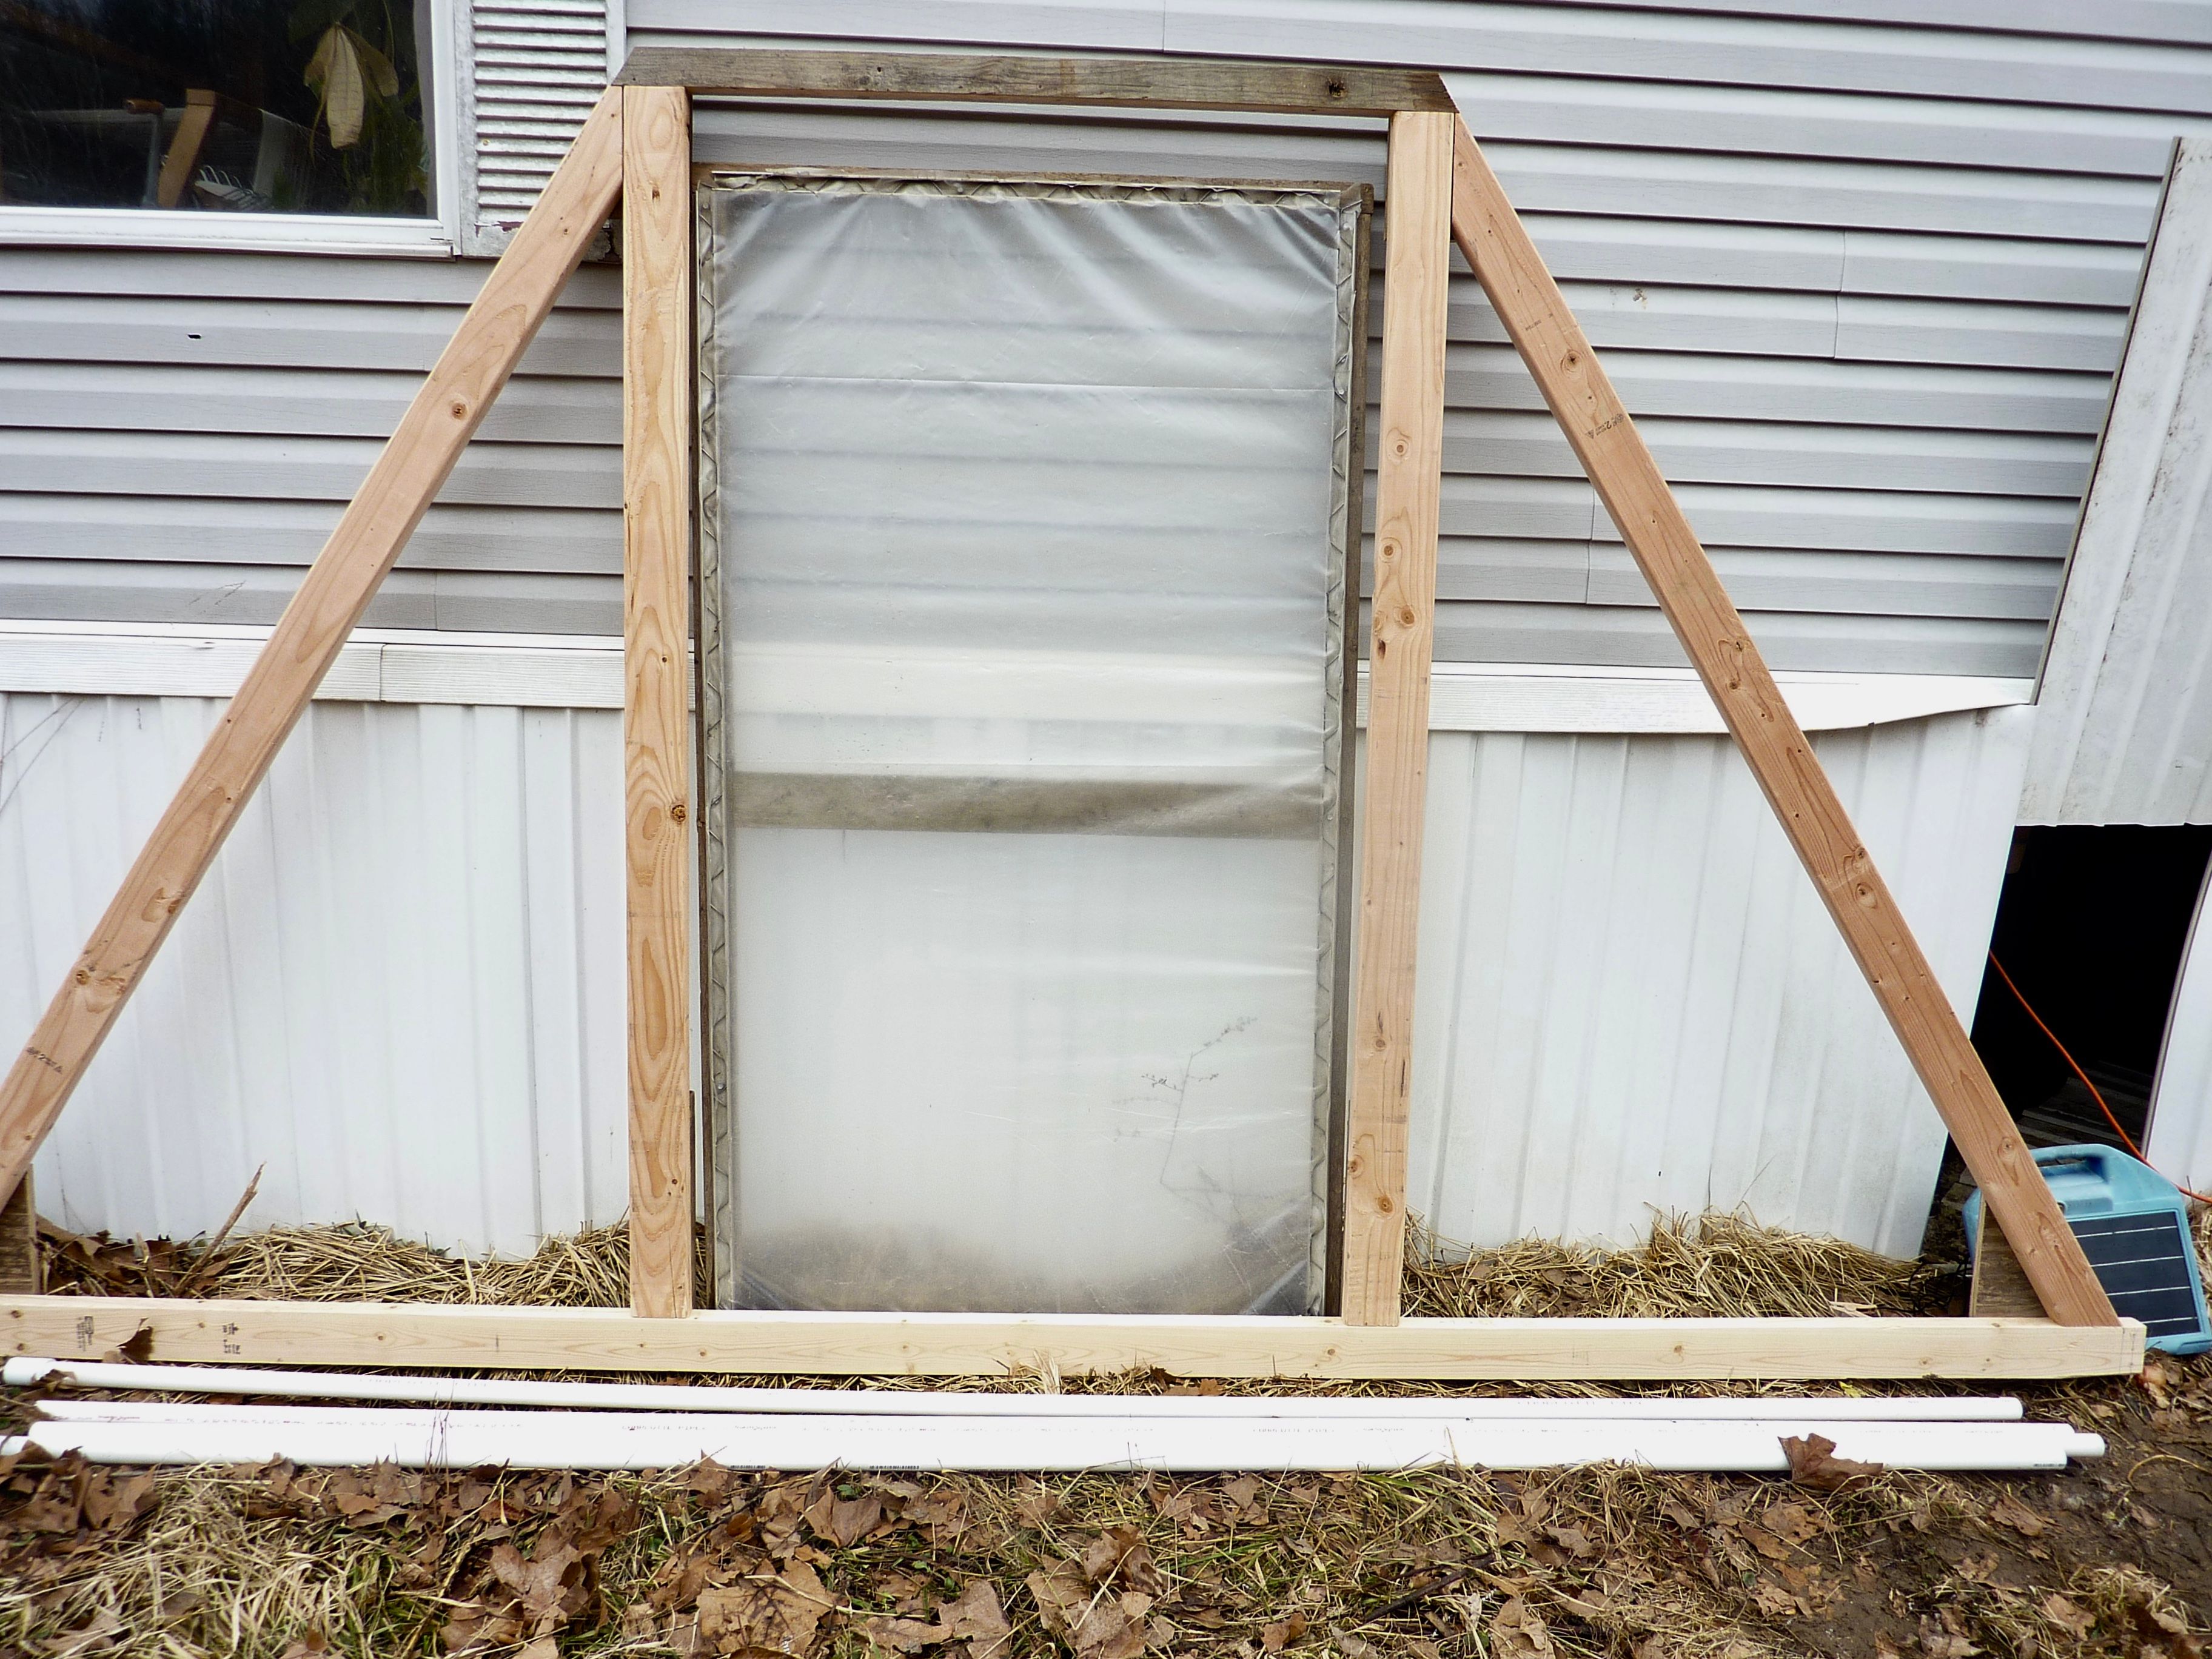
As you can see my husband used these to assemble the pieces of his end walls, which are postitioned on the inside of the structure:
Then connect the end walls at the base with 2x4's. You can either connect 2 - 8' 2x4's together for a 16' length on each side, or you could us 16' 2x4's or you could just make it 12' long using one 12' 2x4 on each side. In this case to save money we connected 2 8' 2x4's on each side for a length of 16'.
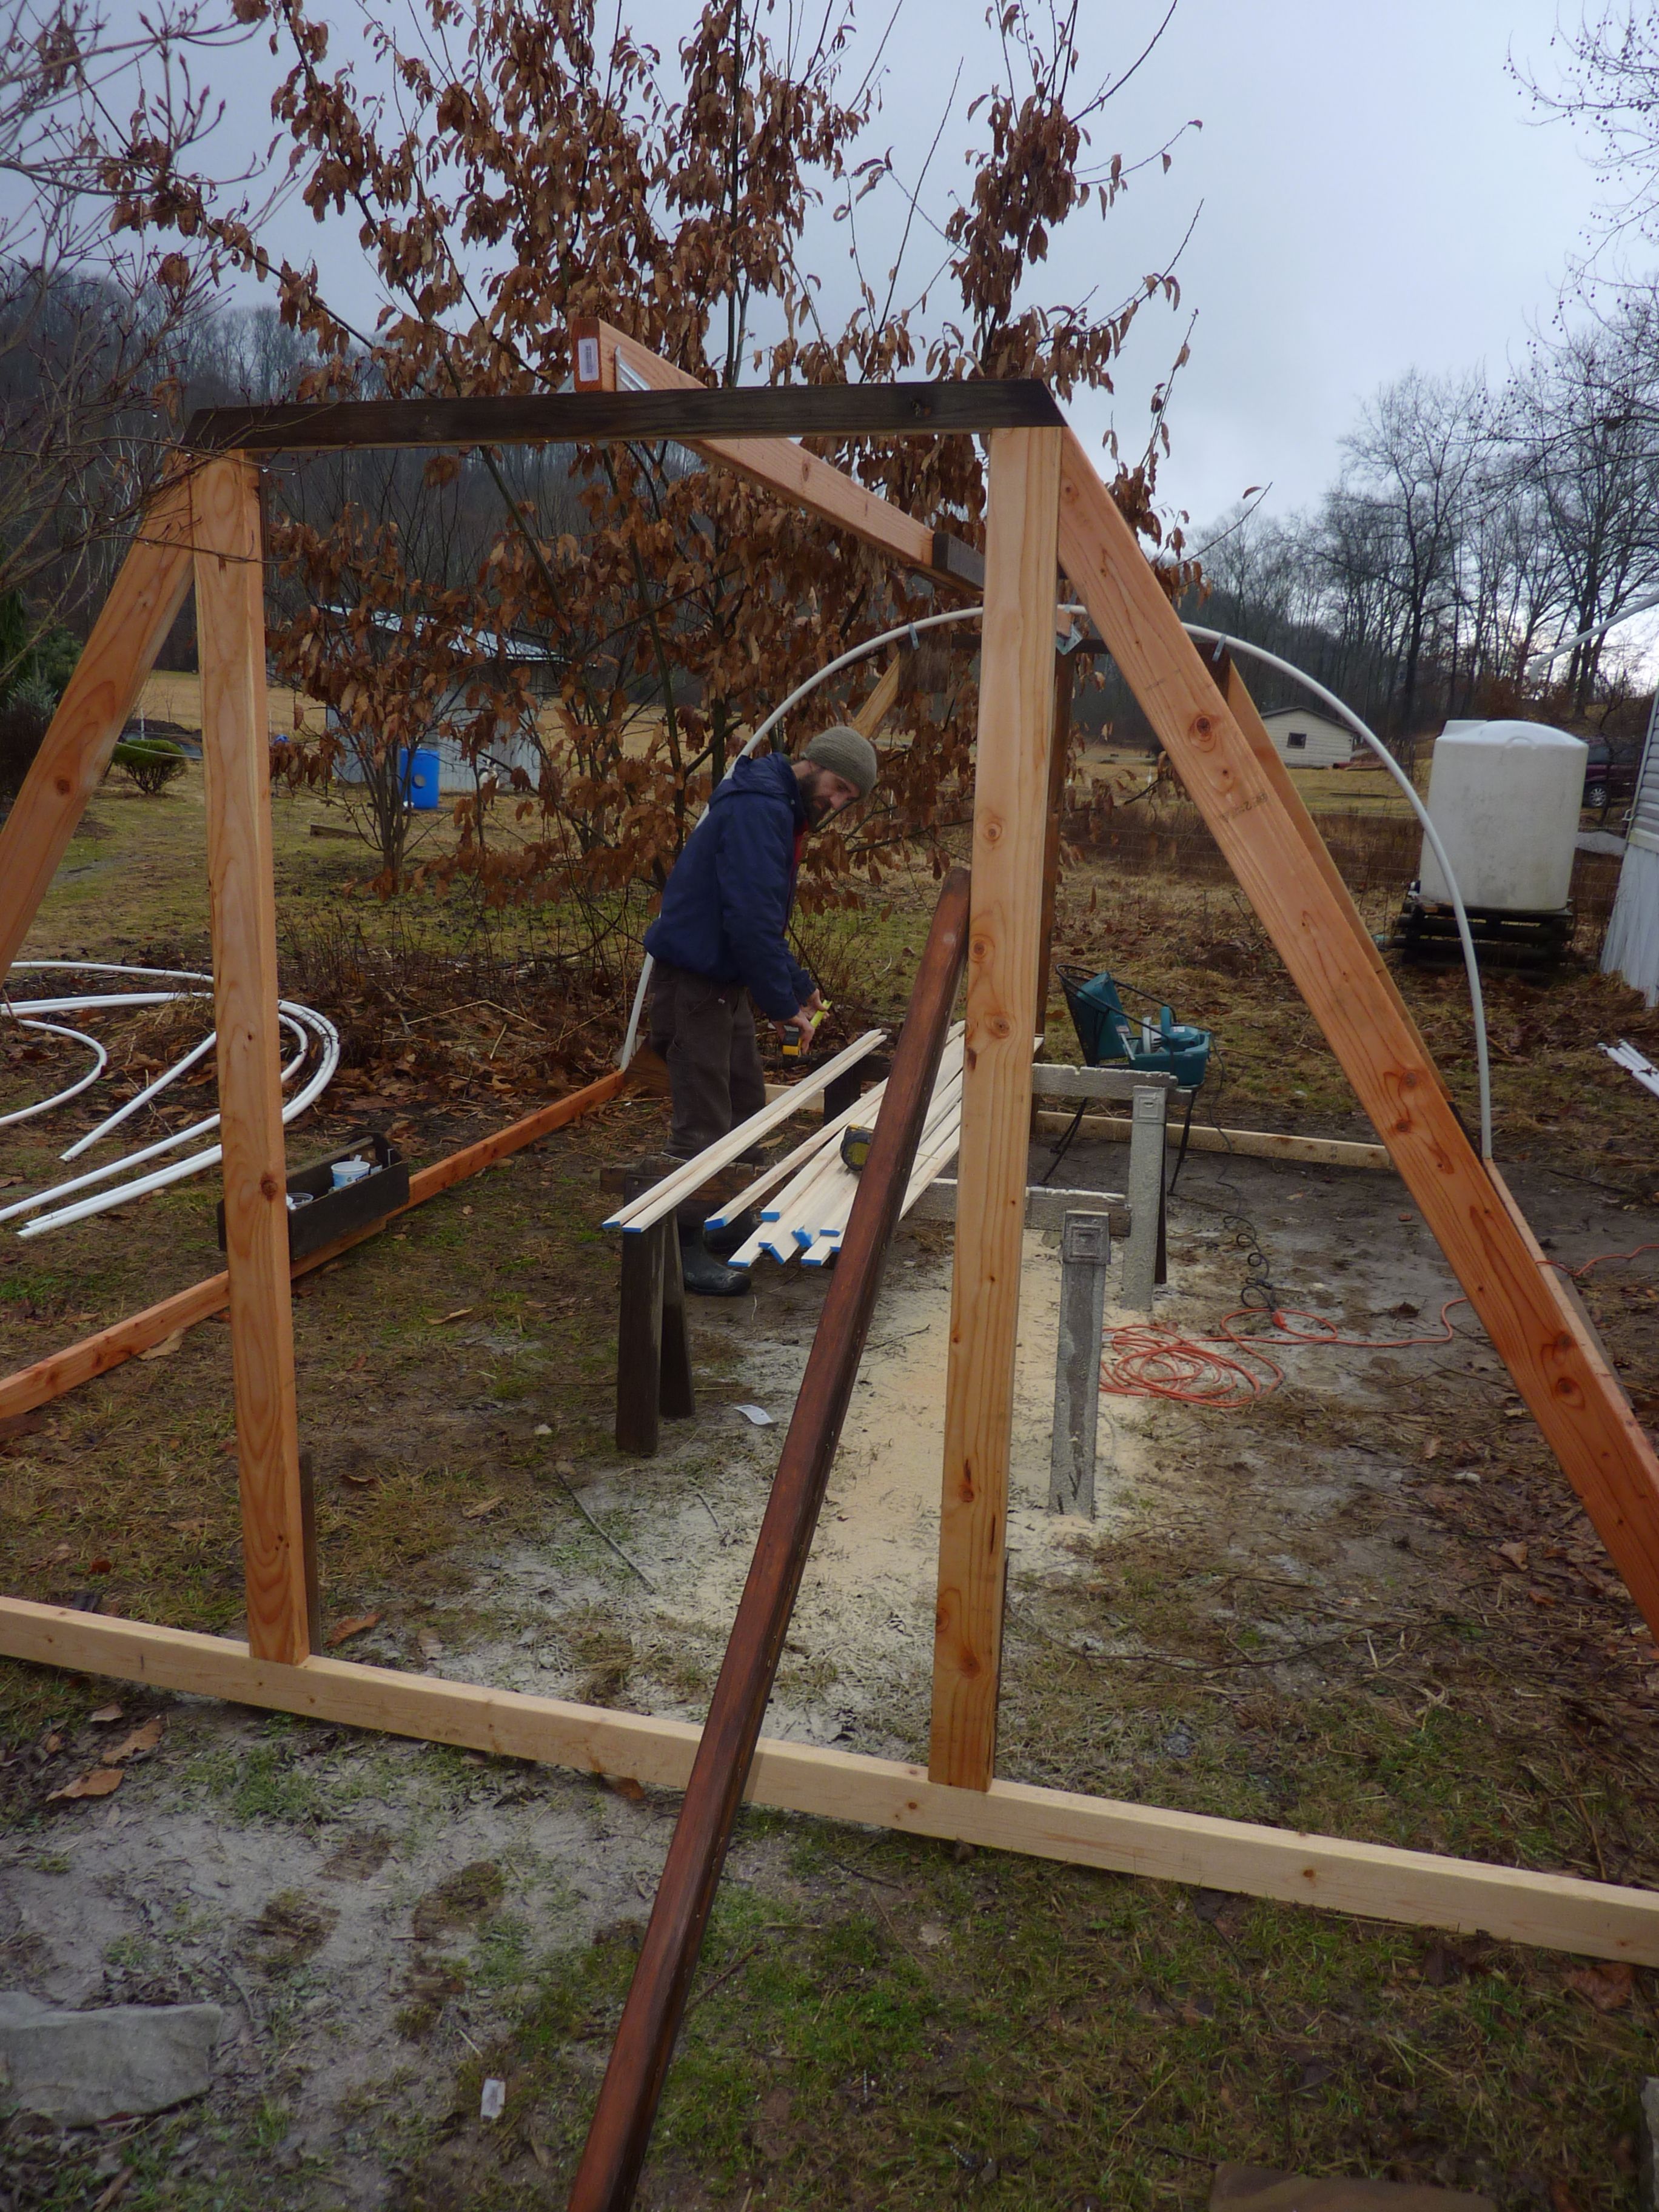
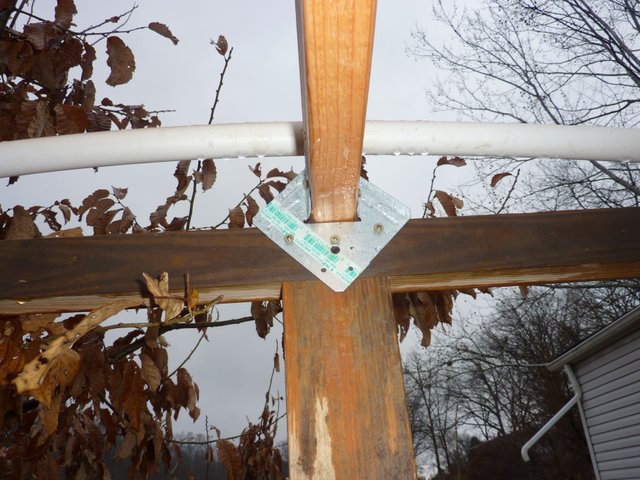
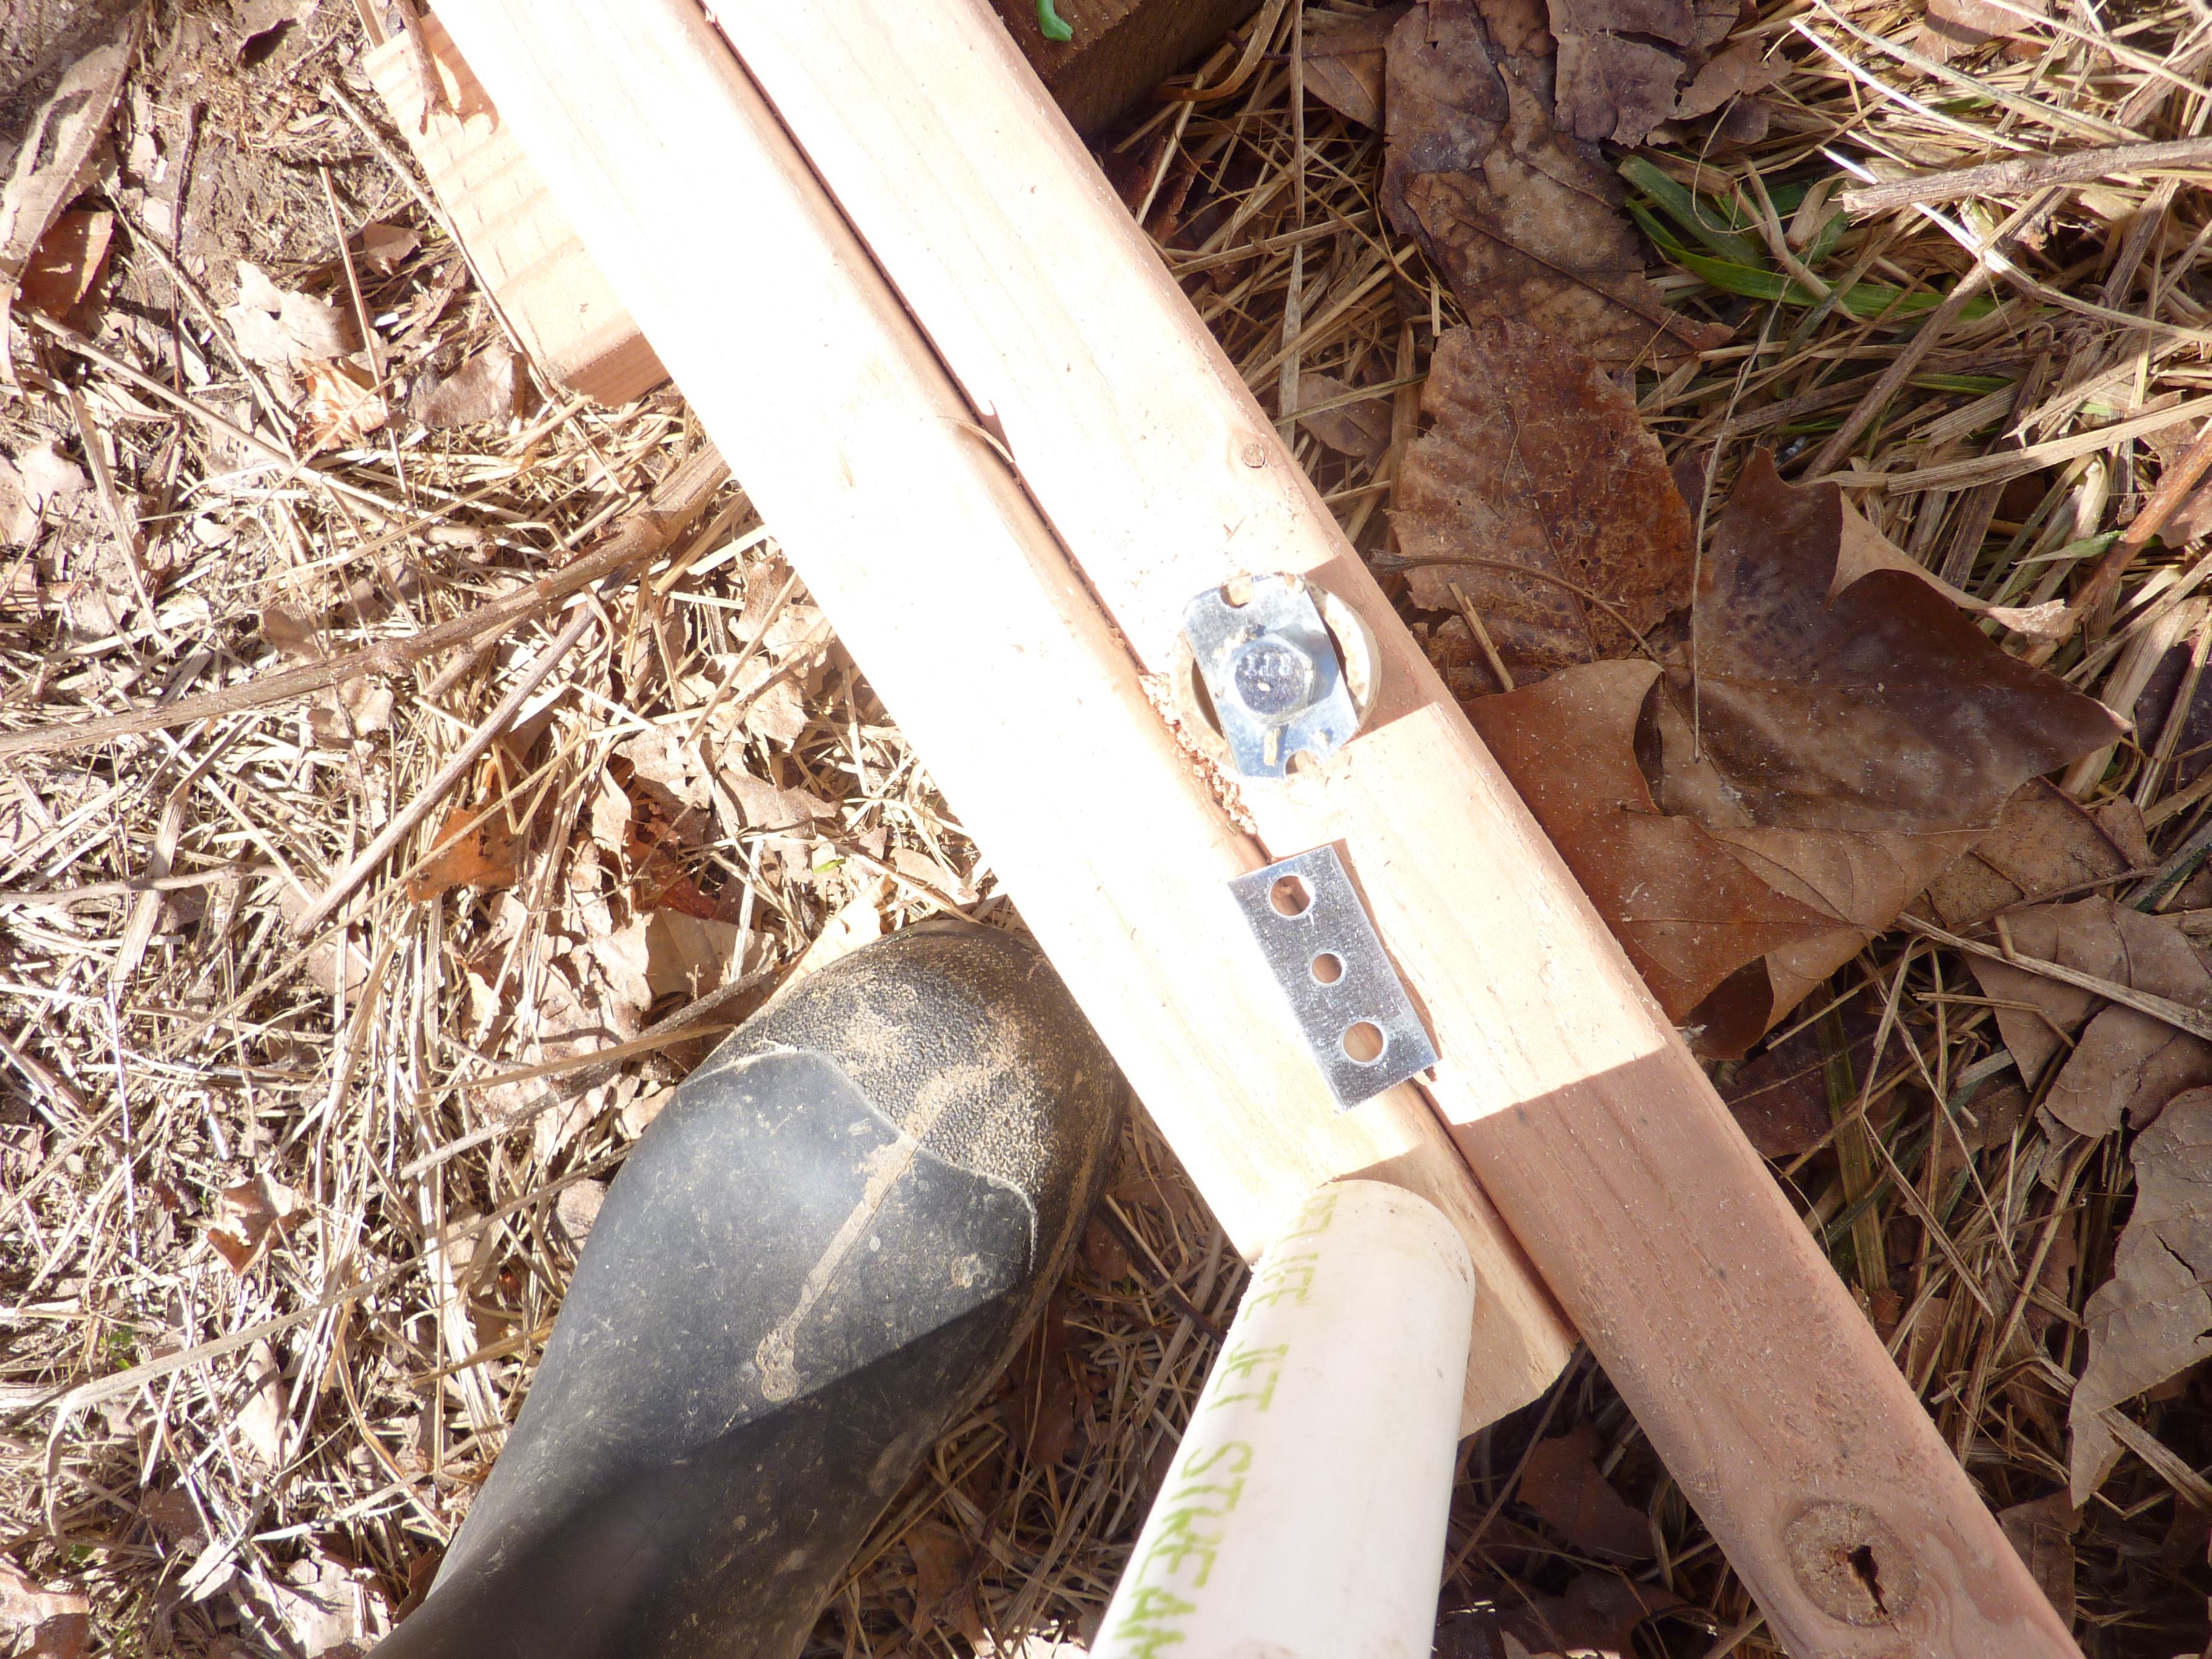
After you have assembled the base by connecting the 2x4 baseboards to the end walls, you then install a central beam on the top of the structure. We used these joist hangers:
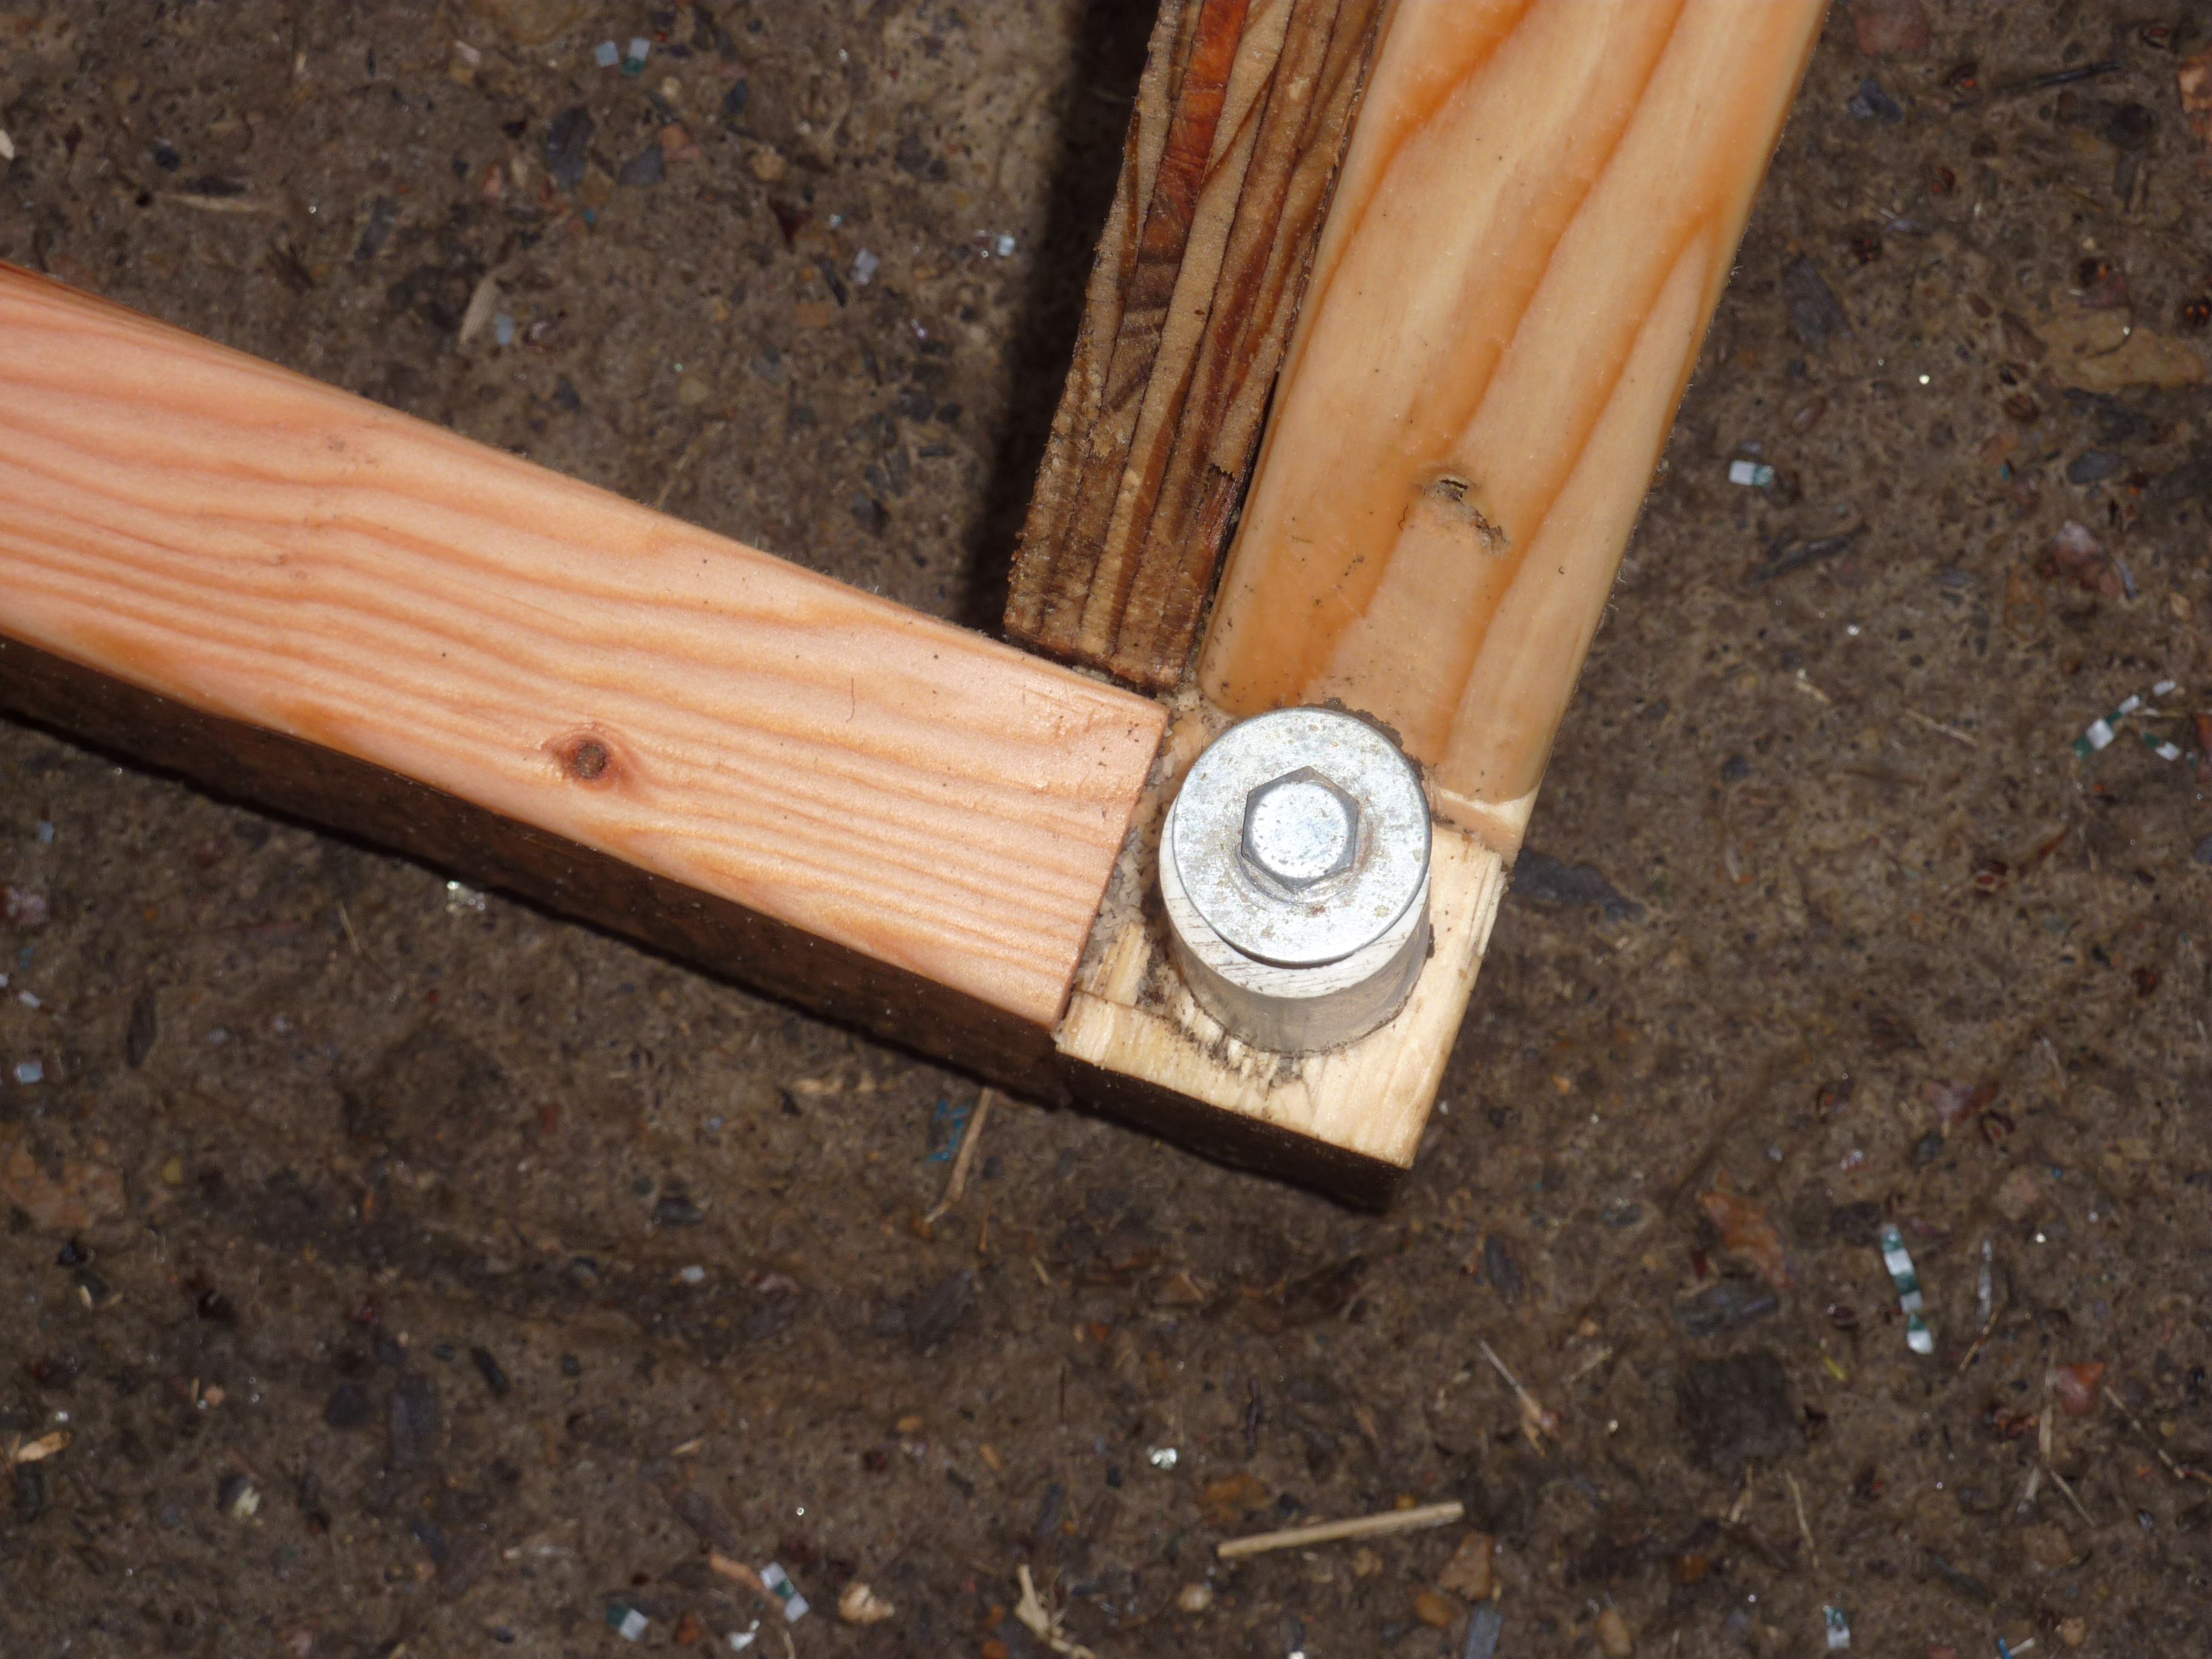
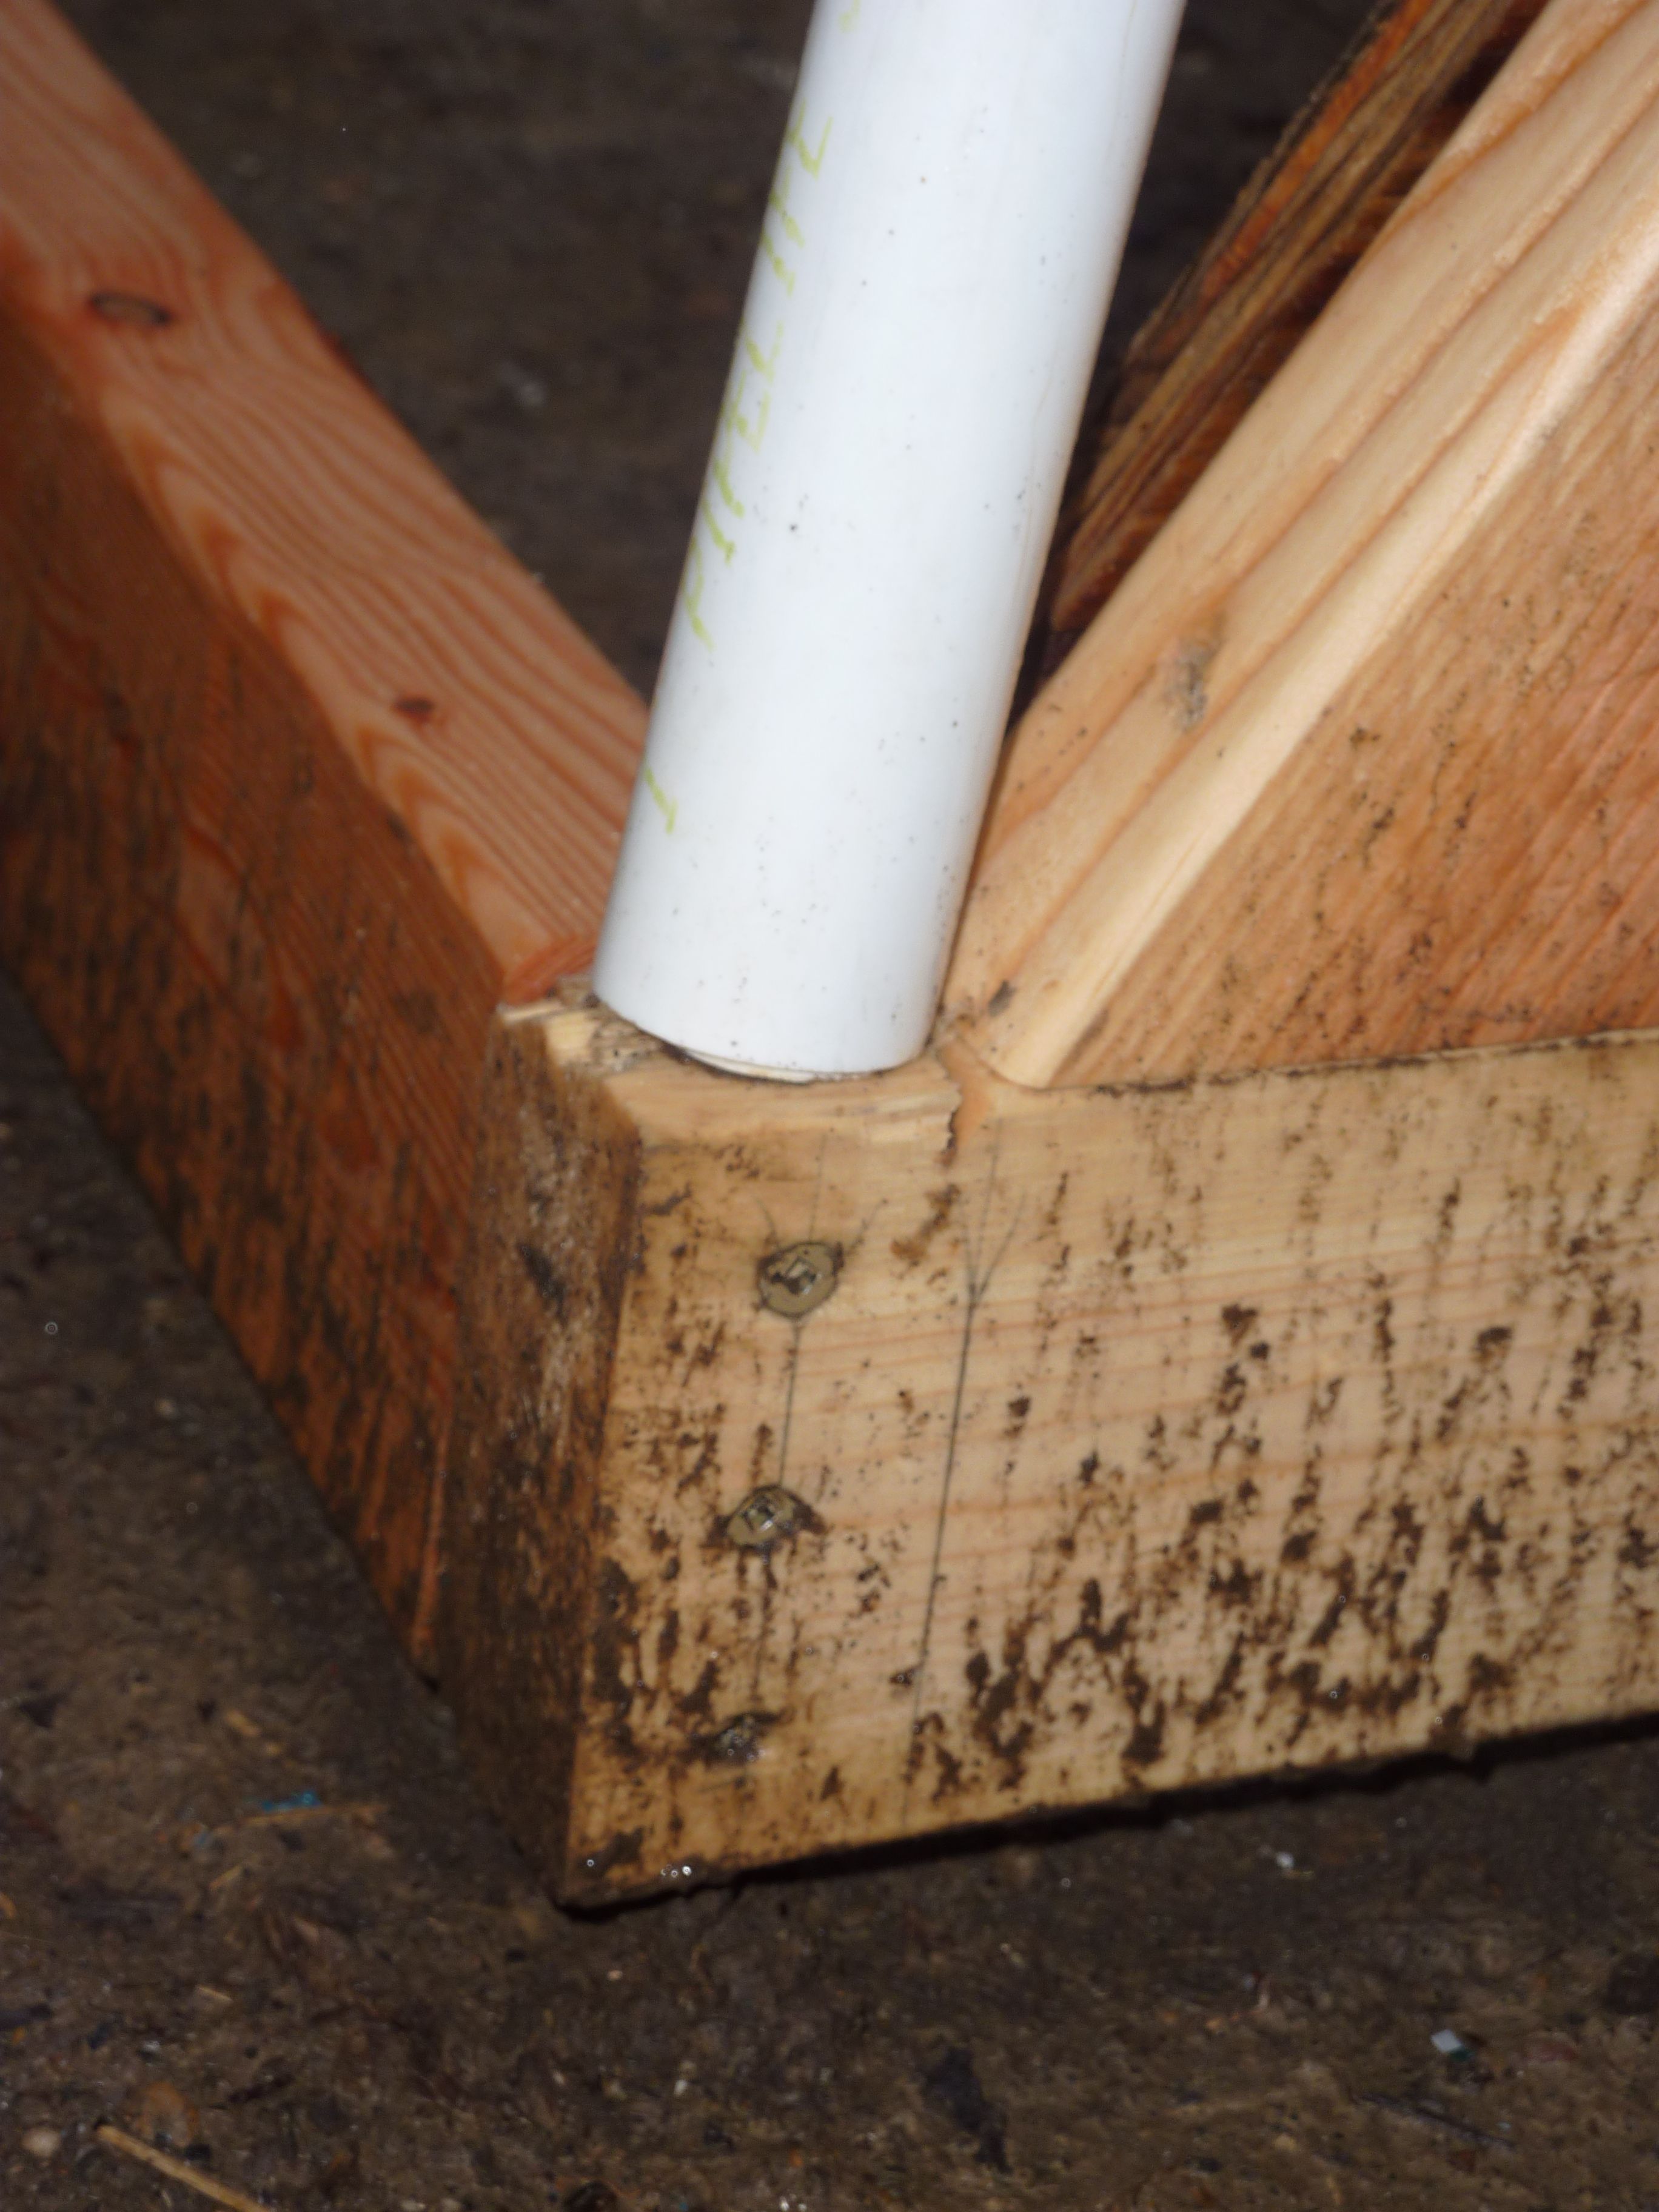
Using 3/4" PVC pieces with a washer and a a lag bolt combo, place on the ends of the 2x4 base, on either side of the base of the end walls. Pre-drilling is optimal. These will serve as stabilizers for your end wall hoops.
Then place your 19.5' long 1" PVC hoop over the end wall and set it onto your stabilizers.
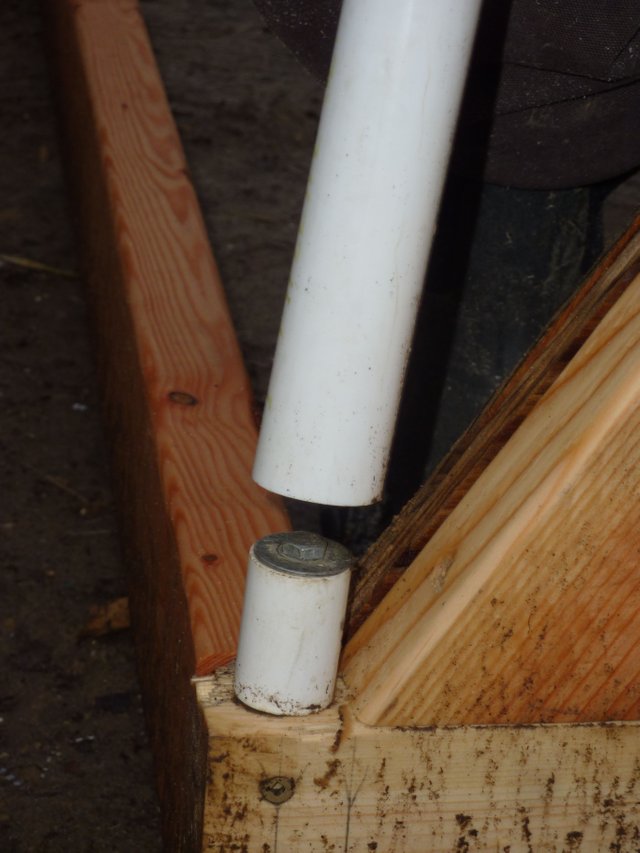
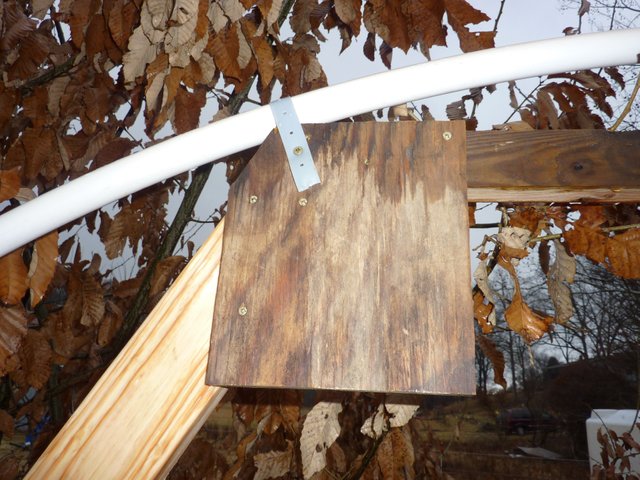
Then using pipe hangers, secure your first hoop (good job!) to the end wall in three places, including one over the center beam
Repeat this same process on the other end wall, so you now have two hoops!
The next step is to put the rest of your hoops on. Install 6 "stablizers", as described above, down each 2x4 baseboard at about 28" apart.
And then attach your six hoops!
Before putting the plastic on. Make some preparations.
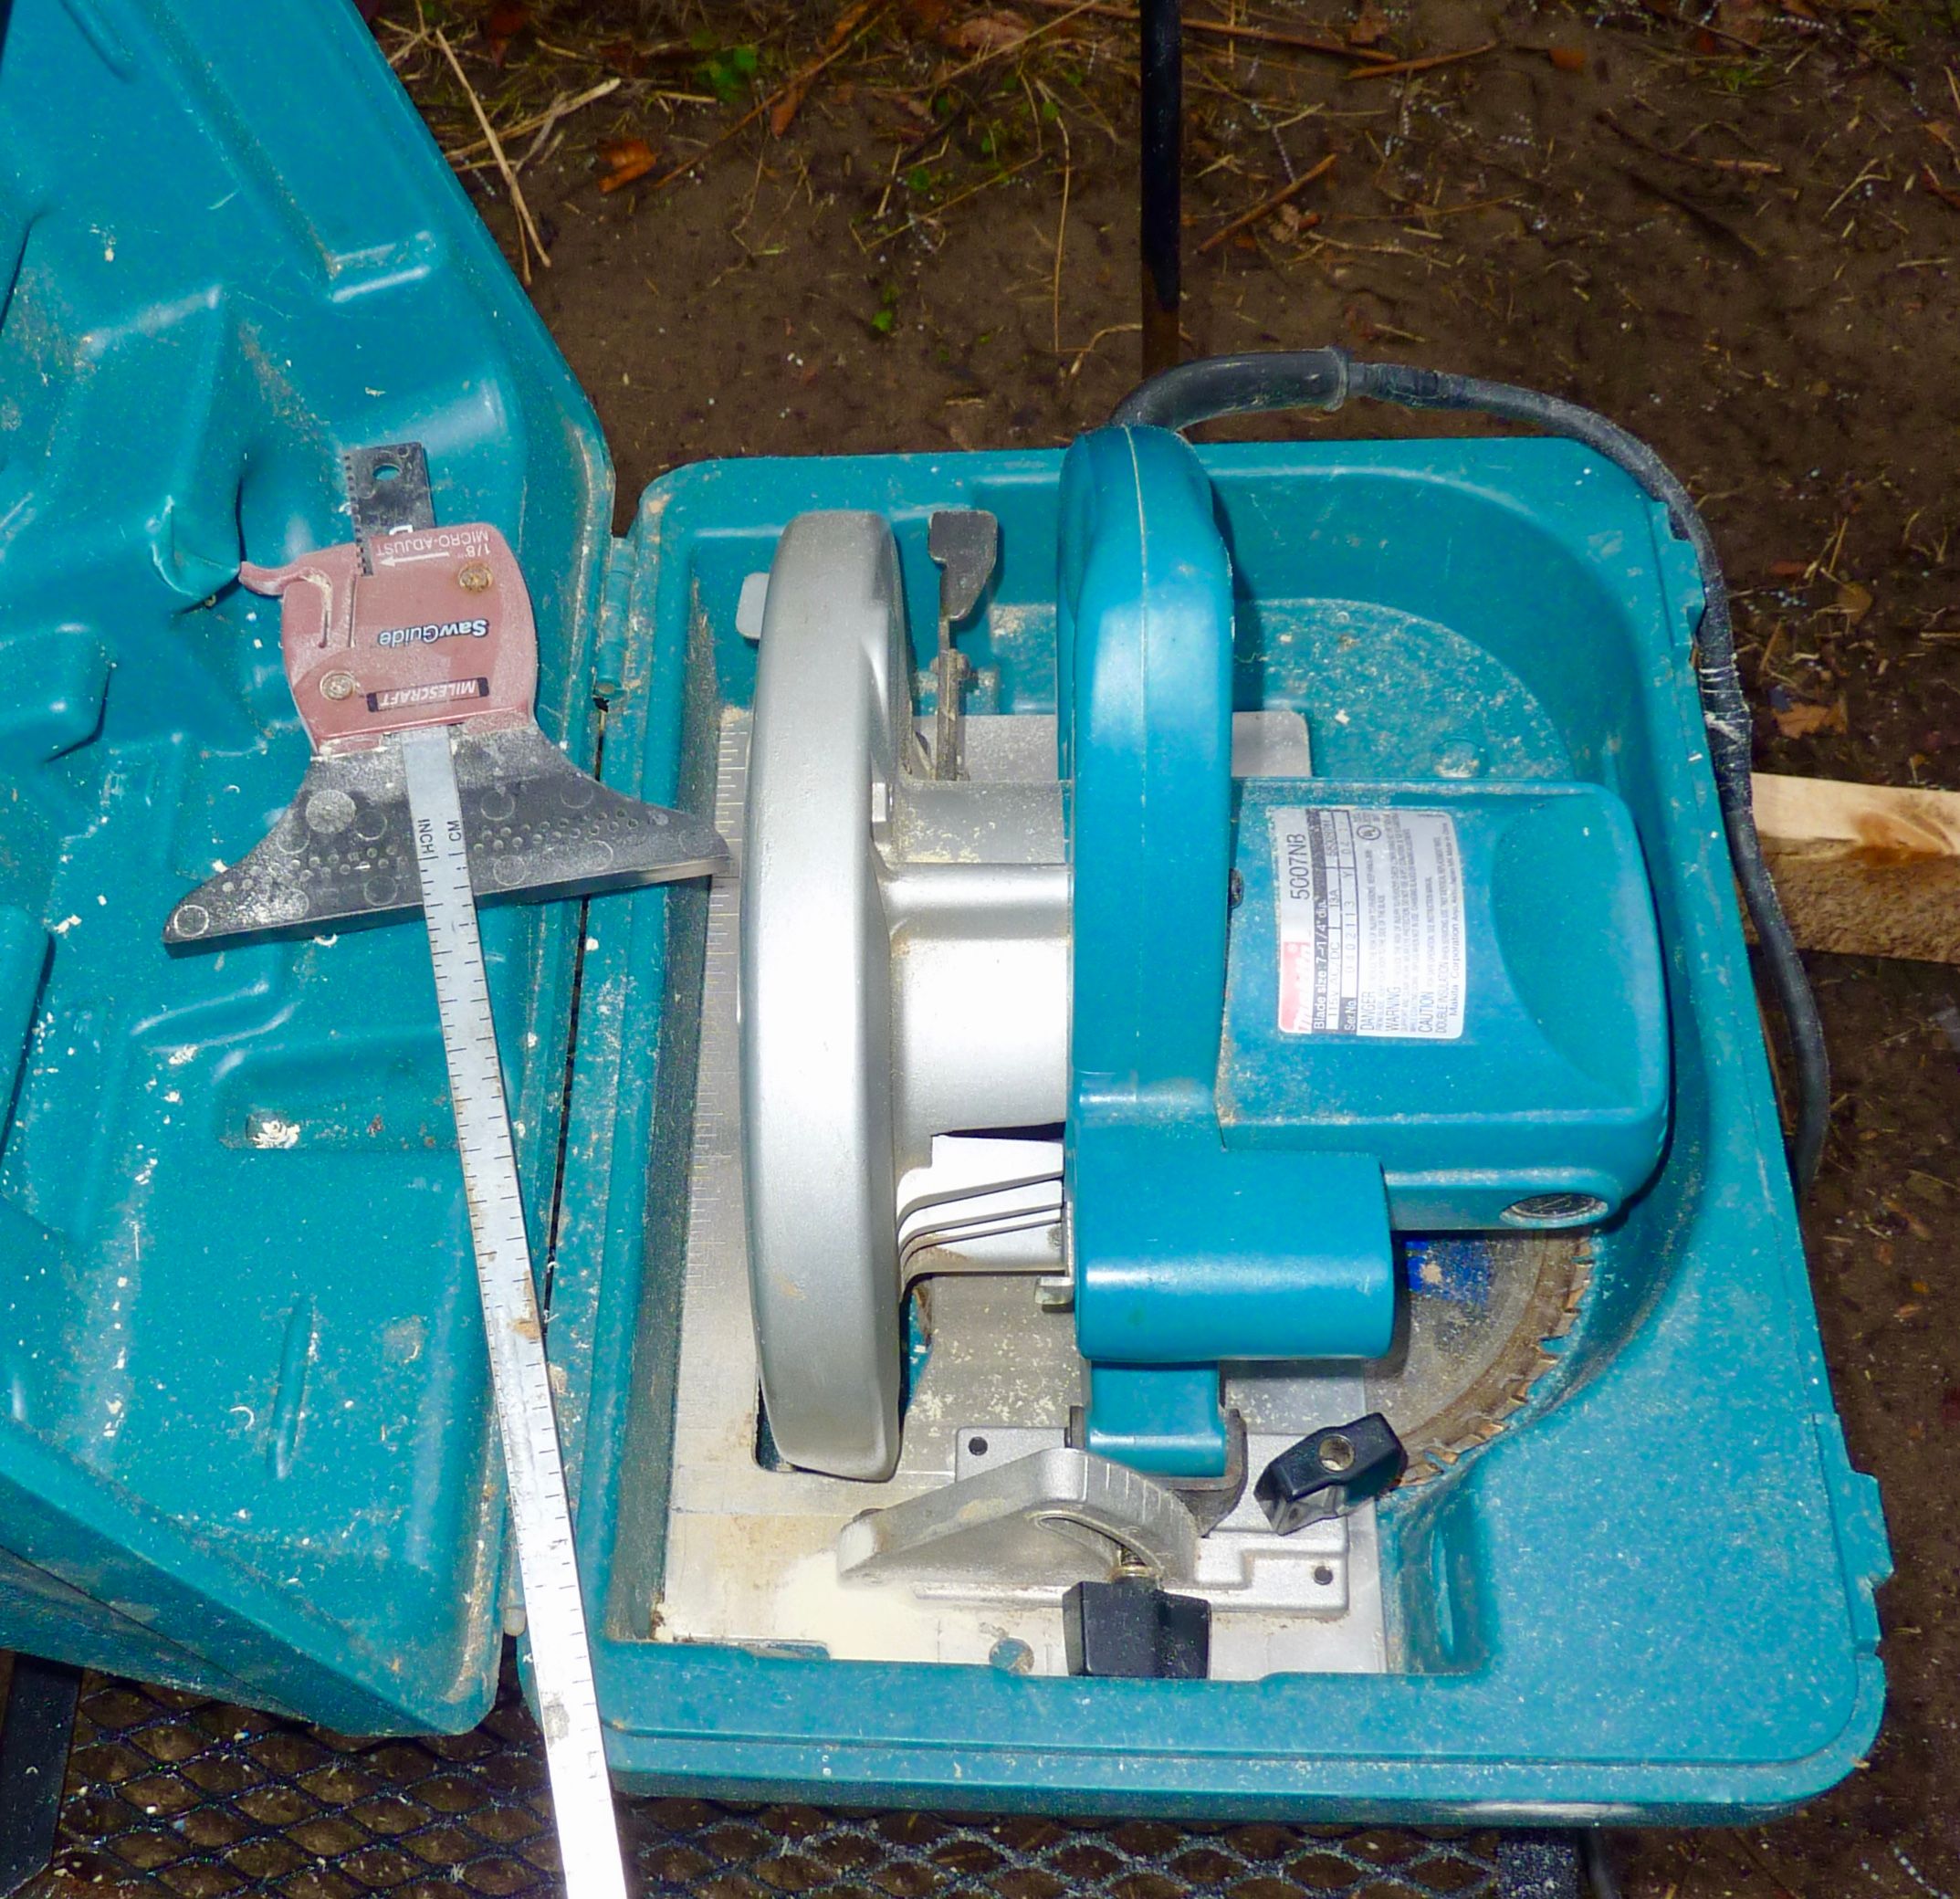
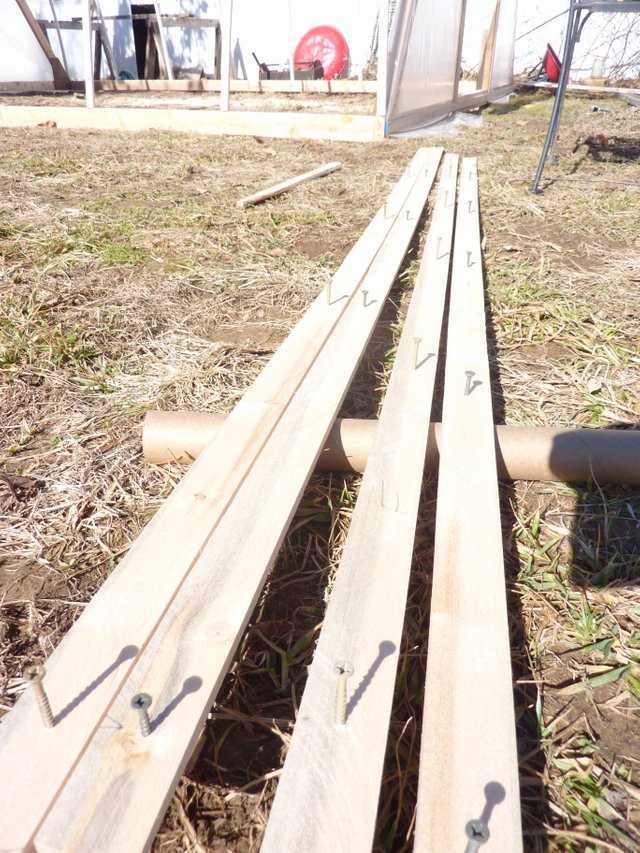
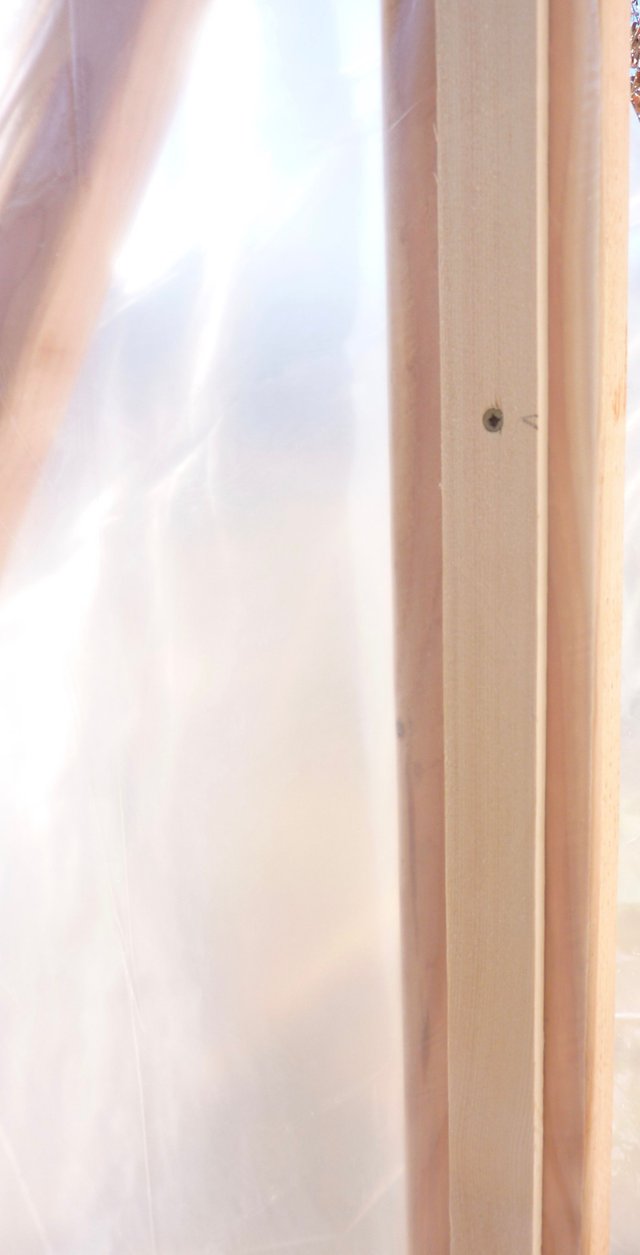
Using a circular saw and a saw guide strip 2- 8' 2x4s to make your own 1/2" trim for attaching your plastic. This will save you lots of money!
Finished "trim" will look like this:
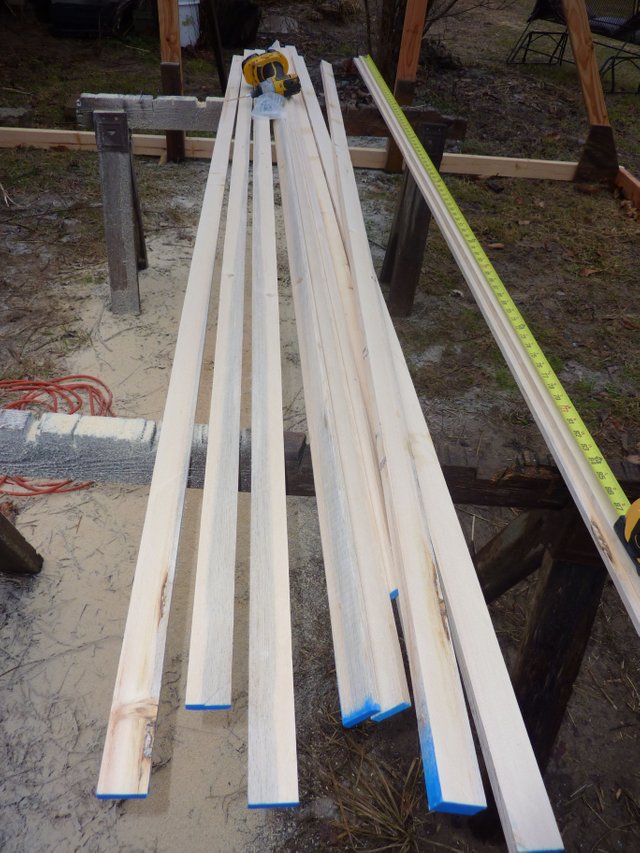
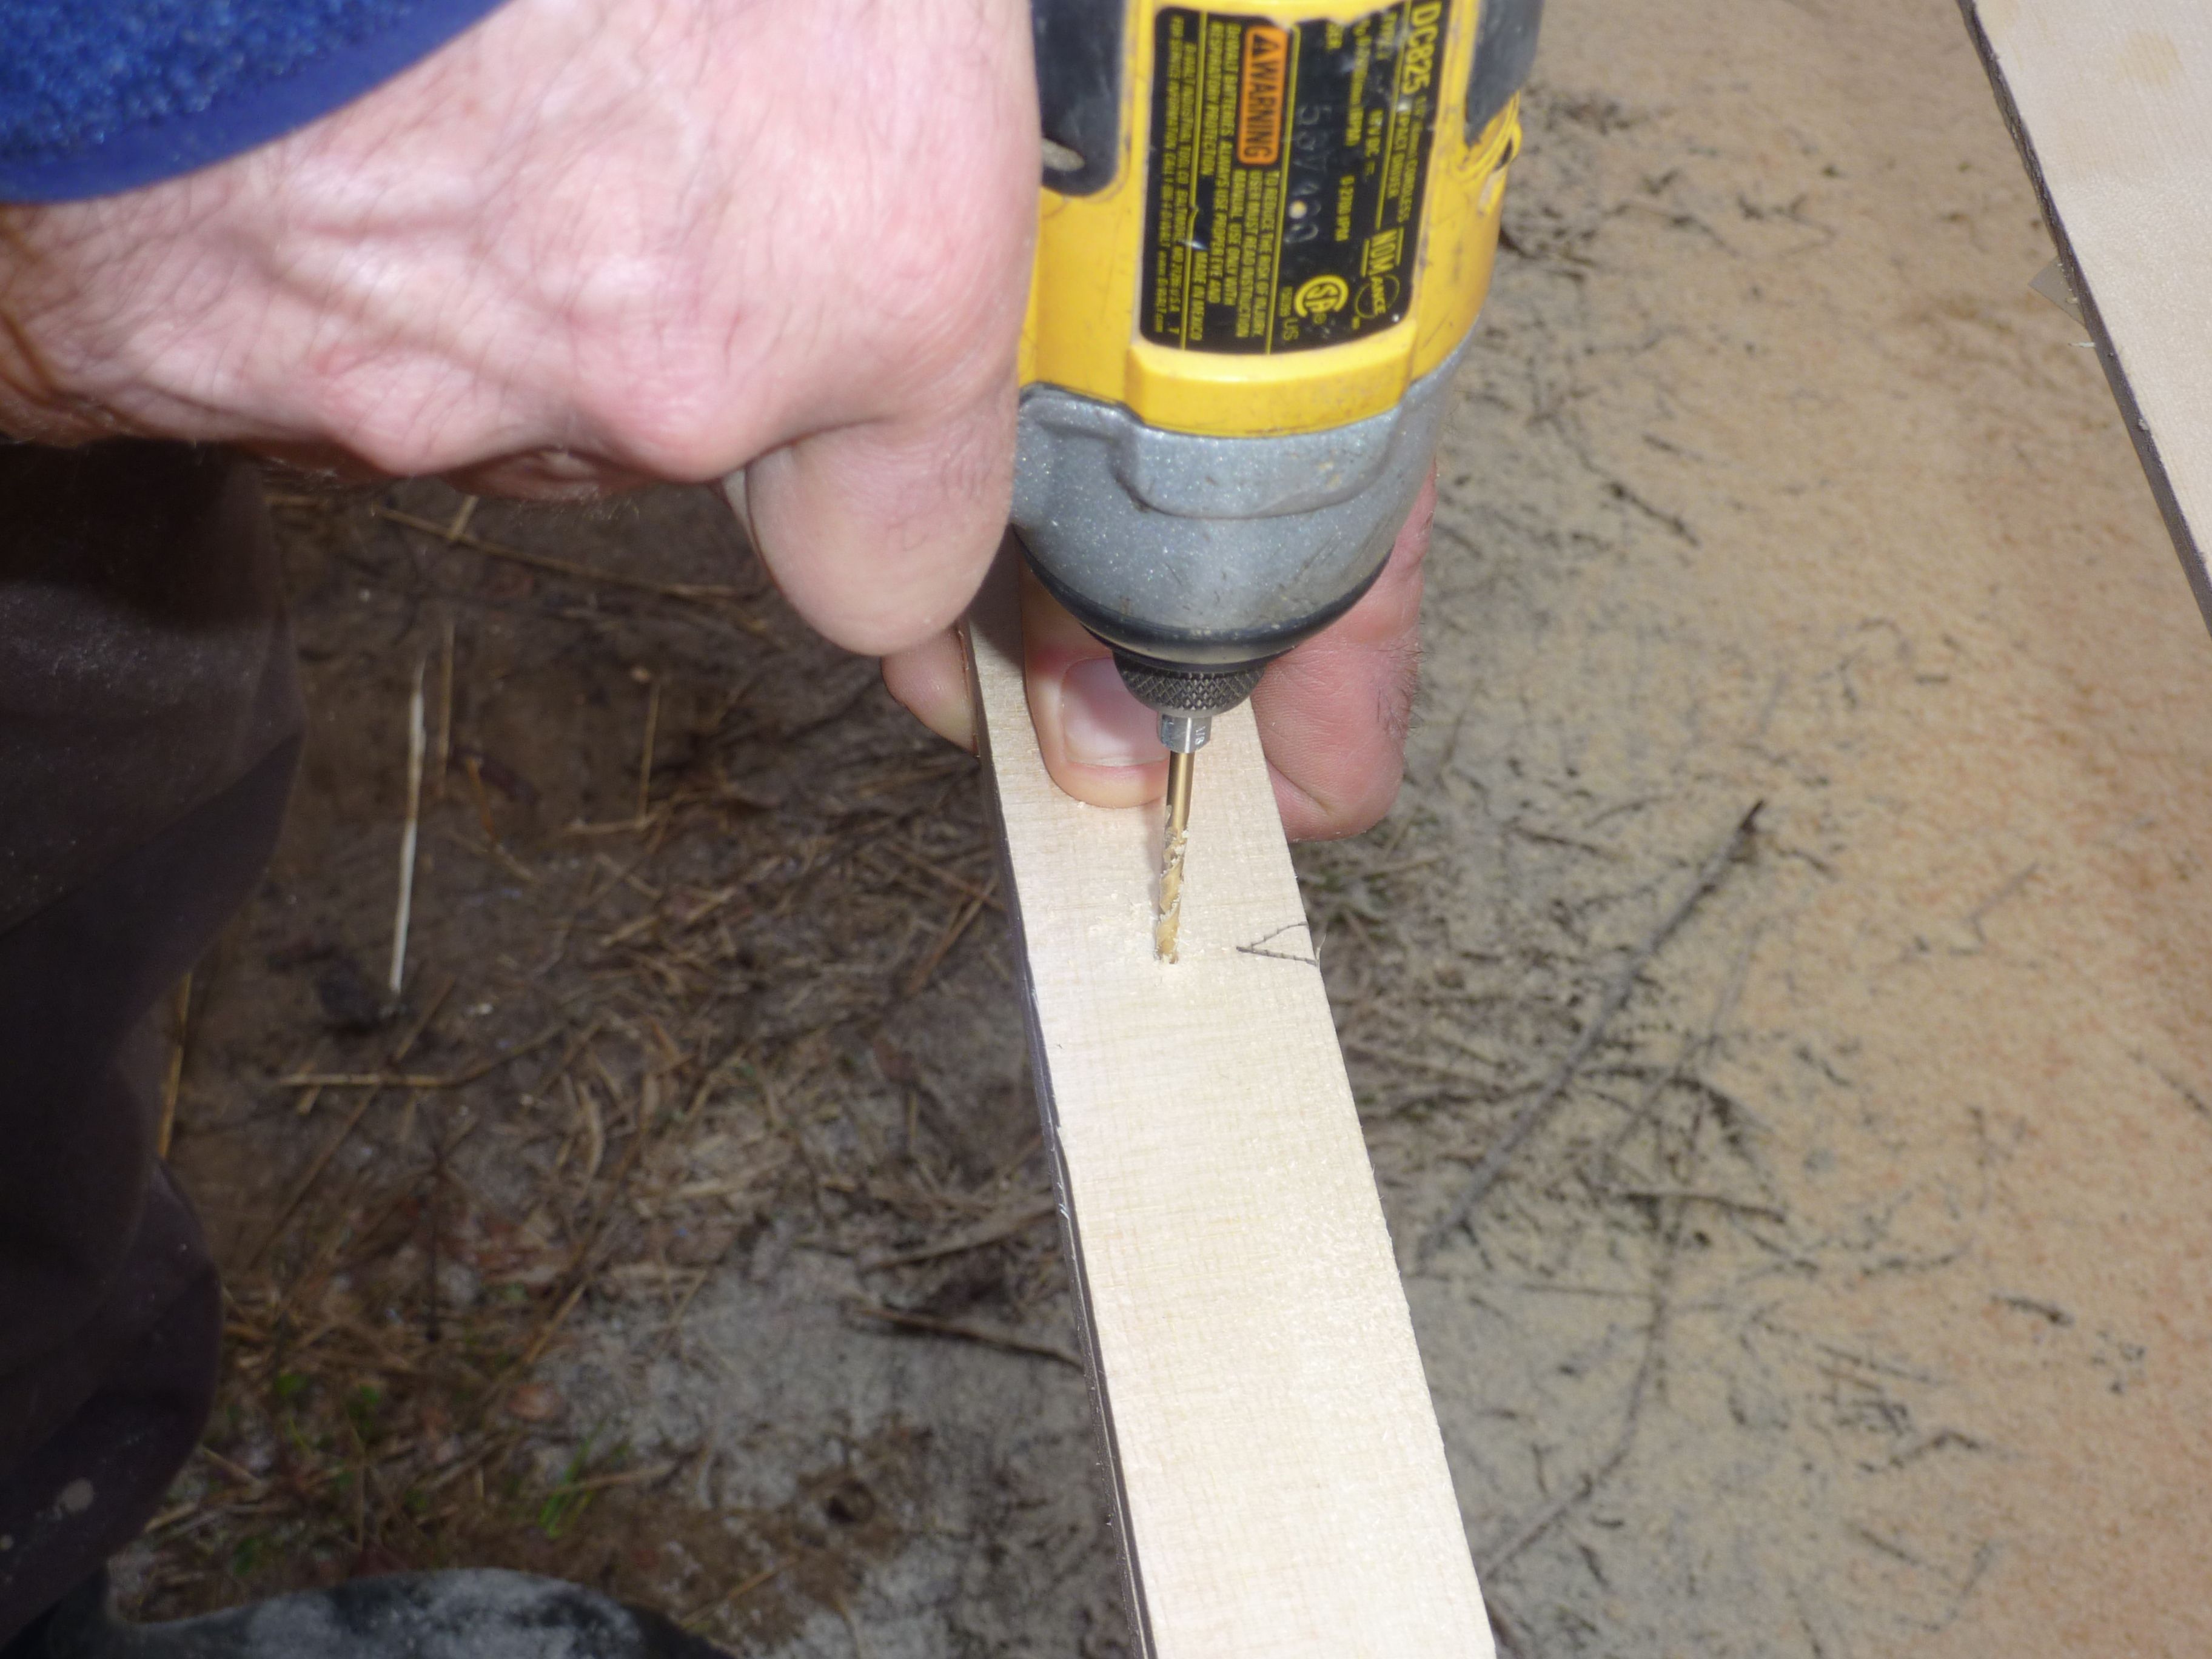
Pre-drill and partially install your 1.5" screws about every 16" down each piece of trim.
Work smarter, not harder
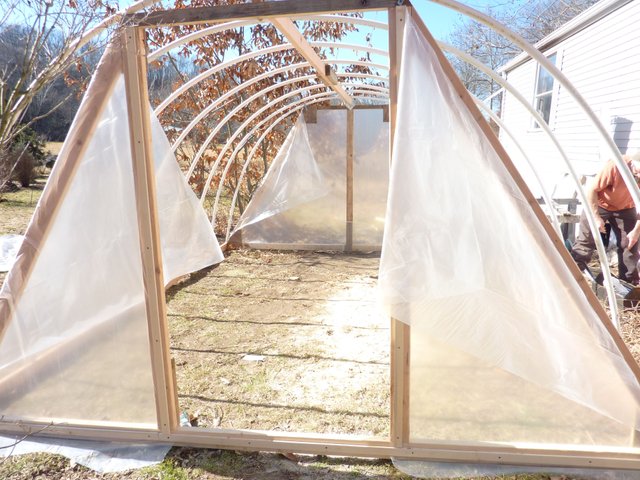
Next it's time to put the plastic on! We purchased a piece of 20' x 25' 3mil plastic from the hardware store. You can also use 6mil
Once you have it draped over it's time to secure it with your trim boards. Please note: If you are like us and only purchased an exact size of plastic keep in mind there will not be an inch to spare!
Starting along the base of the structure, begin stapling the plastic all along on one side of the tunnel. Then screw the trim boards over the edge of the plastic to secure it along the bottom of the greenhouse!
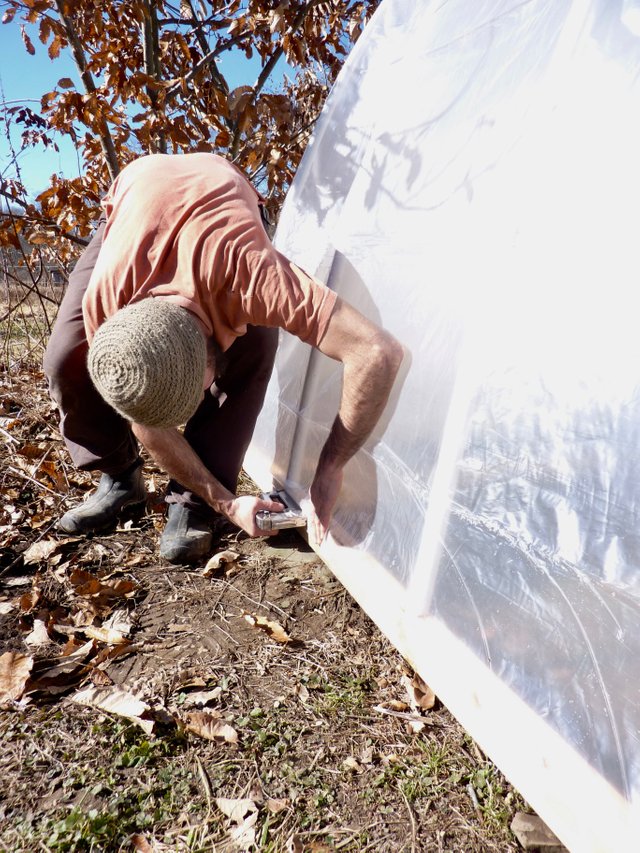
Repeat along the base of the other side of the tunnel, pulling the plastic taught as you staple, and then following with the trim boards. (Give thanks for your hard work of prepping those trim boards!)
Then you will move to the end walls and continue the same process of pulling the plastic taught, stapling, and following with trim boards. You may find that on the end walls, depending on how you structured them, there may need to be some folding and even trimming of the plastic here.
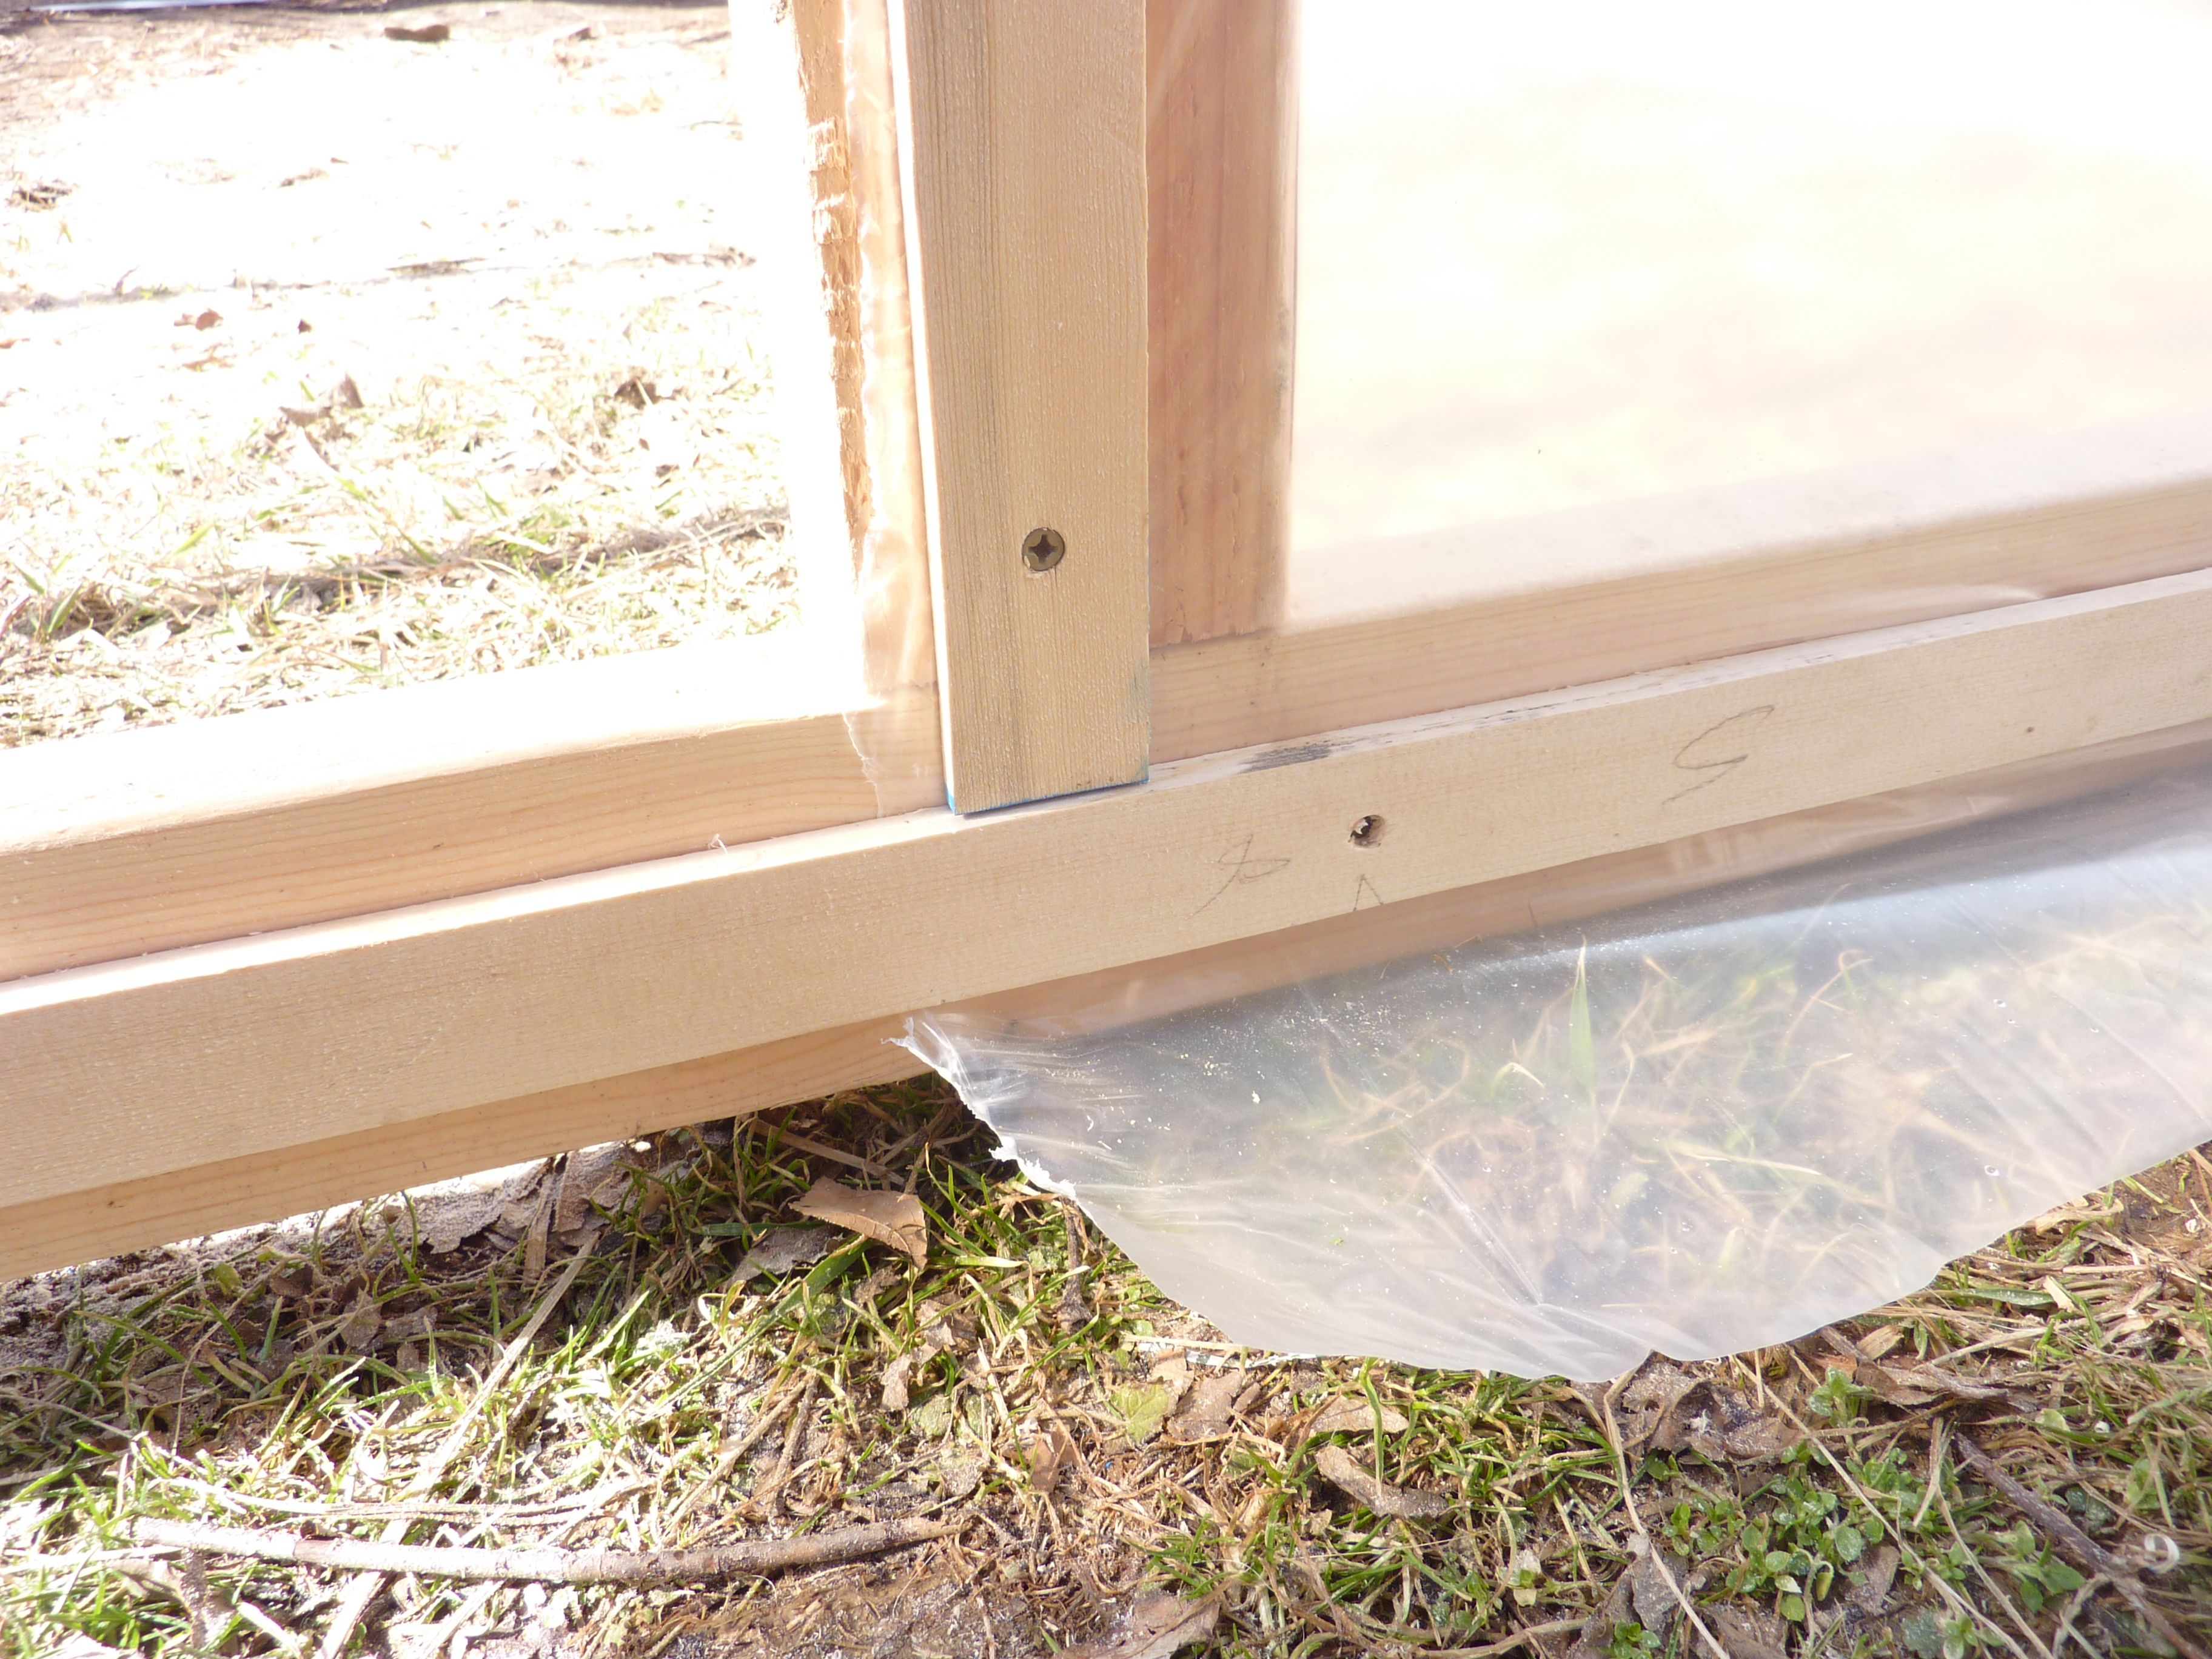
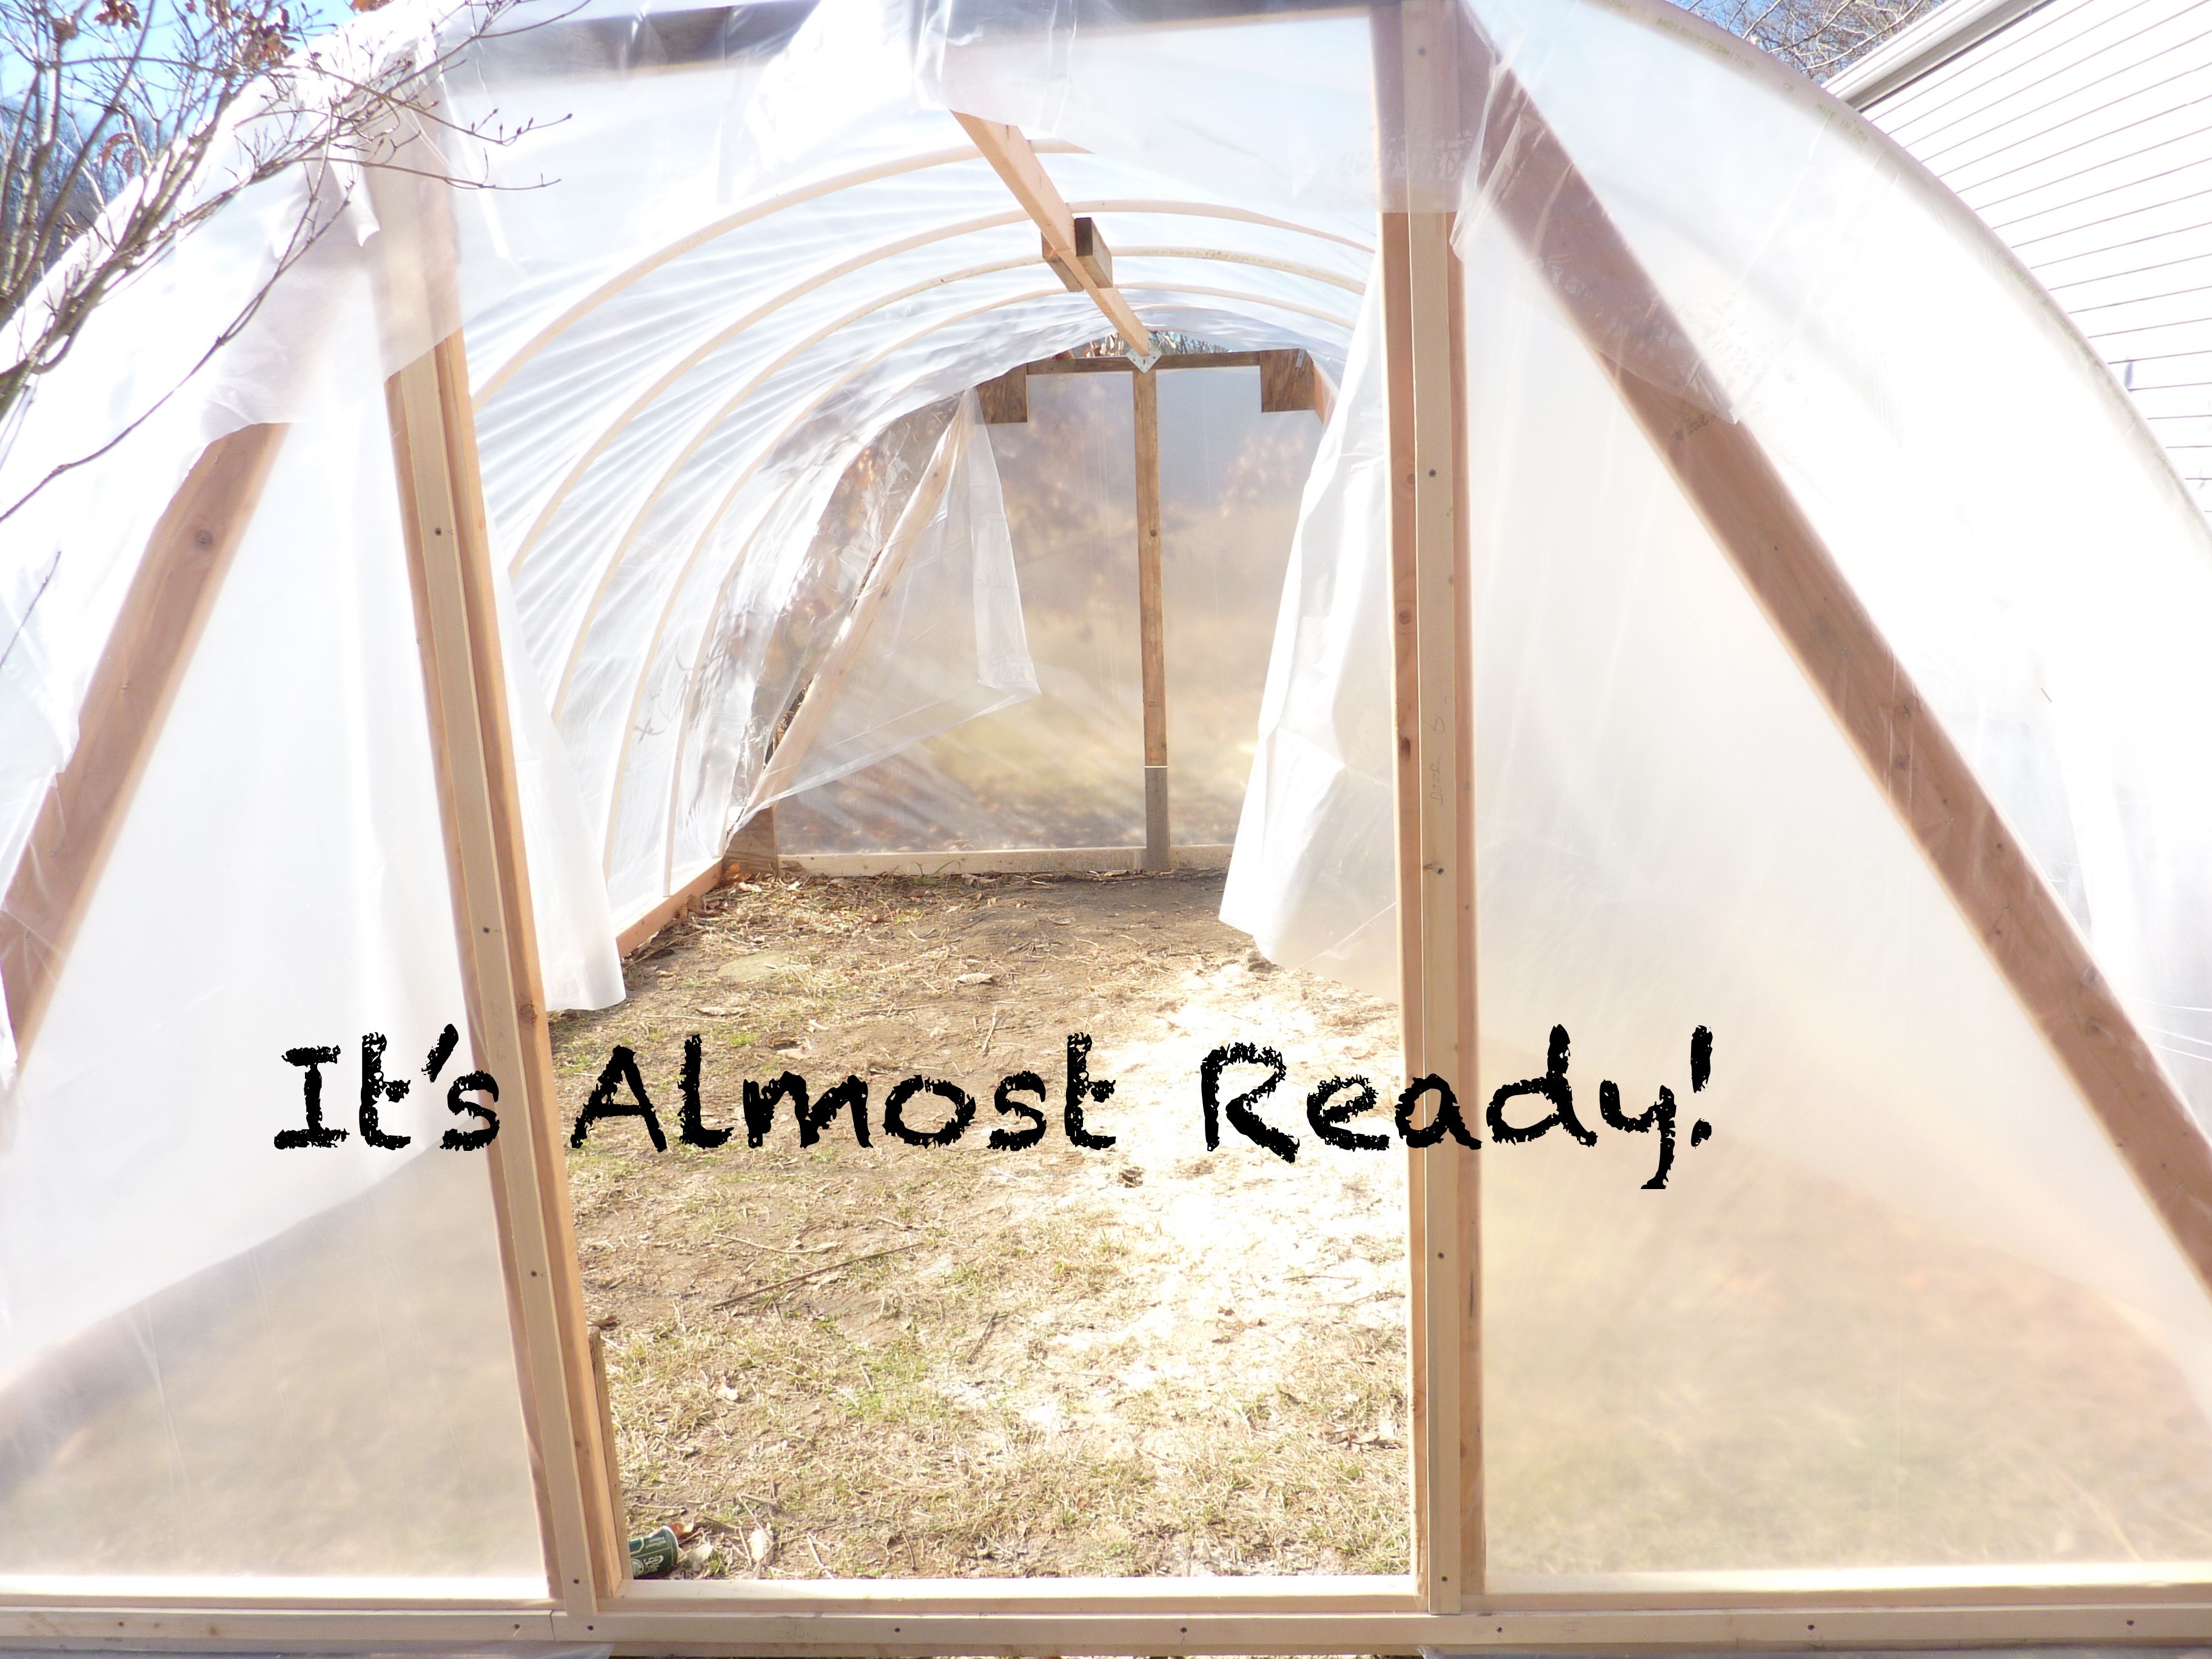
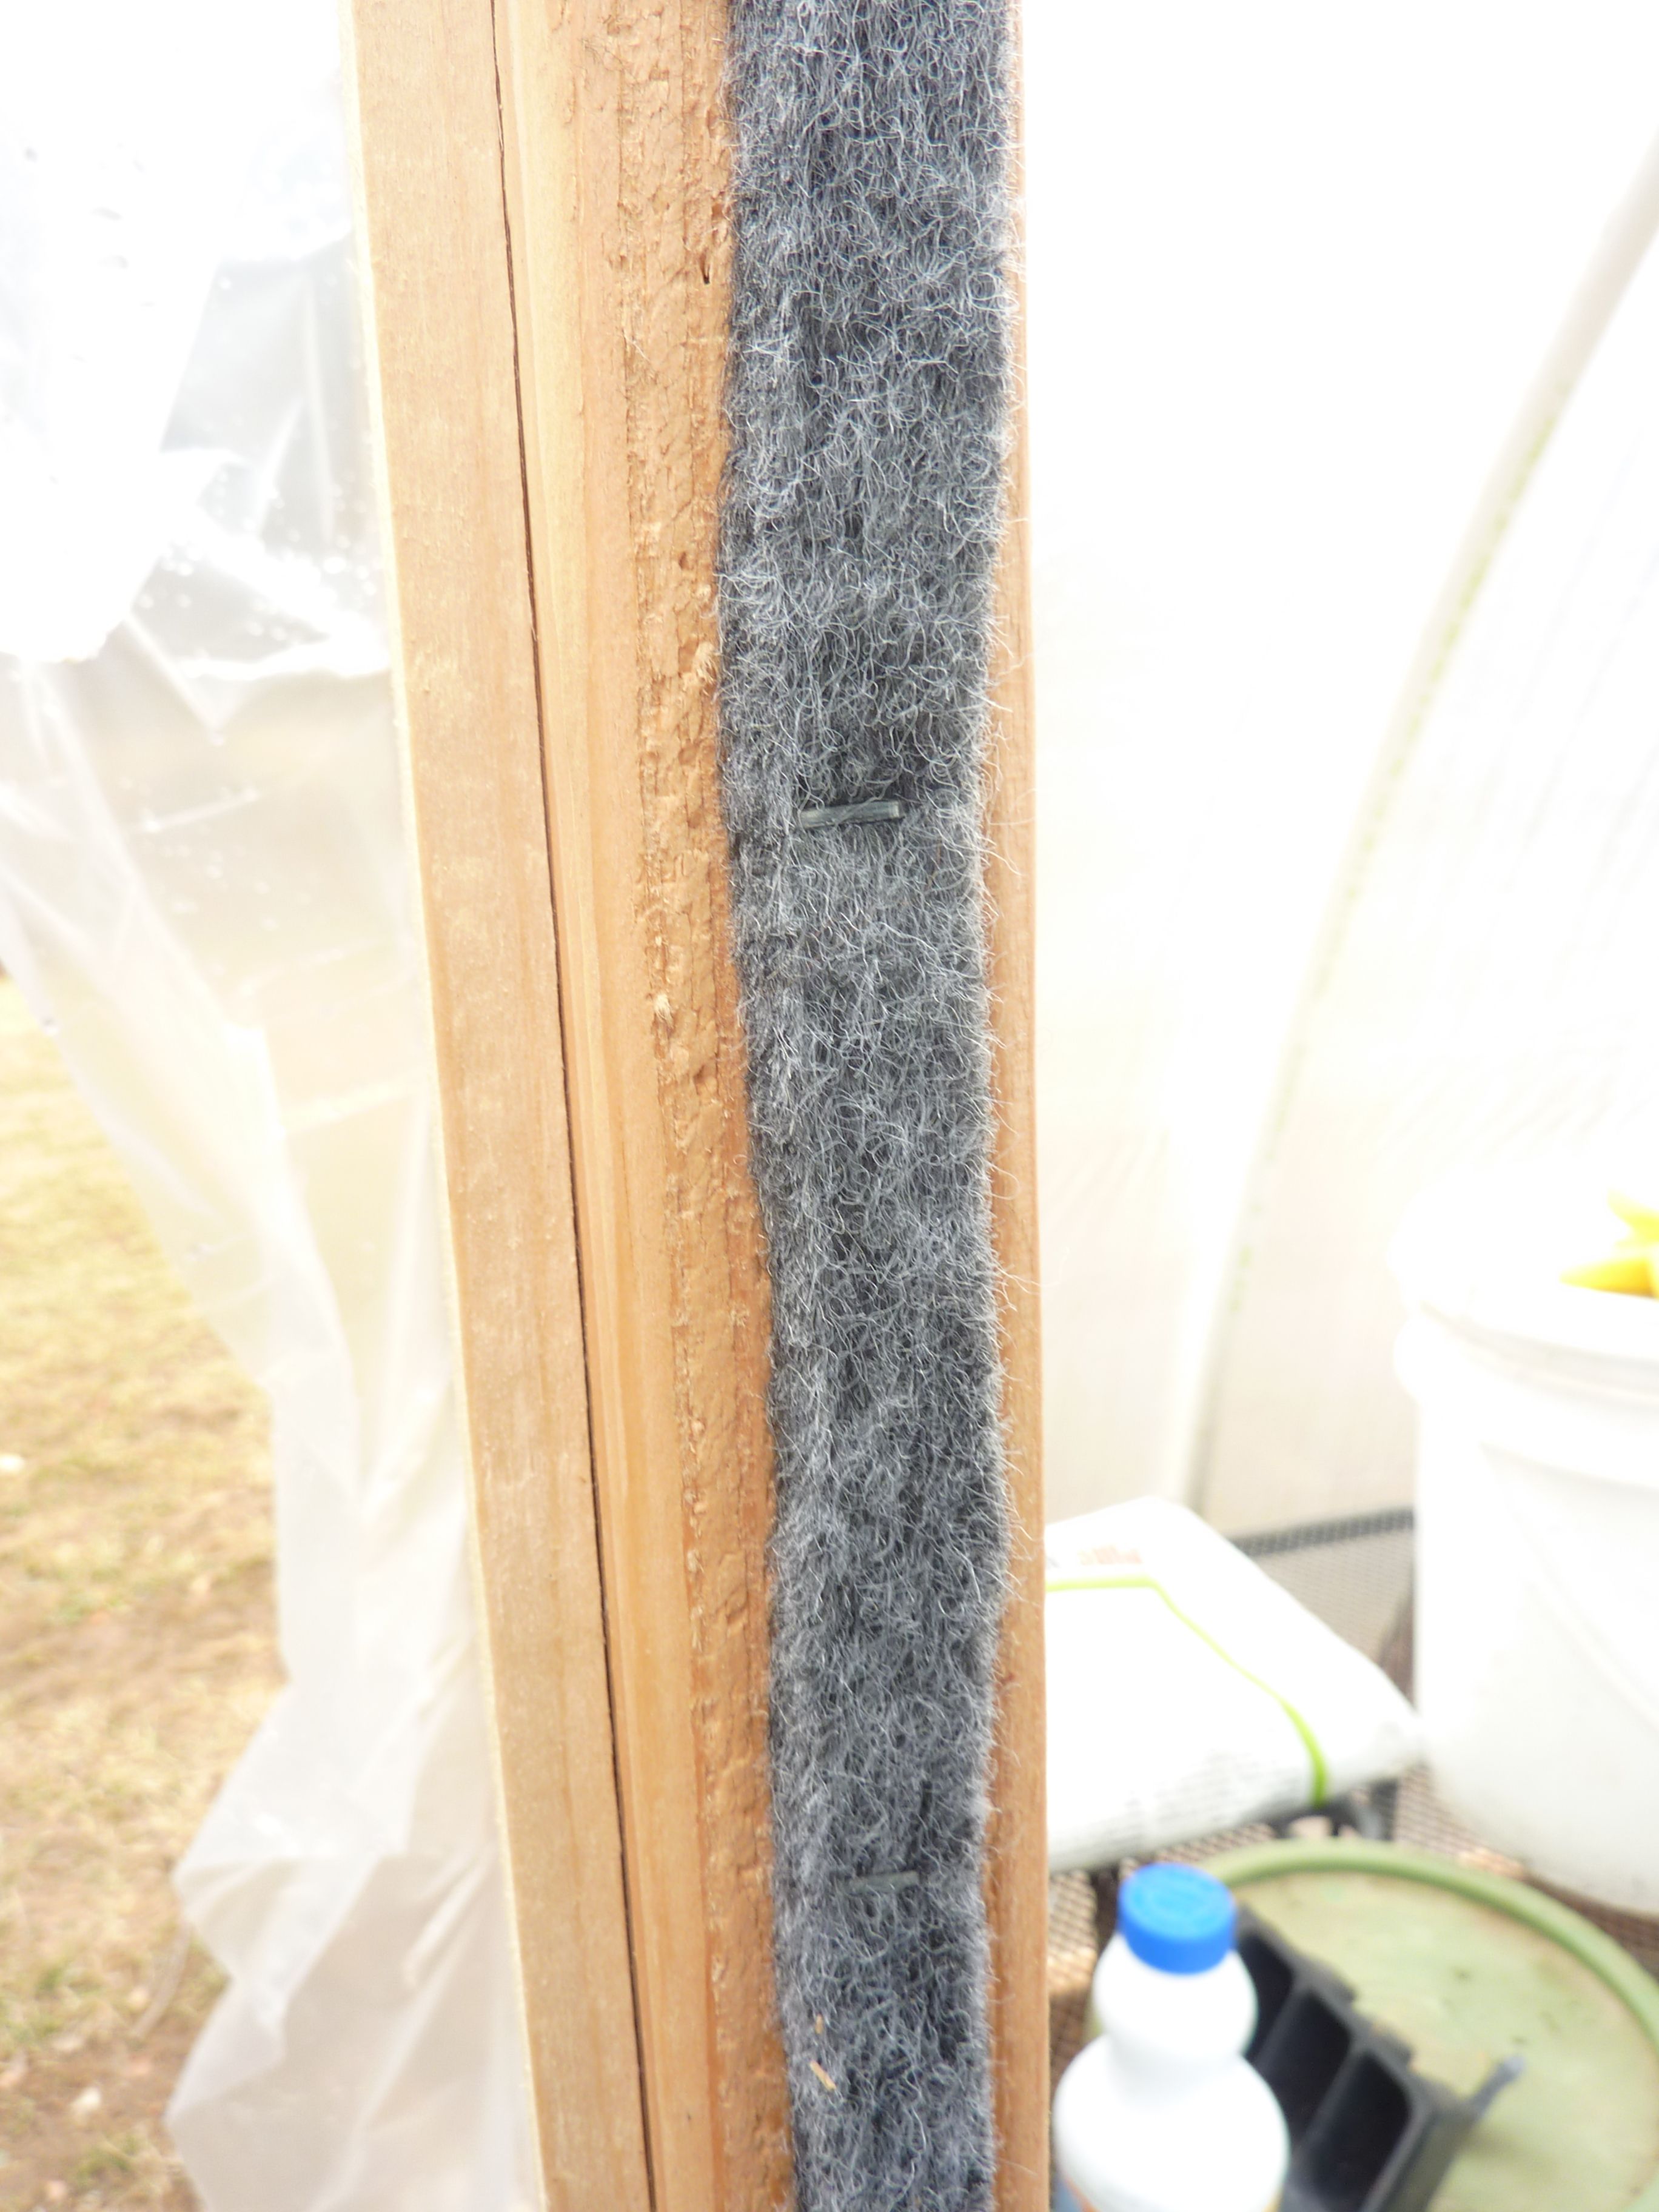
Install your door, and if you like, add some felt around the frame to help it stay draft- free. You may also wish to go around the base of the tunnel with soil or mulch, or even an extra semi-buried piece of plastic, or a combination of these things, for more insulation.
Pour yourself a beverage, and go out to your new "fort" and sow some seeds!
This is an excellent form of season extension. Today we sowed all of our shallot seed in flats! Keep in mind, if you get cold weather in late winter and early spring you can use a space heater and agri-cloth to protect your seedlings.
This tunnel cost us just a little over $100, can't beat that!
This looks great! Resteemed so I can find it later :) thanks so much for sharing!!
Oh good! Thank you so much!!!
Great tutorial! Matt and I were just talking about putting one of these up once we move out to our property. Bonus for solving our mystery. We knew there was a name other than hoop house but we couldn't, for the life of us, think of it. High tunnel! -Aimee
Oh haha! Glad to help!
Great build & post. Proof that not EVERYTHING has to be a video to be effective!
I appreciate that! I wondered if I might get lost not keeping up with the video Jones', round here, LOL.
;-)
really very gorgeous love the shots trully amazing
Thank you, glad you liked it
Excellent DIY video. I like the hoop connections on the lower 2x4.
Thanks, Yes my husband thought of those, I am impressed with them too.
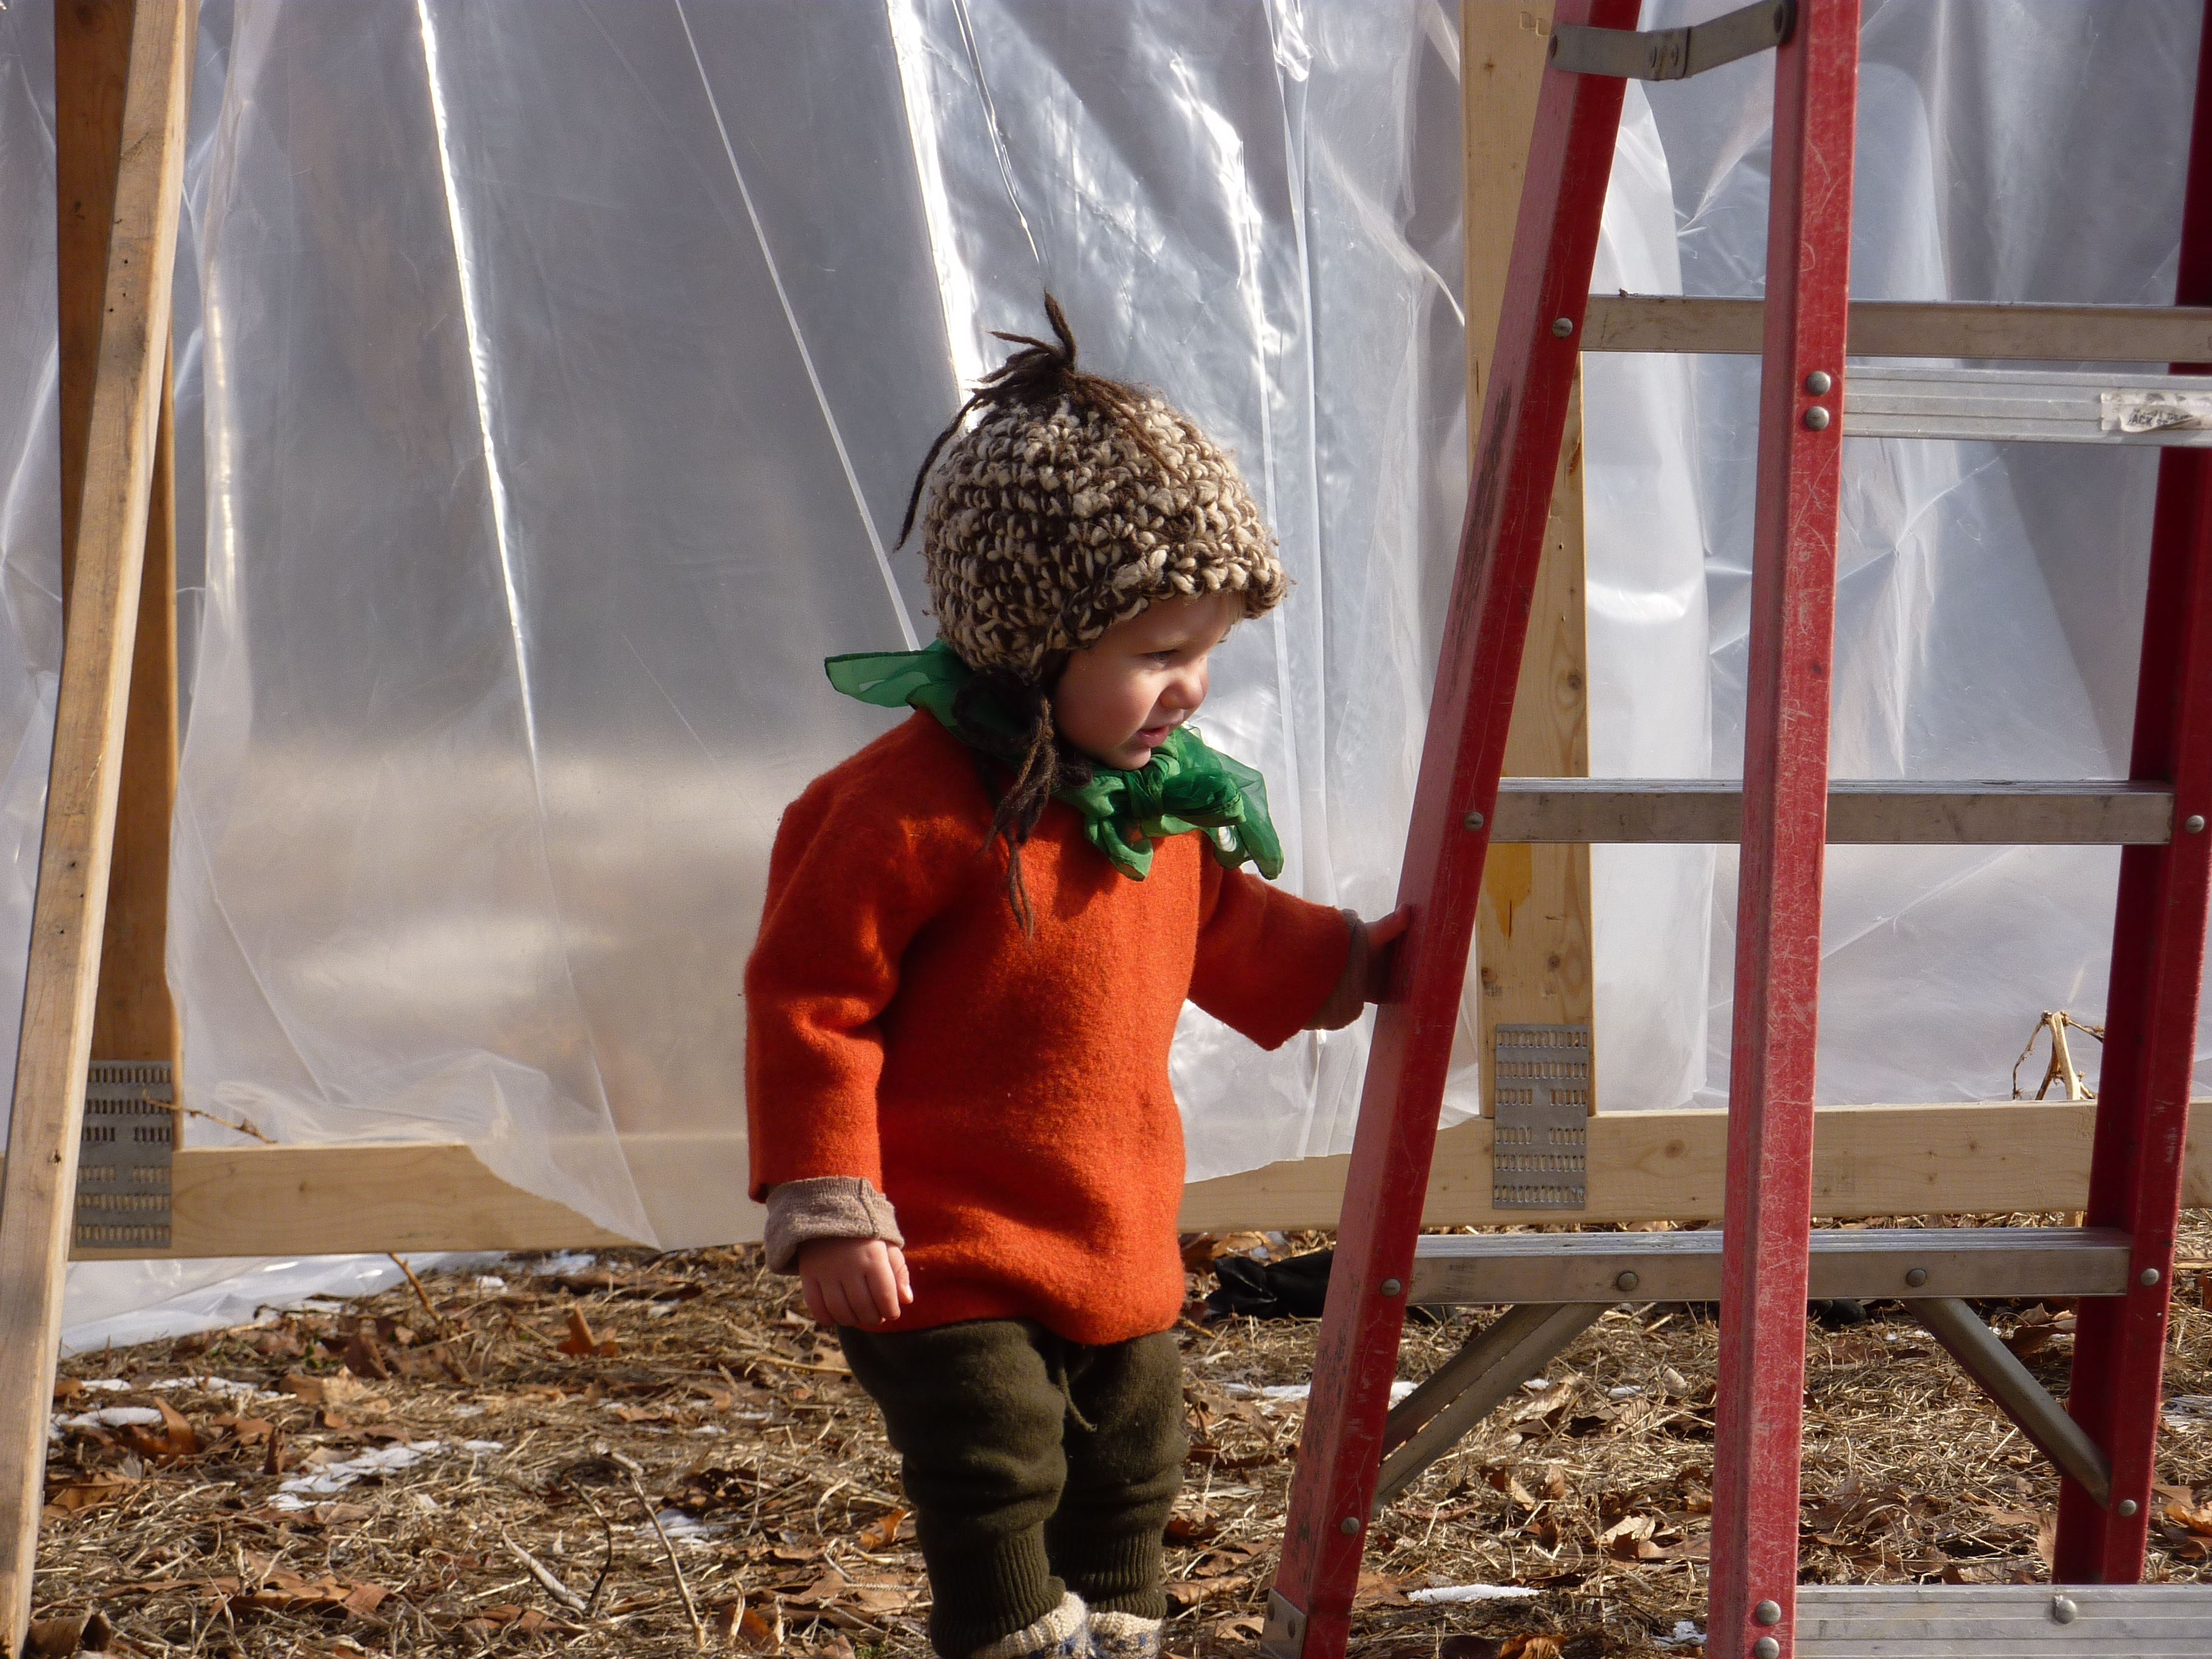
GREAT tutorial! I loved the little "pumpkin" growing :)
Awww, thank you! Me too!!
This is really great!
Thank you!
Excellent how to guide! Saving this ^_^ Thanks so much!!!
Oh Im glad you thought so. It was a little challenging to portray all the steps as best I could, hoping it made sense for everyone!
That looks good. When we tried the 6mil plastic on our greenhouse roof it was shredded within a year and we had to replace it with glass.
Yeah the plastic doesn't last, but the frame does. As I said, it's an affordable option for us until we can afford a glass house.. :-)
That is similar to what we did with our greenhouse. Thanks for sharing!!
Hi @schoonercreek. I'm just a real succer for DIY construction tutorials. Thank you very much!
Hi there! Thanks for stopping by! Im glad you liked the post!