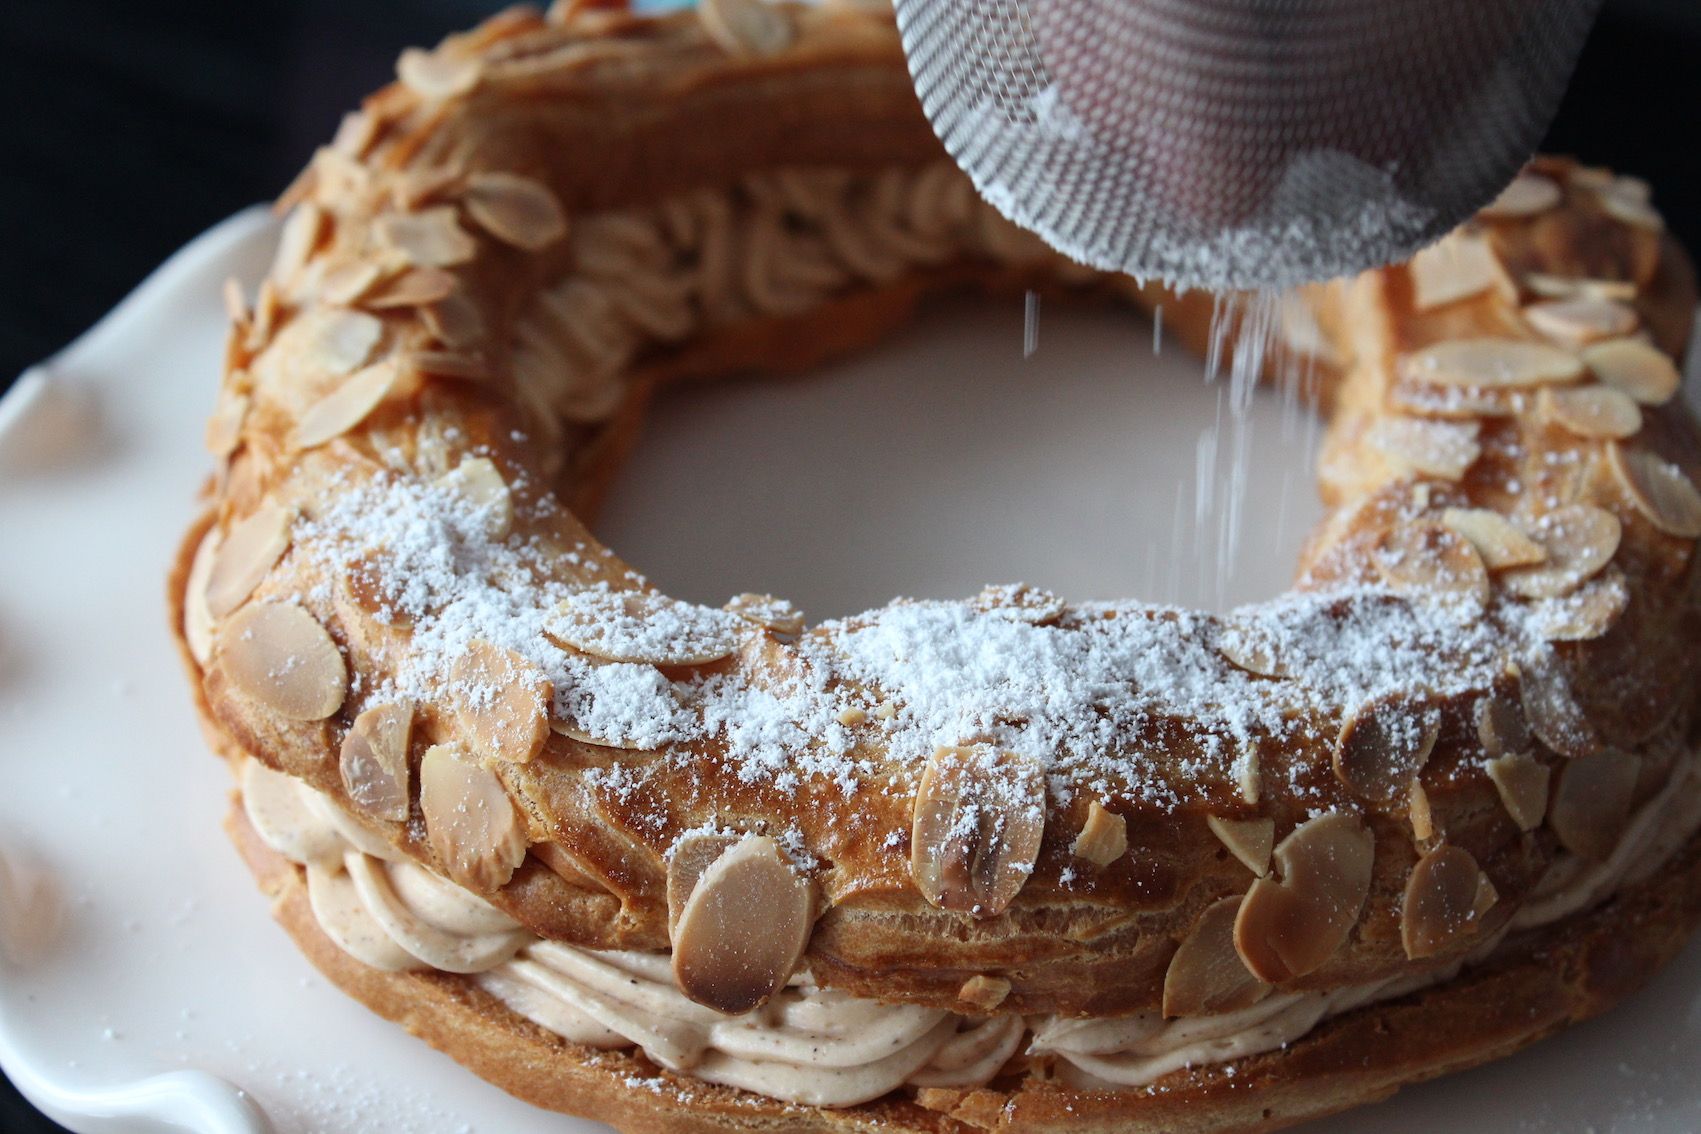
Paris-Brest, my French pastry race
I am currently planning my Father in law 70th birthday party. I’ve got a few ideas in mind of what I want to do. The birthday cake is expected to be the centrepiece of the celebration. I am planning on baking a number cake. However, I am yet to decide it will be a traditional cake or whether I am going to use a shortbread dough or a choux pastry to create the numbers. In the spirit of discovery, I thought I would attempt my first choux pastry by baking the famous French dessert Paris-Brest. I was both interested by the pastry and also the fillings. Every time I attempt a French dessert I try to learn more about the history behind how and why it was created in the first place.
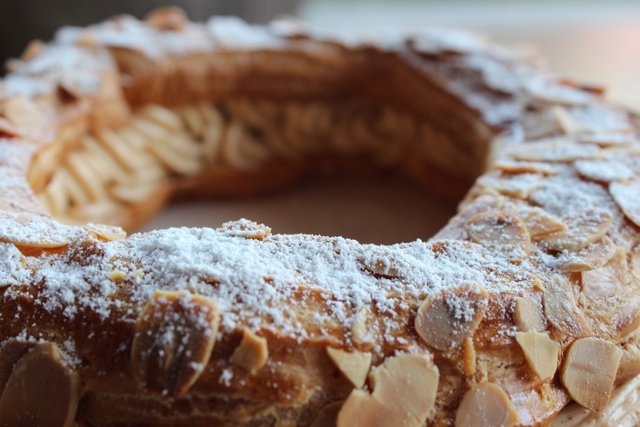
Well, it appears that the Paris-Brest was a special order to a Pastry Chef Louis Durand for a bicycle race held in 1910. To this day the race still exist on an amateur level and the tradition is upheld with the Paris-Brest pastry being served. The pastry became an instant hit because of the high energizing and high caloric value of the pastry. And just to epitomize the fact it was baked to commemorate a bicycle race, the Paris-Brest was made in the form of a wheel. My initial fascination for the Paris-Brest was as much for the use of the flaked almonds as well as the almond pastry cream.
Being my first attempt at the choux pastry I can now humbly acknowledge that it was not an easy to pull off. I also have a better understanding of people choosing to buy a French pastry at the Patisserie rather than trying to bake it themselves. It is hard. You either get the dosage of the ingredients, the mixing and the oven temperature right or all hell will break loose. My first choux mixture came out of the oven all shining and golden. However, when I sliced it in half I quickly noticed that the inside wasn’t properly baked. I had the option of putting back inside the oven and just let set with the heat. But this wouldn’t advance my skill sets in anyway. So I went back to the drawing board, reviewed my notes and restarted the process again. This time I was more careful and made sure I got all the elements spot on. And God it was a relief and utter satisfaction to get it right. And instead of one Paris-Brest I bake two of them just to be on the safe side (on top of the third one that I had to throw away!).
Having gone through that experience I think I’m likely to make a few more attempts at other French pastries and choux pastries in particular. Practice makes perfect and I want to master that art! For this particular post I must also admit that it was particularly hard to try and get the pastry going while also taking the pictures. I found myself caught out by time and missed on grabbing the camera a fair few times. As a result I can't say I'm 100% happy with the pictures I took but I know what to expect next time.
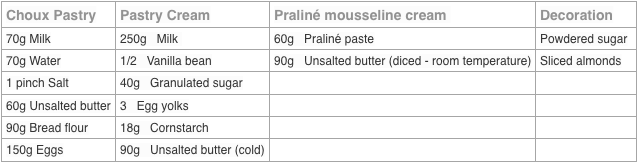
Ingredients:
Method:
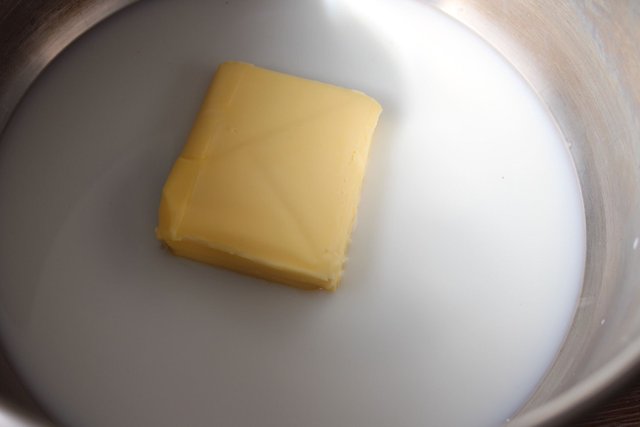
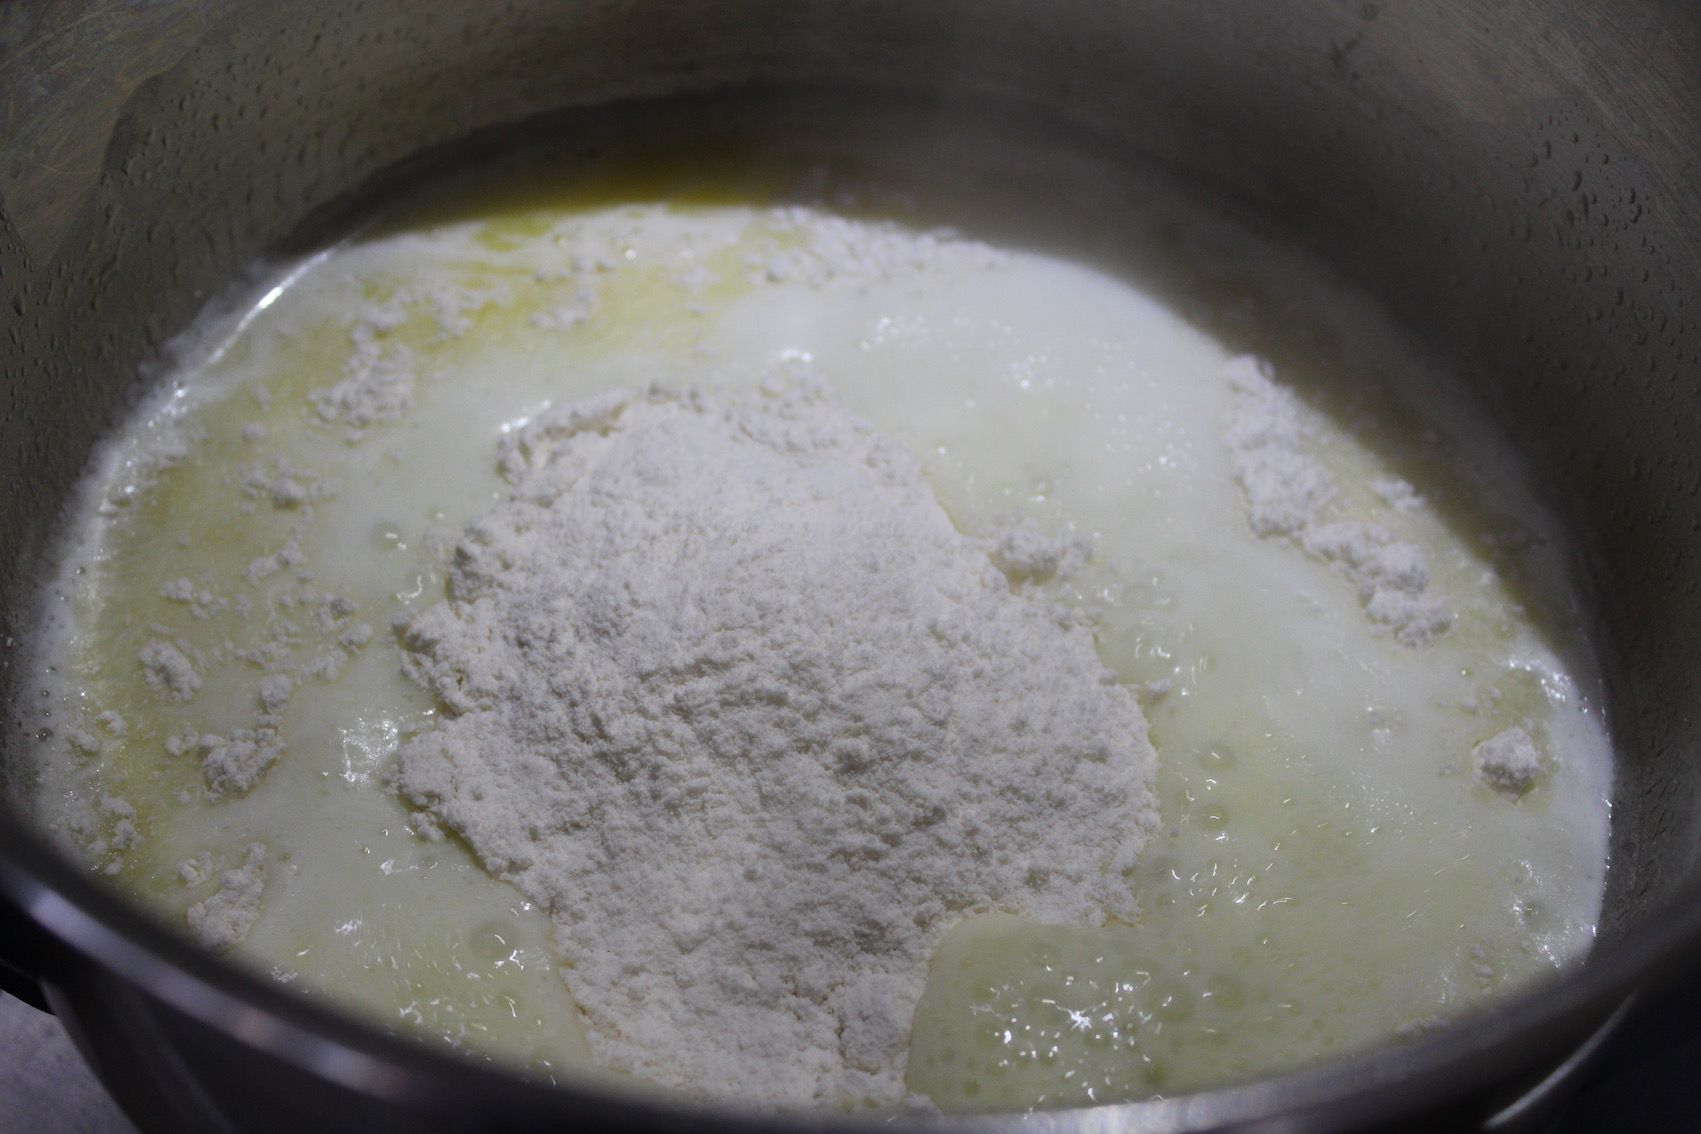
- Bring the milk, water, salt and butter to a boil in a saucepan. Make the sure the butter is fully melted before reaching the boiling point.
- Remove from the heat and immediately add all the flour.
- Stir with a spatula or wooden spoon then put the pan back on the heat and continue beating the dough. Keep drying the dough up on the heat only for a few minutes until it comes away from the sides of the pan and leaves a thin film on the bottom of the saucepan. Transfer the dough to a clean bowl and let it cool down for a few minutes.
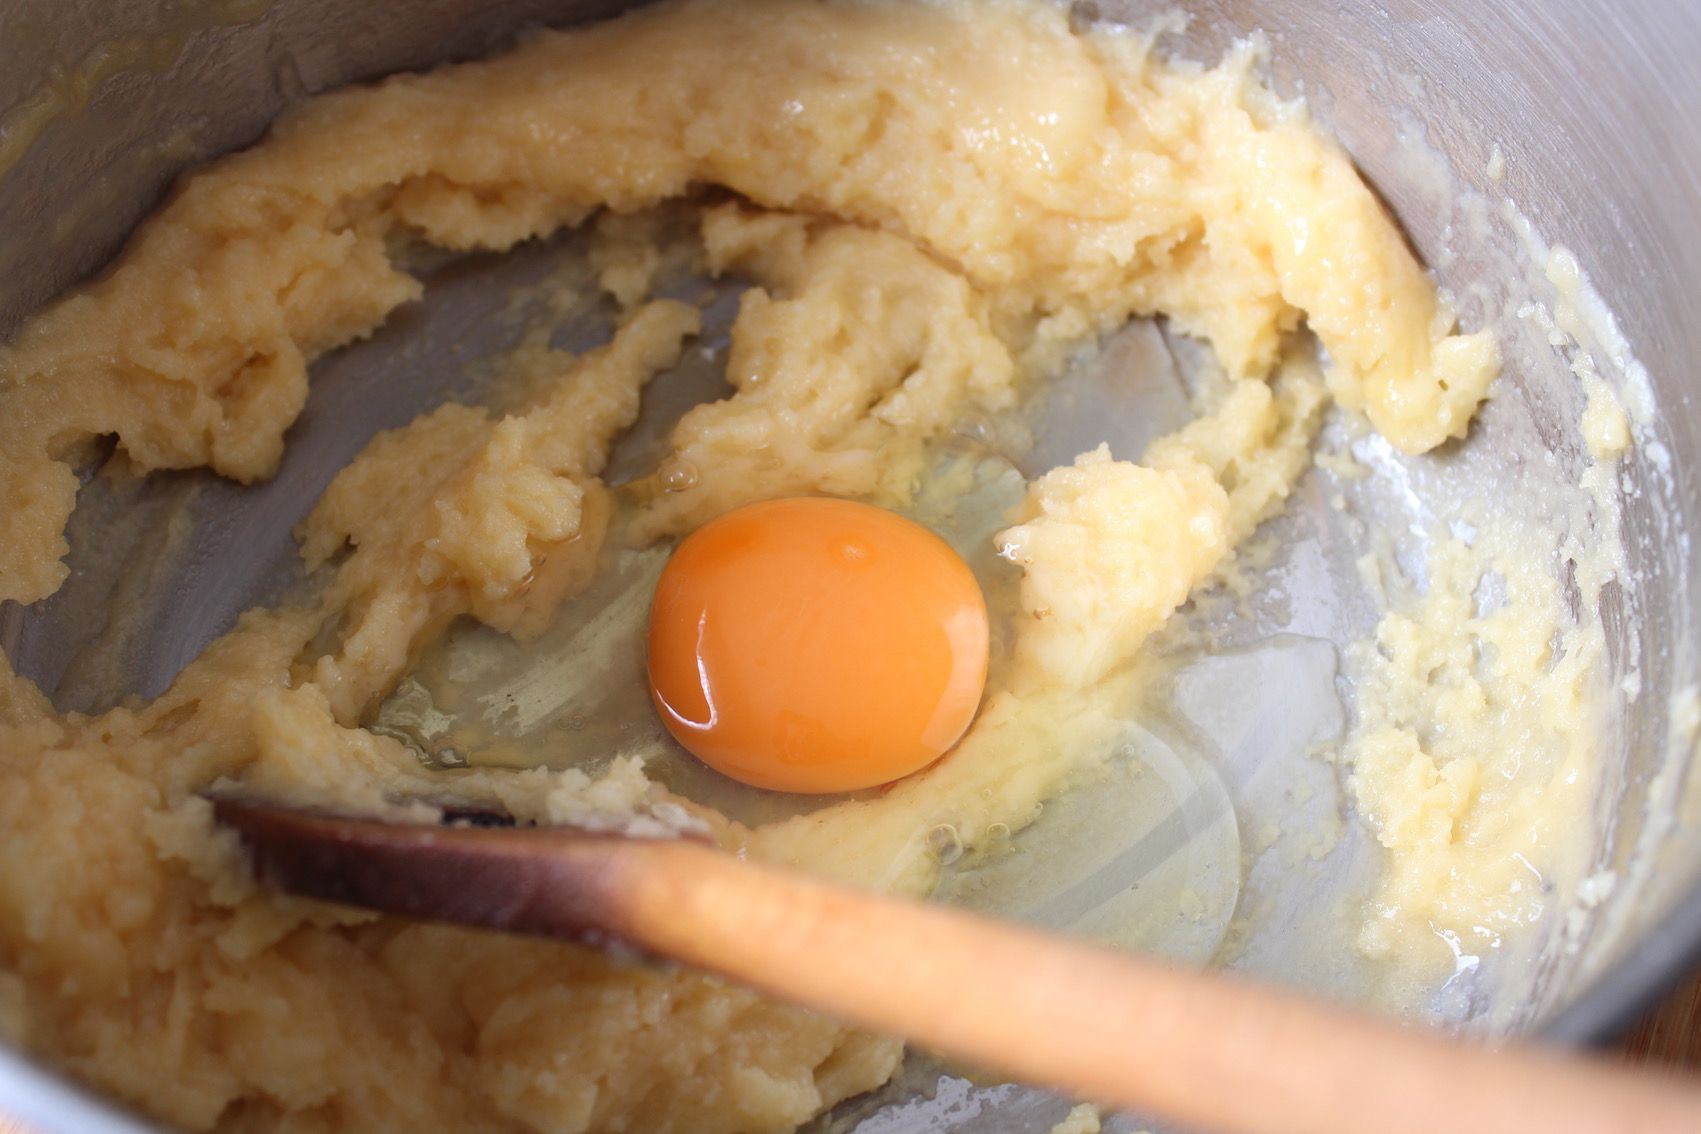
- Add an egg and stir until it is completely absorbed in the dough.Add all the other eggs one at a time. Slightly beat the last egg before adding it then pour it slowly little by little on the batter, checking frequently if it has reached the right consistency. When the batter is shiny but firm (i.e. not runny), it is ready to be used with a piping bag.
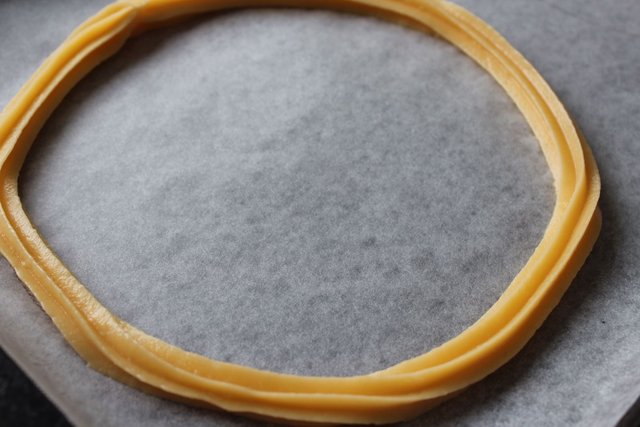
- Draw two 18cm circles on parchment paper. Flip the parchment paper sheet (so that the ink is not in contact with the choux pastry). Using a pastry bag fitted with a large star (or plain) tip, pipe a first ring following the circle you've drawn. Pipe a second inner ring. Make sure the joint is in a different place from the outer circle. Finally, pipe a third ring on top of the other two. Once again, make sure the joint is far from that of the bottom rings.
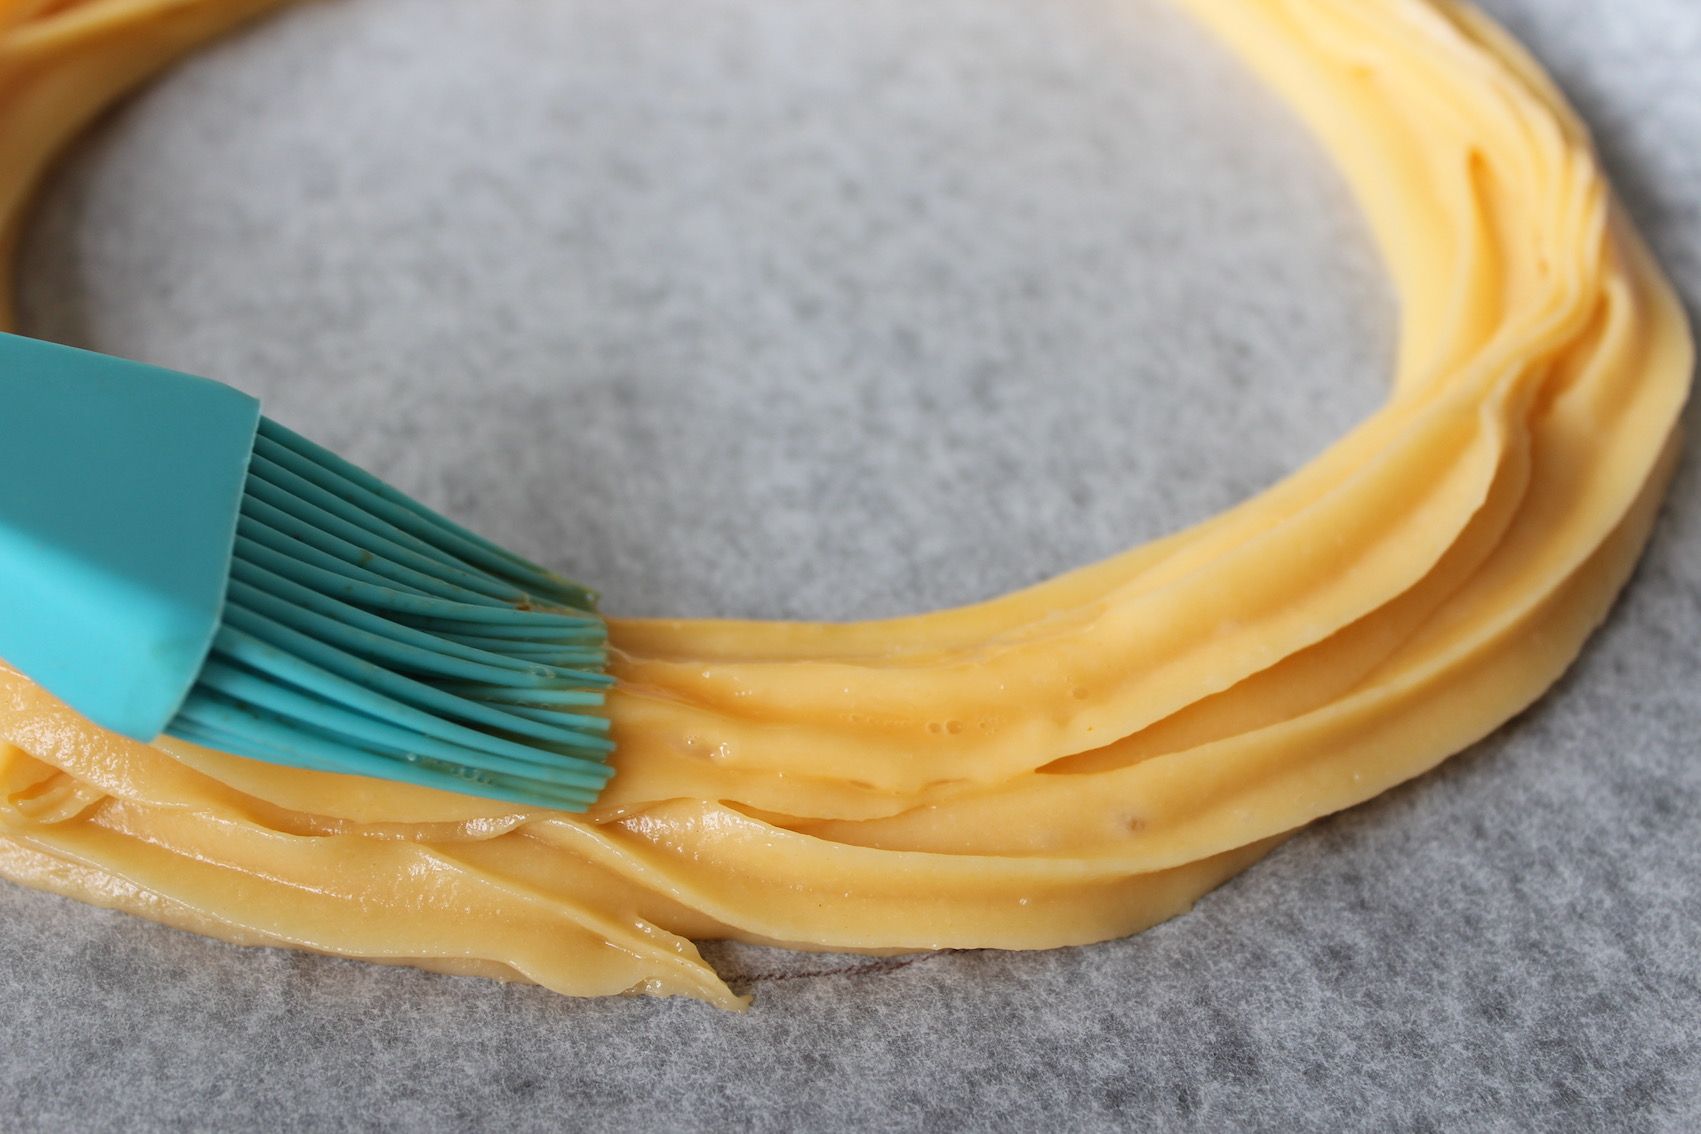
- Brush the rings lightly with egg wash.
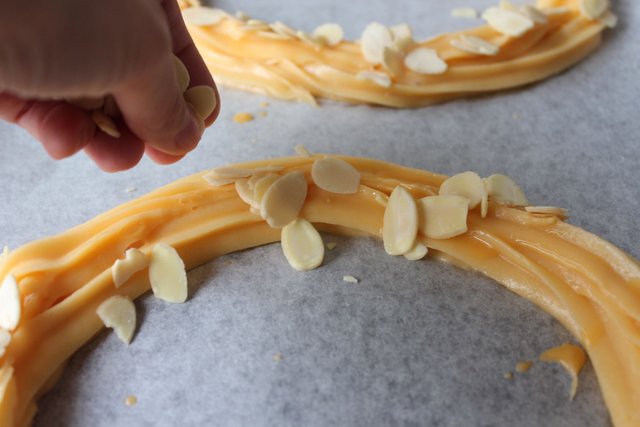
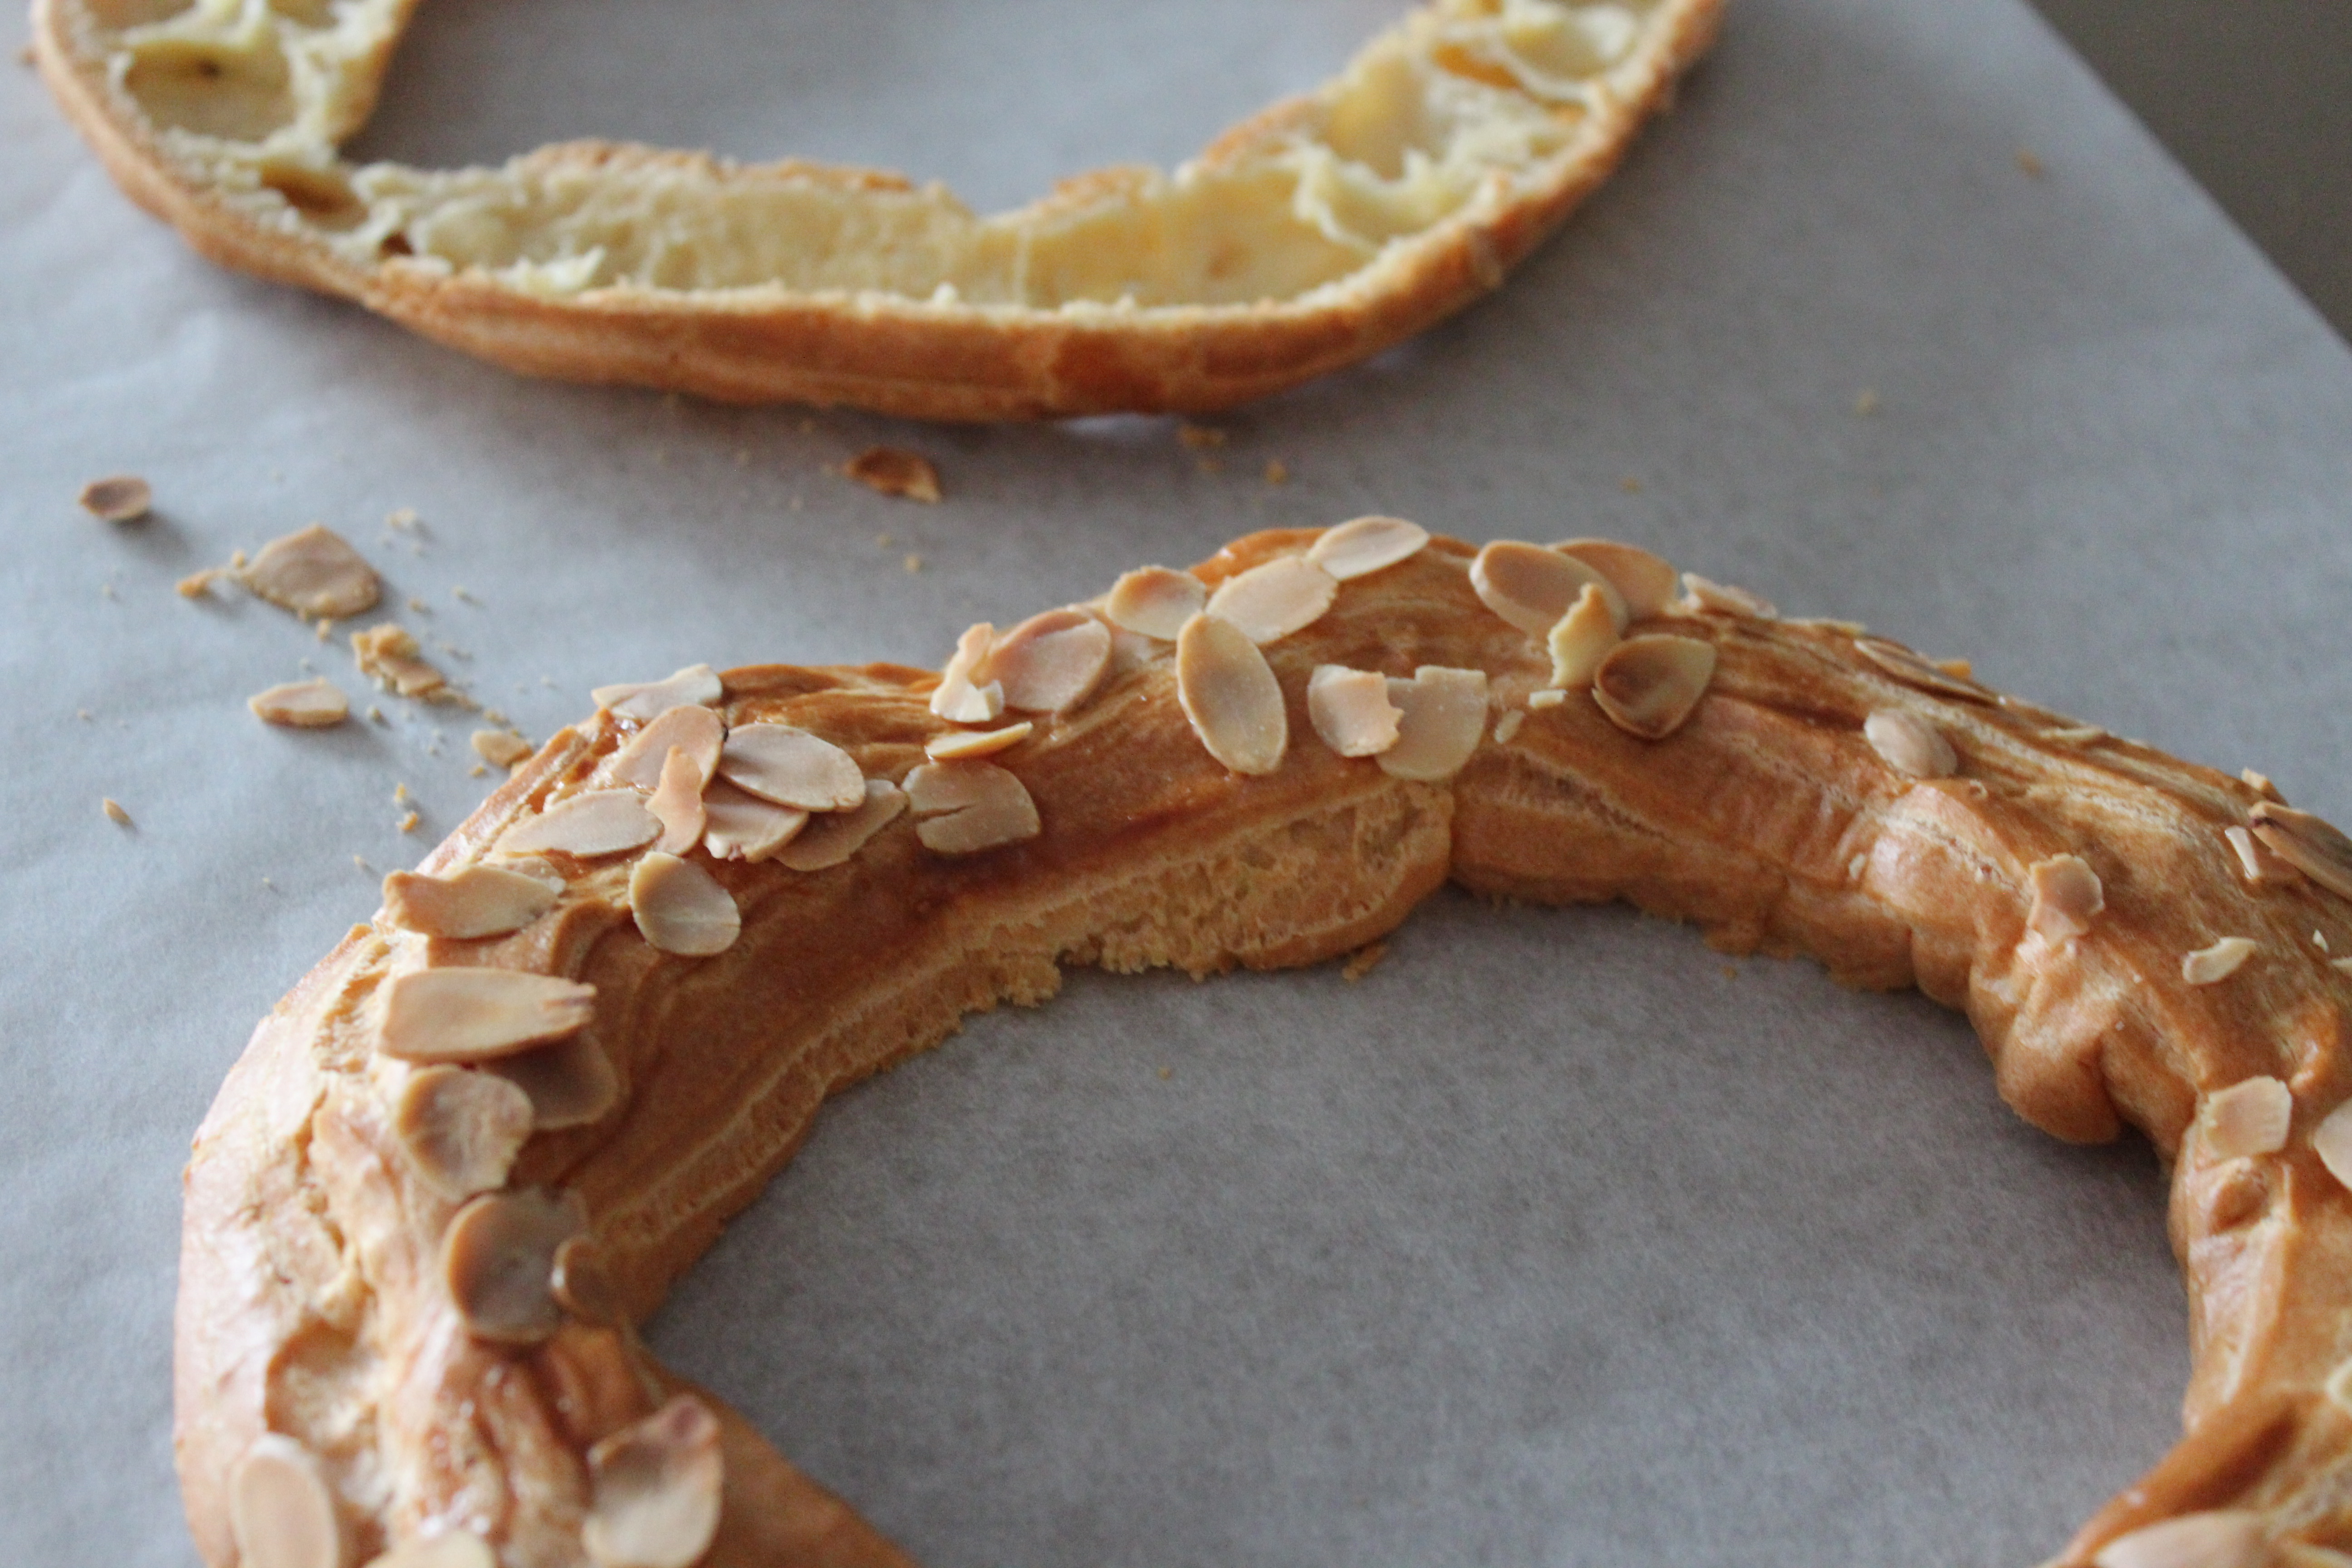
- Sprinkle the bigger ring with sliced almonds.
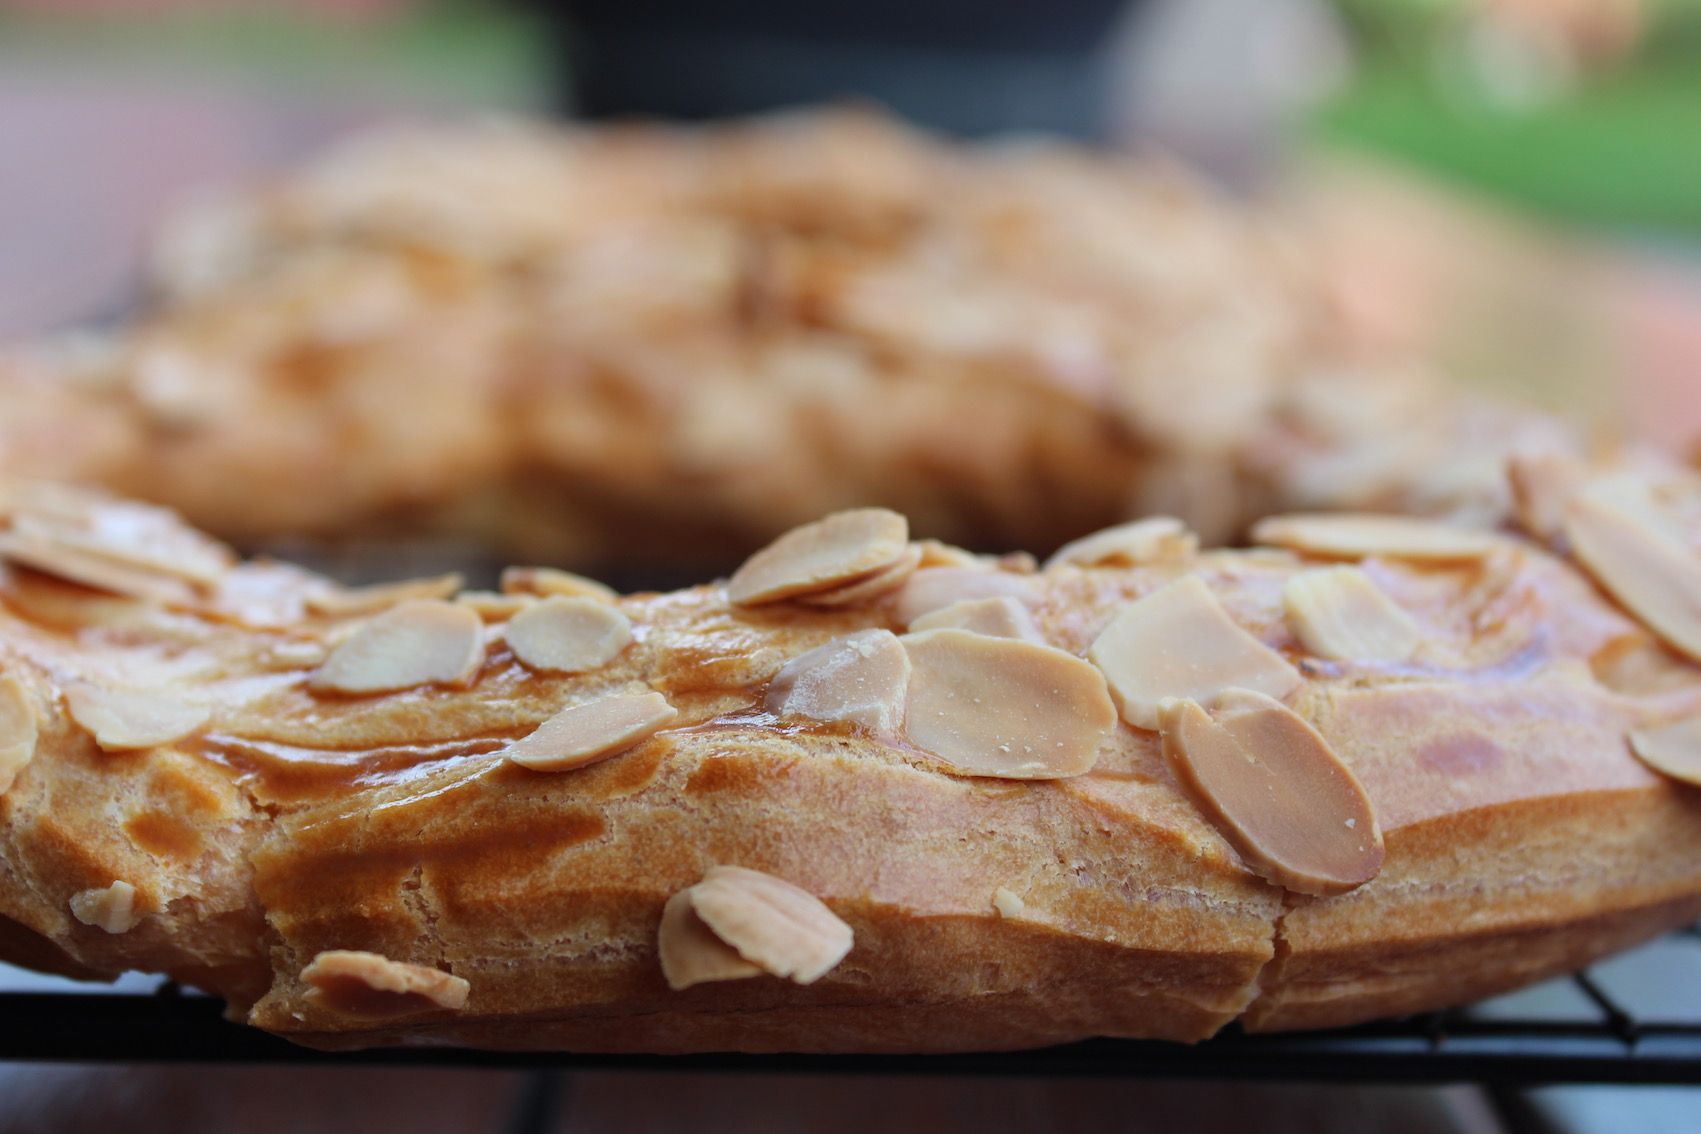
- Bake at 170° for about 45-50 minutes or until the choux pastry rings are golden brown and well dried.

Pastry Cream
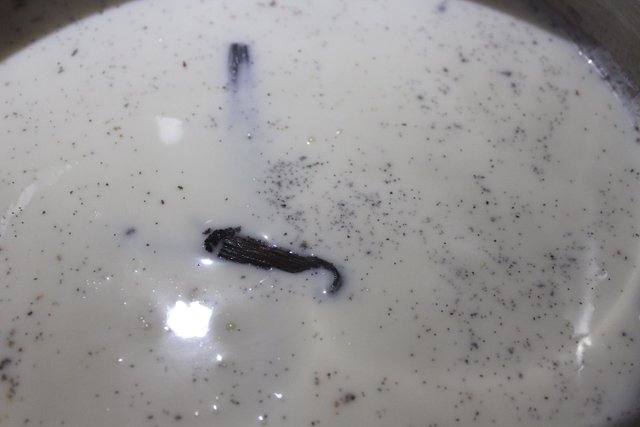
- In the meantime, heat the milk with half of the sugar and the vanilla bean in a saucepan.
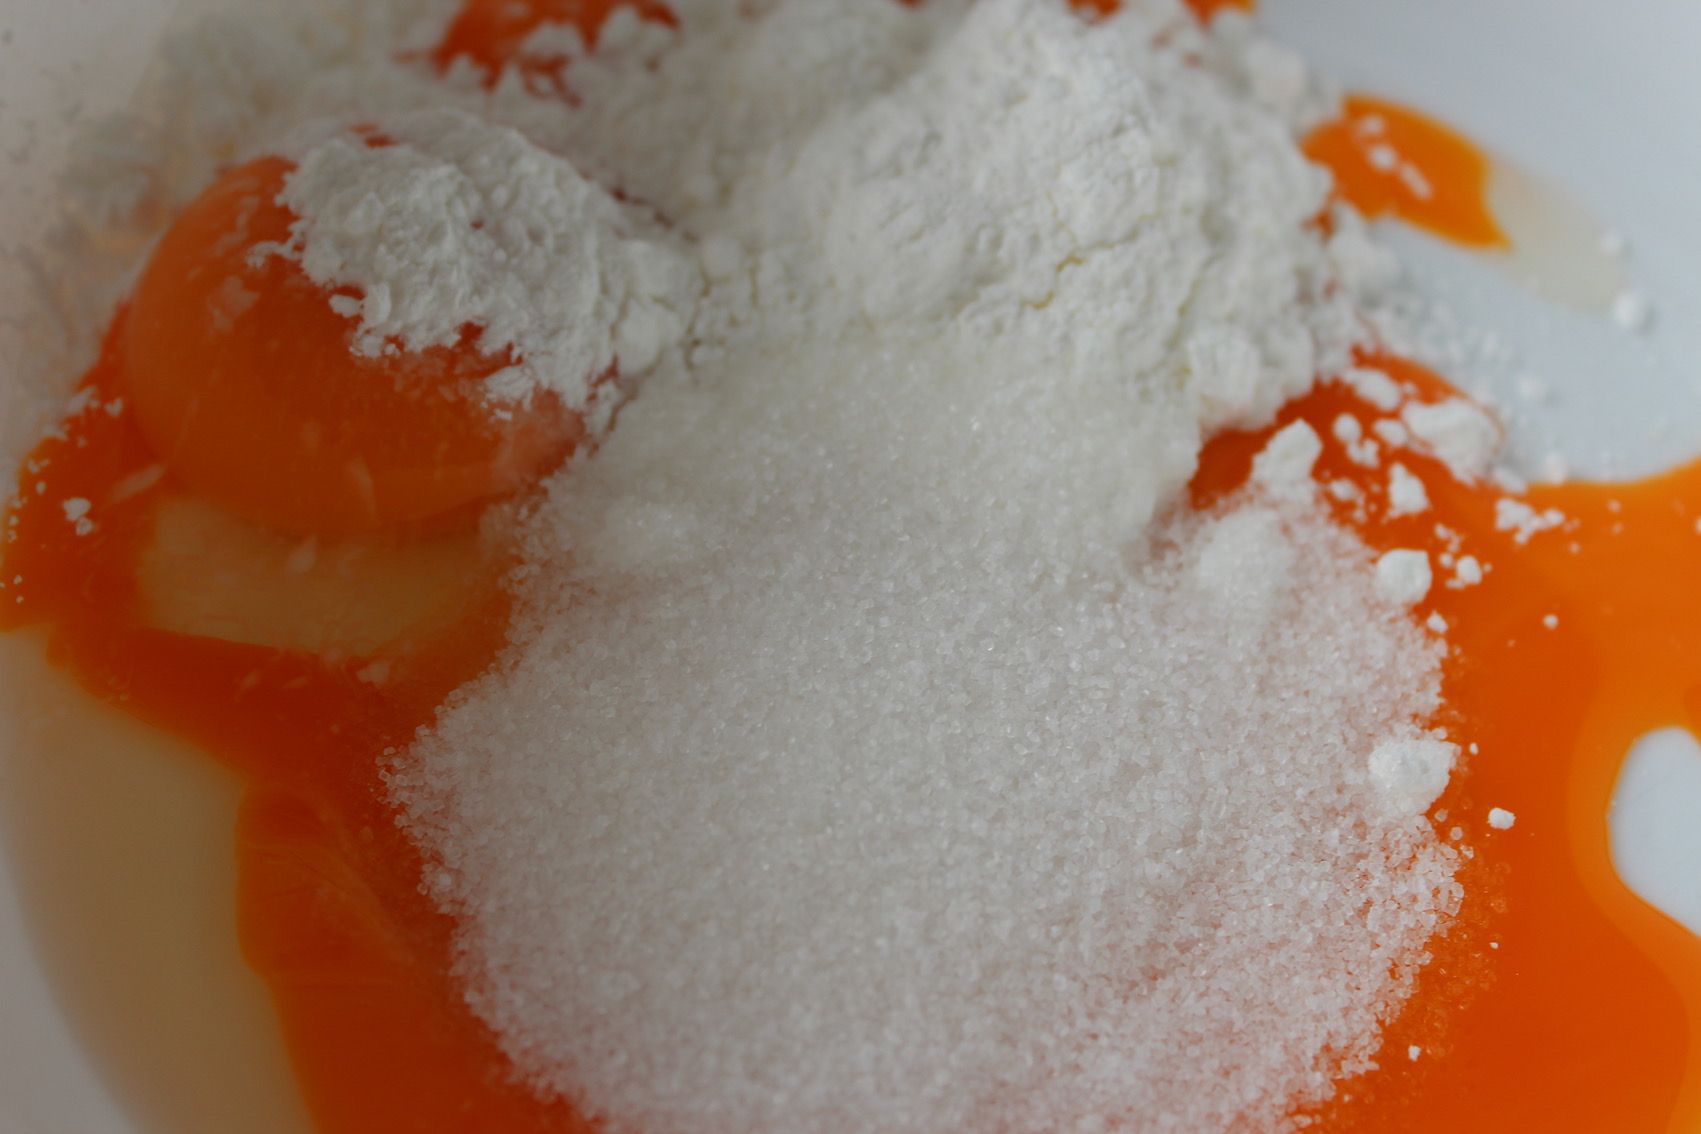
- In a bowl, whisk together the egg yolks, sugar and corn starch.
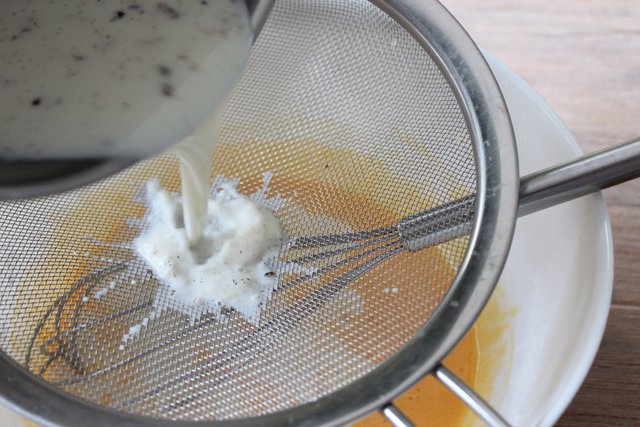
- When the milk is boiling, pour it in three times over the egg mixture through a strainer and mix every time to prevent the yolks from curdling.
- Put back the liquid mixture into the saucepan and cook on medium heat whisking continuously.
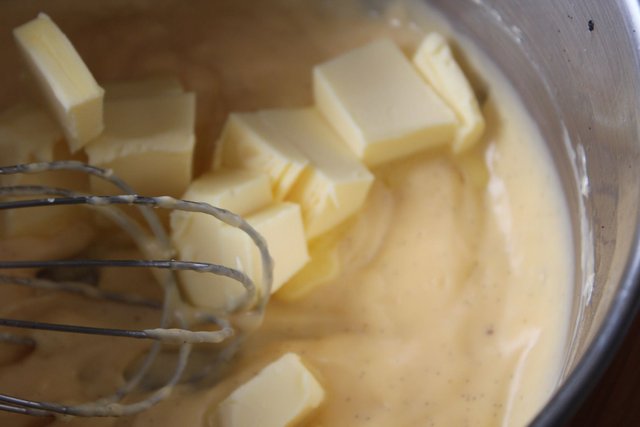
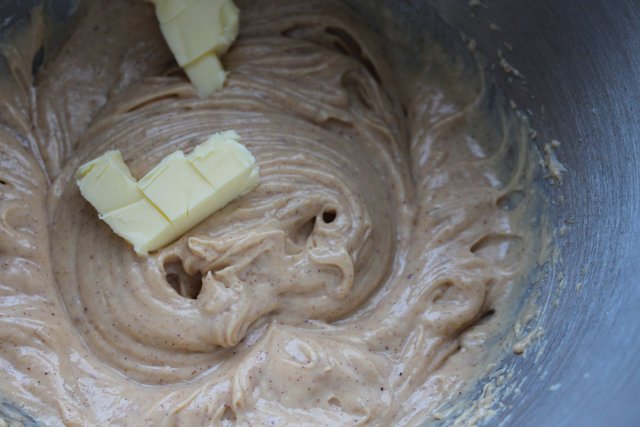
- Allow the pastry cream to boil for 2 minutes then remove from the heat, add the cold, diced butter and whisk again until it is fully incorporated.
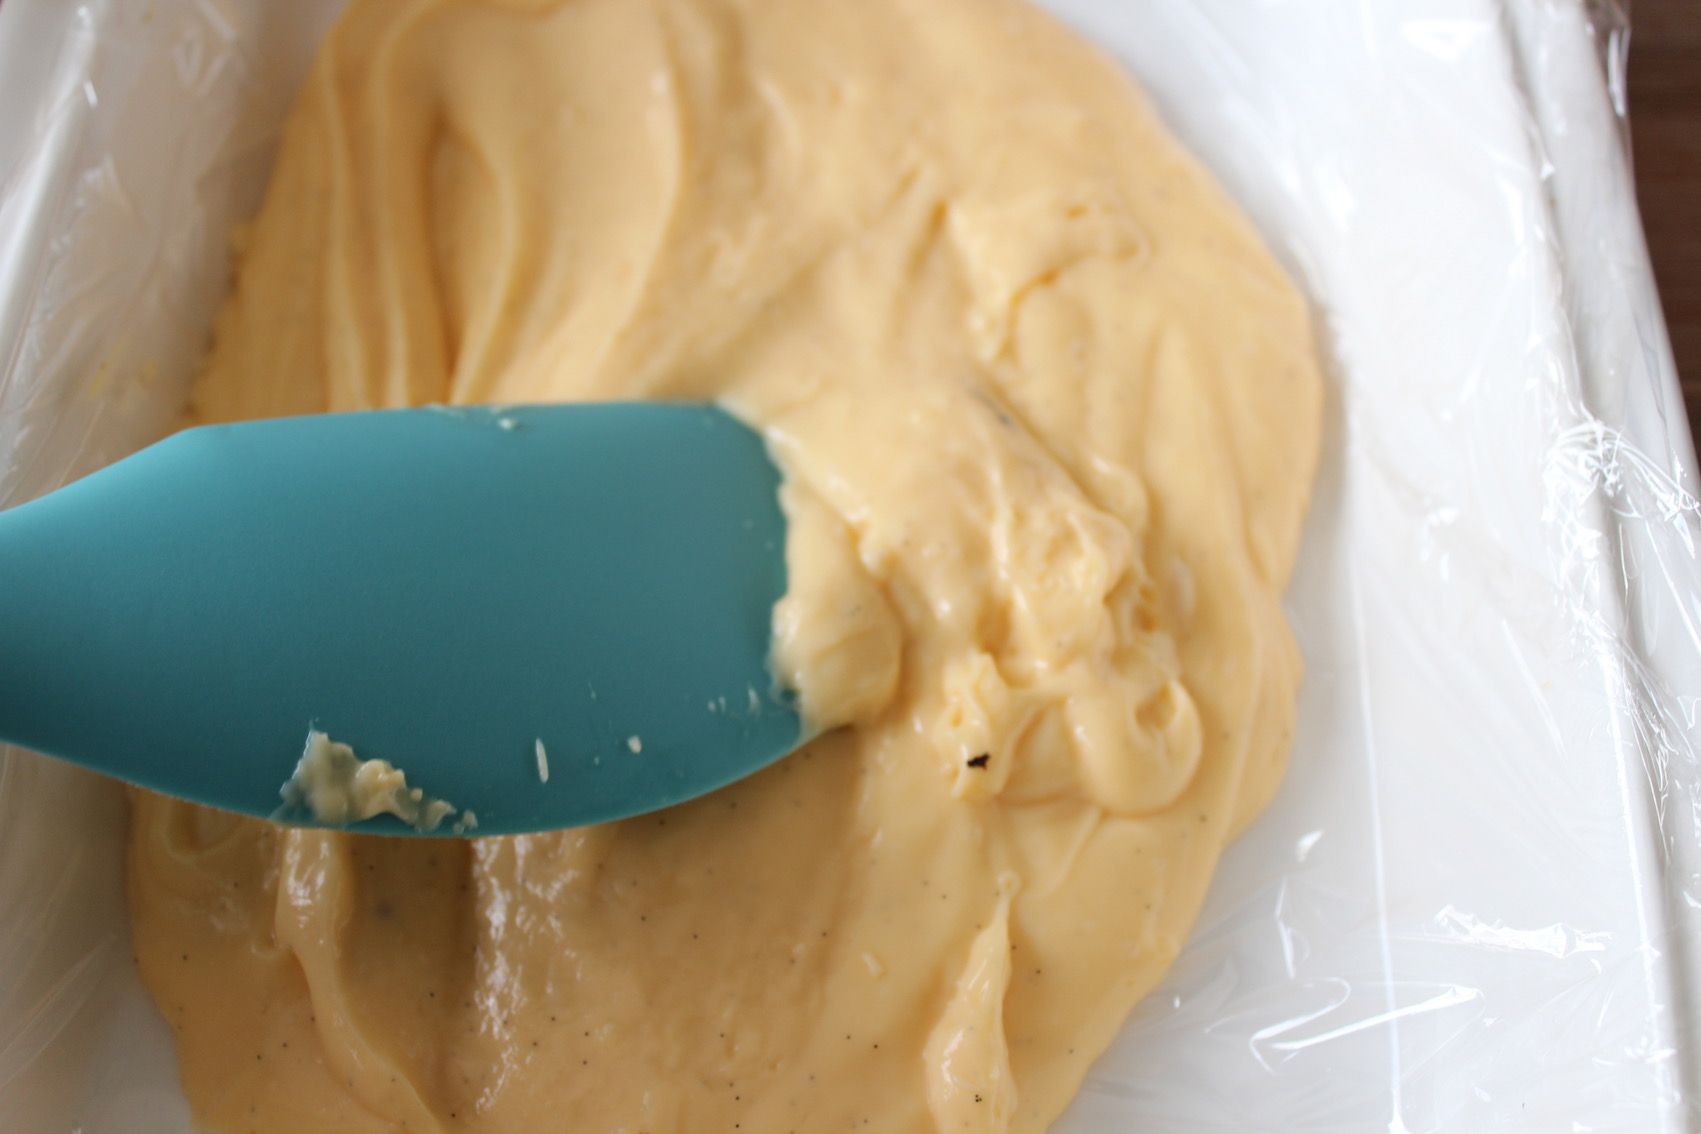
- Pour the cream in a large container, cover with plastic wrap and store in the fridge.
Praline Addendum
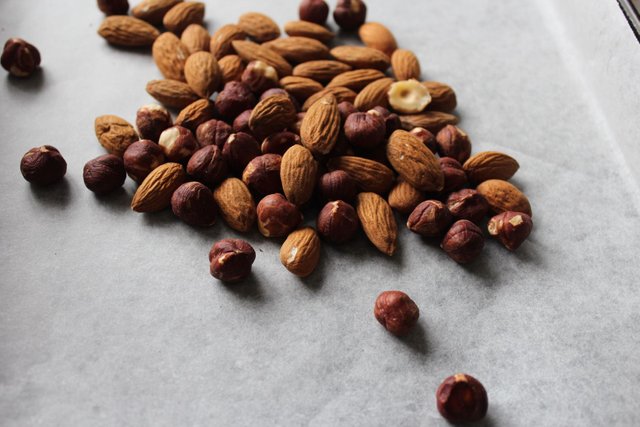
- The site roadtopastry does not provide the steps to make the praline. I made it from scratch using 45 g of almonds and 45 g of hazelnut. Both were toasted in the oven for 20 minutes at 160 degrees.
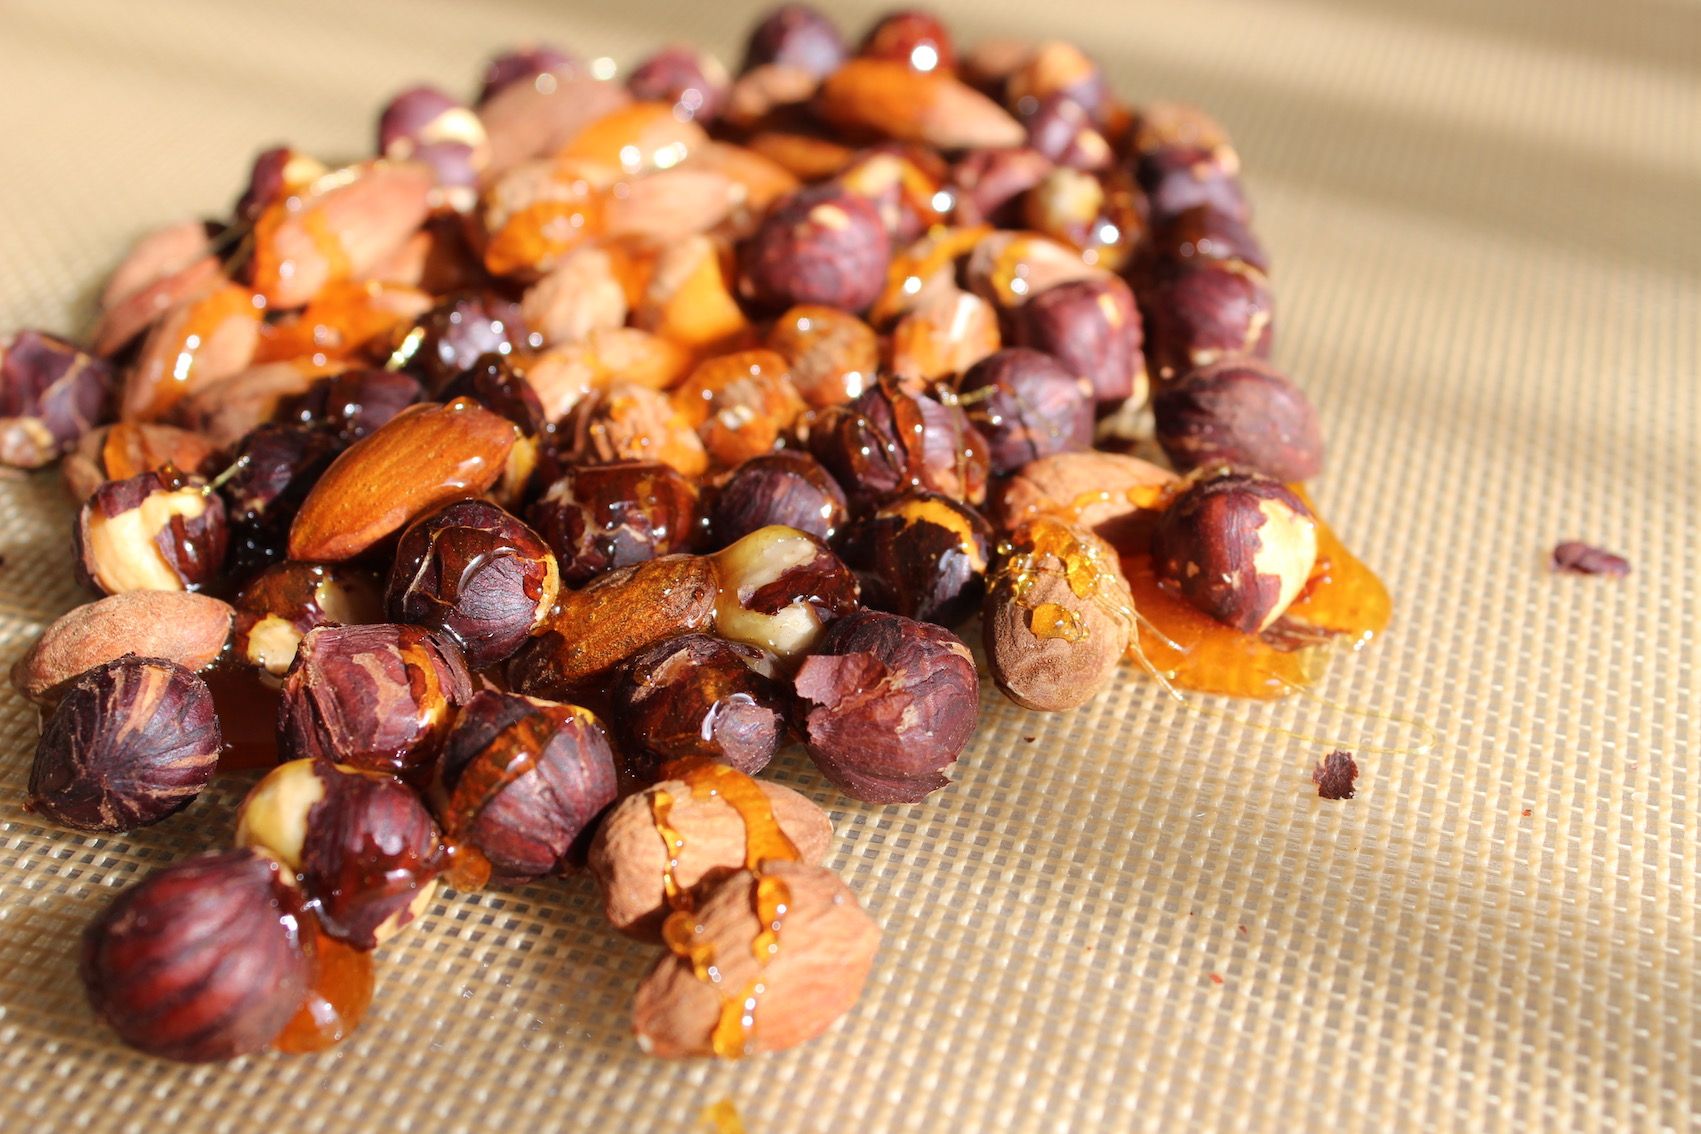
- For the sugar syrup put 70 g of sugar in a pot and wait for the sugar to dissolve.
- Pour the dissolved sugar on the nuts.
- Allow to set and then grind in a blender.


Praliné mousseline cream
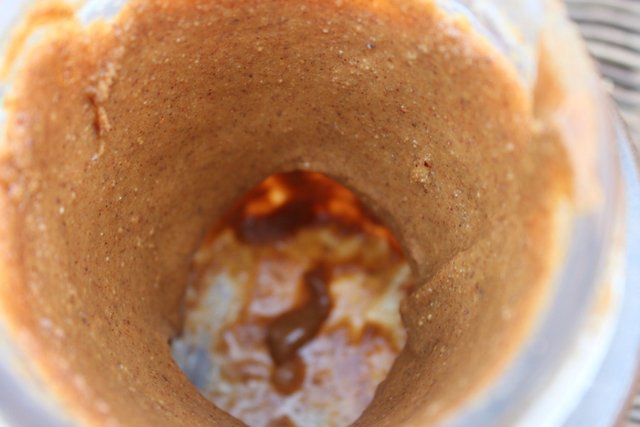
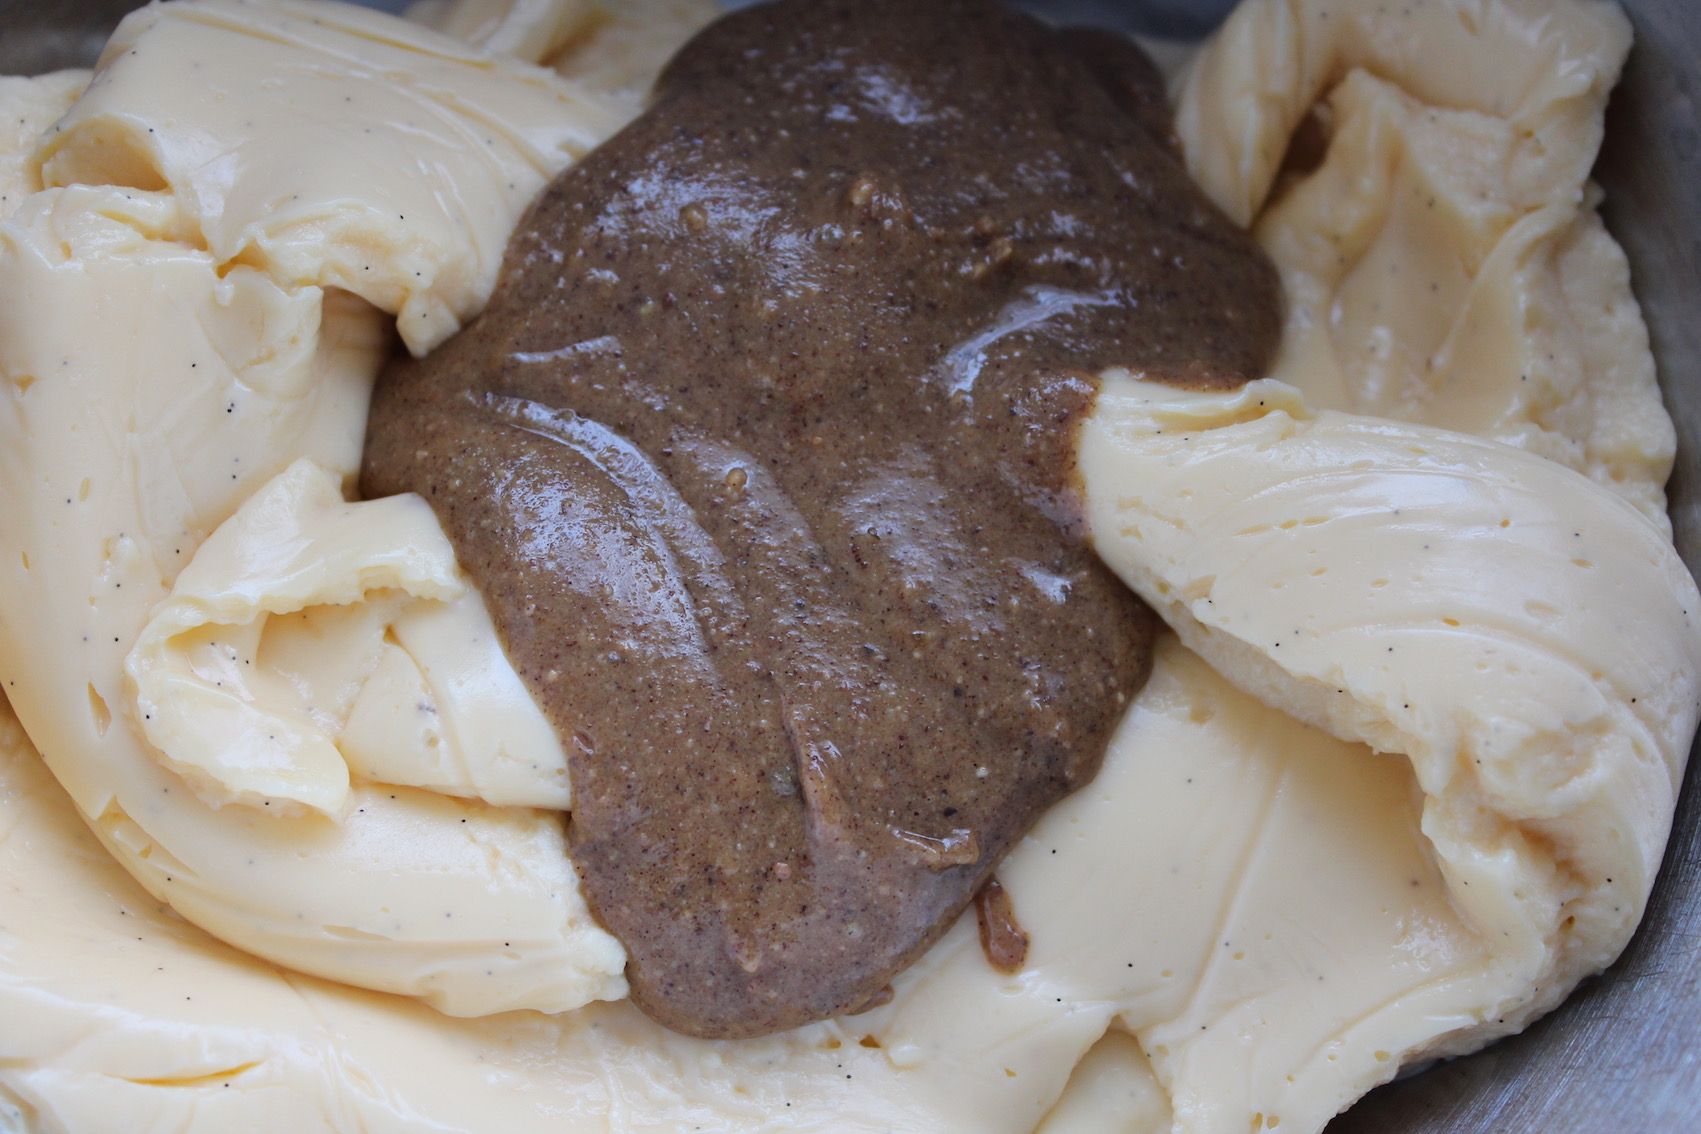
- When the cream is at around 25°C, whip it at medium speed in the bowl of a mixer with the praliné paste.
- Incorporated the soft, diced butter little by little and keep on whipping for around 5 minutes until the cream is soft and airy.
Assembling the Paris-Brest
- When the choux pastry ring has cooled down, slice the bigger ring of choux pastry in half horizontally with a serrated knife (the tip of the knife should be at all times in the ring hole; do not try to slice the ring like a cake).
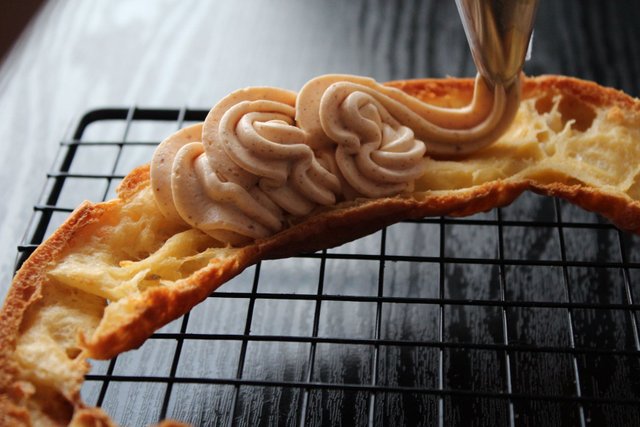
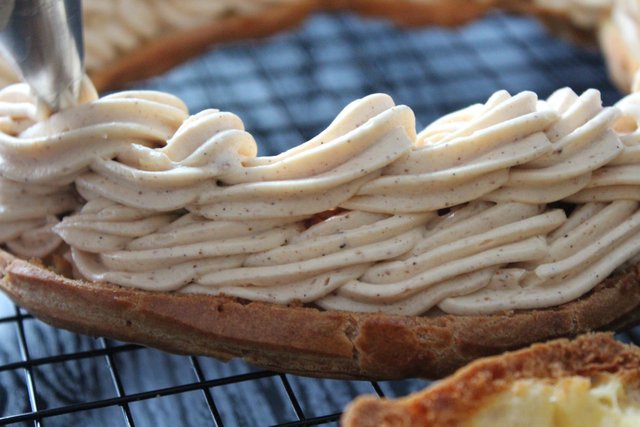
- Place the smaller ring inside the bottom half of the bigger ring. Pipe the mousseline cream on the bottom half of the baked ring in a connecting chain of rosettes (converging towards the inner hole) using a medium star tip and pastry bag.
- If you feel your Paris-Brest is not tall enough, you can add another yummy layer of cream on top of the previous one. Replace the top half.
- Dust with powdered sugar.

Your shots are gorgeous! Particularly love the piping and sifting action shots- something about movement in French pastry shots always add romance- I can hear accordions play....
Stunning end product, I'm so envious of your piping skills! Happy birthday to your father in law! I hope you post pics of the final cake-centerpiece!
Still in planning stage for the birthday. I think we are about to finalise the food for the night. It is supposed to be a surprise party. For the cake still considering which way to go. But that custard cream will definitely be part of it.
Good luck with your planning! I'm sure that custard will be delicious with anything! I just want to nick a spoonful!
This post has been voted on from MSP3K courtesy of @tomekkk from the Minnow Support Project ( @minnowsupport ).
Bots Information:
Join the P.A.L. Discord | Check out MSPSteem | Listen to MSP-Waves