Pizza Stone'd Pizza! Simple Salami & a New Technique!
Pizza Stone'd Pizza!
I'v finally fully moved into my new apartment and it's time to get back to making pizzas. My roommates have a slightly bigger oven that gets 20C hotter than my current and I was more than estatic to give it a try. Not only that but while I was browsing JD looking at the prices of professional pizza ovens (China's Amazon equivalent), I happened to notice an affordable pizza stone in the recommended items.
I ran to the kitchen, measured the ovens to buy the biggest one I could fit (12in) and hit that big order button! Shipping in China is crazy fast and it only took 2 days to arrive so todays pizza didn't hit the optimal time period for a pizza but I was too excited to wait much longer and I still had 2 other dough balls prepped in the fridge for the next 2 tries.
The changes
There are a lot of changes between this pizza and my last pizza:
- The recipe
- The preperation
- The cooking
Basically, you can say my entire process has changed. I'm always looking for new ways to create pizza and trying to find the way that fits me best. Like always, I'm going to note everything here because I don't beleive there's such a thing as a perfect pizza I think there's always room to improve.
The recipe
We have a new recipe! It's really not much different than the old recipe, but that's just how pizza dough works. Most recipes are fairly similar with only several small changes.
3.5 cups 00' flour
.5 cup bread flour (I only used bread flour here bc I ran out of 00' flour)
1 tsp yeast
1.5 cups water
4 tsp salt
I cut the yeast in half because the other crusts were tasting just a tiny tiny bit bready. I was a little worried that 1tsp woudn't be enough but it had 0 problems whart so ever rising. I cut out the sugar completely! To be honest, I'v never been a fan of adding sugar to my breads or pizza dough but I added it in for my previous recipes because I was worried the pizza would struggle during the cold fermentation process since the cold slows down the yeast process. This pizza was a bit of an experiment to see if it'd work without sugar and good news, it does great! I upped the salt a little to try and add a little flavor back since I was taking out the sugar.
The dough tasted great! It browned quite decently, had a nice chew and I was overall quite happy. It didn't have quite as much flavor as the previous pizzas but that may be because of the 24h cold ferment when the previous few were all 48-72hours (flavor develops during the cold ferment process). I'll have to check the flavor of my next 2 pizzas to make sure.
The preperation
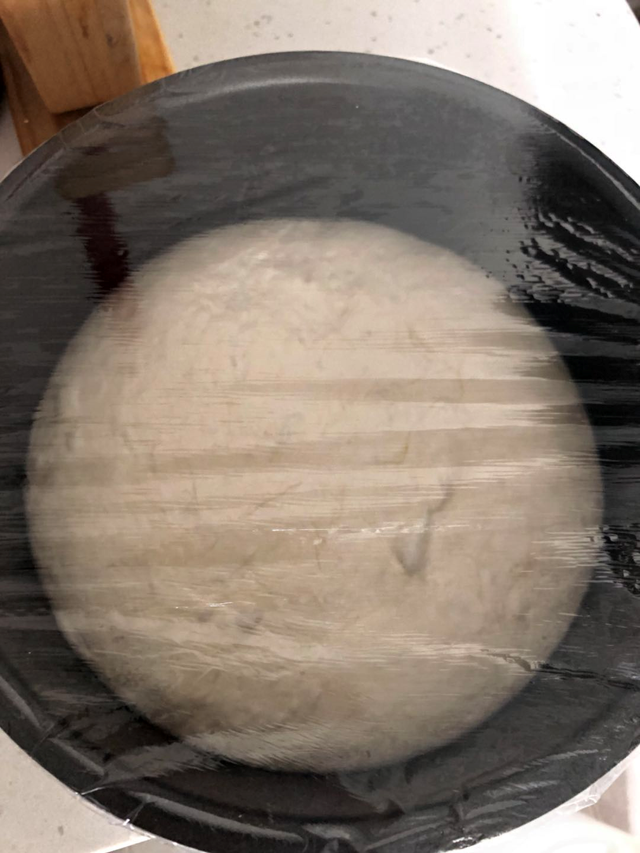
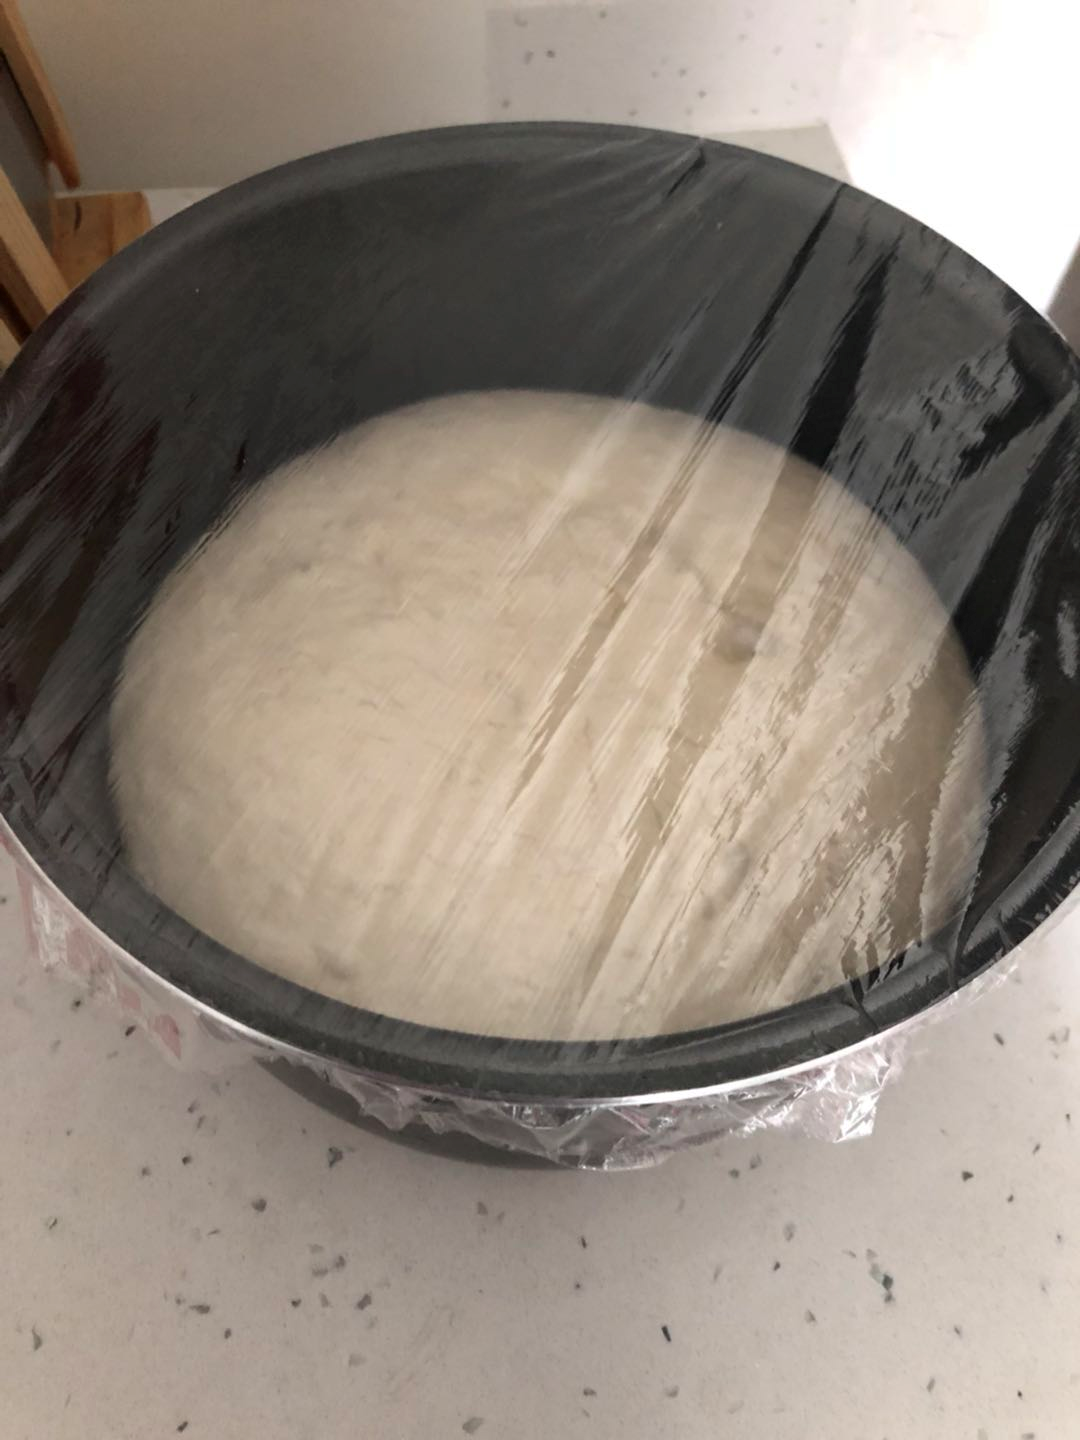
I mentioned I did a cold ferment and you're probably thinking... "you did that before, that's not new". You're right, that part isn't new, but I did add a rise time pre-cold ferment. After maknig the dough balls, I oiled with and covered tightly with plastic wrap so no air could get in. I then left them out on the counter over night, about 16hours total. The next day, the dough ball was huge and it was a beautiful perfect round cushion!
I split it into 3 seperate dough balls, put them in their own covered containers and stuck them in the fridge to begin the cold fermentation process.
The Cooking
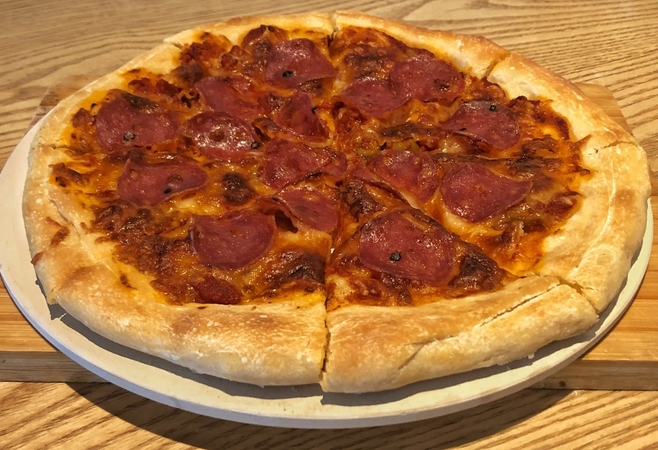
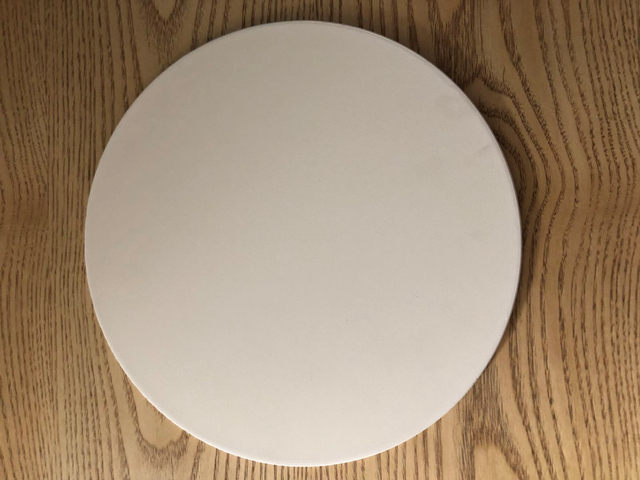
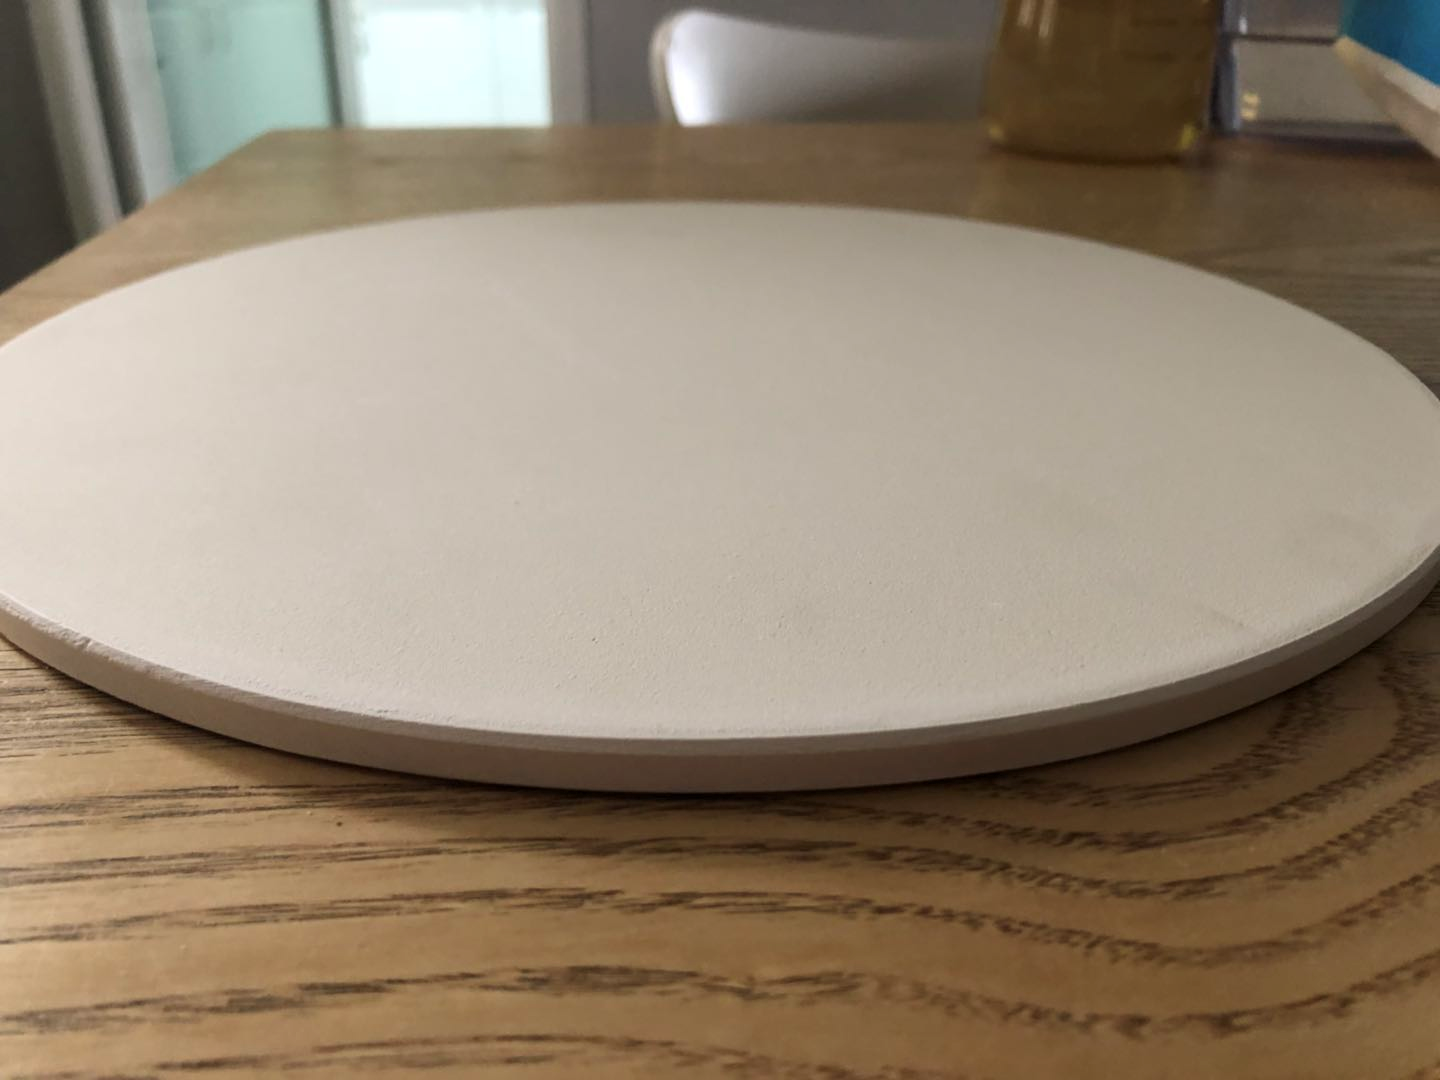
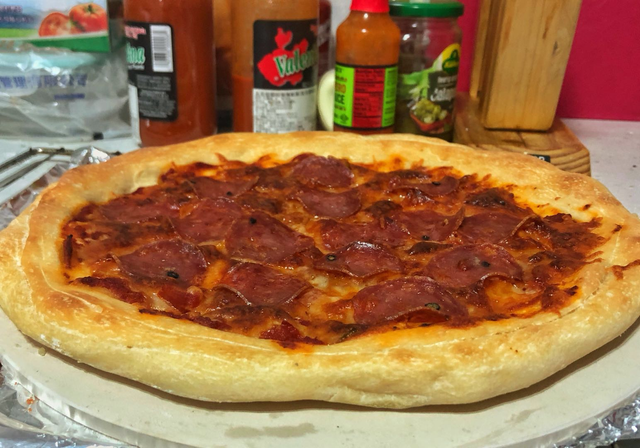
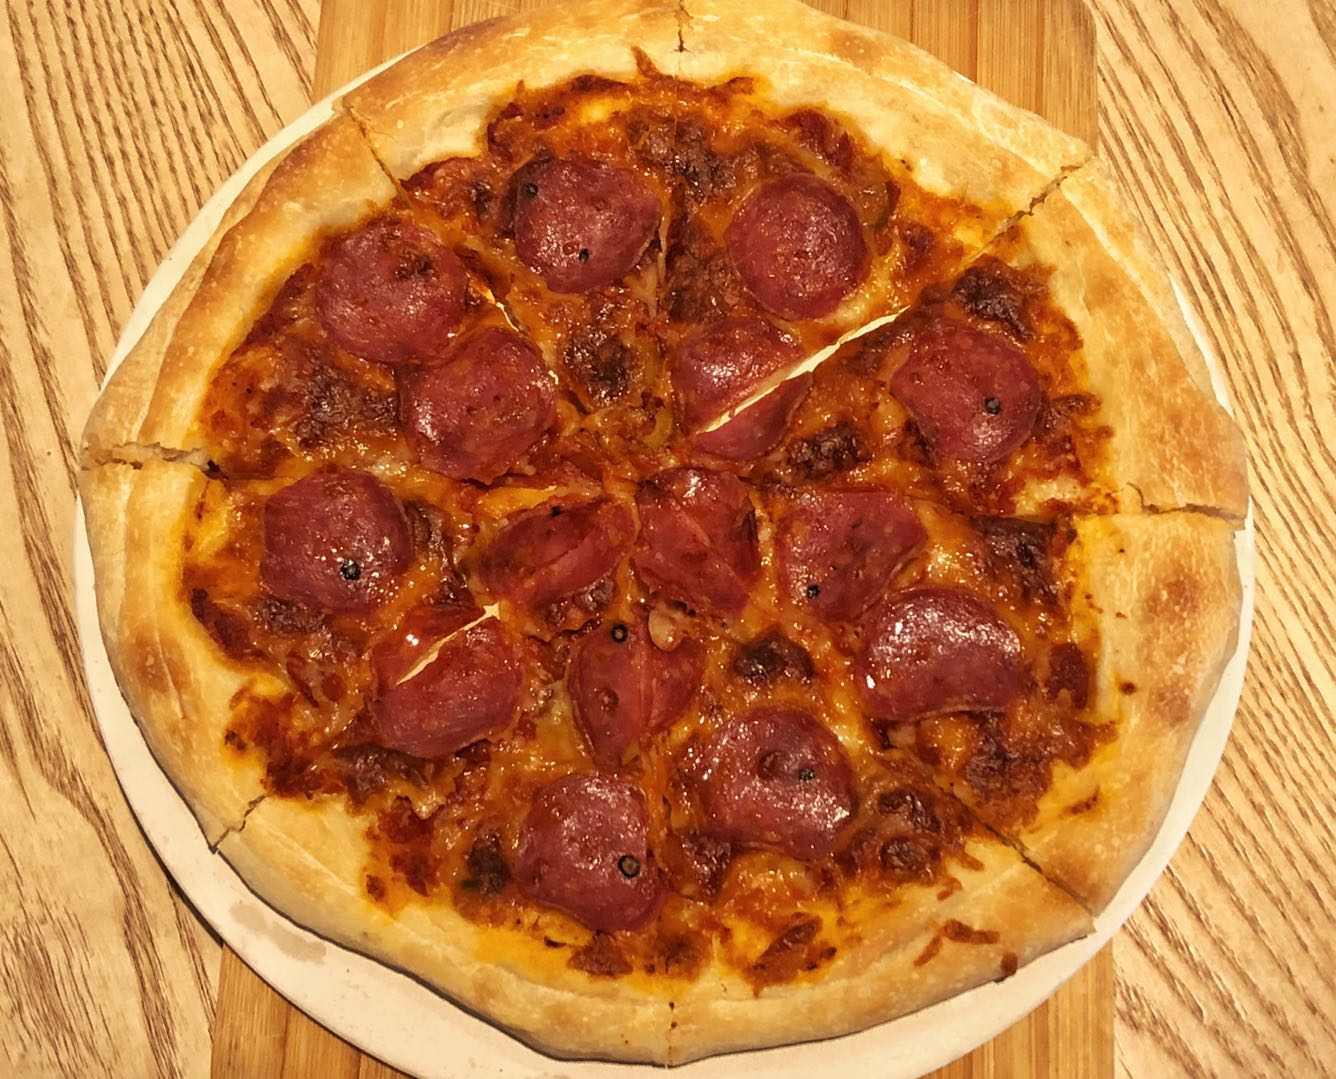
The last difference was in the way I cooked the pizza. I still cooked it in a pre-heated oven but this oven can hit 250c (about 490F) instead of the 230c (about 450f). The biggest difference though was my new pizza stone! I preheated this sucker with my oven for about 30 minutes before taking it out and throwing the pizza together ontop of this steaming hot pizza stone as fast as I could.
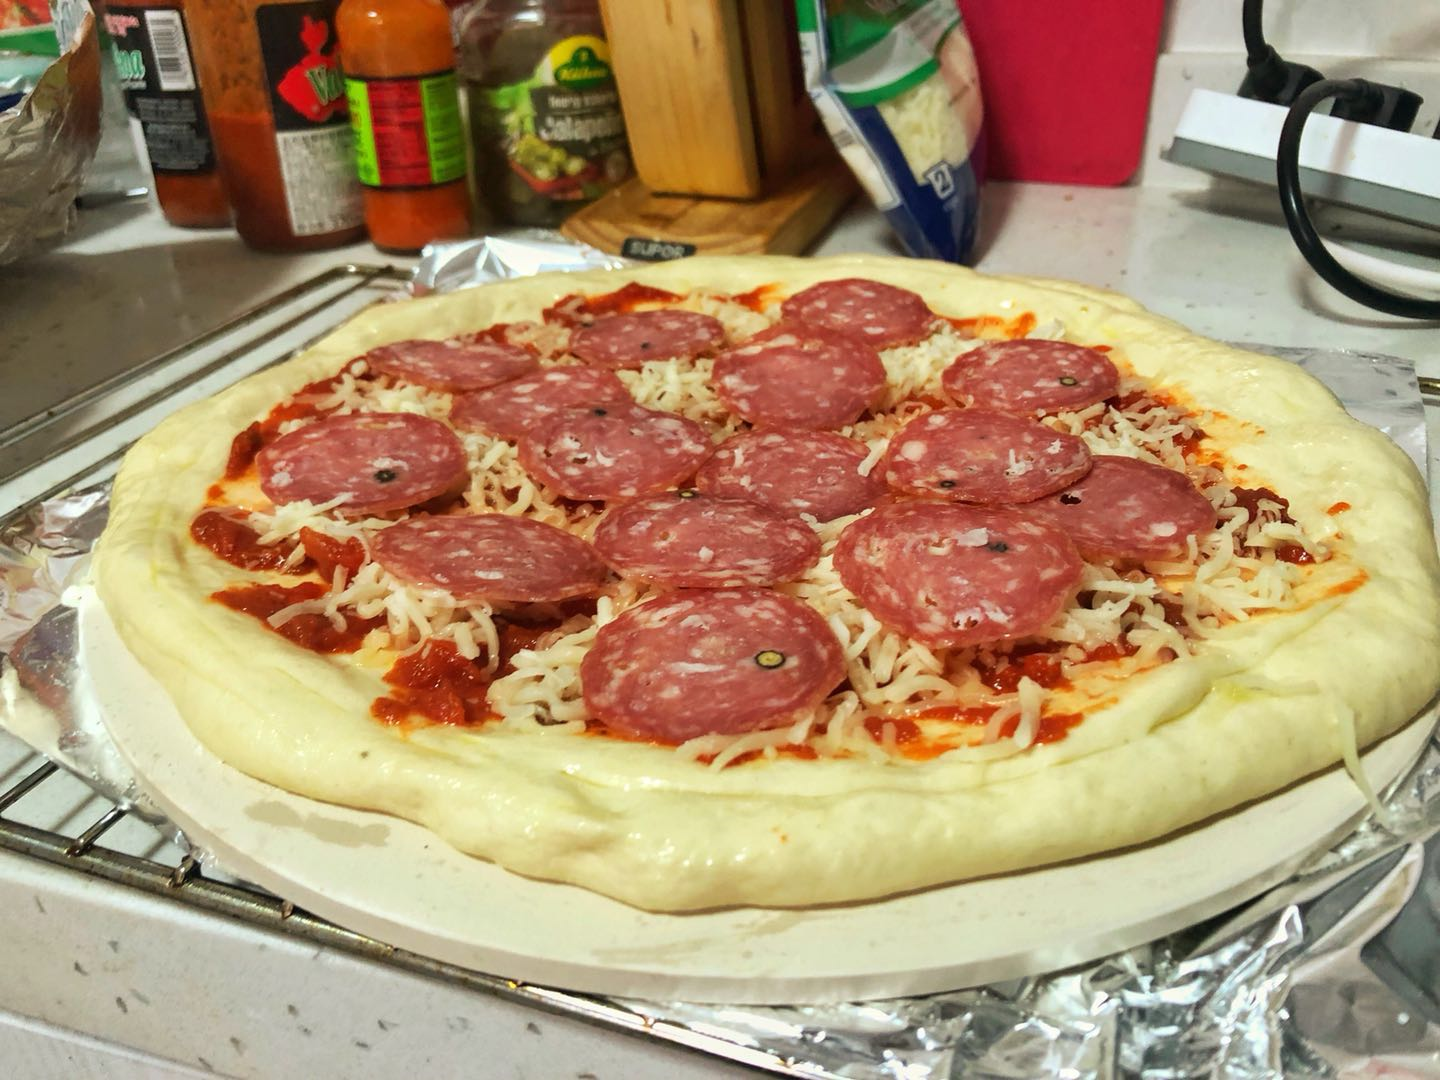
The pizza stone was so hot as I was prepping the pizza on it that it started making the dough bubble up a bit and even melting some of the cheese. The results were awesome and I'm really happy with the results of this pizza stone. I'm even more excited to see how my 48h & 72h cold ferment pizzas turn out on it!
The Directions
Preperation:
Combine all the ingredients in your bread machine and let it knead the dough for you (or do it by hand if you don't have one).
Lightly oil the dough with olive oil and cover tightly on the kitchen counter overnight 12-24hours max.
Day 2 split the dough into 2-3 doughballs (2 for 12in pizzas, 3 for 10in pizzas). Put each doughball into it's over seperate container and put in the fridge for 48-72 hours.
Cooking:
Preheat your oven as hot as it can go with the pizza stone inside (if you don't have one then just preheat the oven).
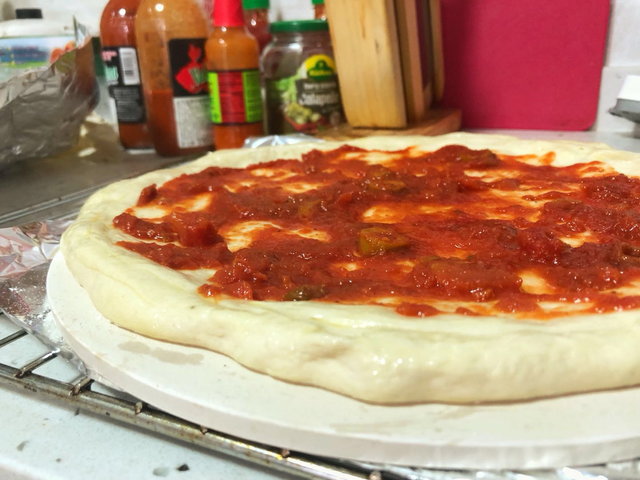
After about 30 minutes take your pizza stone out and throw your pizza together on top of it as fast as possible. Try to have everything prepped and your dough already rolled out. Remember to brush the crust with olive oil to help promote browning.
Throw it in the oven until the crust has browned to your liking!
Mmmmm this looks incredibly tasty. By far one of the most satisfying foods to cook yourself is a pizza!
It certainly is! There are so many combinations of flavors you can make, it's almost like an art :P
World of Photography
>Visit the website<
You have earned 5.05 XP for sharing your photo!
Daily photos: 1/2
Daily comments: 0/5
Multiplier: 1.01
Server time: 12:22:02
Total XP: 86.95/100.00
Total Photos: 17
Total comments: 0
Total contest wins: 0
Follow: @photocontests
Join the Discord channel: click!
Play and win SBD: @fairlotto
Daily Steem Statistics: @dailysteemreport
Learn how to program Steem-Python applications: @steempytutorials
Developed and sponsored by: @juliank