Home Canning Strawberry Jam Recipe
Canning Strawberry Jam
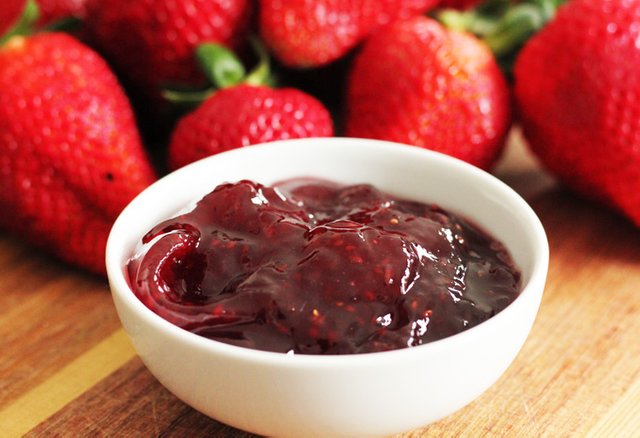
Old-fashioned home canned strawberry jam recipe with no added pectin.
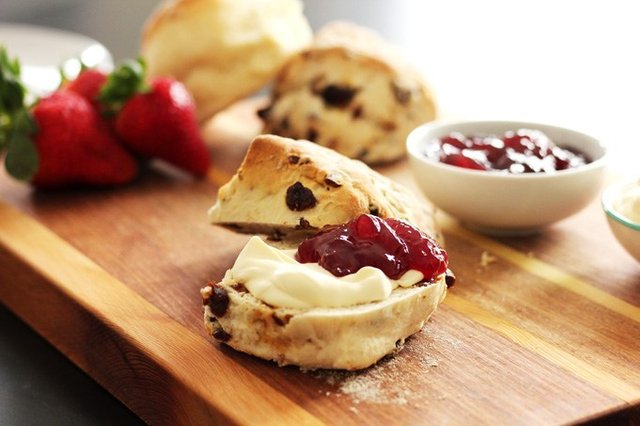
Who doesn't love a good homemade strawberry jam? Whether you spread it over your toast, plop it over warm scones with cream or even stir it through some yoghurt, it really is the best thing ever!
And let me tell you once you've tasted your own homemade strawberry jam you will NEVER go back to the store-bought stuff, the flavour is just incredible.
If you're new to canning then this is a perfect recipe to practice on. It's ridiculously simple and almost impossible to mess up. If you're not interested in canning this jam then one your jam has reached the gel stage simply place it in a sealed container and refrigerate for up to 5 days.
Making your Jam
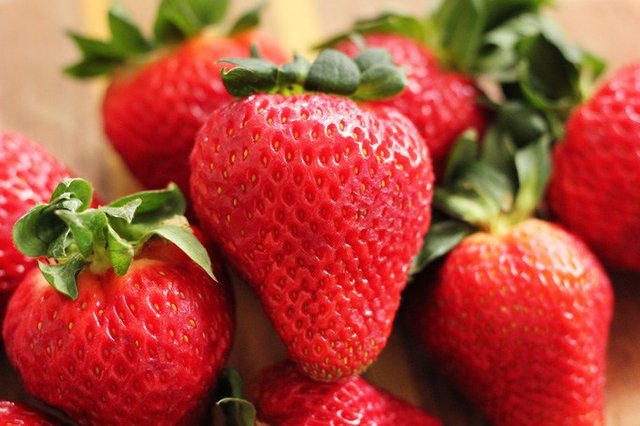
The first thing you need is some strawberries, obvious i know. Now because you are making a jam without any added pectin for the best results use three parts fruit that is fully ripe to one part fruit that is slightly underripe. This is because under-ripe fruit generally has a higher pectin content in it which helps the jam to set properly. Don't stress though if all your fruit is ripe though, the jam will still work fine, you may just have to cook it for a little bit longer to get the same level of gel.
So get your strawberries and make sure you give them a good wash. Cut the stems off and hull them. If they are pretty big then you can cut them in half or into quarters. When you're cooking it though the strawberries tend to break down on their own anyway, so don't stress too much about this. The most important thing is to try and get all your strawberries to approximately the same size.
Put your strawberries, sugar and lemon juice into a large pot on medium/high heat. Bring the mixture to the boil, stirring constantly. Once it is boiling continue to boil for around 60 minutes, stirring frequently (however don't worry if it takes longer than this). You need to stir it frequently to ensure that the jam doesn't burn to the bottom of the pot.
The jam requires a much longer cooking time because it doesn't have any added pectin in it. This longer cooking time will result in a much darker-coloured jam which will have a slightly caramelised flavour. Trust me it's delicious!
You may notice that the sugar to fruit ratio is also slightly lower in jams without added pectin. However as these jams require a much longer cooking time, this reduces the yield of fruit and you actually end up with a much more concentrated sugar content. So if you are looking to cut down on sugar then don't dig into this jam too regularly, no matter how delicious it is!!
Gel Testing your Jam
As this jam recipe doesn't have any added pectin it is important to test that the jam has formed the correct jell before canning it, otherwise you'll end up with a runny mess of a jam. The most reliable gel test is the temperature test, however the sheet test and the refrigerator test will also work. If the gel test shows that gel stage has not been reached then simply return the mixture to the heat to cook for 5-10 minutes longer and then test again.
Temperature Test
Cook the jam until it reaches a temperature of 104C (220F). When measuring the temperature ensure that you insert the thermometer vertically and ensure that it does not touch the bottom or sides of the pot.
If you don't live at sea level then you will have to adjust the temperature slightly. So simply cook until the jam reaches 4C (8F) above the boiling point of water.
At or below 1000 feet above sea level, water boils at 100C (212F). At high altitudes, subtract 1C (2F) for each added 1000 feet of elevation. For example, at 2000 feet, you would cook the jam until it reaches a temperature of 103C (218F).
Sheet Test
Dip a cold spoon into the boiling jam. Lift the spoon and hold it horizontally and edge down so that the syrup runs off the edge. As the mixture cooks, the drops will become heavier and will drop off the spoon separately but two at a time. When the two drops join together and 'sheet' off the spoon, the gel stage has been reached.
Fridge Test
To prevent overcooking remove the jam from the heat before performing this test. Chill two or three small saucers in the freezer. Place a teaspoonful of jam on the saucer and chill it in the freezer for 1 minute. Remove the saucer from the freezer and push the edge of the jam with your finger. A mixture that has reached the gel stage will be set, and the surface will wrinkle when the edge is pushed.
Strawberry Jam Recipe
Ingredients:
- 8 cups strawberries - hulled and crushed
- 6 cups sugar
- 4 Tbsp lemon juice
Method:
- Prepare canner, jars and lids.
- In a large saucepan combine the strawberries, sugar and lemon juice.
- Bring the mixture to a boil, stirring constantly until the sugar has dissolved. Continue to boil, stirring frequently, until mixture has thickened and reached gel test.
- Skim foam.
- Ladle hot jam into hot jars, leaving 1/4 inch headspace. Remove air bubbles and adjust headspace. Wipe rim. Center lid on jar. Screw band down until fingertip-tight.
- Place jars in canner, making sure they are completely covered with water (at least 2 inches). Bring to a boil and process for 10 minutes. Remove canner lid. Allow to sit for 5 minutes, then remove jars and allow to cool for 24 hours. Clean, label and store.
This recipe is from a tested source, please remember the importance of only using canning recipes that come from a scientifically tested source to ensure that its safe to eat
!cheetah ban
Failed Authorship Verification.