Too much fruit? Make some jam!
Just because I had nothing better to do with some left over fruit and because I had some time to kill I decided to make some JAM. I've never made this combo before and have no idea if it will work well together, but let's go e it a go and see.
To make a plum and gooseberry jam, you will need.
INGREDIENTS:
- 1.25kg of plums
- 0.75kg of gooseberries
- 2kg of sugar (simple rule weight of sugar = weight of fruit)
- lemon juice
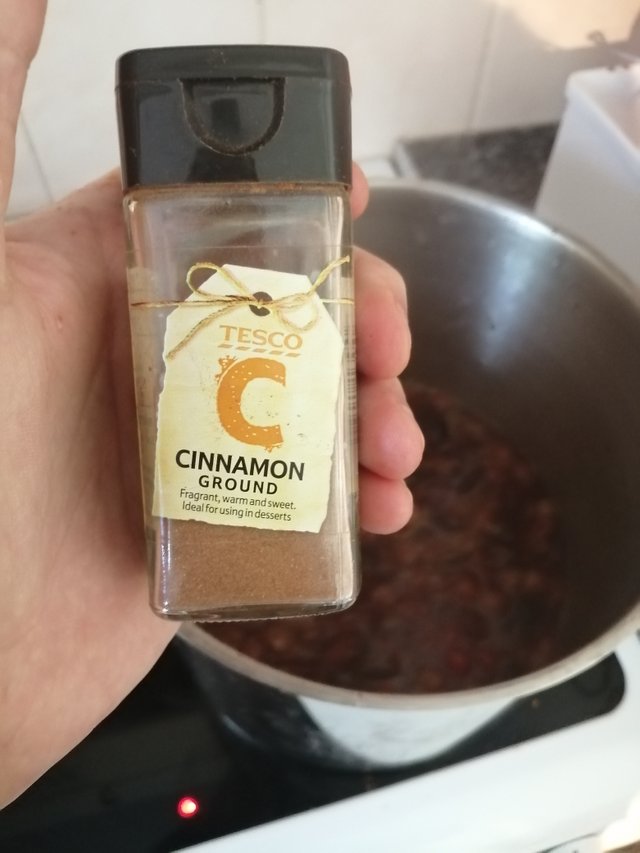
- cinnamon
- water
Although I know all the fruit I grow is as "organic" as I can get it, always remember to wash your fruit thoroughly before you start.
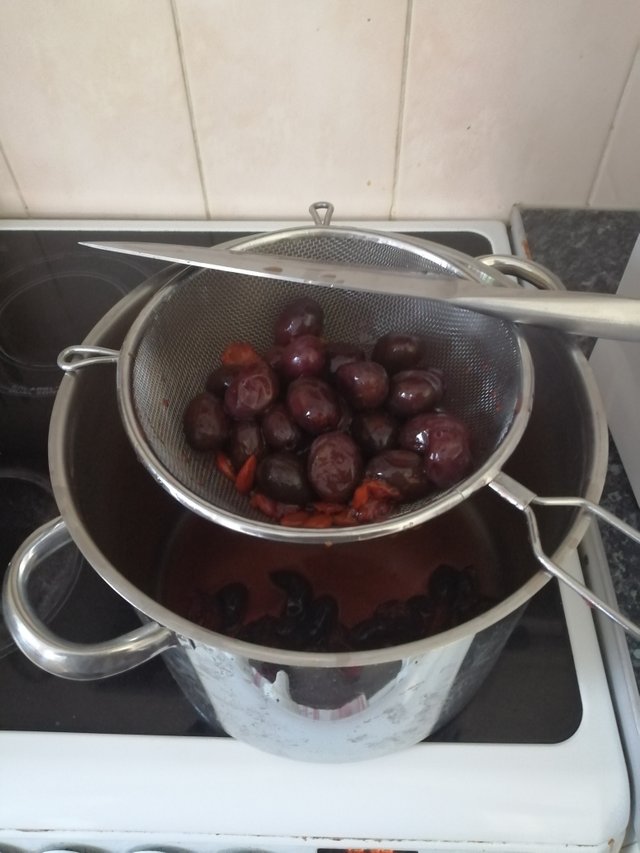
Start by removing the stones from your plums. Depending on how you like your jam, if you like it lumpy leave the plums chunky, if you like it smooth(ish) break them in to smaller pieces.

I have no use for the stones, so bin them. If anyone knows of a use for them please let me know below.
Next add the gooseberries. Whole because I like a chunky jam 😉
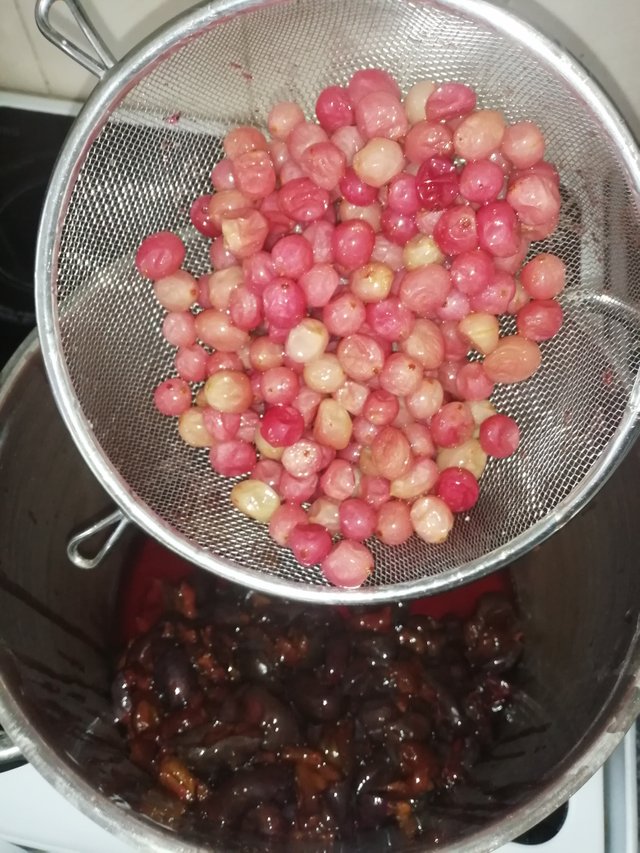
Add 100ml of water. It may not seem like a lot at the moment, but as the fruit sweets down, they release a lot of fluid.
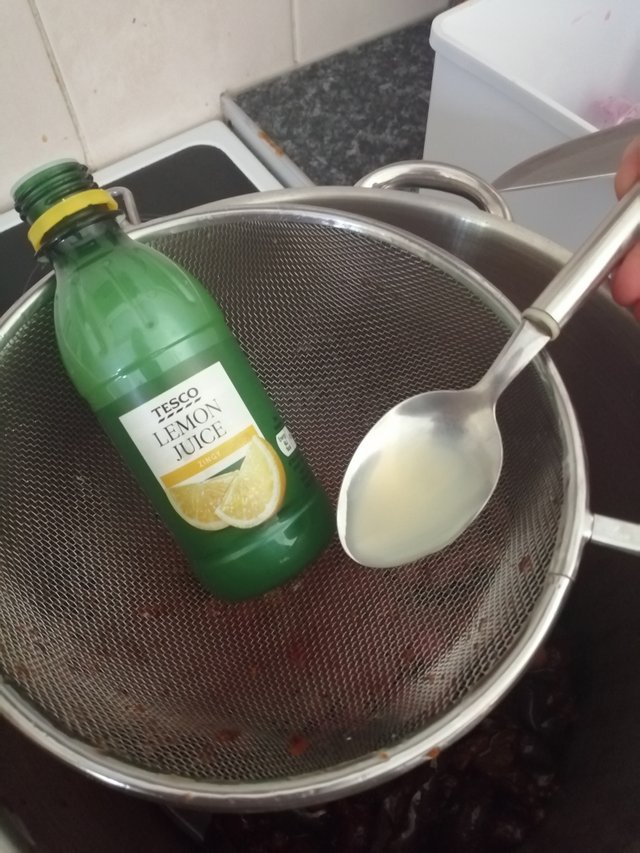
Add a splash of lemon juice, fresh is best, but I can't grow lemons!!
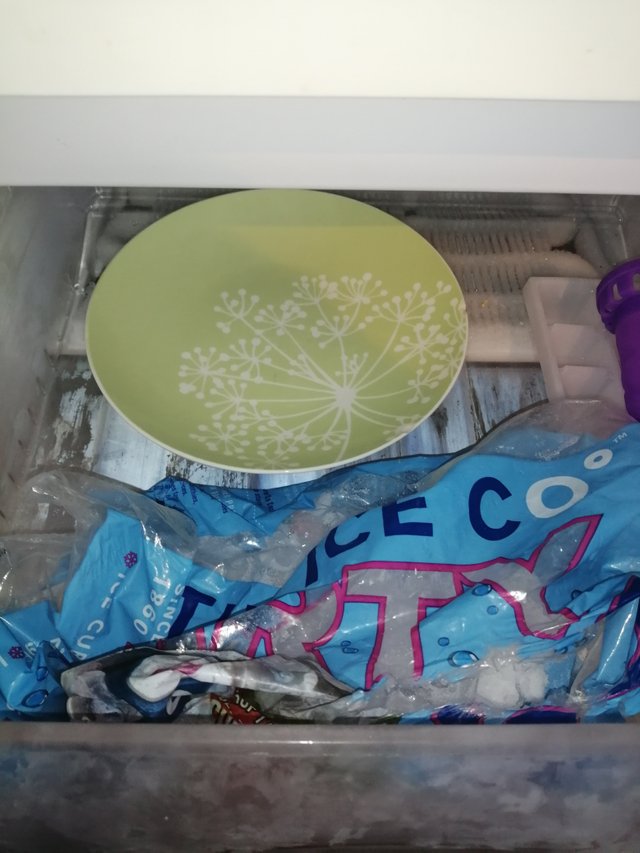
At this point, put 2 small plates in the freezer..... Don't ask!! I'll let you know why later
OK, back to the jam making

Bring the pan and contents up to a very gentle "rolling" boil. You don't want to go crazy at this stage, all you're doing now is releasing those gorgeous fruity flavours and softening the fruit.
After about 10mins of a gentle rolling boil, don't forget to STIR FREQUENTLY, I add a sprinkly of cinnamon. This just adds a little extra sweetness and warmth. It's just like Christmas in a jar. Hahahaha
Bring the mixture up to a boil. Put the heat up as high as possible and add the sugar gradually.
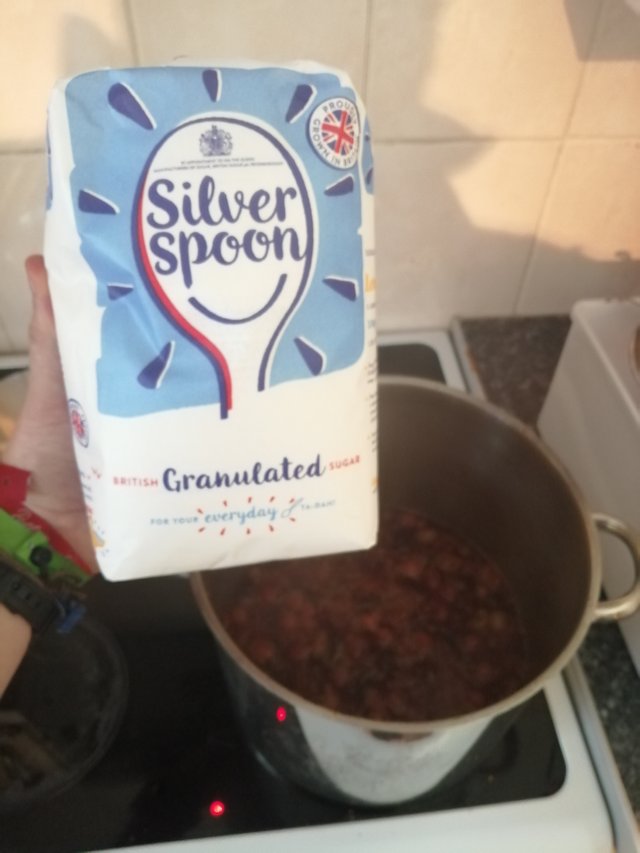
Continue to stir as you add a little at a time and make sure it's dissolving. The pan should be starting to bubble and boil, keep stirring!!
Watch the mixture and stir offten. Make sure it doesn't start to stick as the sugar begins to caramelise and thicken up.
Keep this going for at least 30mins. KEEP STIRRING
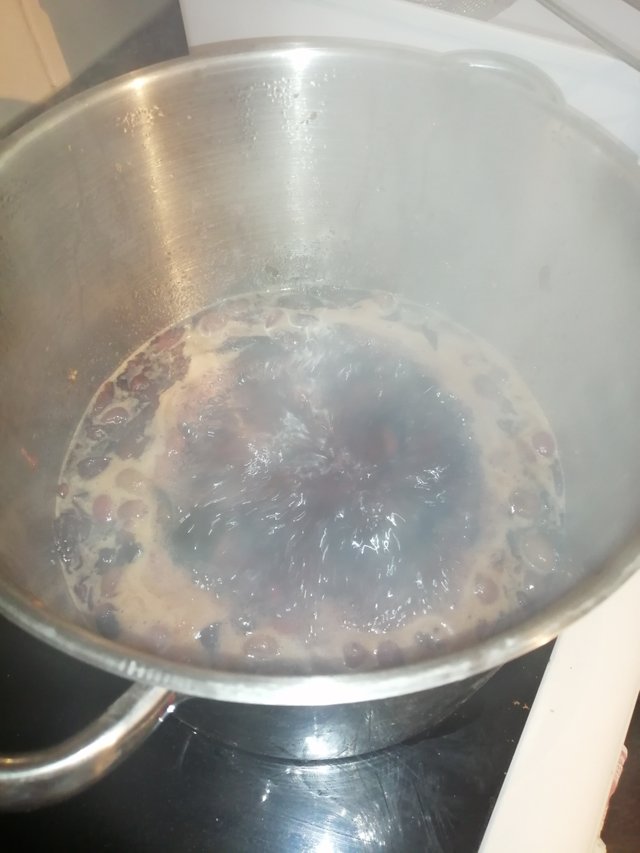
Its now time to go get those plates from the freezer. They should have been in there for at least 40mins and be very cold.
Take your first plate and spoon a small "blob" of the jam on to the plate.
BE VERY CAREFUL IT WILL BE OVER 105 C
Watch to see if the jam sets? The cold plate will cause the sugar to cool rapidly and if your pan has reached "setting" point, you should see the jam become sticky and you'll be able to push it with your finger.
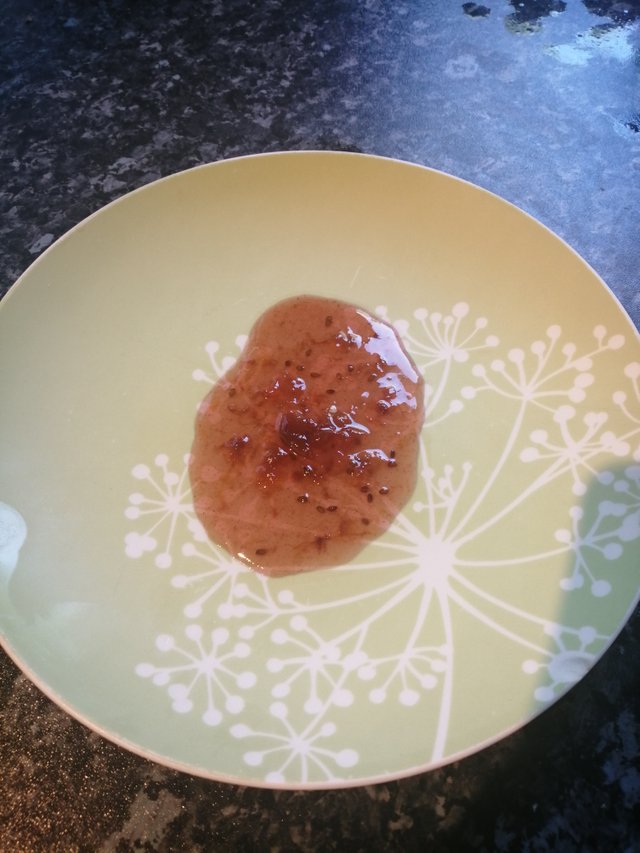
⬆️ My first attempt. It wasn't ready and still too liquid. It ran and wasn't set.
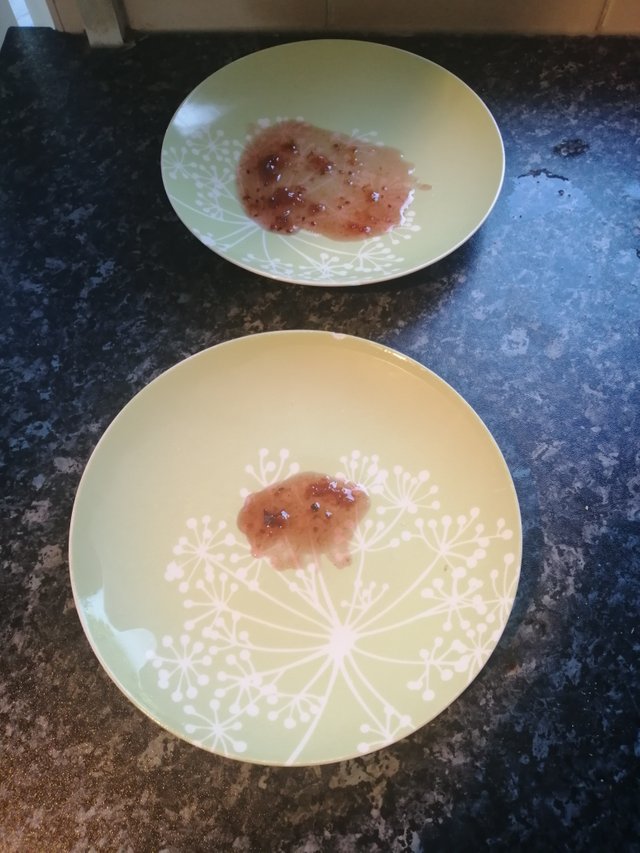
⬇️ Where as 10 more minutes meant the setting point was reached and the jam was ready.

By holding the 2 players side by side you can clearly see the difference in the consistency and viscosity
Set the pan aside to start to cool. This should take 15mins. While this is cooling, set about cleaning and sterilising your jar(s).
Once the jam is cool enough (but not cold), begin to ladle the mixture in to your warm, sterile jars.
Having the jars warm when spooning in the warm jam means that as the mixture cools, the volume shrinks and can cause an air seal on your lids and help preserve the jam for longer.
Allow to cool further before putting in a dark, cool cupboard for storage of up to 1yr. Once open keep in the fridge and use within a month.
Now for the best bit.....
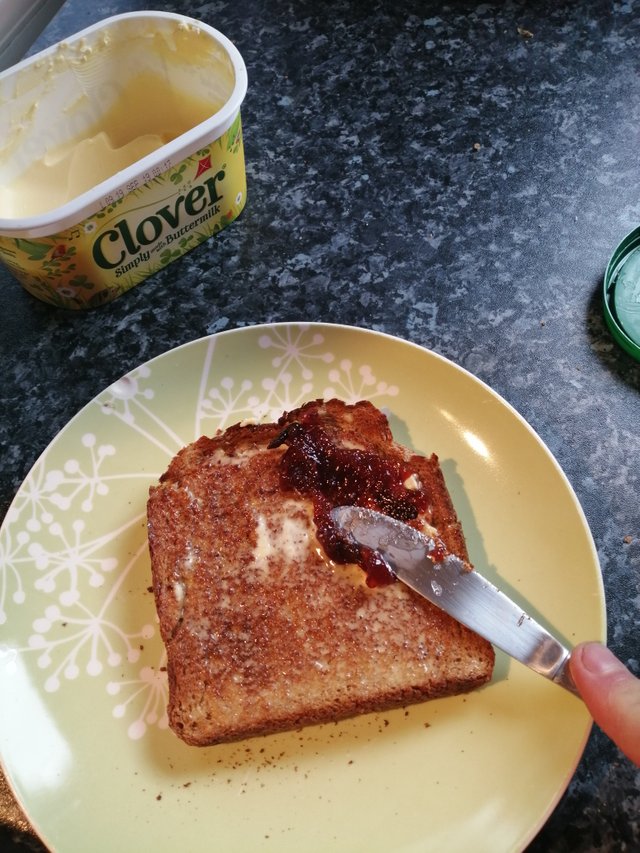
YUMMY!!
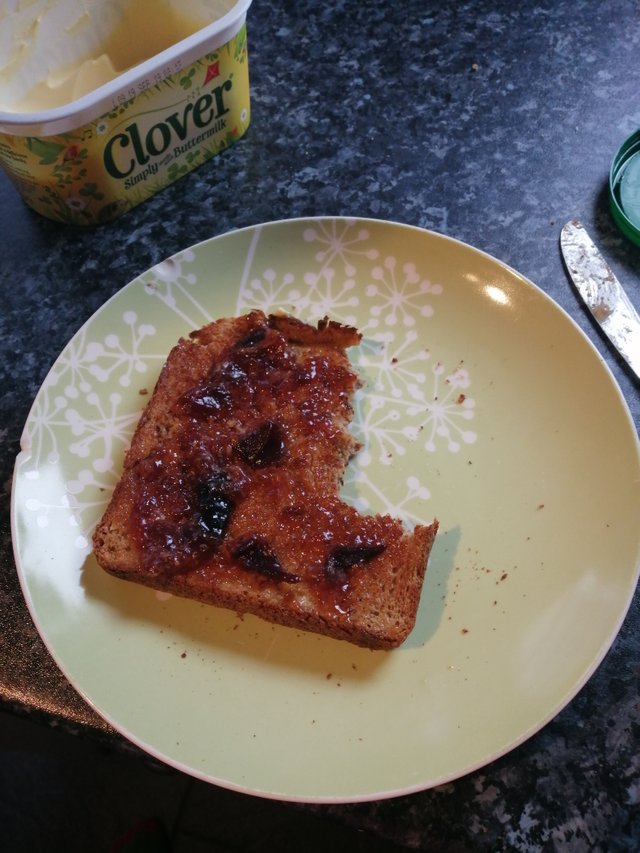
Another successful jam making session. If you try this recipe or a variation, please let me know below how it turned out for you.

This post was curated by @theluvbug
and has received an upvote and a resteem to hopefully generate some ❤ extra love ❤ for your post!
In Proud Collaboration with The Power House Creatives
and their founder @jaynie
Thank you for sharing the love @theluvbug
Thank you welshstacker! You've just received an upvote of 39% by thejollyroger!
Learn how I will upvote each and every one of your posts
Please come visit me to see my daily report detailing my current upvote power and how much I'm currently upvoting.