How to make awesome retro pixel art using Hama Mini Beads
Introduction
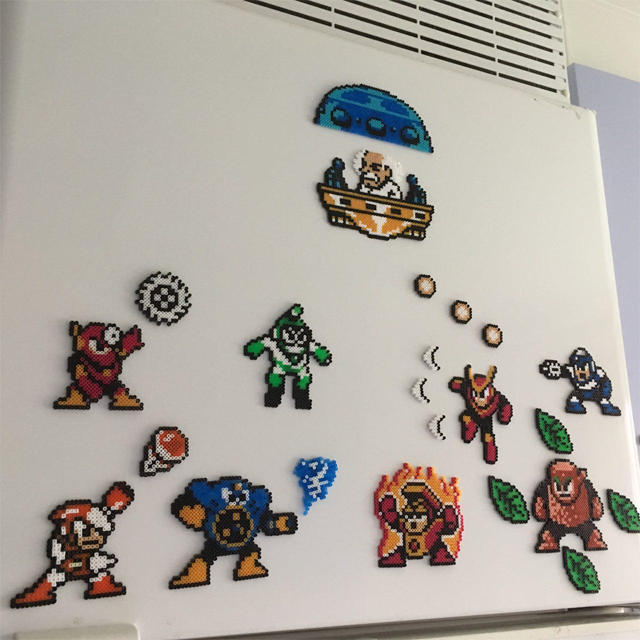
Hello! In this post I'm going to showcase some retro Hama Mini Beads pixel art I've made together with my boyfriend. It's a gang of robot masters from the video game Mega Man 2, released on the Nintendo Entertainment System. I'm also going to give some advice and hints on how you can make your own. It's quite fun and relaxing and makes for some awesome decoration..once it's finally done. ;-)
If you like awesome then read on!
In this guide I'll be referring to where we purchased the various colors. I tried to stick as close as possible to the colors used in the game. They will all be summarized in a list at the very bottom of this post.
Crash Man
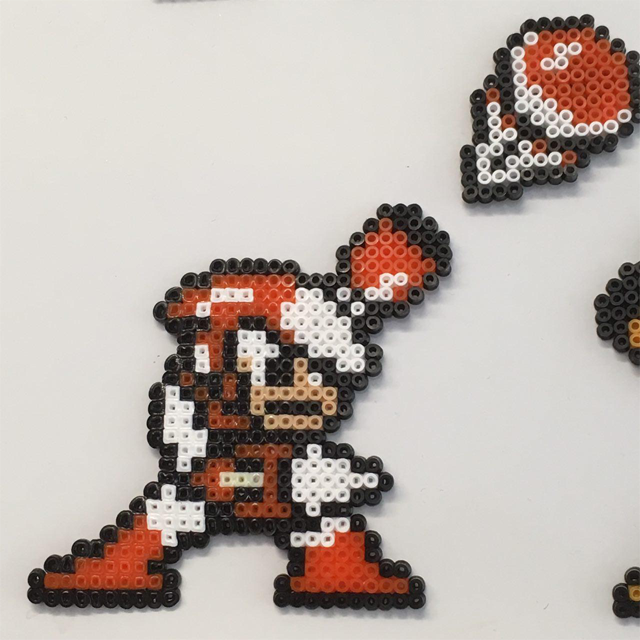
This guy was the first one we did, he was a lot of fun to make. His primary color is an unique orange tone. He wields the coolest (imo) weapon in the game; Crash Bomber!
Colors Needed:
- 501-18 Black
- 501-01 White (Secondary)
- 207-02 Cream
- 501-00 Mixed Mini Beads - Orange (Primary)
Metal Man
Another favorite! Arguably the robot master with the most useful weapon in the game (can shoot diagonally!); Metal Blade.
Colors Needed:
- 501-18 Black
- 501-01 White
- 207-02 Cream
- 501-29 Claret (Primary)
- 501-60 Teddy Bear Brown (Secondary)
Air Man
This guy can be a bit tricky to beat..he even got a fan-made song dedicated to this! Be aware of his Air Shooter (note how the magnet behind the weapon adds some nice color depth).
Colors Needed:
- 501-18 Black
- 501-01 White
- 501-36 Neon Blue (Primary)
- 501-60 Teddy Bear Brown (Secondary)
Heat Man
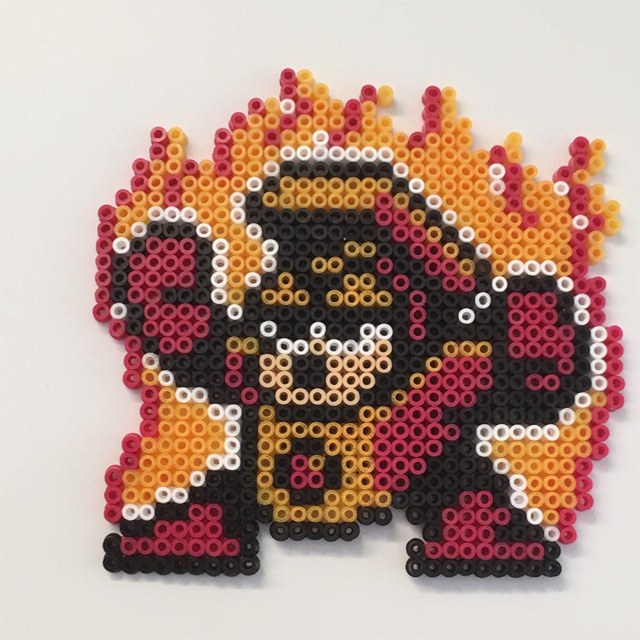
One of the biggest and meanest. Very rewarding to create! He uses himself as a weapon with the help of Atomic Fire.
Colors Needed:
- 501-18 Black
- 501-01 White
- 501-29 Claret (Primary)
- 501-60 Teddy Bear Brown (Secondary)
Wood Man
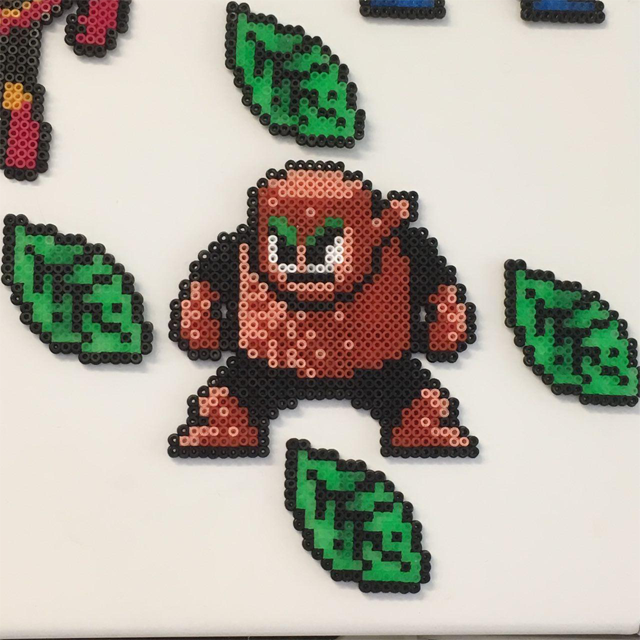
HUGE guy. His spinning Leaf Shield can be hard to avoid. Note how similar to Air Man, the magnets behind his leafs gives them a nice little extra effect.
Colors Needed:
- 501-18 Black
- 501-01 White
- 501-20 Reddish Brown (Primary)
- 501-26 Flesh (Secondary)
- 501-37 Neon Green (Leafs)
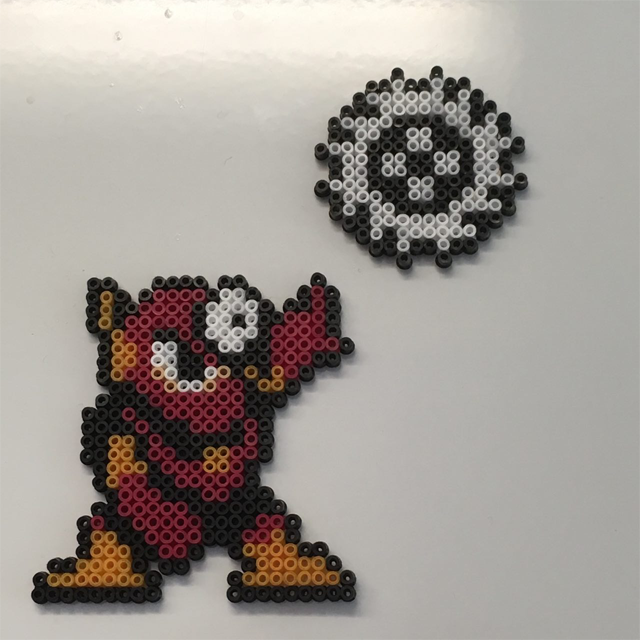
Quick Man

As the name suggests, he's rather fast on his feet..he throws the Quick Boomerang.
Colors Needed:
- 501-18 Black
- 501-01 White
- 207-02 Cream
- 501-29 Claret (Primary)
- 501-60 Teddy Bear Brown (Secondary)
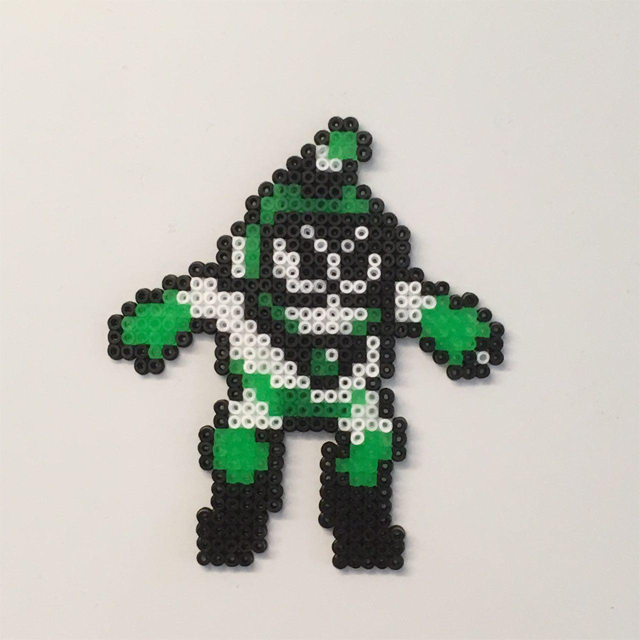
Flash Man
Luckily for us, this man only flashes his Time Stopper. The transparent bit on his helmet creates a rather neat effect.
Colors Needed:
- 501-18 Black
- 501-01 White (Secondary)
- 207-02 Cream
- 501-36 Neon Blue (Primary)
- 2207-19 Clear
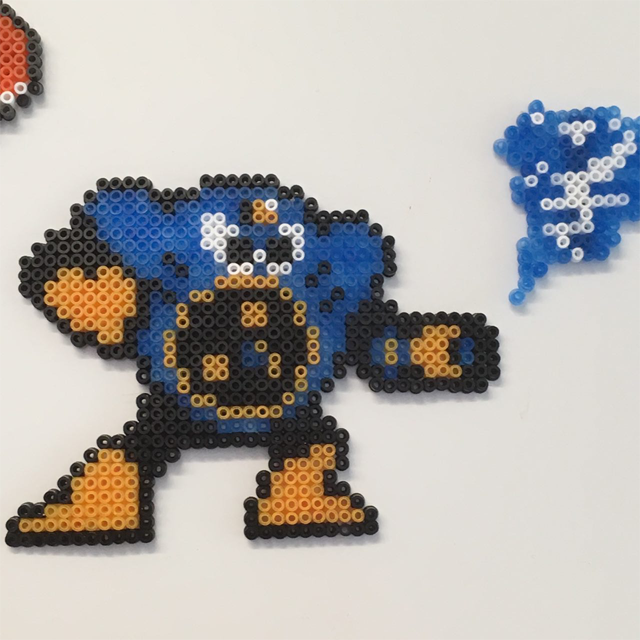
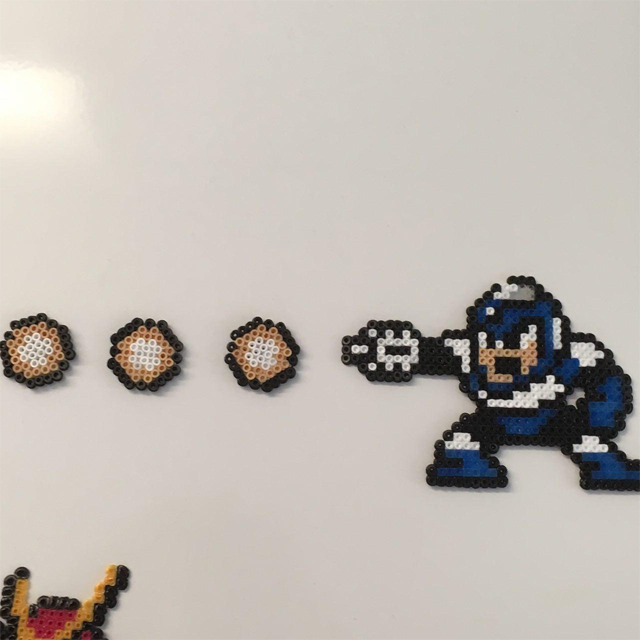
Bubble Man
Definitely one of the cooler robot master, in our opinion. He uses the transparent Bubble Lead. Unfortunately he's missing his weapon (it's easy when it's transparent..). However, you can find the sprite here: http://rpg.megamanpoweredup.net/database/abilities/bubble-lead
Colors Needed:
- 501-18 Black
- 501-01 White (Secondary)
- 501-37 Neon Green (Primary)
- 207-19 Clear (Bubbles)
Doctor Albert W. Wily
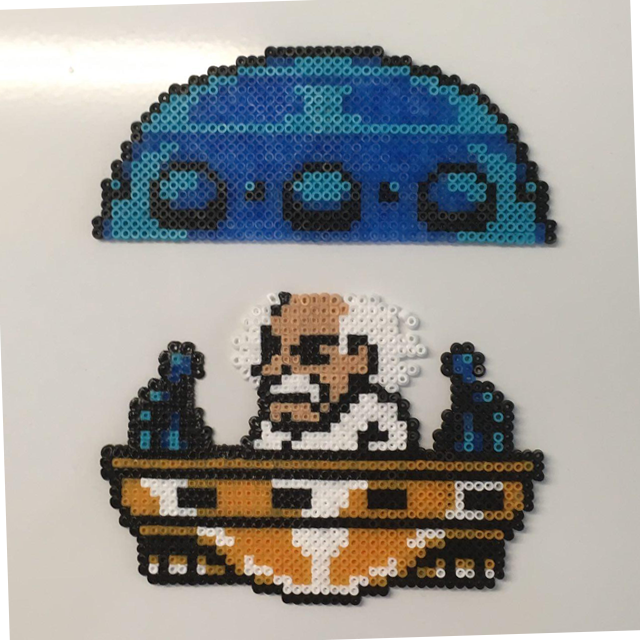
This mad scientist is the big bad of the game. The sprite is actually in two parts (it's quite large) and is taken from one of his more memorable moments.
Colors Needed:
- 501-18 Black
- 501-01 White
- 207-02 Cream
- 501-36 Neon Blue (Primary, Top)
- 501-49 Azure (Secondary, Top)
- 501-60 Teddy Bear Brown (Primary, Bottom)
What you need!
Here's some advice on how to get started (besides getting the various colors).
Step 1: You need a pegboard
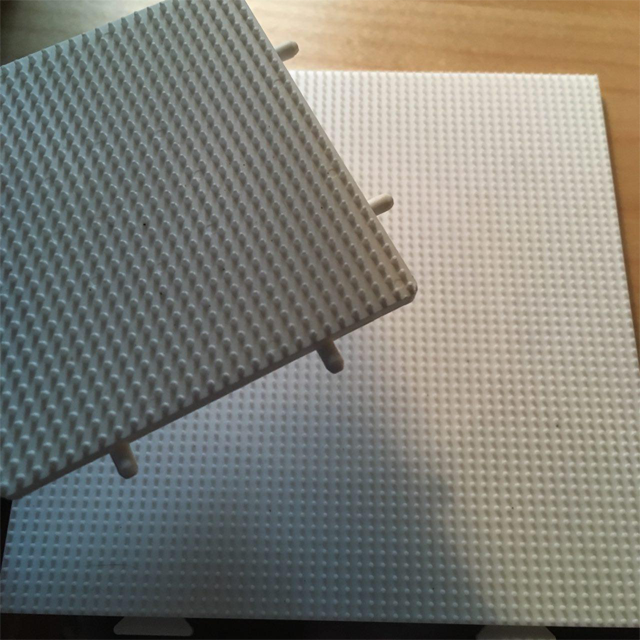
First of all, you'll need a pegboard. These come in different sizes. I prefer to have one bigger and one smaller (for convenience). Remember to count how many pixels you need for each direction before you start building the sprite. This will ensure you'll have sufficient space to complete it!
Step 2: Print the artwork for convenience

With the help of the images provided in this post, you should be all set to make some robots masters. But to make other sprites, this method lets you relax and do the work away from your computer screen. This is good since each sprite may take a while to puzzle together. What I did here was to first download an image from a sprite resource Online to my computer. I then opened it in Photoshop (with a transparent background). I added a nice background color to the sprite to make the colors pop as much as possible. Then I zoomed in (the grid will appear if you zoom enough and have the right settings). I then took a print screen of the zoomed in image and physically printed that image. Voila!
Step 3: Prepare a box for your Mini Beads
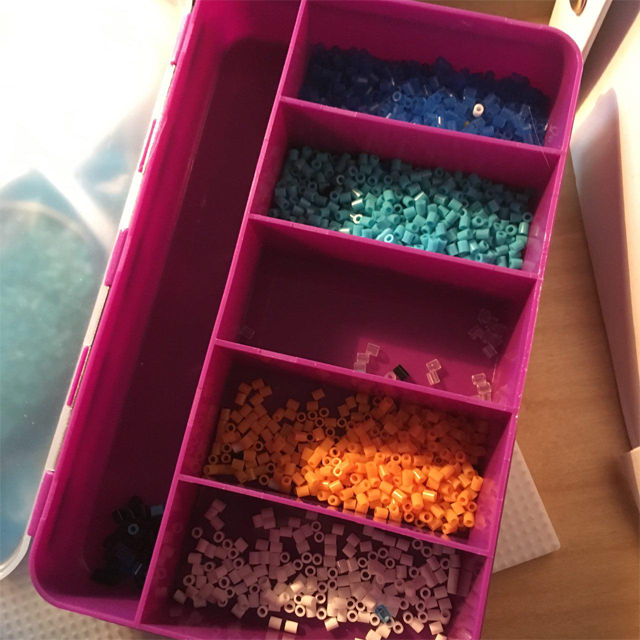
This can be really really useful. Makes things quicker if you sort out beforehand each color for the sprite you wish to make.
Step 4: Put the box in a box
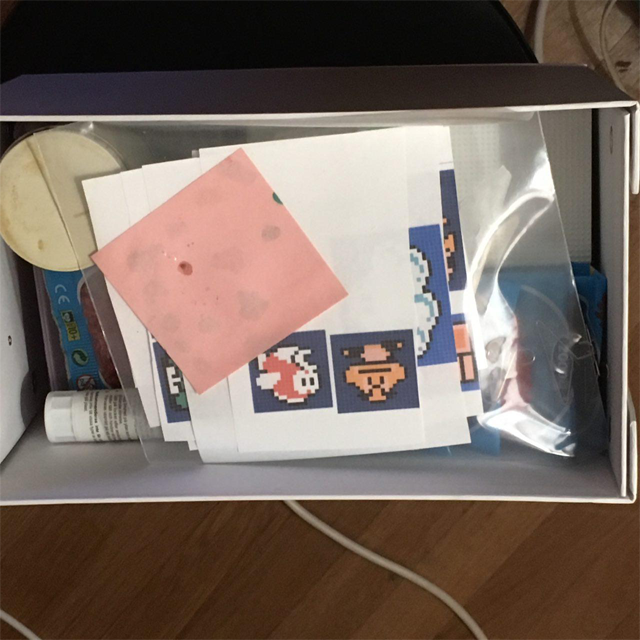
Keep everything in one place so you always know where to find whatever you're looking for. :-)
Step 5: Iron it!
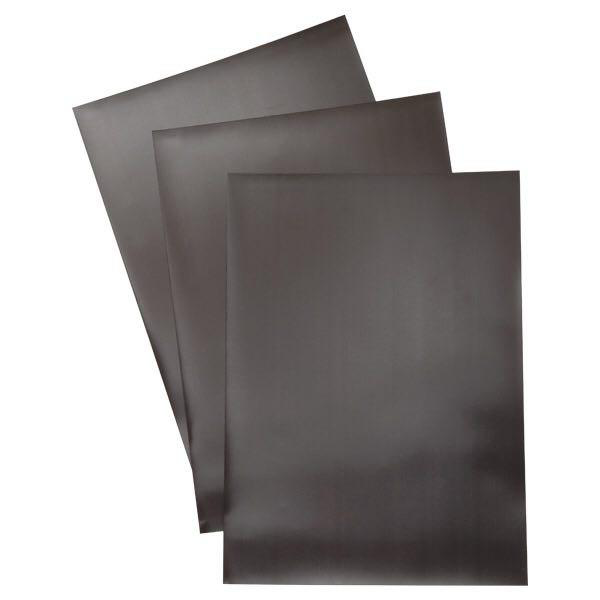
This is the last step in the process. Add a magnet (if you like) and carefully iron the sprite so it sticks together. We use a 1mm thick cuttable magnetic sheet found in most craft supply stores. Be very careful with the pegboard before you do this..and avoid cats until then. :3
Reference List: Colors Used
- 501-18 Black
http://www.hamabeads.com/black-mini-beads-7461 - 501-01 White
http://www.hamabeads.com/white-mini-beads-7381 - 207-19 Clear
http://www.hamabeads.com/clear-5681 - 207-02 Cream
http://www.hamabeads.com/cream-5551 - 501-20 Reddish Brown
http://www.hamabeads.com/reddish-brown-mini-beads-7481 - 501-29 Claret
http://www.hamabeads.com/claret-mini-beads-8221 - 501-36 Neon Blue
http://www.hamabeads.com/neon-blue-mini-beads-8291 - 501-26 Flesh
http://www.hamabeads.com/flesh-mini-beads-7491 - 501-49 Azure
http://www.hamabeads.com/azure-mini-beads-9551 - 501-37 Neon Green
http://www.hamabeads.com/neon-green-mini-beads-8301 - 501-60 Teddy Bear Brown
http://www.hamabeads.com/teddy-bear-brown-mini-beads-9521 - 501-00 Mixed Mini Beads
http://www.hamabeads.com/2000-mixed-mini-beads-7371
Final Words
I hope you found this post useful and/or interesting! Let me know if you want to read more posts like this. Thanks for reading!

