Syntax highlighting in Nano
I'll preface this by stating that I'm not a programmer or coder, but I do someday hope to be able to build some scripts that I'll be able to put to use on the exchanges and do some auto-trading for me. I have dabbled a bit in some code, although not fully written anything on my own yet. I ran an altcoin mining pool for a while, superninjapool.tk, and its given me a very small glimpse of what I can create with code, so when time allows I try to learn something new.
I know a lot of the experienced coders would probably frown on the use of Nano as a text editor, but I personally think its a great place for a new coder to start, as its very simple to use, although I'm fully aware that something like vi is much more "powerful."
One of the first things I did when I started getting into running the mining pool was start enabling syntax highlighting within Ubuntu's default terminal. In my humble opinion, this helps keep the code so much cleaner and is much easier to read. So, lets learn how to enable syntax highlighting in Ubuntu.
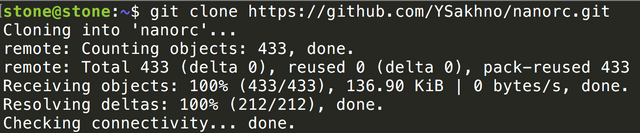
- In your terminal clone this repo: https://github.com/YSakhno/nanorc by typing:
git clone https://github.com/YSakhno/nanorc.git
your output should look something like this:
- Open the newly cloned directory by typing:
cd nanorc/

- Once you are in the nanorc directory you can install it by typing:
make install
It should only take a few seconds to complete this step and it will spit out a list of what its installing. This process will install the required definitions for syntax highlighting inside the~/.nano/syntax/directory. - In order to enable syntax highlighting for all of the included programming languages you need to create the hidden nanorc file. We'll do this by opening a new file using the name
.nanorcby typing:
nano ~/.nanorc - You should now have a blank Nano document that you can edit. To add syntax highlighting for ALL programming languages included in the repo you add
include ~/.nano/syntax/ALL.nanorcto the document. You then save it by pressing "Ctrl+X" then "y" to save, then "enter." Do not change the path of the .nanorc file during this save process or syntax highlighting will not work.
If you'd prefer to only have syntax highlighting for specific programming languages you can add each one individually by adding a like for each in your ~/.nanorc file. They would look something like this:
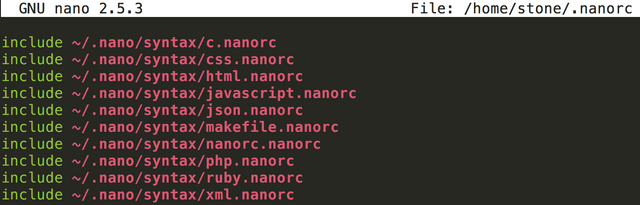
I personally prefer to have some kind of notation about each one so that I can stay organized rather than have a huge list of included syntax. You can do this by using nothing more than ## to add a note to a line. It might look something like this:
##C/C++
include ~/.nano/syntax/c.nanorc

##CSS
include ~/.nano/syntax/css.nanorc

##HTML
include ~/.nano/syntax/html.nanorc

##JAVASCRIPT
include ~/.nano/syntax/javascript.nanorc

##JSON
include ~/.nano/syntax/json.nanorc

##MAKEFILE
include ~/.nano/syntax/makefile.nanorc

##NANORC
include ~/.nano/syntax/nanorc.nanorc

##PHP
include ~/.nano/syntax/php.nanorc

##RUBY
include ~/.nano/syntax/ruby.nanorc

##XML
include ~/.nano/syntax/xml.nanorc
You can view all of the languages that can be included in your ~/.nanorc file in this directory: ~/.nano/syntax/ And you can most certainly edit them to your liking.
Enjoy!
Upvoted
nice one @stoner19