Devil Gundam: Thigh Scratch Building [Leg Modification - Part 16]
Hi guys!
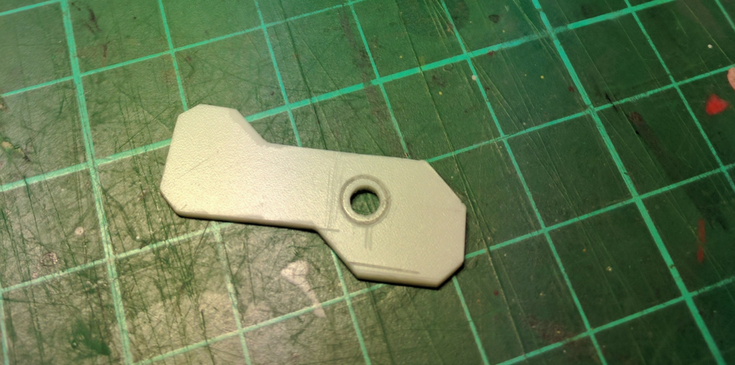
Today I will start building the thigh based on the connector I finished yesterday. So here are updates on Project Devil Gundam!
Today I will start building the thigh based on the connector I finished yesterday. So here are updates on Project Devil Gundam!
Test fit
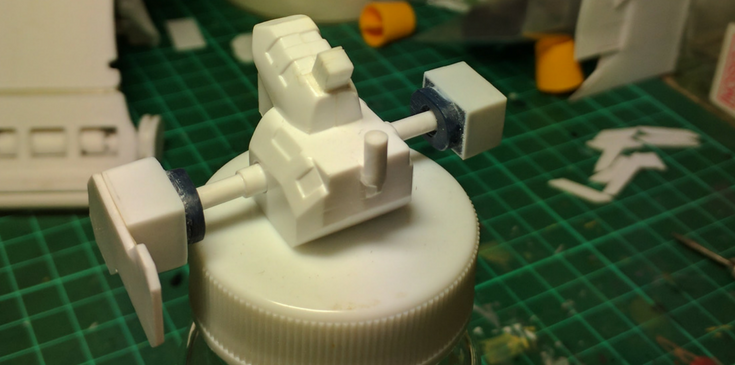
The idea is very simple. The connector I finished yesterday will be the inner support for the thigh.
And I will cement the pla plates I've prepared previously for making the thigh to the connector.
And I will cement the pla plates I've prepared previously for making the thigh to the connector.
Manual drilling
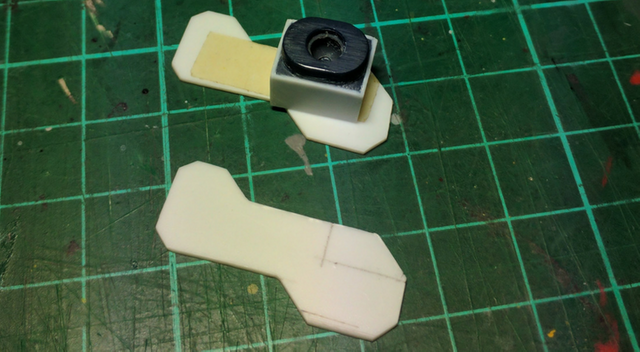
I need to make a hole on the other side of the thigh in order to make the connector to work.
So by using simple measurement I can pin point where the hole should be. Then start drilling from there and check if the hole is properly align every time.
So by using simple measurement I can pin point where the hole should be. Then start drilling from there and check if the hole is properly align every time.
Start with the smallest size of drill
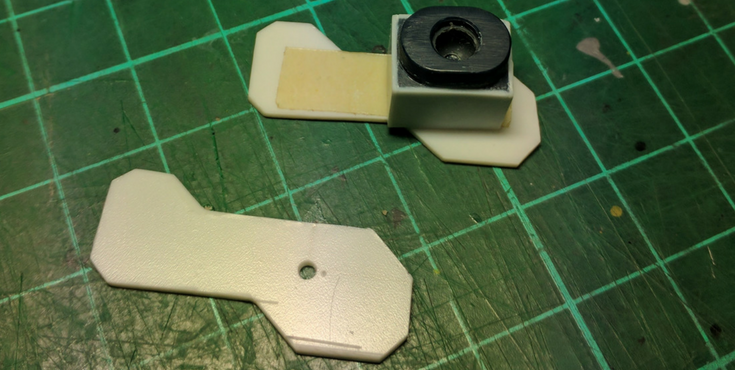
As usual I start by marking the spot using scribing pen so the drill will have extra grip.
Then using the smallest drill size I have, I started drilling the hole.
And since I don't to redo this later, I check if the middle of the new hole is properly align with the center of the polycap.
Then using the smallest drill size I have, I started drilling the hole.
And since I don't to redo this later, I check if the middle of the new hole is properly align with the center of the polycap.
Drill up to the biggest size possible
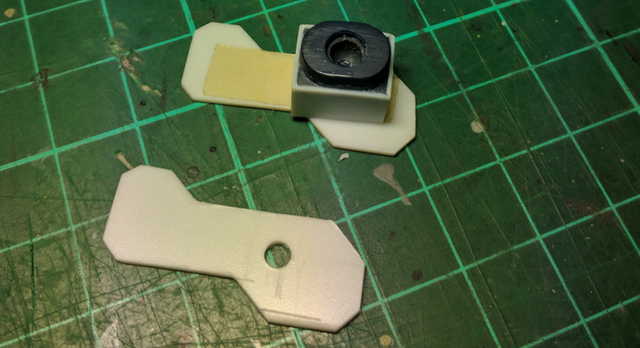
I've used the biggest drill bit size I have but the hole still not big enough. So the next size with be manually filed.
Also, I didn't forget to check if the hole and the polycaps were properly align.
Because when you increase the drill bit and doing it by hands you might slightly shift the center of the hole.
Also, I didn't forget to check if the hole and the polycaps were properly align.
Because when you increase the drill bit and doing it by hands you might slightly shift the center of the hole.
Manually drilling hole
Using a circle template I scribed a bigger circle around the hole.
I tried to get as deep as possible and finish the rest of the hole using file instead of the scribing pen itself.
Because scribing pen isn't the best tool to cut through a pla plate, specially thick one like this. So I will mark where the actually circle should stop and manually file the circle later.
So this is my updates for today on this Devil Gundam x Neue Ziel Project.
Keep on building! Keep on steeming! Have a nice day!
Quick access tutorial:
- Fixing broken peg using gunpla runer and several tools.
- Fixing holes using cement and plastic scraps.
Sneaky Ninja Attack! You have just been defended with a 1.43% upvote!
I was summoned by @devytan. I have done their bidding and now I will vanish...
woosh
A portion of the proceeds from your bid was used in support of youarehope and tarc.
Abuse Policy
Rules
How to use Sneaky Ninja
How it works
Victim of grumpycat?
You just planted 0.38 tree(s)!
Thanks to @devytan
We have planted already 6772.42 trees
out of 1,000,000
Let's save and restore Abongphen Highland Forest
in Cameroonian village Kedjom-Keku!
Plant trees with @treeplanter and get paid for it!
My Steem Power = 22179.17
Thanks a lot!
@martin.mikes coordinator of @kedjom-keku