Learn with steem || Art || Hand-made fan || By @muhammadfarhan78

Hello Steemians!
How are you? I hope you are all well and have a good life.Today I will teach you to make a hand fan within 5 minutes.
Follow the below steps to make a hand fan.
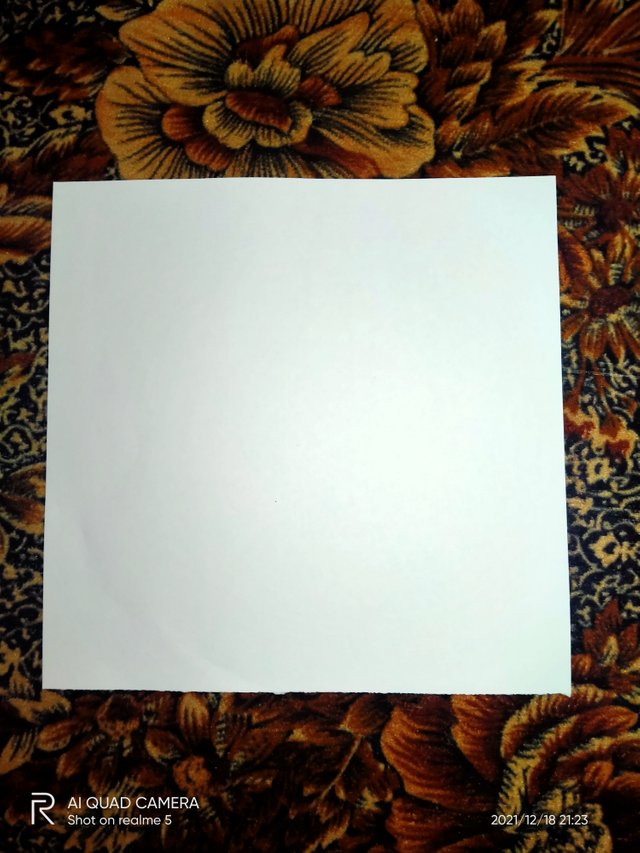
step 1:
Choose your paper to find the size and color of your fan. You can use plain blank paper or card stock, as long as it is the right thickness.
• Empty copy paper is used in many origami styles for beginners. When selecting copy paper, look for a smaller option as it will fold and fold well, and the thicker version will have lumps and may not be visible after folding.
• Card-stock, or paper craft is another popular paper wrap option. The advantage of card stock is that it comes with endless amounts of shapes, and colors; However, sometimes it can be very thick and strong which leads to cracks inside your design.
• The best way to determine if the paper is thick is to try a few quick folds. If the paper does not have the same crease, smoothness or tear under the pressure of your wrap, it is probably too big for origami.
step 2:
Place the paper on the floor on one side. It should be the back-side, the other side facing you.
Step 3:
Fold down the top edge every one of the three. Think of wrapping it like a hot dog belt; you want to wrap around the long edge to produce a long, strong wrap. Arrange your upper corners on the sides of the paper to ensure a straight wrap, then fold from the center to the outside.
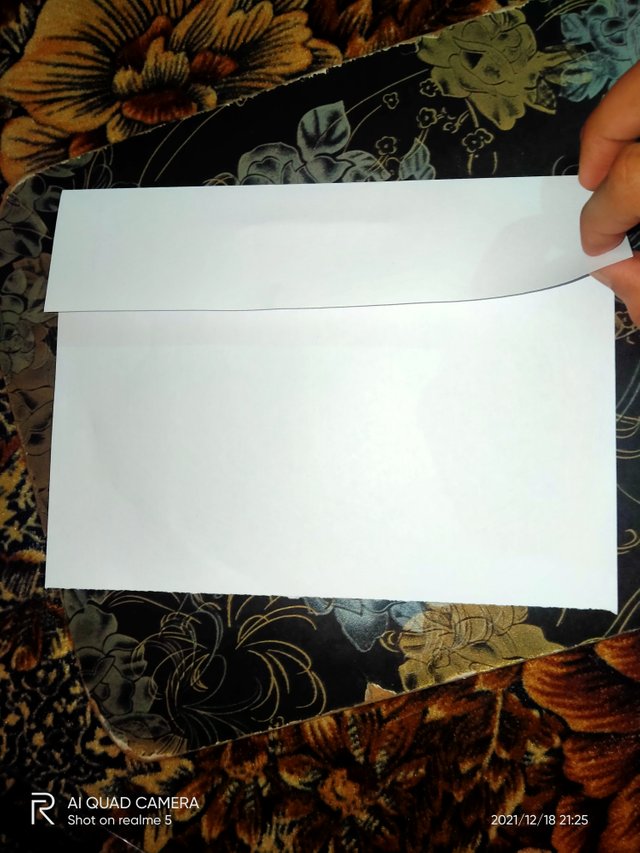
• With the folded paper closed, you can use your fingers to set the crease by pressing it down directly with your fingers.
• Select folded paper and view its profile. Note the “V” shape in the fold. This is called "valley fold."
Step 4:
Fold the paper in half, vertically, and keep your first roll from the previous step. You want to create a second "hamburger fold". That is, you want it to be shorter and wider, like a hamburger strap (compared to long and thin, hot dog fold.) Fold the left side of the paper to the right, align the corners and cut from the center to get the hot dog fold. even the valley, then open the kraal again. Now you will have a sharp straight crease in the middle.
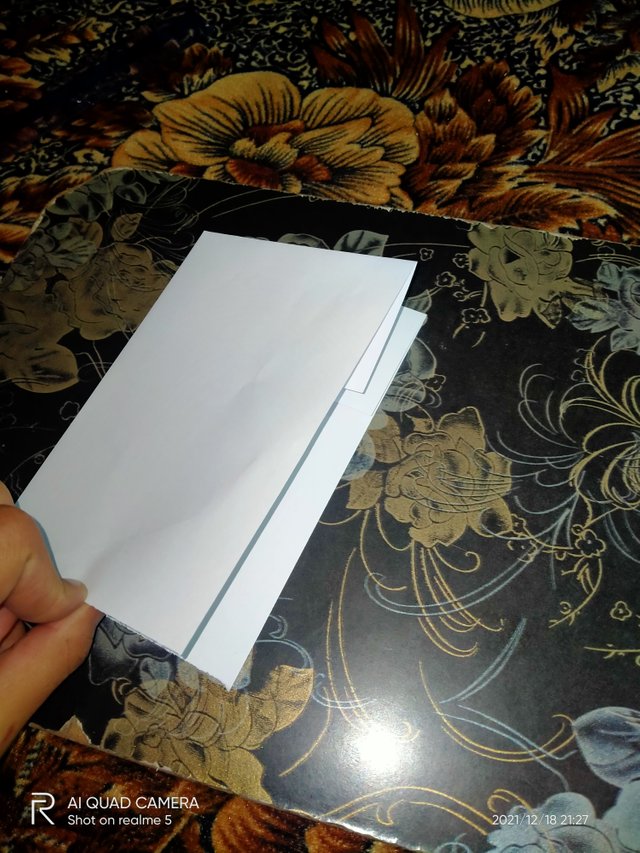
Step 5:
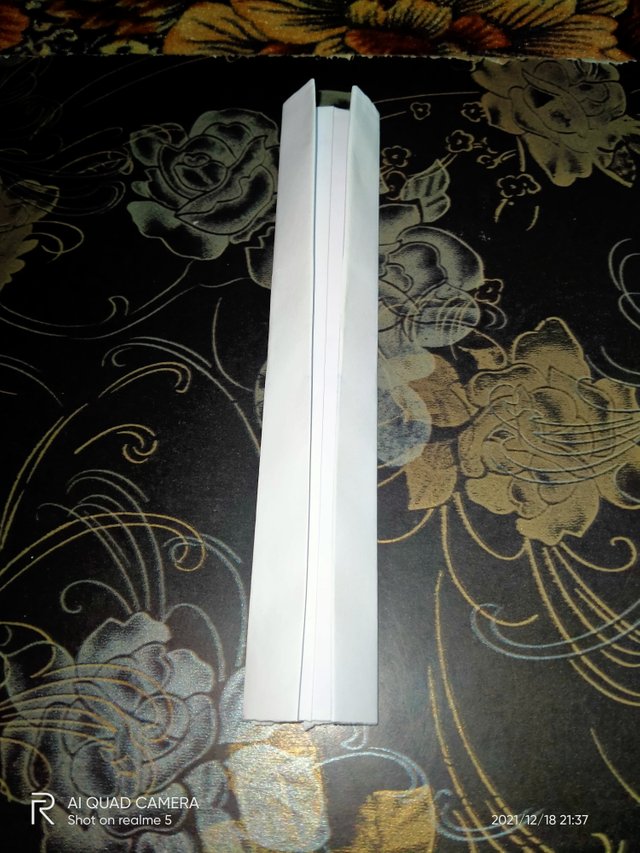
Fold the left and right edges in the middle. You want to make the two straight flaps meet in the middle, not overlapping. This is called "gate wrapping." Think of it as two closed doors that meet in the middle, like a gate.
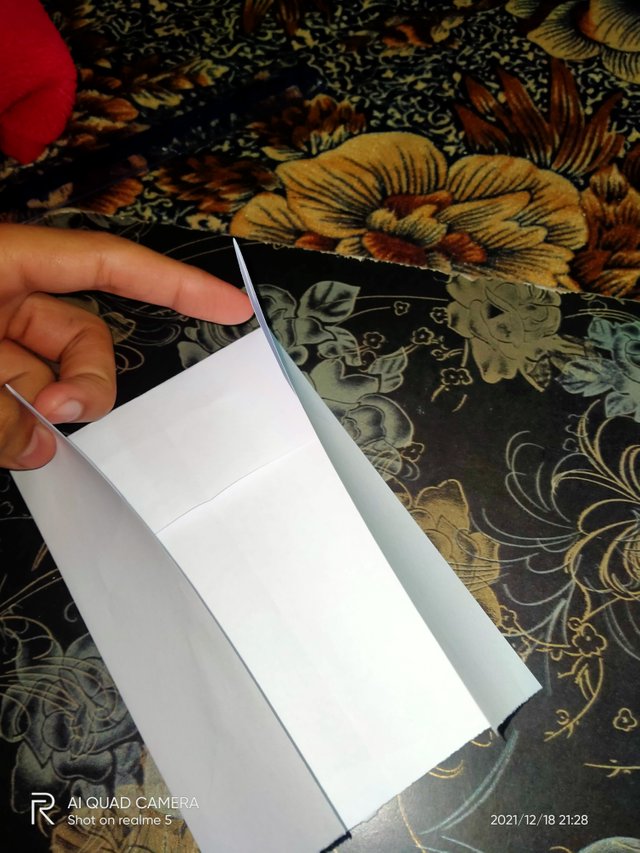
Step 6:
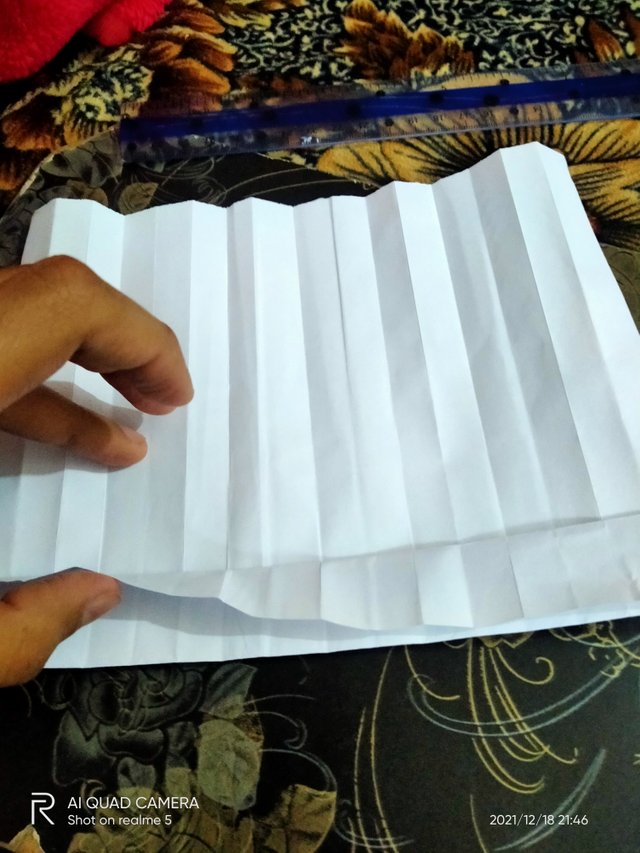
Continue to make vertical gate bars. Fold two straight edges twice over, or until you have two folding flaps inside about 1 cm or 0.5 inch wide. The sides will be folded over them, forming two small flaps. Make sure your wrap is straight with sharp creases in each step.
Step 7:
Open all pre-made direct folders. Be gentle when you reveal to prevent you from breaking through your hard work. Now you will have a few straight creases. Each crease should be 1 cm wide. Do not unravel the horizontal fold from step two.
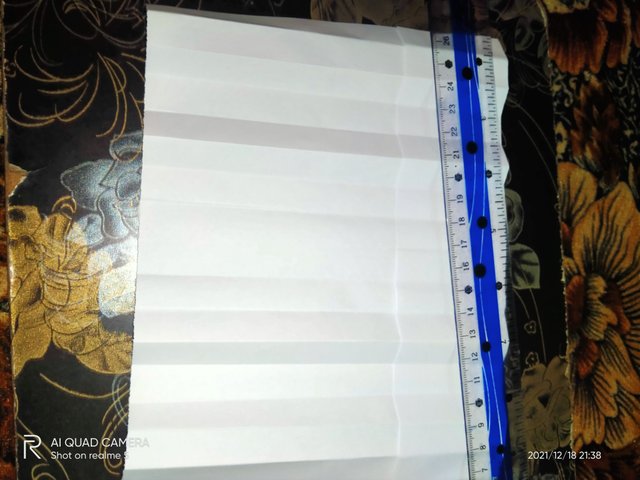
Step 8:
Rotate the paper at 90 degrees. Folding from step two will be running to the left. Now the previously vertical creases are horizontal.
• Depending on which hand is controlling you, it may feel more comfortable to have your right vertical fold right. Try to put your paper in a fold on each side, and see what feels comfortable in the next steps.
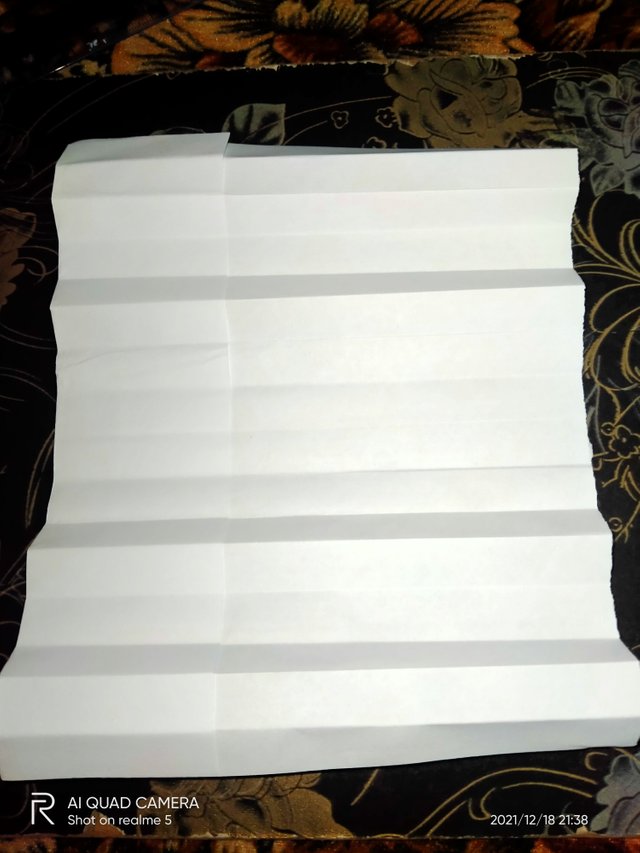
Step 9:
Make a single hole wrap near the lower crease. To start at the bottom, repeat the horizontal border facing upwards. From a separate profile, the wrap should be in a “V” shape. Do not forget to keep your edges in order to create precise, orderly wrapping.
Step 10:
Fold the bottom edge to the outside near the next crease. Grab your previous wrap and cut out the bottom of the paper. This is called a "mountain fold." From a separate profile, the top of the mountain will be higher, relative to the lower “V” curve.
• From the bottom of the paper there should first be a district kraal, and in addition there will be a mountain kraal.
Step 11:
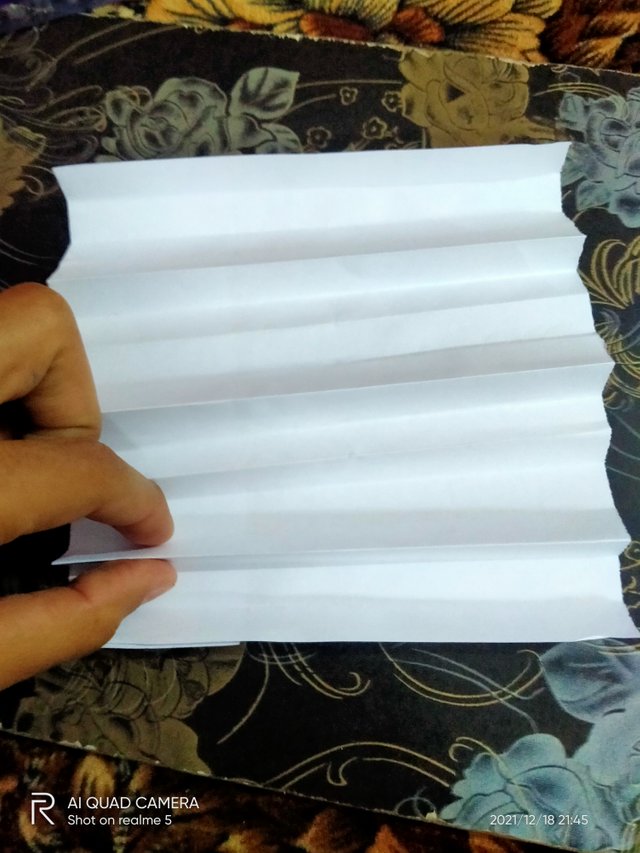
Repeat the rotation with the remaining horizontal creases. Fold the valley, then the mountain, then repeat. This series of folders is like an accordion. Soon you will begin to see a pattern in your wrap.
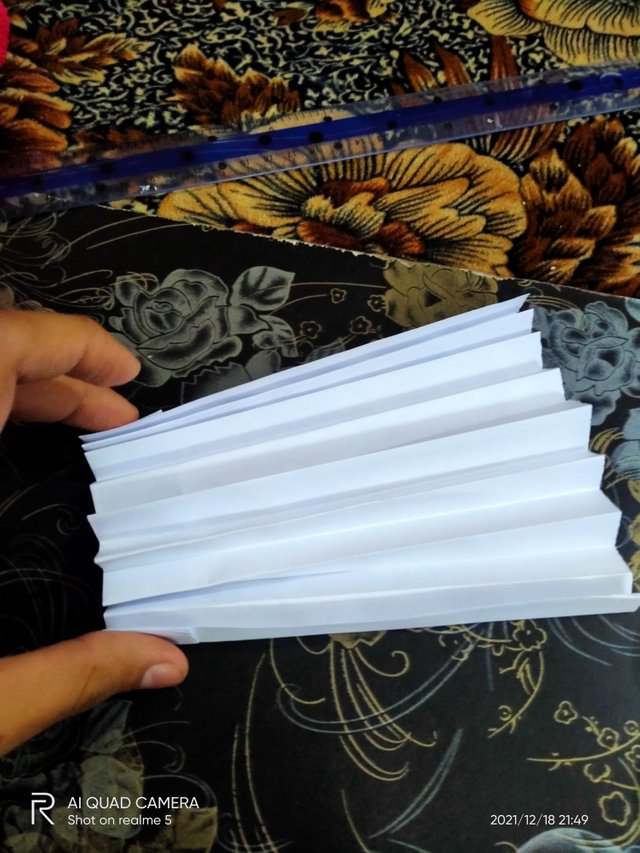
•If you have made a mistake, be patient and keep trying. It may seem difficult at first, but the process will seem simple after the first few attempts
Result:
As a result, You will become a beautiful fan.
God bless you 🙂🙂
Hi, @muhammadfarhan68
Thank you so much for sharing your post at #steemit-graphics community. We are extremely happy to see your post.
Thank you so much for make a good post about #art please try to make it more creative tutorials.
Thank you and InshAllah I will follow your instructions...
Thank you for contributing to #LearnWithSteem theme (#learnwithsteem , #tutorial, and #lesson). This post has been upvoted by @tucsond using @steemcurator09 account. We encourage you to keep publishing quality and original content in the Steemit ecosystem to earn support for your content.
Regards,
Team #Sevengers
Thank you.
inshAllah I will follow your instructions.