"[CONTEST] My Skill is My Power || Season-13 by @bossj23
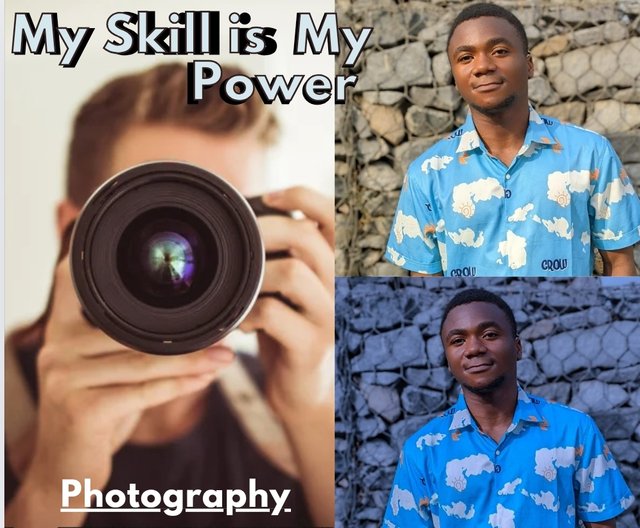
edited using canva
In the life of every man, there must be a captured moment he'll live to remember. I wasn't a huge fan of keeping moments talk more of capturing it not until I got into steemit. Steemit really changed my personality and exposed me to some skills that may literally be useful for me.
As it stands, I don't regret anything I learn from steemit. Steemit taught me why it's essential to capture moments with a good camera and enhance that moment by editing it. The skills I derive has now become my power as I'm going places with it. I'll be posting new versions of my captures every week.
Photographing/Editing Skill |
|---|
This photographing skill is a skill I've learnt to cherish with my life. I barely stay a day without captures worst of all, going to a place without it. Photographing is not about taking random pictures just as content writing is not just about writing randomly or casually. You must add details to it and the following are ways I added details to my photograph.
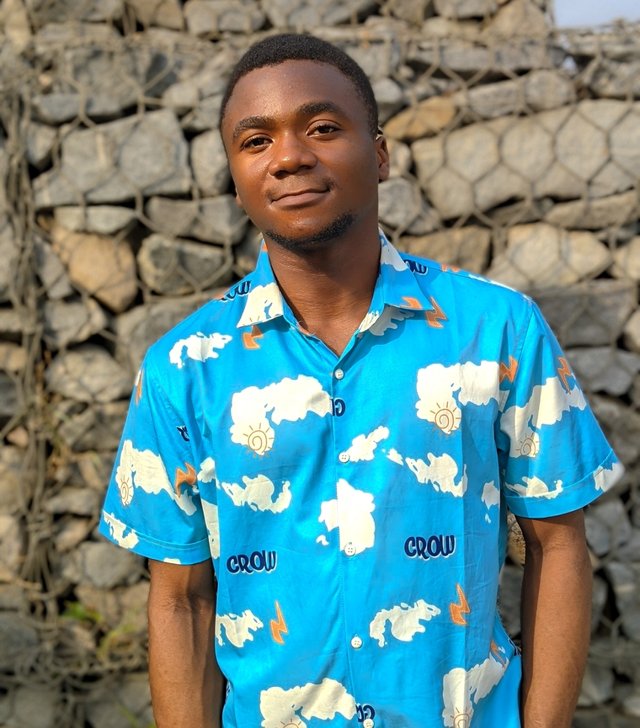
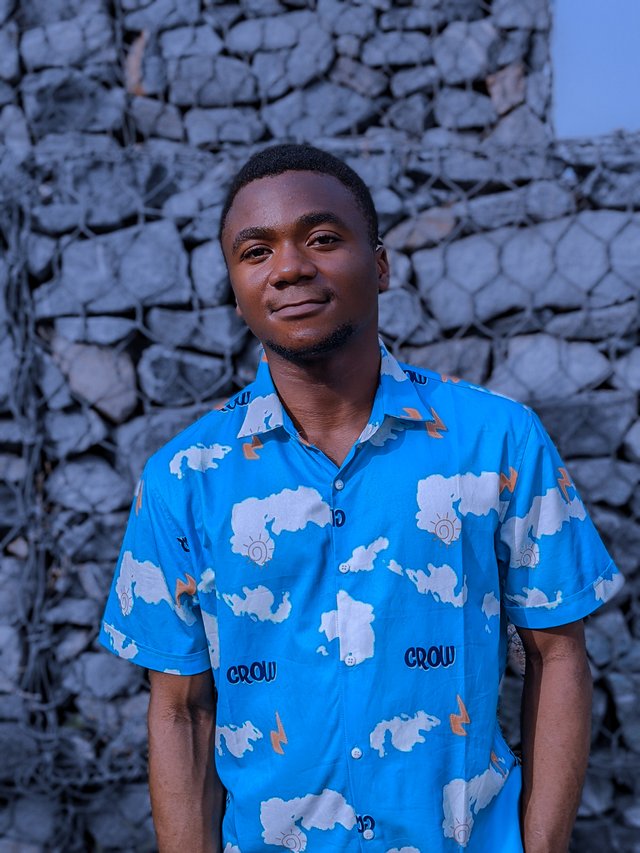
Ohkay, this was actually a birthday photo of a guy who hired me to give him some shots with his brother. The picture was taken in the evening of a Sunday.
| Location | Location |
|---|---|
| Photographer | @bossj23 |
| Device | Redmi Note 12 pro |
| Back view | 50 MP |
| Editing app | Lightroom |

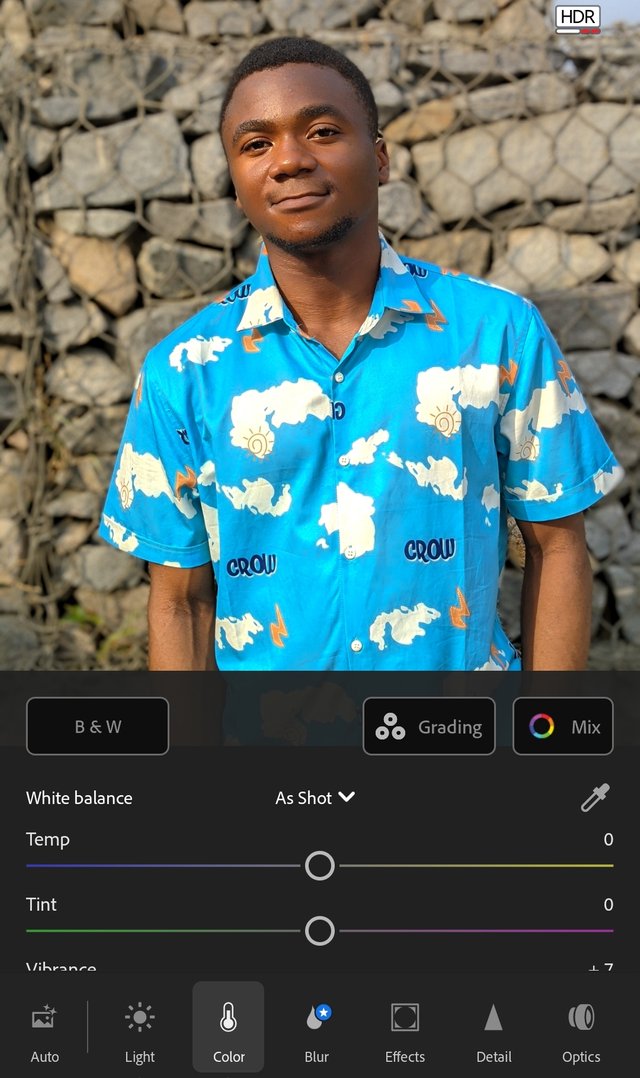
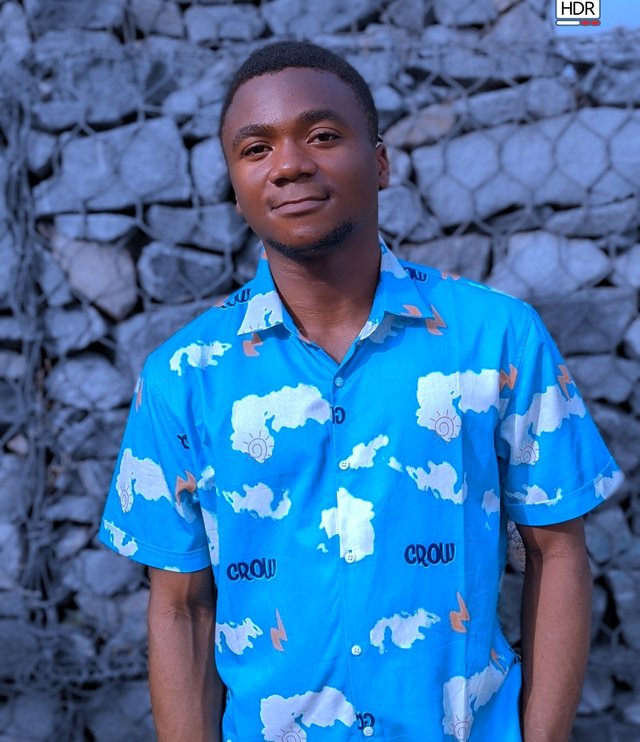
So the picture below is one of the many I took that day....As an editing lord, this is how I edited this photo I captured that day using the editing app, lightroom.
Steps In editing the photo |
|---|
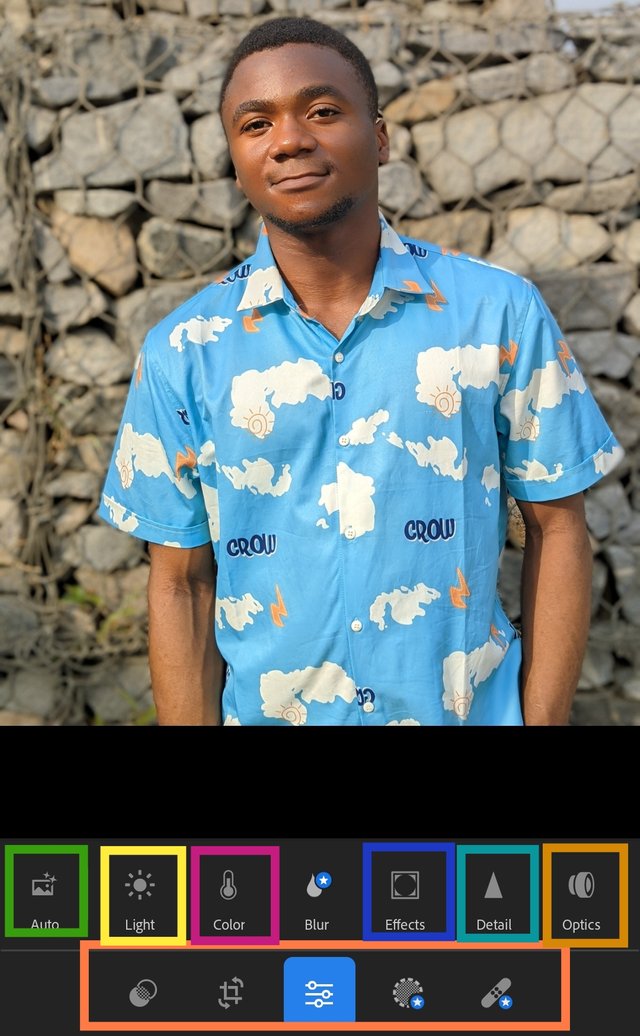
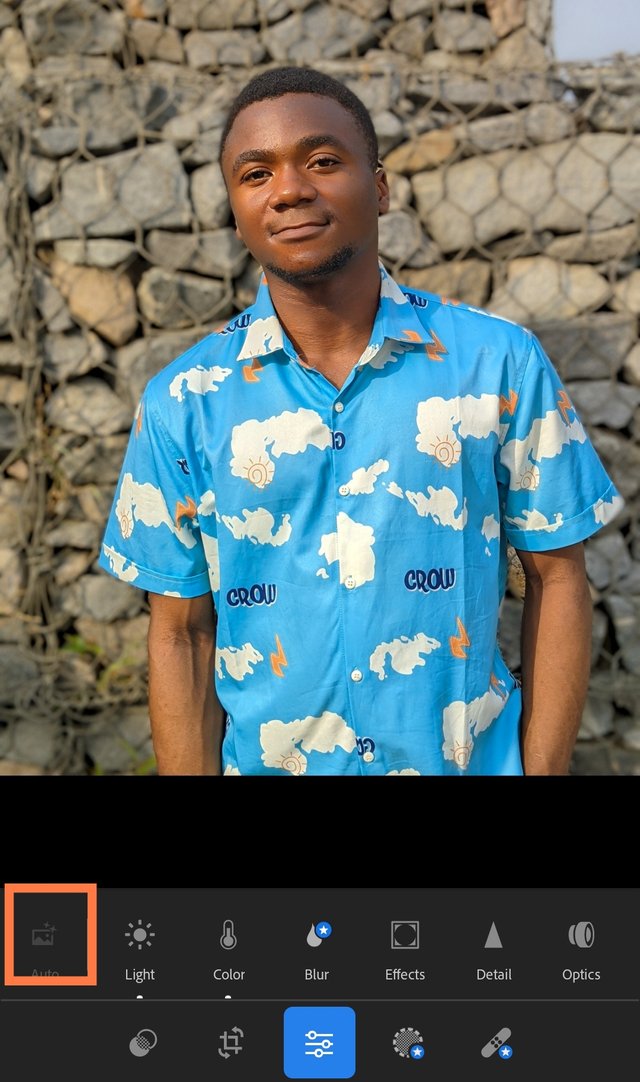
On this editing app, there are 5 icons that are actually visible and used for different purposes. We have the;
- Crop icon
- Edit icon
- Mask
- Preset and the likes.
It's the edit icon I usually use to edit these photos as other features aren't subscribed to. On opening the edit icon, 7 other icons appear which makes it more interesting. The tools for this editing are awesome.
Looking at the picture, it's actually sharp and normal. You can't edit a blurry picture as it would definitely spoil the main picture. In this picture, some defects I have to correct to make it more like are studio picture are;
- Pimples or spots on the face
- Rough surfaces
- The brightness of the picture
- The background and picture length.
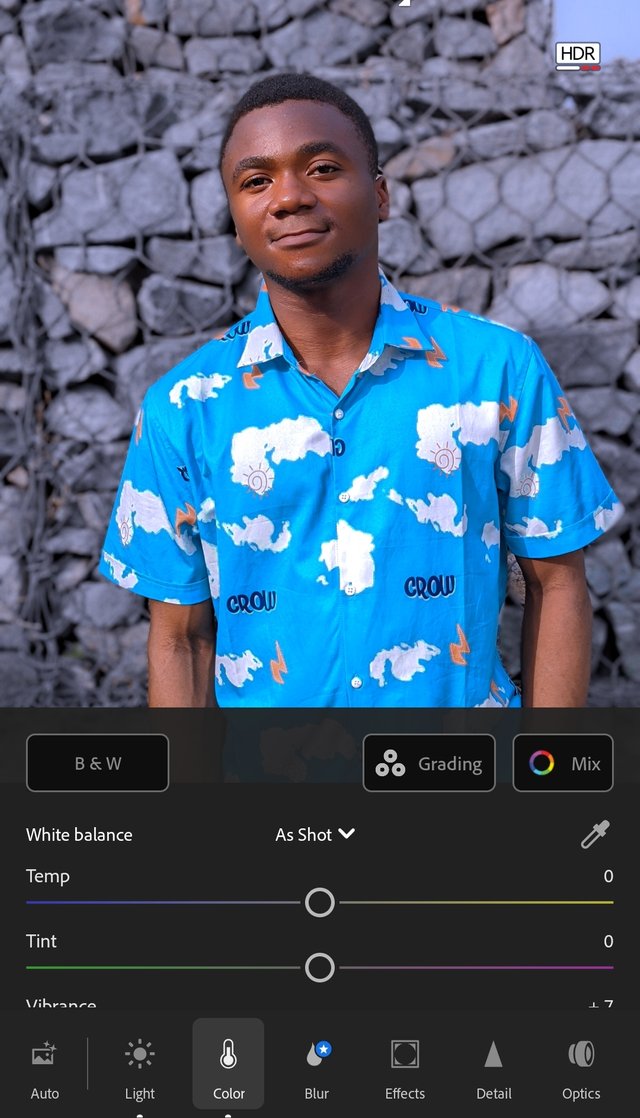
Light
I started out with the light icon. This light icon has other features like brightness, exposure, shadow etc. This is the icon I actually used in editing or reducing the brightness of the photo from this to that as shown here.
 Original picture Original picture | 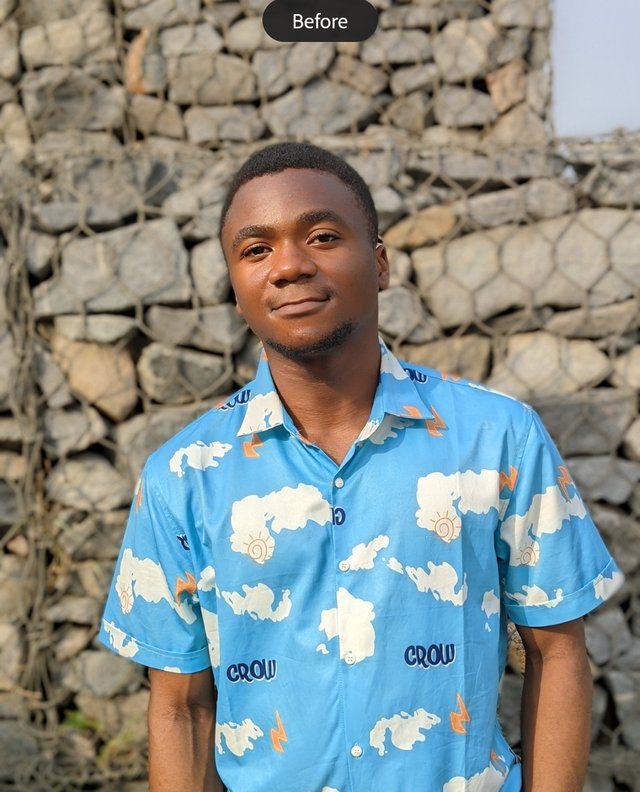 Edited Edited |
|---|
After playing with the sliders In this light icon, I then took to moving to the colour icon as that's where the main editing is.
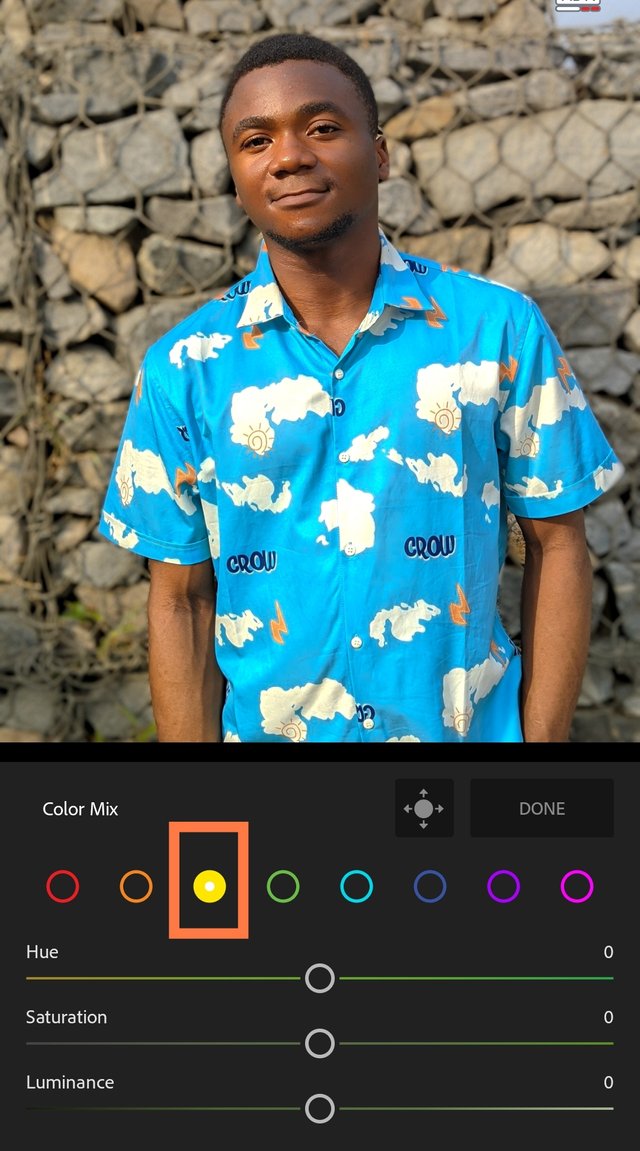
Color Icon
This colour icon has many features in it that can be used to change background, facial expression, skin colour, and other adjustments. If you noticed the original pictures, the background was kind of yellow due to the reflection of the sun which wasn't really my taste. I used the yellow colour icon to change the background of the blocks behind from shinning yellow to grey. This colour blend matches the colour of his clothes.
 |  |
|---|
| Original picture | 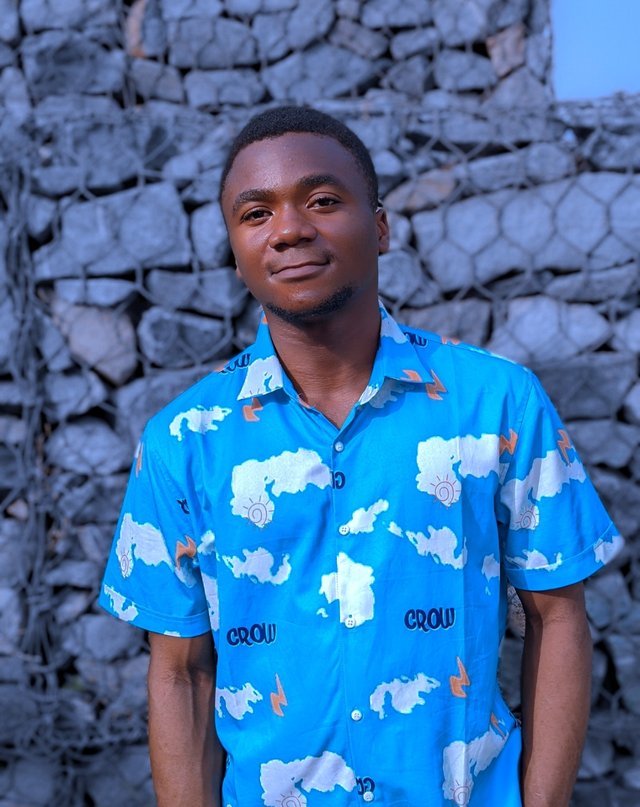 Edited picture Edited picture |
|---|
After using that adjustments, I took to using the blue colour to change the atmosphere instead of the background. I changed the background to blend with the clothes worn and the wall leaned on. If you check out this edit, you'll see the difference between the original picture and edited picture.
Effects icon
This icon is used to bleach the face and skin, removing all spots and rough surfaces. I usually used the first slider under this effect icon which is the texture. I changed his texture to a smooth one. This actually helps improve the quality of the picture. The pictures below shows the before and after effect of applying this adjustments.
| Original | 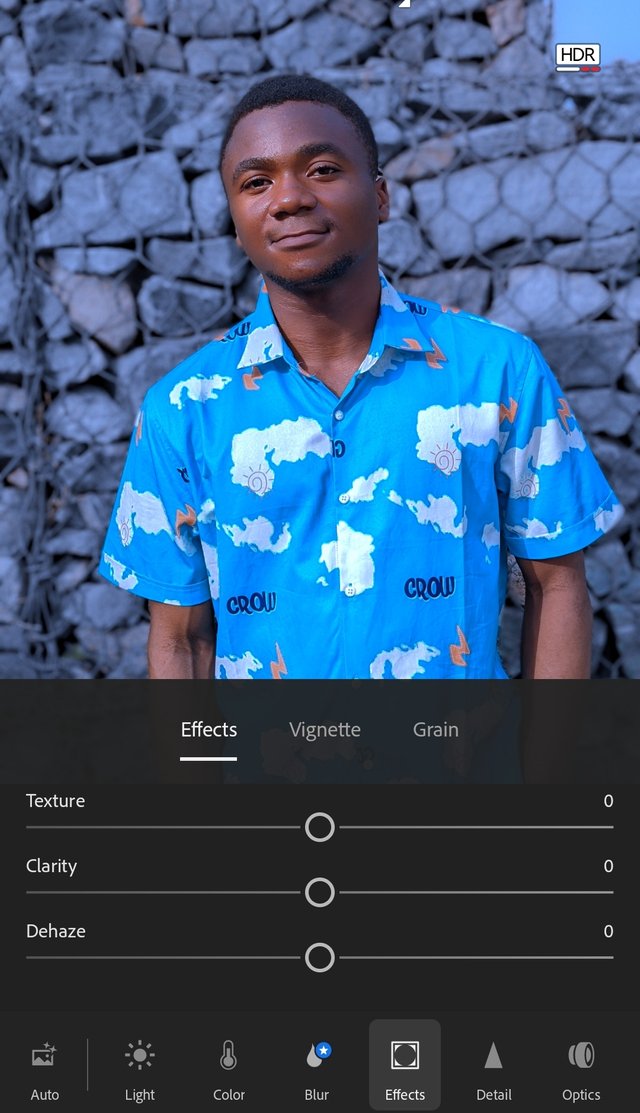 Edited Edited |
|---|
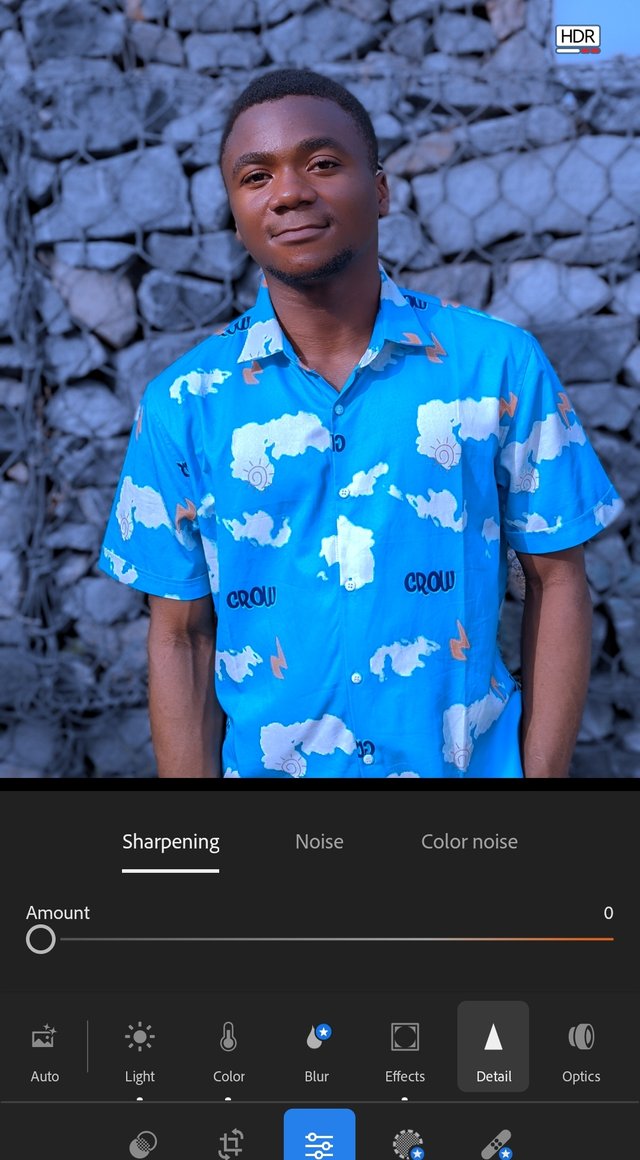
Detail
This detail icon is used to sharpen a picture, making it more visible and clear as the case may be. If you check the pictures below, you'll see the differences between the original picture and the edited one with this effect tied to it.
 |  |
|---|
The outcome will shock you.. I'll love of you can rate my skill in the comment section of this post. There are some mistakes people do make in colour grading and that's the mistake that usually spoil the whole picture. The use of saturation and colours that are unrelated make the picture look too colourful and repulsive. There are some mild colour grading than this. It's just that I wanted a situation where they'll be a blend in the clothes worn and the hirer.
**All pictures are gotten from my
Cc,
@pea07
I Invite @shiftitamanna, @arroise and @whizzbro4eva
Upvoted. Thank You for sending some of your rewards to @null. It will make Steem stronger.
https://twitter.com/bossj23Mod/status/1790048279637475433?t=5cKWR3Gzo4hgDzdExy-xlQ&s=19
Wow you are a pro in your skills I'll love to join this contest I really admires your work through that photos.