💪#club100👍 | How to Crimp Rj45 Connectors

in Steem Infinity Zone2 years ago

Hello Everyone

collage0.png

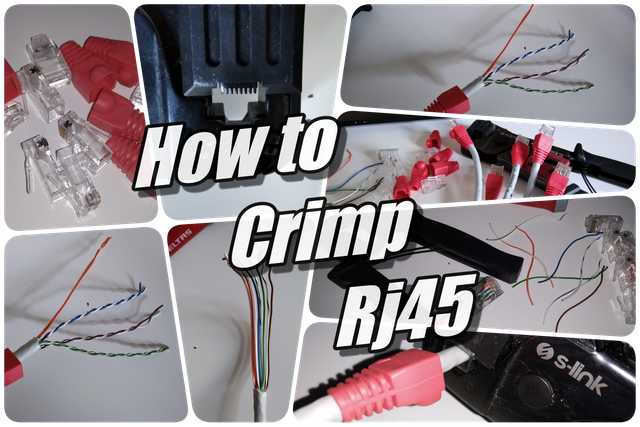
Although most devices connect to networks wirelessly today, it happens with devices that have to be wired. In these cases, RJ45 connectors are used to make the necessary wired connection. They are small square plugs and sockets at the end of the cable. They are generally used for data connections. It is also sold ready-made "patch cord" for short meters. In this post, we will crimp our own connector with the materials we have. I took the pictures at work, while I was crimping the connectors of the cables coming from the switch to my desk.

collage1.png

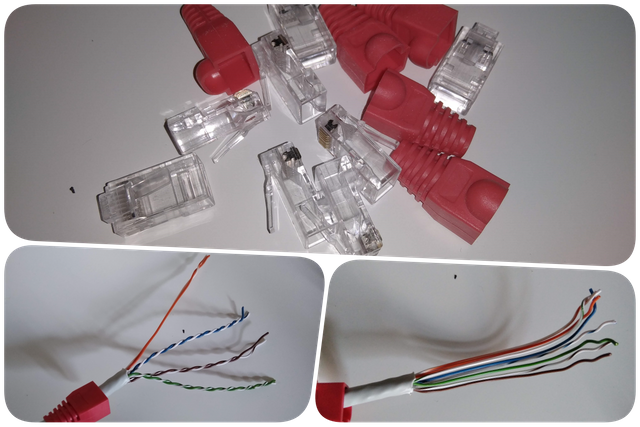
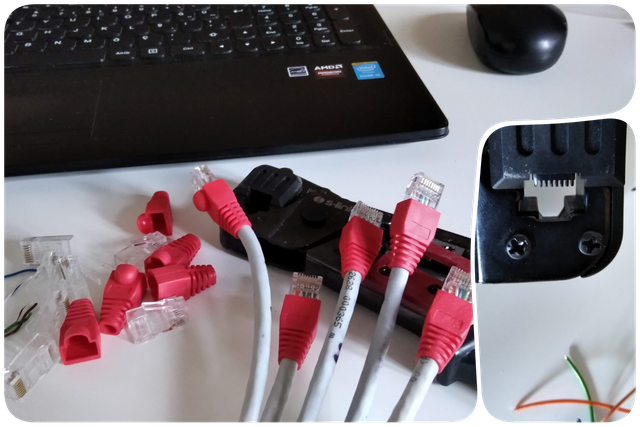
To make our own network cable, we first need the cable, RJ45 connectors, crimping pliers, and finally, if we are going to test, a tester is needed.

STEP 1
First we need to strip the outer insulation of the cable. When cutting the insulation outside for the network cable, it is very important not to cut the thin wires inside. In doing so, we can use the own blade of the crimping pliers. After clamping the pliers on the cable, we peel the insulation by making a full turn. Then we can pull it out without insulation.

STEP 2
After removing the insulation, 4 different colored double wires will be seen inside. There will be 4 solid colors and 4 white mixed colors. The isolation in the plus-shaped core, which separates the 4 pairs from each other, is cut from the bottom and discarded. In total, the bends of 8 wires are separated and straightened.

STEP 3
orange/white - orange - green/white - blue - blue/white - green - brown/white - brown
Straightened strands are arranged in the order above. It should be flat as in the picture.

collage2.png

STEP 4
Now it's time to cut off the excess wires. 8 wires are shortened in one move so that they do not stay short inside the RJ45 connector, but also not long so that it does not overflow. The blades of the crimping pliers are used for cutting. It should be cut straight.

STEP 5
Wires in the correct color order must be pushed into the connector. Leaving the orange color on the left, the side of the connector where the pins are visible must face us in order to push the wires we have listed into the connector in the correct position. That is, the tab of the connector should stay down. Keeping it straight, it will go all the way under the pins by slowly pushing the wires in.

STEP 6
At this stage, it will be ensured that the wires under the pins are locked with the pins. Crimping pliers should be used for this. It has teeth with protruding mouth corresponding to the pins. In this way, metal pins are crimped without damaging the plastic of the connector.

collage3.png

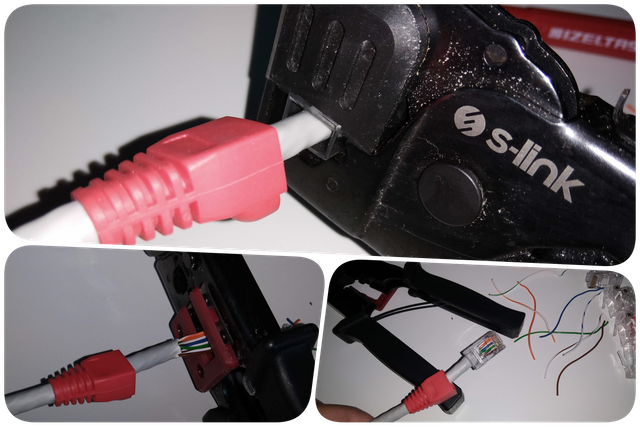
As long as these 6 steps are followed, there will be no problem with the connection. In some cases, when stripping the insulation, the wires are damaged, which causes non-contact and prevents correct operation. There is no photo because I don't use a tester. If you are not sure about the connection, it is useful to test it. Both materials and workmanship are very important for a proper connection. The use of quality connectors and quality nailing pliers will also facilitate the work.

There is also a type of cross-connection, but there is no need to mention it, it is not used everywhere. If we know this color sequence, it will do our job.

I hope this was helpful, thanks for reading.


Thanks for your visit.
💪💪💪Being a member of #club100 has privileged rights.💪💪💪
🙋‍♂‍👇Stay Tuned for my Next Post & Stay Well...🙏
🐬 #clubdolphin 🐬
sbc.png

Sort:  
 2 years ago 

Thank you so much for sharing your great post in our community.

Please read our community guidelines and make your post according to rules and write correct title of your post as mentioned in this post.

Report,

SteemexclusiveYes
Bit BotNo
Club5050Yes
PlagiarismNo
10 % to @ siz-officialNo

I have read what is written in the link, I plan to post regularly from now on. Thanks for the review..

Loading...

Coin Marketplace

STEEM 0.27
TRX 0.11
JST 0.030
BTC 70588.78
ETH 3814.59
USDT 1.00
SBD 3.51