Living Room Forced-Airflow Old-Laptop-Rack Cabinet Build
Living Room Forced-Airflow Old-Laptop-Rack Cabinet Build
Building a Do-It-Yourself server rack, with old laptops as servers, airflow optimization, network and power distribution and low-noise ventilation for use in a living room while completely blending in and looking like a regular cabinet.
Introduction
What a title! Honestly - this is kind of hard to describe but you will get the idea. A few years ago I ditched my Chef-driven, hand-cooked Raspberry Pi farm and went for a more modern solution with less configuration. I wasted so much time trying to automate the software installation, OS maintenance and monitoring everything and yet couldn't perform all the upgrades in time. It was terrible. So I moved to the everything is containerized operating system called "Rancher OS" and stacked those dusty old laptops I had lying around to a 2-server "Rack".
Fast-forward 2 years - everything is running fine and the whole building and shipping happen on my workstation. No in-depth automation needed. When in use, the laptops got very hot and even switched themselves off as last resort. Even though the cabinet has no back wall there was just no good airflow. Leaving the door open did not help as well. Time for a better solution.
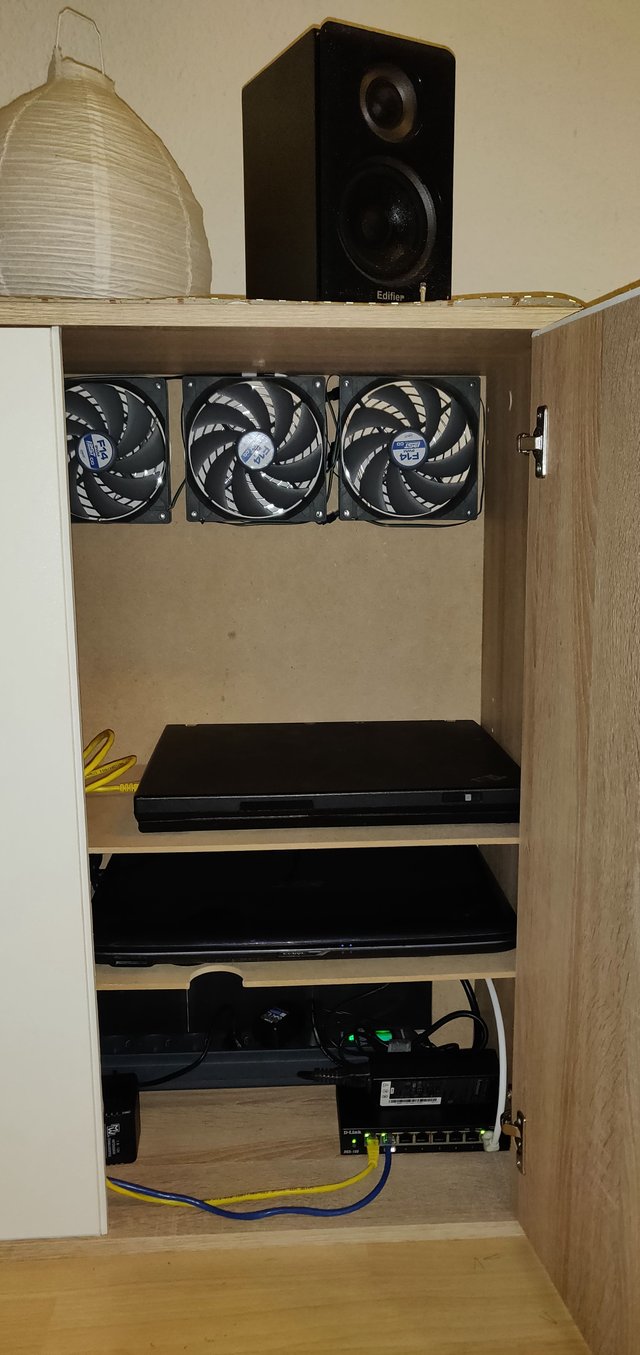
Old cabinet: Over 29 °C with open back and front, laptops on the floor below, remains of the Raspberry Pi farm on the left
Taking measurements
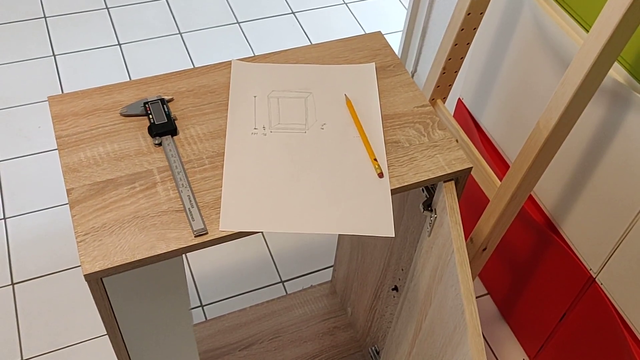
I already have another one of those cabinets which is almost empty. I will transform this cheapo cabinet into a budget-friendly server cabinet. Before firing up the PC I take some measurements of the cabinet to bring it into my CAD software for further planning.
3D Scan The Real Cabinet Into The CAD Software
Jk, it's still 2018 so I have to re-create the cabinet manually using a Computer-Aided Drawing software. Being a complete beginner I heard a lot of good things about Autodesk's Fusion 360 and already happily use Autodesk's EAGLE software for PCB design so I will try this one out. They even let you register for the full version if you use it for non-commercial or low-volume purposes (Start-Up License) without any limits.
3D-CAD/CAM-Software für das Produktdesign | Fusion 360
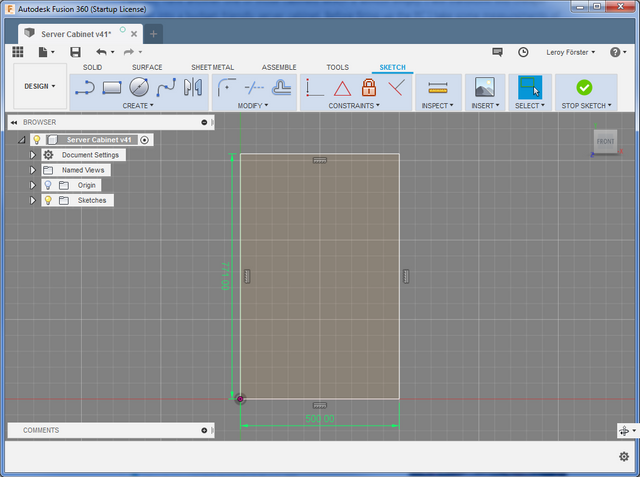
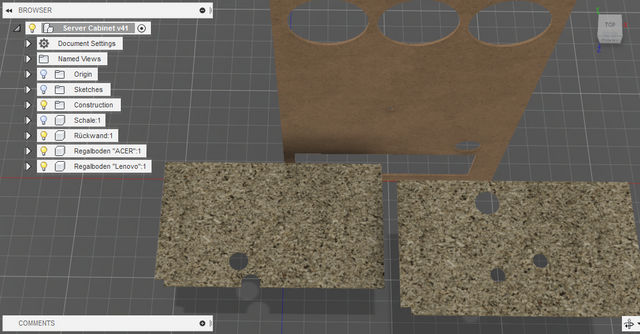
First steps in Fusion 360: Creating the outer shell of the cabinet
Getting around in Fusion 360 is very easy and I did not need any tutorials or help. I'm totally amazed how easy it was. Autodesk has a very very in-depth tutorial series about absolutely everything, so if you feel like it, check it out on the Fusion 360 product page.
I will not cover every step of the creation of the 3D model. If you are interested in how I did the things I did or miss a step, you can inspect, download and change my project, which I released under an open-source license for you.
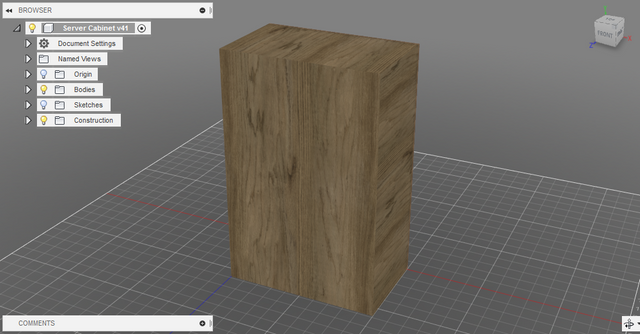
"Extruded" wooden block from the sketch above. Those are the outer measurements of the original cabinet
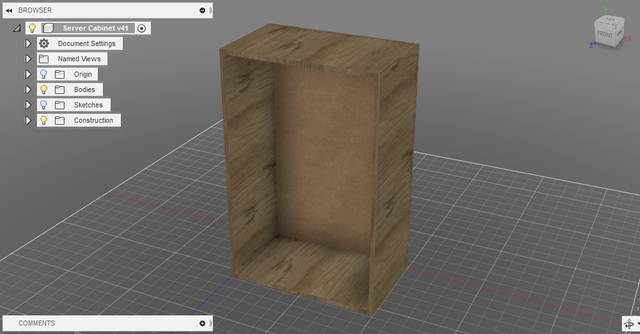
"Hollowed" the block and added a back wall. Thickness of the wood matches the original cabinet
Creation Of The Custom Back Wall And Cabinet Floors
Cutouts for the air inlet. Those have the size of 3 140x140 computer fan filters (only the filters) to reduce dust contamination
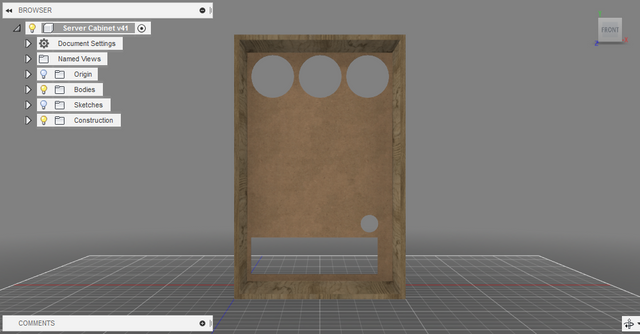
Same for the fan air outlets on top and a cable inlet hole right above the air inlet
Alright. The basics of a server cabinet are there. Let's now get to the really interesting part: Custom cabinet floors for each laptop model. To get the maximum cooling efficiency I will force the air through every air inlet of the laptops. There will be no chance of any heat jam in the cabinet itself and hot, used laptop air will be transported out of the cabinet right away. I have never seen something like this so let's give it a try.
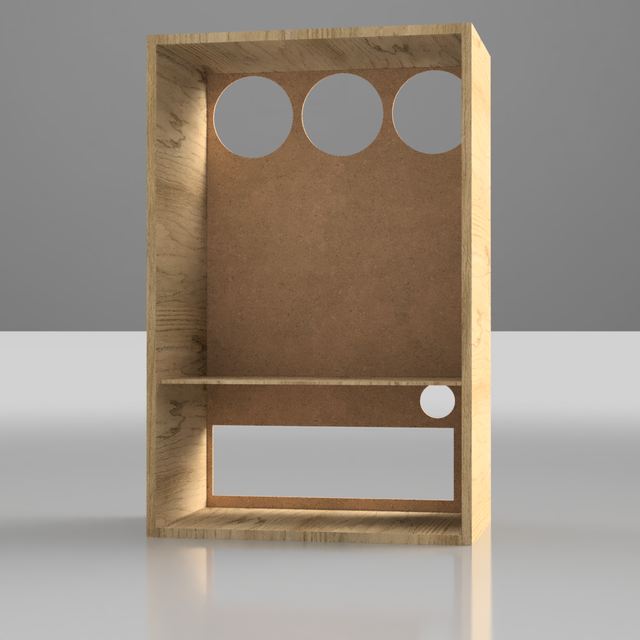
Slightly outdated 3D render
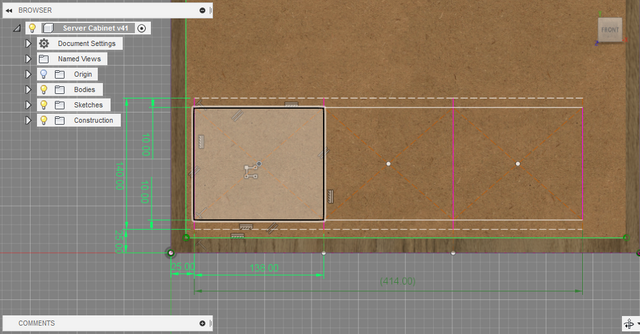
Looks good to me. Now let's go buy some wood. In Fusion 360 you can generate a drawing from your model. All the measurements are already known so you never have to type anything manually. Awesome. Let's just put down some drawings and take these to the hardware store.
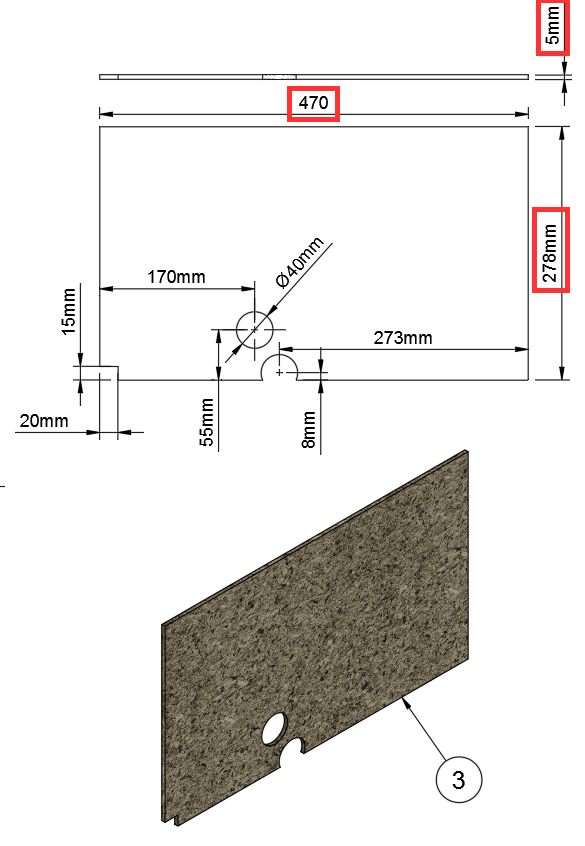
I did this for every new part I want to build. The only interesting measurements right now are the ones marked in red. I buy wood with the right thickness and dimensions and do all the cutouts with saws later by myself.
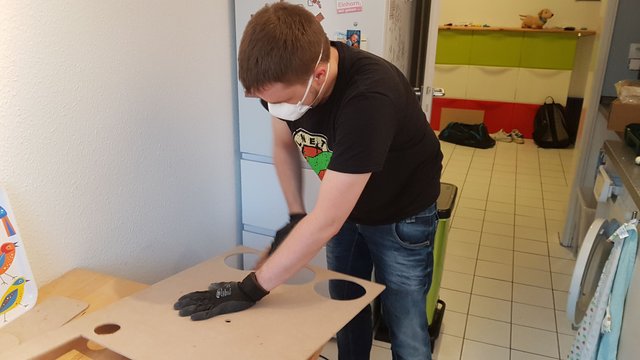
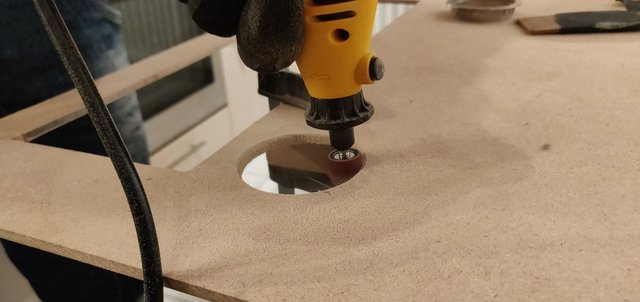
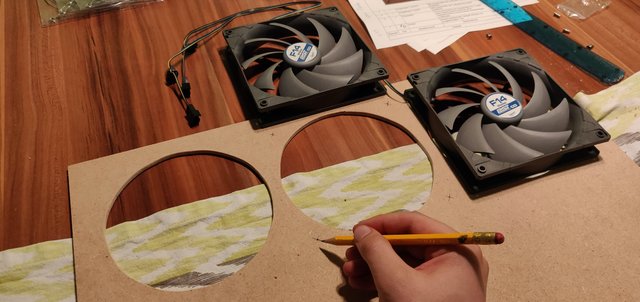
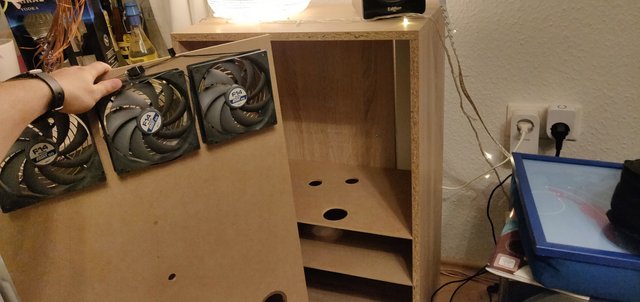
Now that I got myself some wood. Erm. Let's just start doing the cutouts.
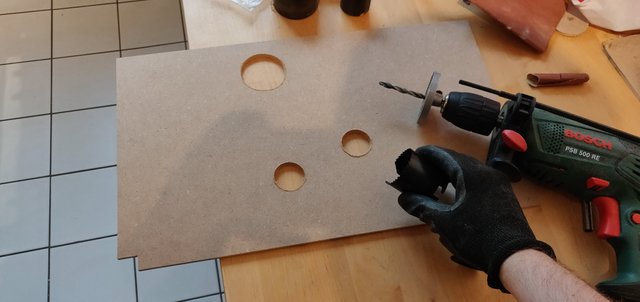
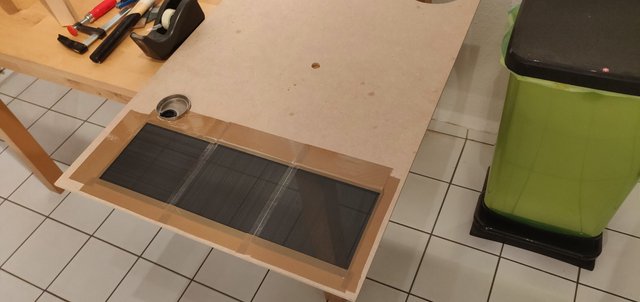
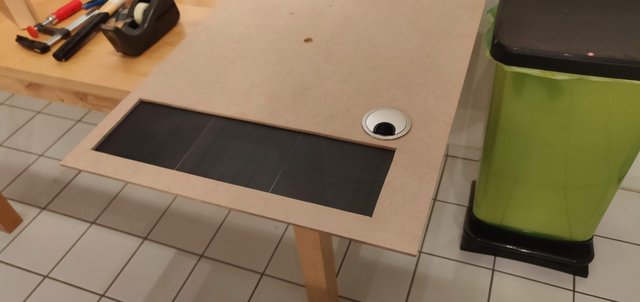
I use the jigsaw for all the rectangular and the three big fan outlet cutouts and a holesaw for the smaller, round ones.
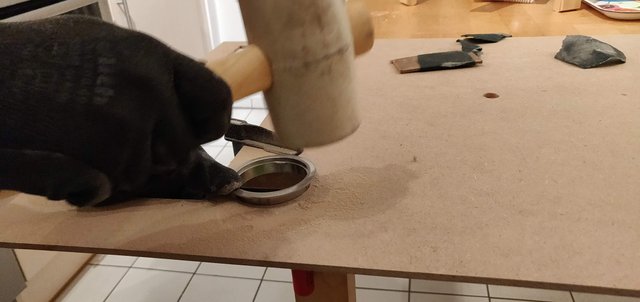
The cable inlet gets an especially tight fit
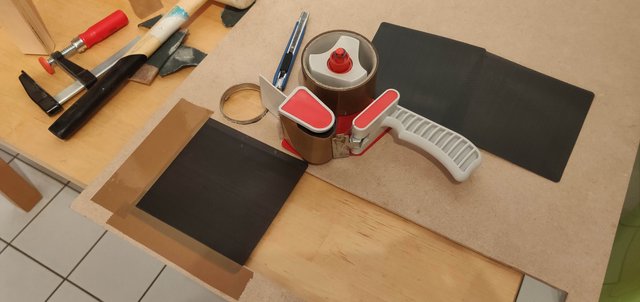
I use some duct tape to fix the dust filters from the outer side to be able to easily dust it off if needed
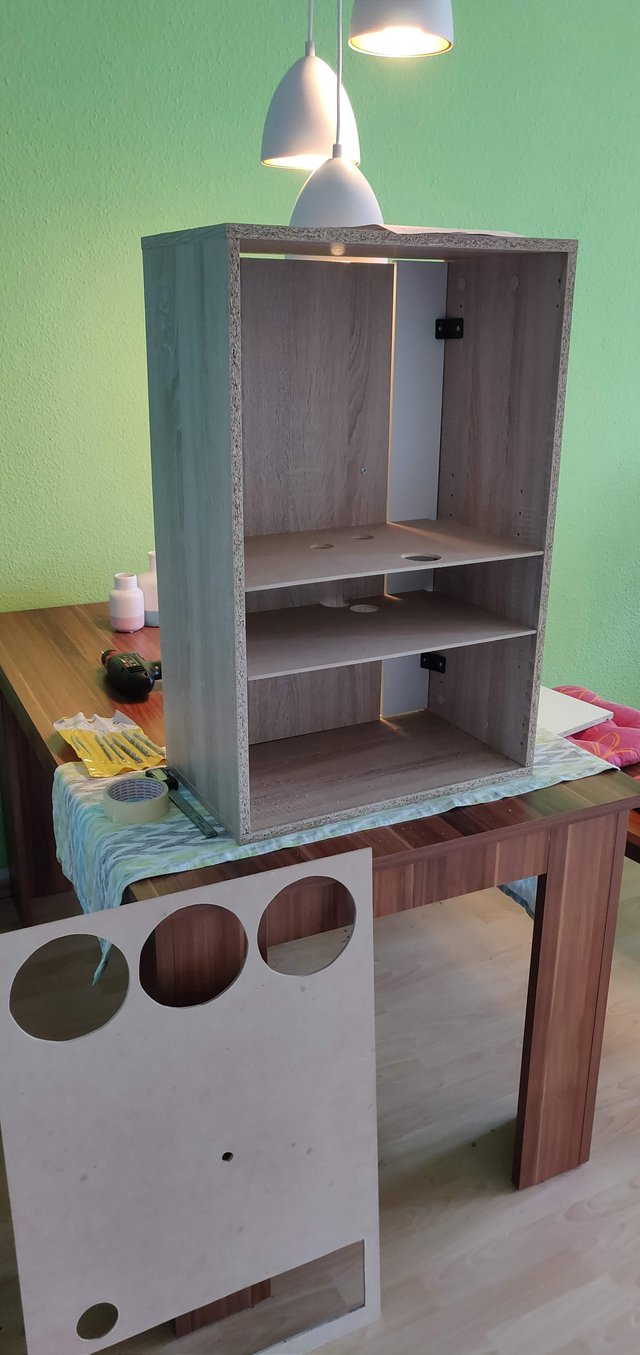
After drilling new holes at the correct height for the cabinet floors, I can test if it fits. In case you wonder about that additional tiny hole in the back wall - The power connector of one laptop is in an awkward position and I have no chance to connect it from inside the cabinet. Looks weird, works well.
Adding Peripherals
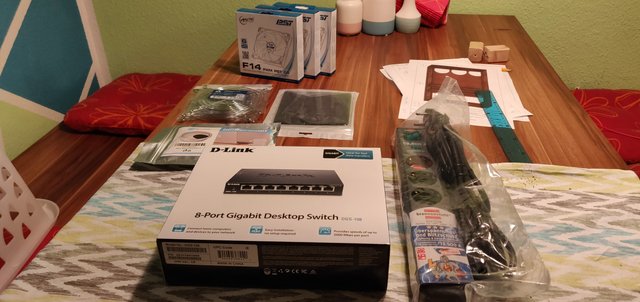
Yes, I went shopping again.
I bought some peripherals to give the cabinet some life. The Amazon links below are affiliate links and you support me by clicking them and buying from there. Thanks for your support!
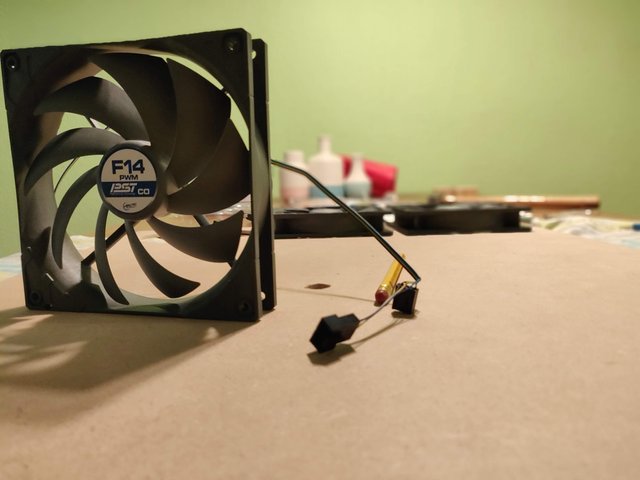
The fans are especially interesting, because they are optimized for 24/7 operation and can be daisy-chained.

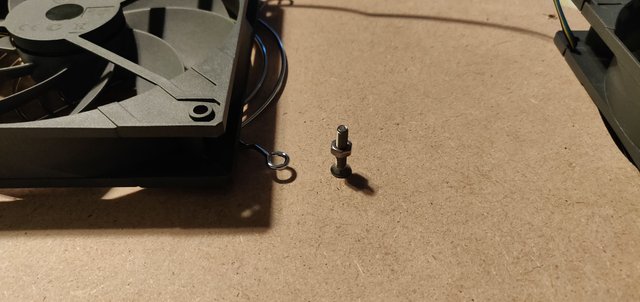
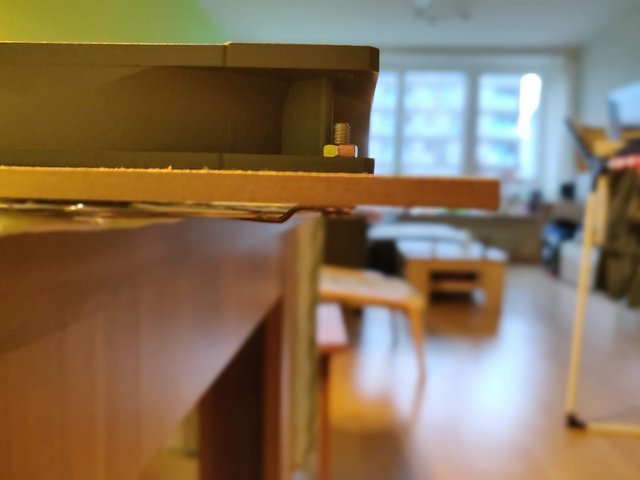
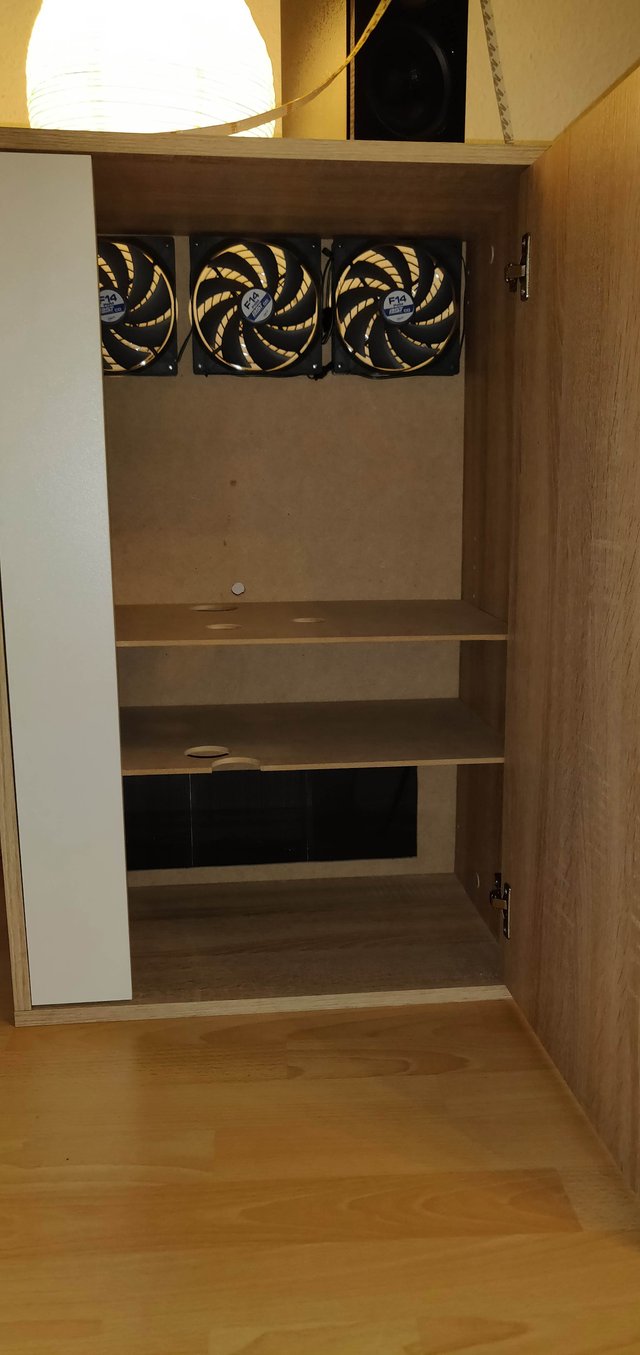
After drilling holes for the fans, I use screws and nuts to fix the fan on the inside and the fan grill on the outside
Daisy-chained fans on the back wall and the turned-around cabinet behind it
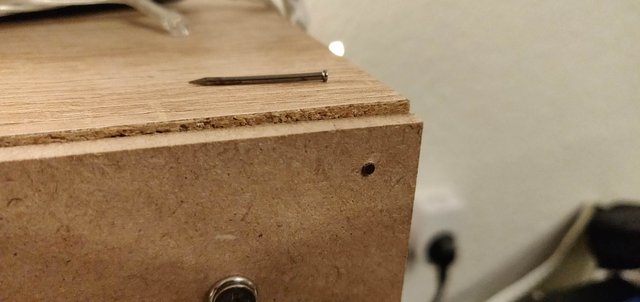
Nailed it
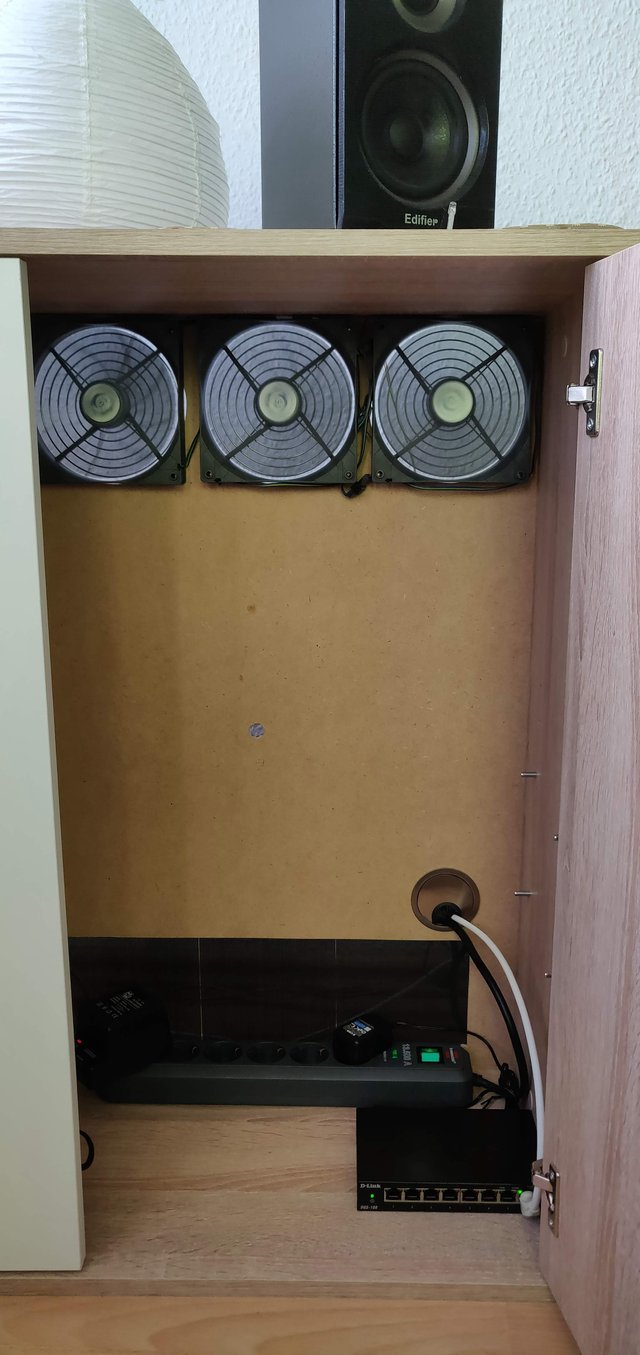
Add power and network
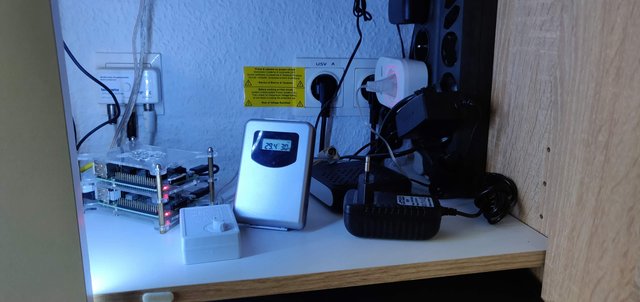
The network cable comes directly from the central switch. The 12 V fans are powered by a 9 V power supply to keep the noise low. The power comes from a discrete output of a UPS which can supply the whole cabinet (together with the rest of the infrastructure) for about 20 minutes allowing for a clean shutdown for all servers.
My Docker image to shut down the Docker host from an APCUPSd container
Amazon affiliate link: The UPS I use, for a clean power output to the infrastructure. Worth it.
Alright. Now I have a stable network and power connection and I can even hear the air being pulled inside when closing the door. I think it pulls a lot of air through the cracks of that cheap cabinet.
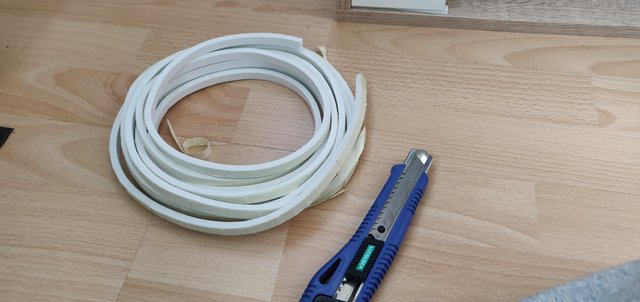
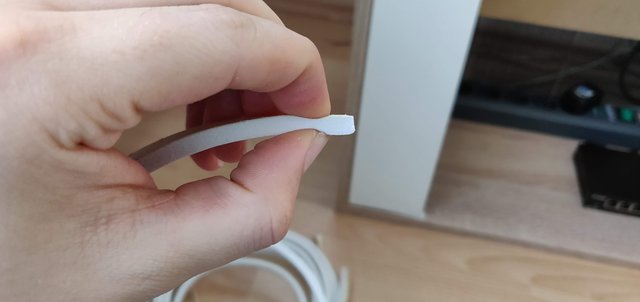
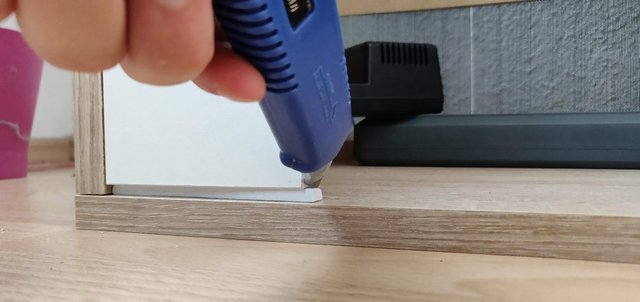
I use Door/Window insulation foam band and put it into or behind all the cracks
- Profit
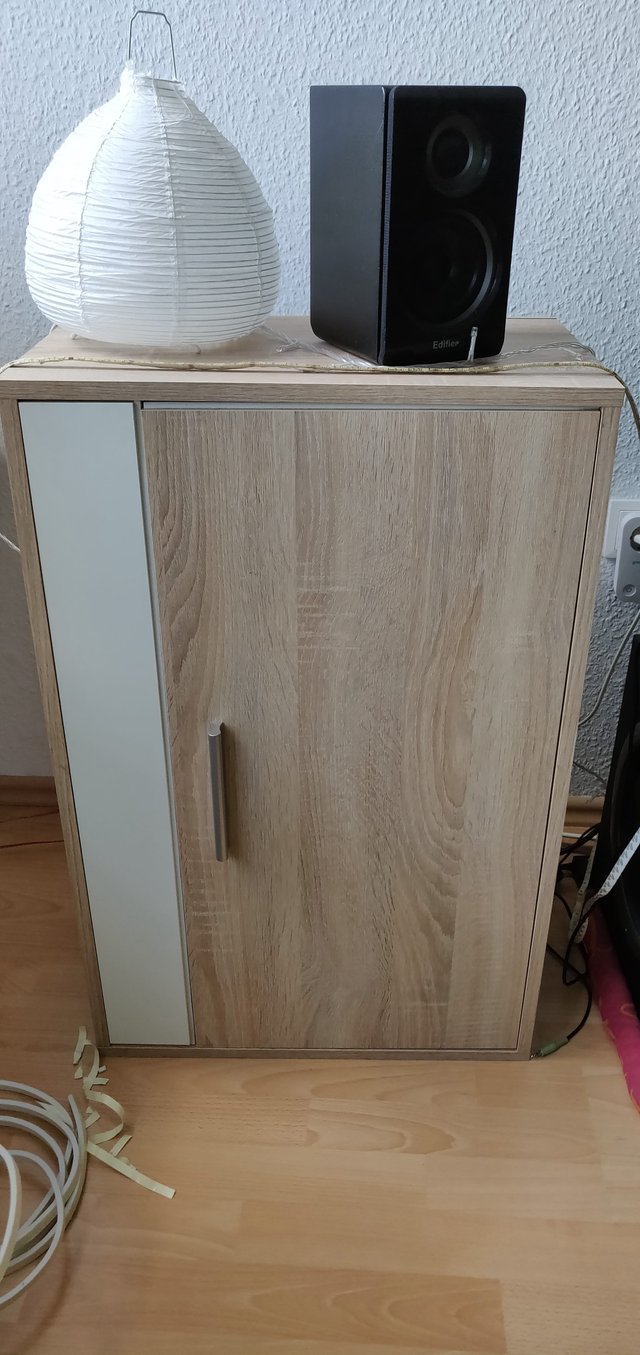
Just the usual cabinet. Or is it? It is. Or is it?
Conclusion
I can barely hear the new cabinet. In fact - it's quieter than before because of the closed system. And thanks to the airflow and the cold air the laptop fans don't need to spin high at all. Win-win.
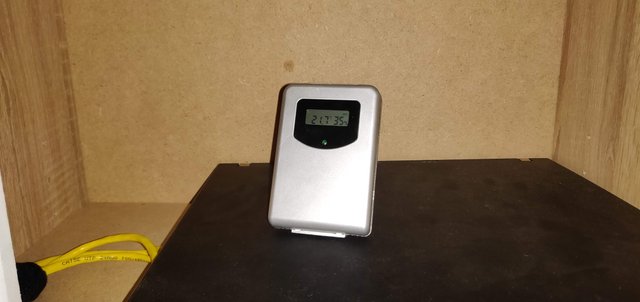
The precise trusty old Chinese Alecto thermometer knock-off confirms our success. We now have about 1 °C ambient-to-cabinet difference as opposed to the 8 °C from before.
What's Next?
I expect to add one or two more laptops and maybe some other small electronics. I will test with a pegboard next, which is basically all holes. This will put the directed cooling method I used in contrast with an overall cooling airflow concept. I will definitely report back as soon as I have new information.
I hope you enjoyed my biggest project to date. Have a great one!
Congratulations @silex! You received a personal award!
You can view your badges on your Steem Board and compare to others on the Steem Ranking
Do not miss the last post from @steemitboard:
Vote for @Steemitboard as a witness to get one more award and increased upvotes!