How To: Put the Plastic on a High Tunnel- Grow Your Own Food!!
This video and blog are all about: How to put plastic on a high tunnel! Final steps!!
It's finally here! The day we have all been waiting for! The plastic of the high tunnel!
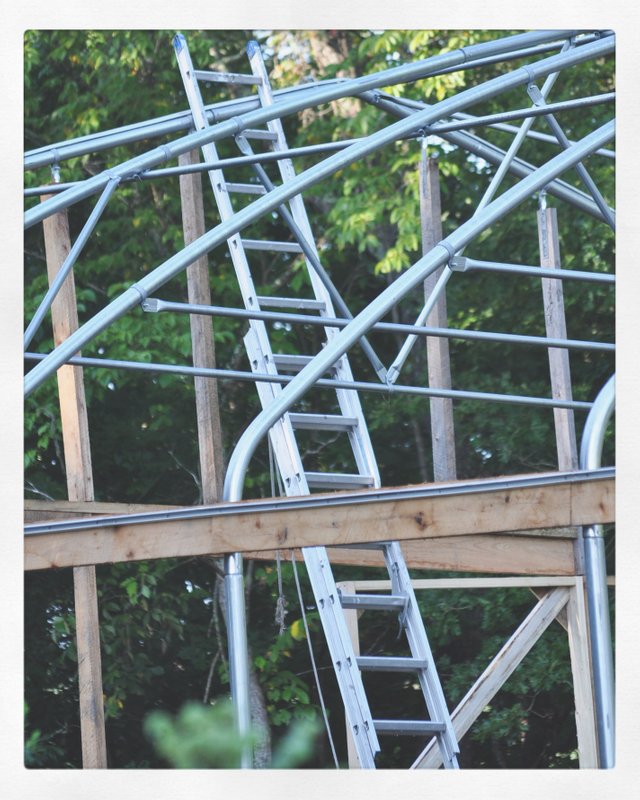
This is one of the biggest steps and one that I felt some anxiety about. You can't do it when there is any wind and it takes quite a few hands to do it well. The best temperature to put the plastic on is 60 degrees F and since it has been much hotter than that lately we waited until the evening to try it! It was still around 75, but the evenings have the added benefit of being less windy as well. There can be no wind when putting on a large sheet of plastic in the air!
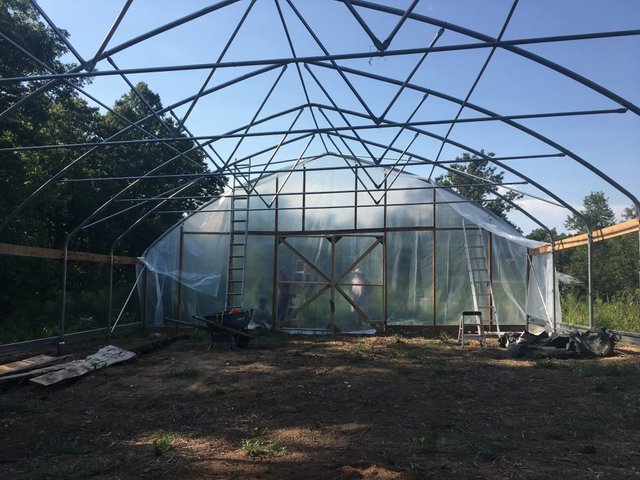
We've done so much prep for this day, as many of you who have been following along can attest. We have set up the frame, put on base boards, end walls, made doors, prepped the earth, cleared the site (obviously not in this order). Suffice it to say that a lot has gone into this, we're tired and ready for this thing to be UP!
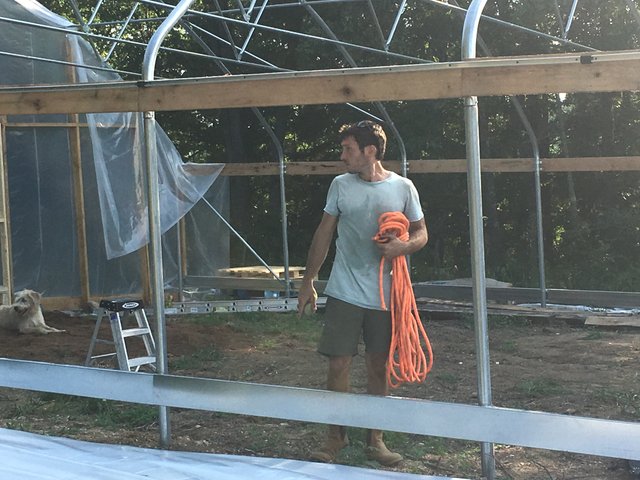
We invited some friends over, including one friend who is an old high tunnel pro! He's likely helped set up (including his own) more than 5 high tunnels- one reaching over 100 ft! (ours is nearly 50), so he was an incredibly wise asset with all of his experience.
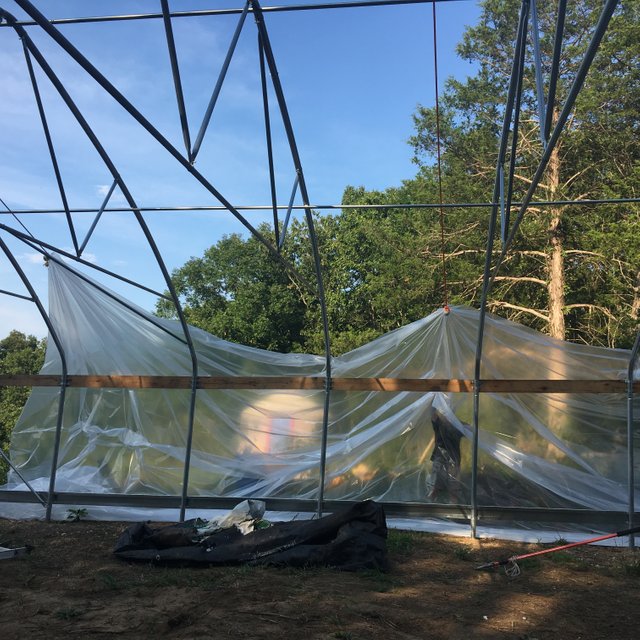
I documented many parts of the process on video- try holding an iphone while pulling on a string to get the plastic up and over arches 20 feet in the air (the things I do for the footage!) and ended up getting some really solid clips. So check out the video! If you're not a video person, I also managed to take quite a few photos so enjoy!
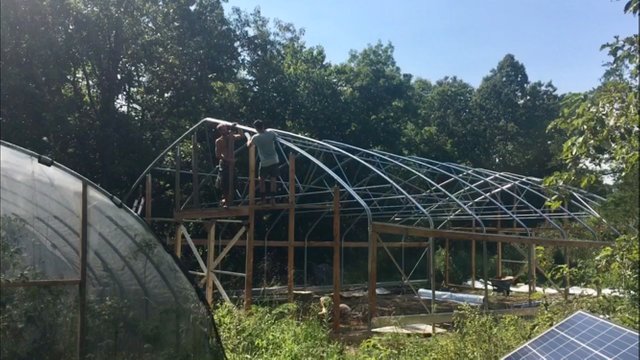
First Ini and Jeff, our aforementioned experienced friend, smoothed off any rough edges on the studs for the end walls (this is so the plastic doesn't get caught, rub and eventually break.)
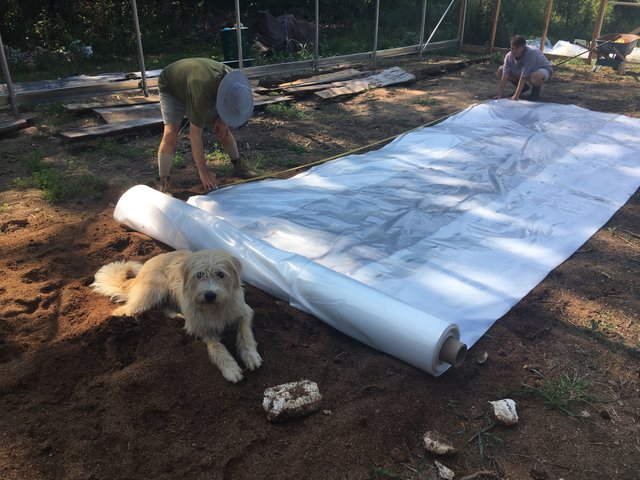
Other friends came and we laid out the plastic and cut it at 16 feet. We did this twice, once for each end wall and laid the plastic out at the base of the end wall.
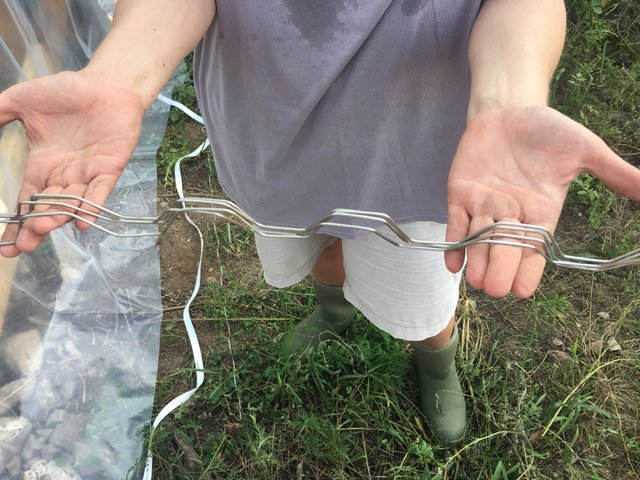
We prepped ahead of time by setting "wiggle wire" where it will need to be put.
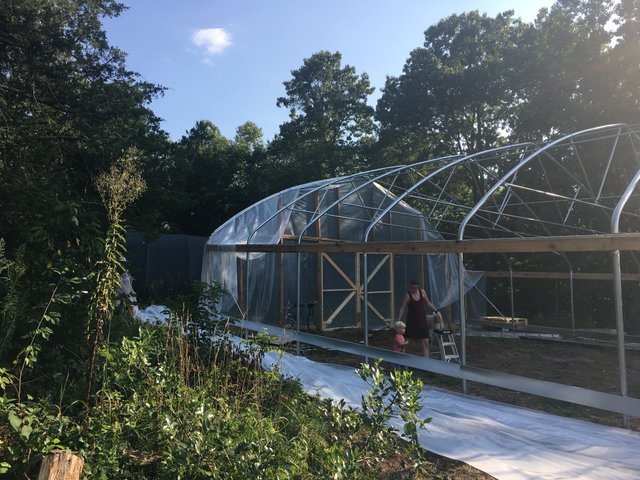
Then we started putting it up on the sides! This part when fairly quickly. We put the "wiggle wire" into the channels that Ini had already screwed onto the arches. Wiggle wire does what it sounds like- it wiggles into the channels securing the plastic. It's a very easy way to attach plastic to a high tunnel and, after this experience, I would definitely recommend getting it if you have plans for a high tunnel in your future.
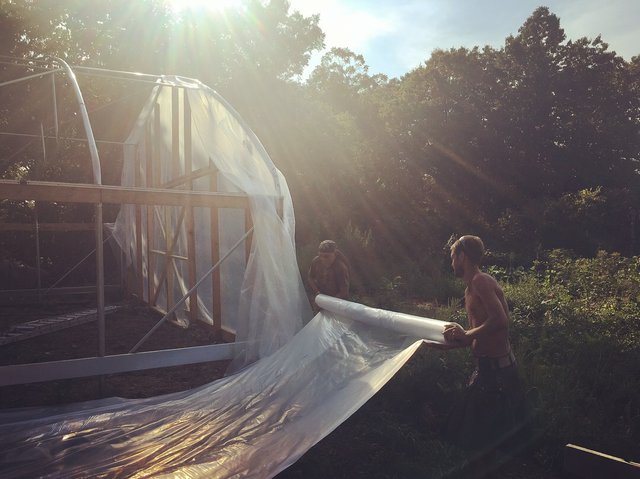
Next we did the major task of putting on the large sheet of plastic! We cut off any extra and laid it the length of the high tunnel.
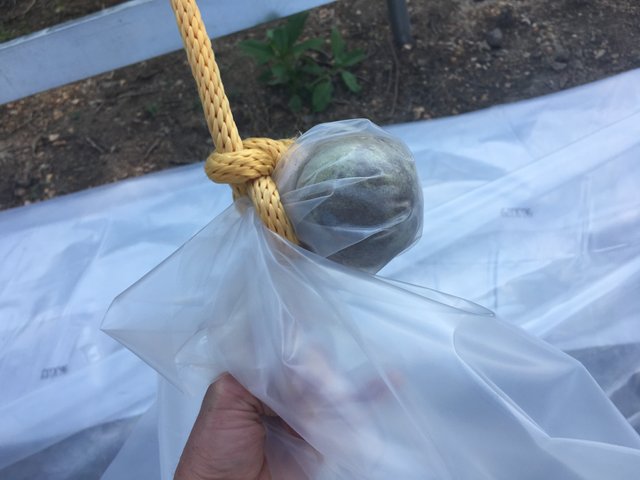
We then tied tennis balls to the plastic and tied that to a rope so we could throw the rope over.
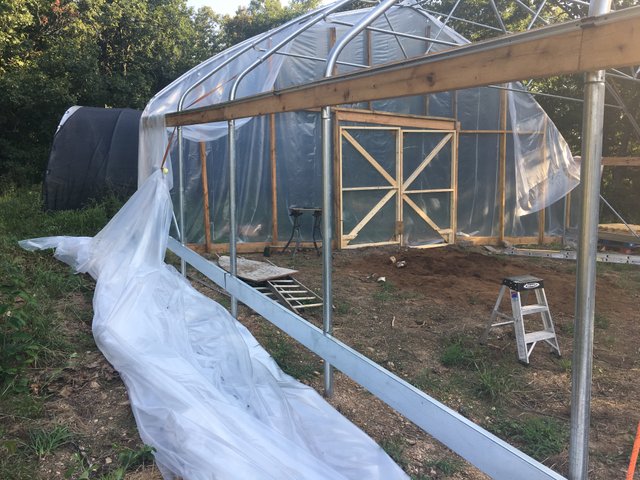
At this point, 3 of us stood on the other side and pulled the rope with the plastic attached at 3 points over the arches.
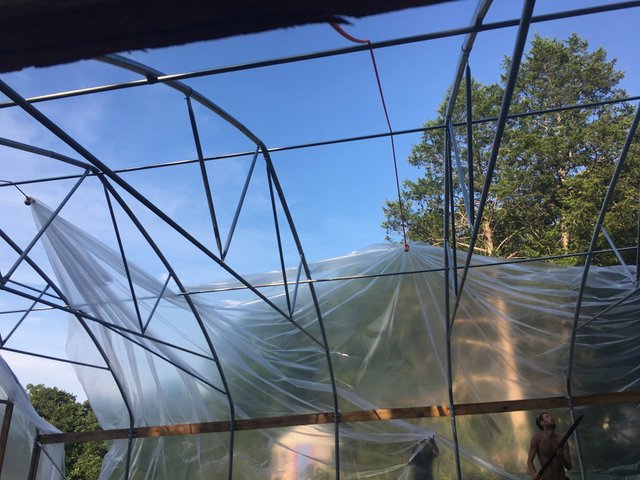
Ini and another friend stood inside with a large pole and on the edges making sure the plastic didn't get caught. We then pulled it on evening and secured wiggle wire in the middle (just so it wouldn't blow away.)
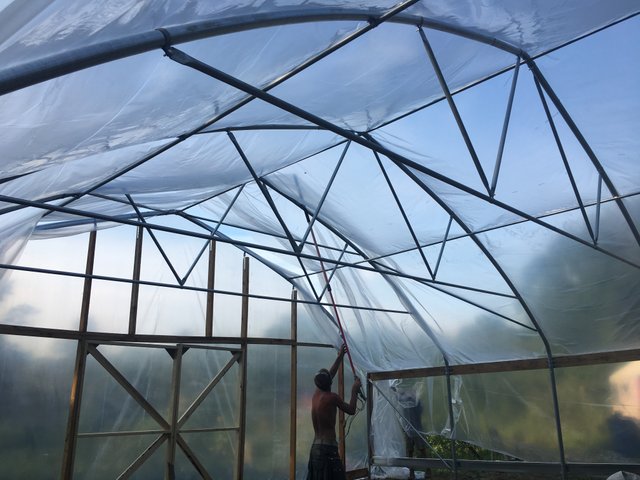
Then Ini climbed to the top and Jeff went on the other side and the secured the plastic with wiggle wire on each of the end walls (in the same channel that the end wall plastic went in.) Then we began the task, starting on one side, of securing the wiggle wire into the channels on the long sides of the high tunnel. It helped to have 2 people (4 hands on this task), as one person could pull the plastic taut and the other could insert the wiggle wire.
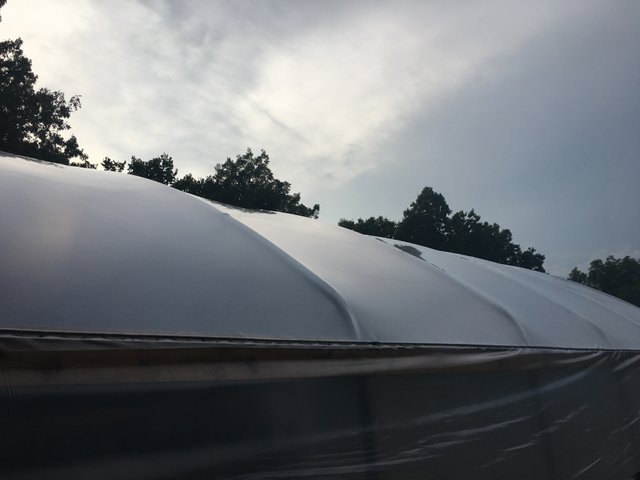
Because it was warmer than 60 degrees, we made sure not to pull the plastic too tight, though of course the goal is to get a very taut plastic. This is because in the winter the plastic will pull tighter as it cools and we want to give it some room to do that. This part went pretty quickly and once we were finished, we pulled it tight again from the end walls and secured it into the channels!!!
Then we shared in a potluck and caught up with our friends! We're so thankful they came over to help. It's 100% crucial to have at least 5 hands on this step- it goes so much faster and is easier by far! We still have some work to do battoning down the end walls and putting on the "side curtains"- which lift up via a crank for when it's hot, but whew the plastic was really the kicker and it's nearly finished!! Shooting for the beginning of the week for a completion of the set up of this project. Really loving how it's coming together and the look of it on the landscape. Also excited for all of the winter growing possibilities! As you saw in a post from earlier in the week, Ini has already started a bunch of winter veggies for the high tunnel. Yes!!!! Thanks for stopping by! Have a great weekend.
▶️ DTube
▶️ IPFS
Yay!!!!!!!!! Such an exciting day! I cannot believe how big this is, I didn't realize its the size of a house! You can plant a regular food forest in there. I can see why you'll have fig trees :) Well done @mountainjewel!
Thanks for the support! It's big for sure, and this is a SMALL size. Amelia's is twice as big.
There's still PLENTY of room to grow oodles of plants though. We're exciting to see it fill out. The figs I up potted last month need a bigger home already.
Wonderful! btw been reading about the Moringa tree....it LOVES to be pinched back, in fact that way you will have a fuller tree and can keep it the right height. You can actually cut the tree in half and it will grow more limbs from the trunk. We're going to repot and then prune heavily! I can send you the info if you want. It would be great for the high tunner ;)
love it!!! we're hoping ours can over-winter! good to know this tip. thanks mama <3
you two!!!!! it looks soooo good!!!!! that last image.....uhhhnnnnn....all taut!!!! :))) priceless post!!!! one...i will refer to through the years!!!! thank you!!!
Thanks! We couldn't have done it without so many great friends. We were really grateful for Jeff who had a lot of great insights and experience to help things along.
Glad you enjoyed it so much, we are beaming now that the structure looks like the food temple that it is.
The high tunnel looks super awesome! Just a little more and you are finished! I can just imagine all the different food you can grow in there this winter. Sounds like Ini is ahead of the game and has some started already.
We're happy that it's really coming together. It looks so much more real with the plastic on.
Some cauliflower, kale and chard have all poked their heads up already.
I am glad it went well! I know a homesteader in Oregon and they take the plastic off their big houses each winter after loosing one to snow load. The little ones seemed to hold up ok. You are that much more south than either of us, so looks like you want to leave it on.
YIKES, every year! We have some friends who remove the plastic periodically to let the soil "breathe" in the air, wind and rain. Flushing salts and restoring ecological balance and such. This may be a strategy for us in the future.
Our snow load is VERY minimal but who knows with climate change. If we get enough snow to raise concerns for the hight tunnel, I think there will be bigger issues! We had snow for two days last year.
Wow! Snow for 2 days only, I can't imagine. Here in New England, it's apt to snow FOR 2 days. LOL
Yeah, she said one benefit of taking it off yearly, when their rains/snow come, is it does flush the soil....
Amazing news guys. What a relief x
There's been a huge wight lifted from us. So much gratitude for many helping hands and the next step.
And normally there is an up and down side of the plastic ensuring the UV filter is up.....complicating things a little further.
you make it look so easy! I know how much work this was - congratulations on getting that plastic up. I am so excited for you!
Looks GREAT! Congrats on this big project. I've been off the grid a few days in a tent...and I always struggle getting the tent up and down lol