How To Grow Shitake Mushrooms At Home: Turning Wood Into Protein | Plugging Logs For Mushroom Production
Spring is nearly here and as the sap rises, there is a renewed energy in the landscape. If you live somewhere maples, birch or even walnut grow, you might be taking advantage of this by tapping your trees for sugar. In this post we will be going through how to turn the sugars of wood into high quality mushroom protein.
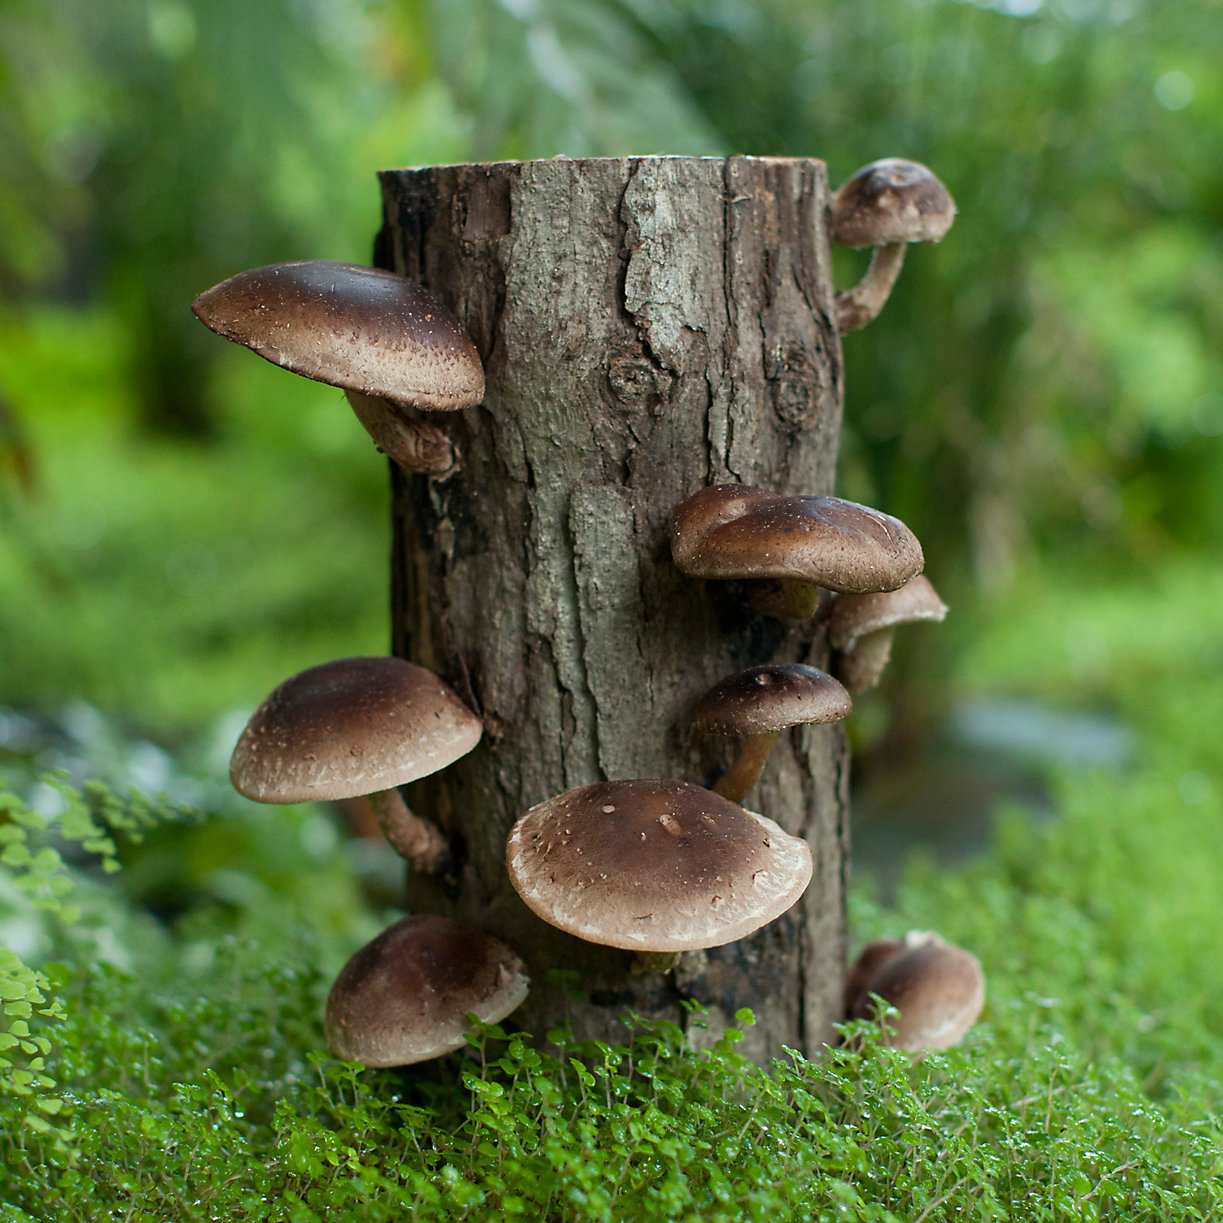
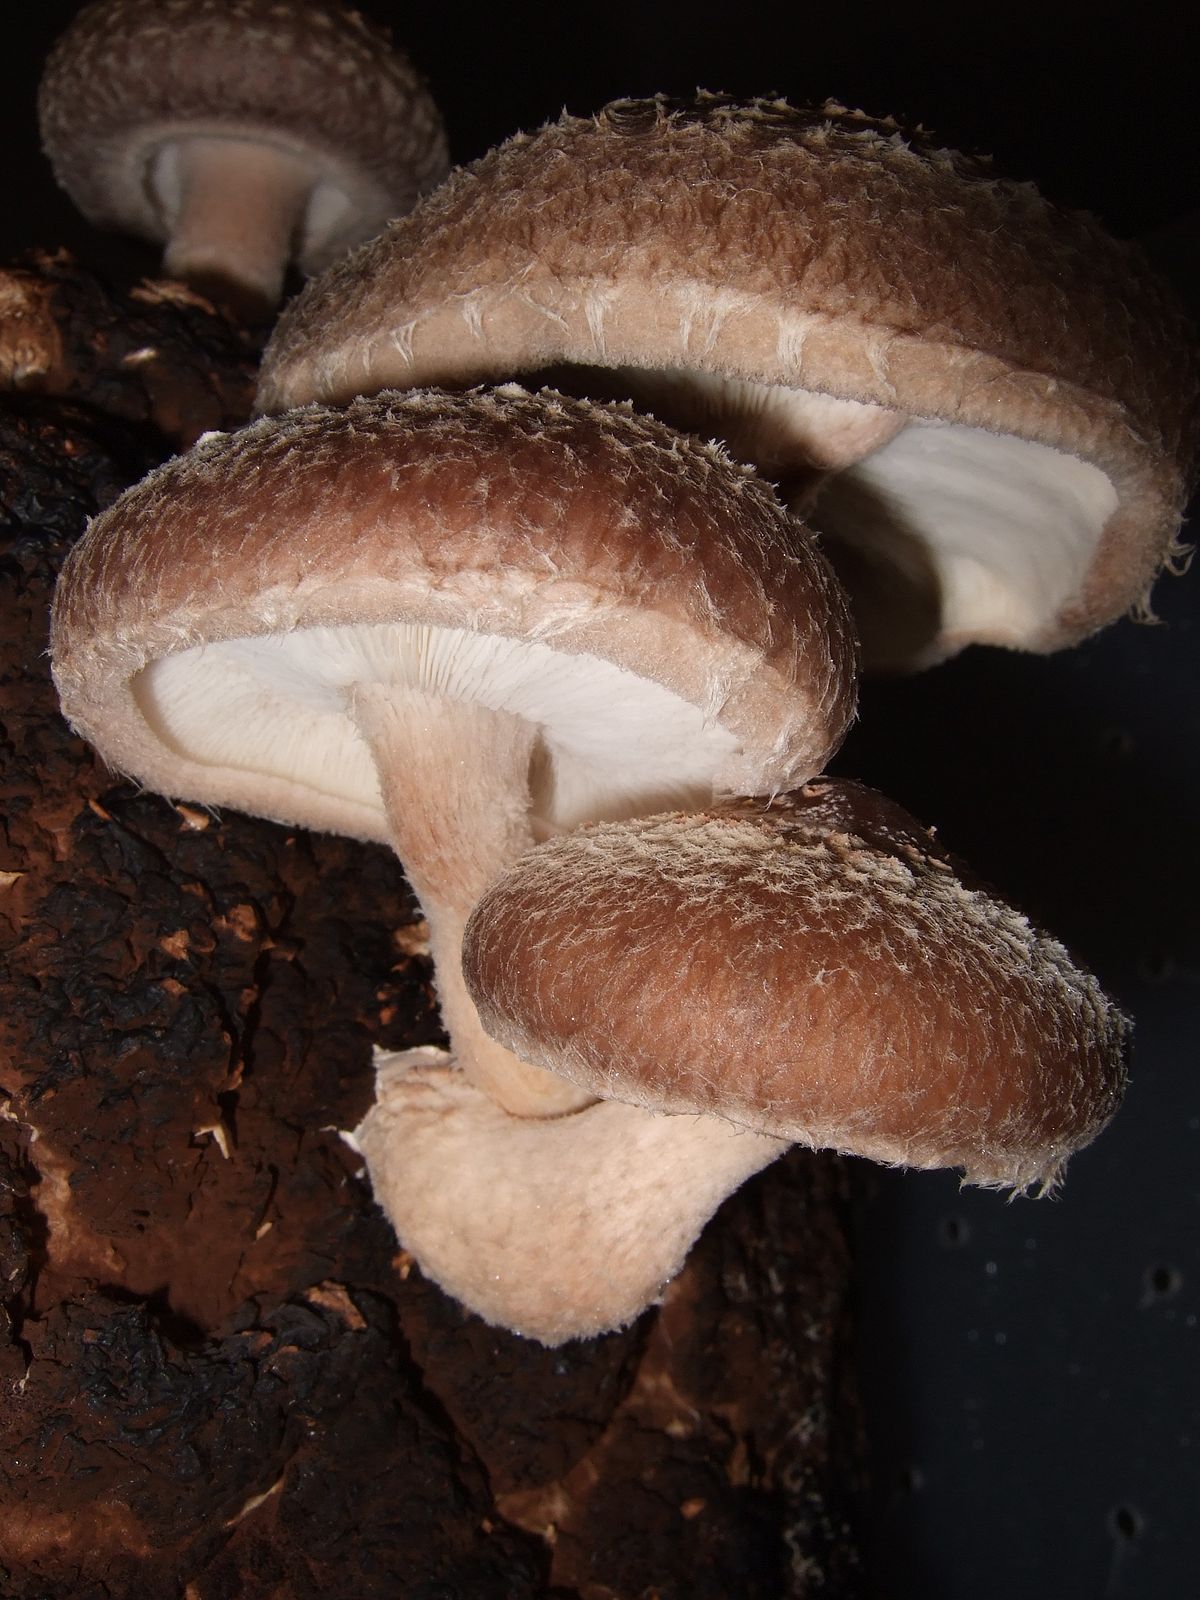
Shitakes Growing on Log
Inoculating trees with edible and/or medicinal fungi is a mushroom production method that has been utilized for hundreds of years in Japan.
The technique is fairly low tech and accessible to the average person wanting to grow their own mushrooms. There is no need for a dedicated mushroom producing facility to get started on growing your own mushroom, as this method is only slightly controlled and the process is done outside. Plugging logs is perhaps one of the oldest methods of cultivating mushrooms.
source
How To Grow Shitake Mushrooms
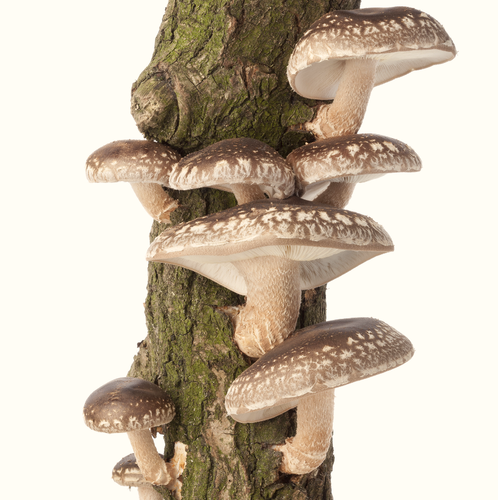
Step 1: Get Some Wood
For this post we will be highlighting one of the easier species to cultivate, shitake. There’s a whole range of details for differing species, but this is the one we started with last year. Shitake prefer oak, meaning you will have best success using oak (white over red oak) as the food source. Many other types of wood will work decently if you don’t have access to oak.
source
The recommended size for logs as 4-8” diameter logs cut roughly 30-40”. We used some logs on the bigger end and regretted it because fresh white oak logs are heavy! Ask local loggers, tree trimmers and farmers about obtaining such wood. Most times you can use wood that is not usable for timber purposes.
Step 2: Timing is everything
For us, we use forest thinnings (small trees cut to promote the growth of larger and healthier ones) of white oak trees on our 15-acre woodlot. Now is the time to cut them as the sap is just starting to run and therefore has the highest sugar content in the wood. The mycelium will be consuming the sugar, so the more food available, the more fruit (mushrooms) will be produced.
Letting the logs sit from 1-6 weeks is suggested by many sources to allow the antifungal properties in the logs to dissipate. Leg them rest off the ground to avoid other fungi from colonizing the log.
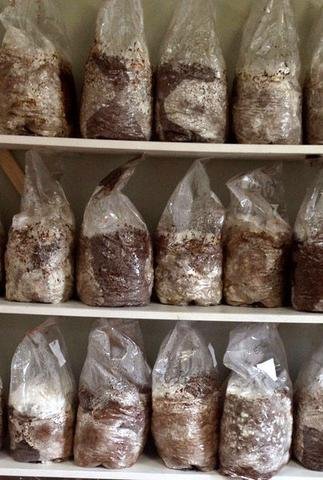
Step 3: Order your materials
After your wood is in order, you’ll have a better idea of how much spawn you will need. Spawn comes in inoculated wooden dowels or sawdust. Plug spawn is more expensive, but easier to use. If you’re choosing sawdust spawn, you will have to purchase a simple plunger tool for handling and inserting the sawdust into the logs. Spawn should be kept refrigerated until ready to use.
source
If you’ll be doing a log of logs, it’s worth investing in an attachment for an angle grinder. It makes holes exponentially quicker than a drill, although a drill bit with collar stop can work well on a small scale.
Wax is used to encapsulate the spawn in the hole and can also be used to seal the ends of the logs. It will act as a barrier for sensitive mycelium and prevent it from drying out. Beeswax, cheese wax or soy wax can all be used. Small paintbrushes or dobbers will be needed to apply the wax.
Step 4: Get Plugging!
We found it best to share the load with friends of ours, making it a group effort. We both had logs prepared and helped each other out in the plugging process in an assembly line method. We made a fun day’s work of it!
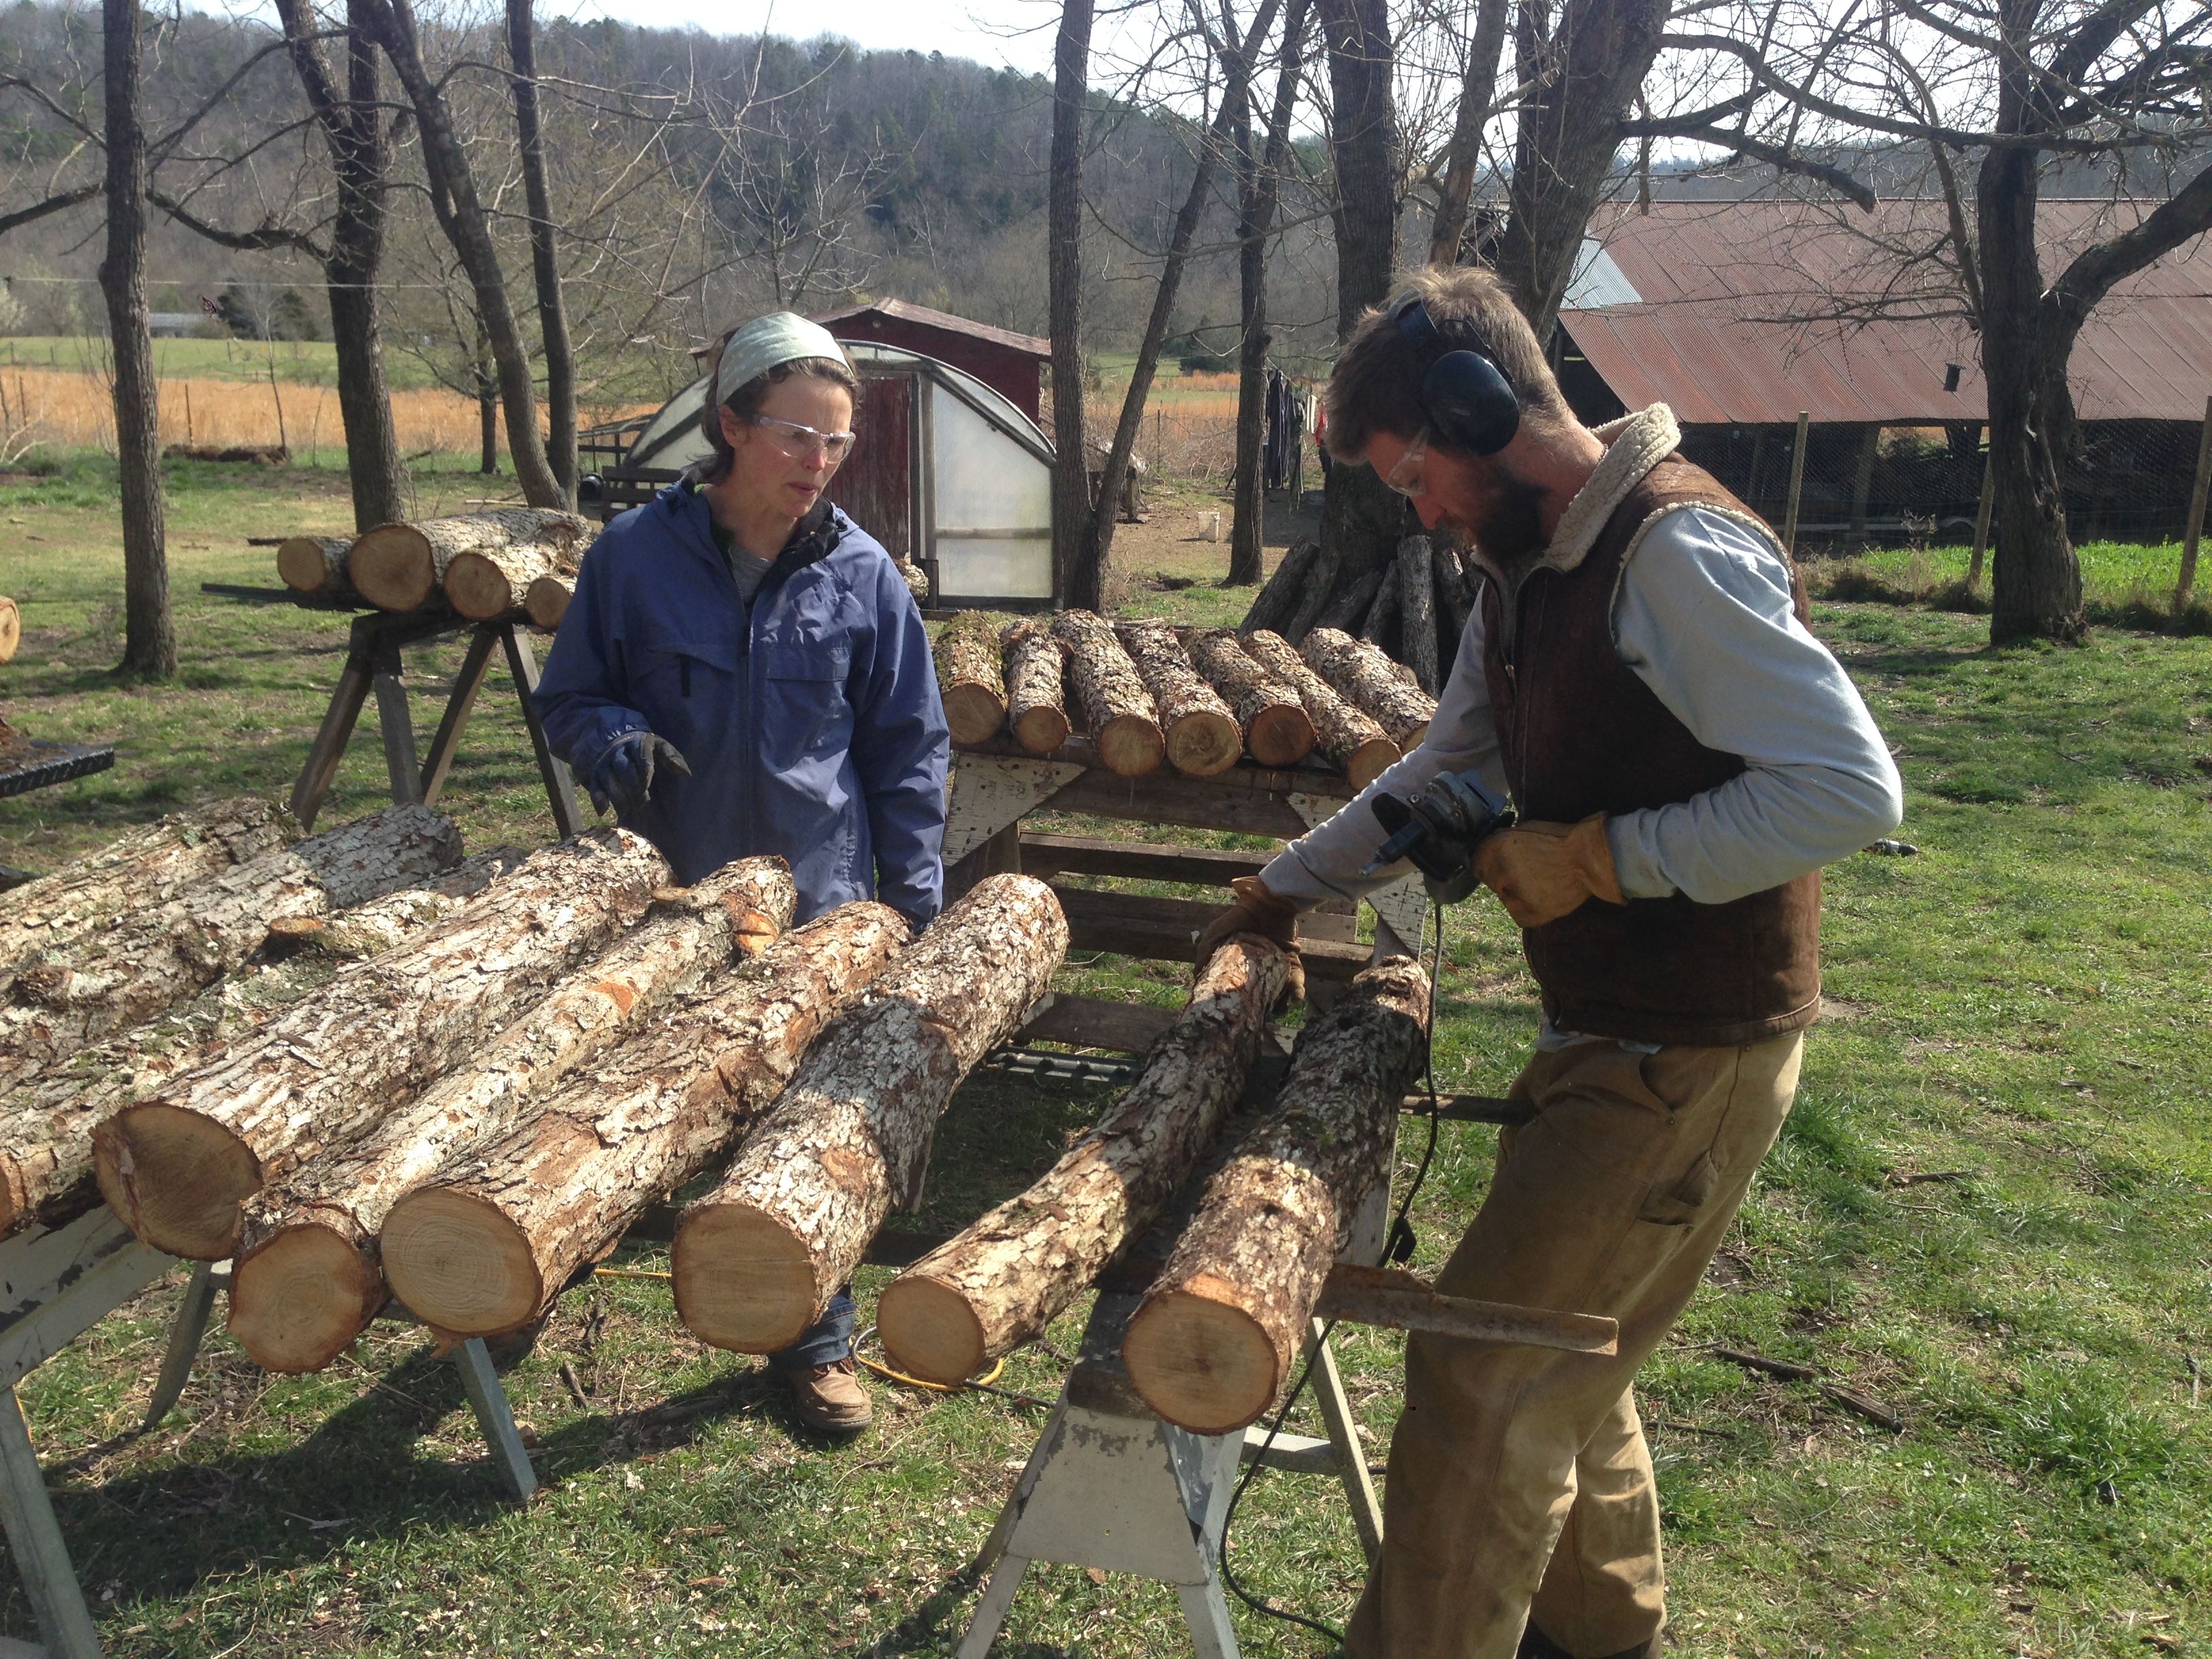
We set up several sawhorses, tables for tools and a crockpot to keep the wax liquid and away we went. It’s important to carefully consider how you will move the logs as they are heavy and there’s a lot of moving to do. We used T-posts laid over sawhorses to allow for rolling of the logs.
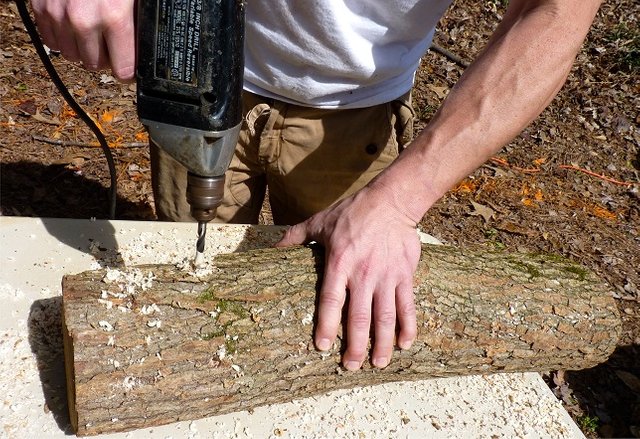
Step 5: Make the holes
source
We used the angle grinder attachment for making ½” holes and were very impressed with the speed it tears into the logs. We eyeballed 6” spacing in a diamond pattern over the entire log. This is the fast part and we soon found we would get bottle necked down the line.
Step 6: Plug them up
One person drills while another one or two plug. We found that a container to hold the spawn made it easier to load the plunger. The tool has a chamber that fills with sawdust and is released with the thumb into the hole into the hole.
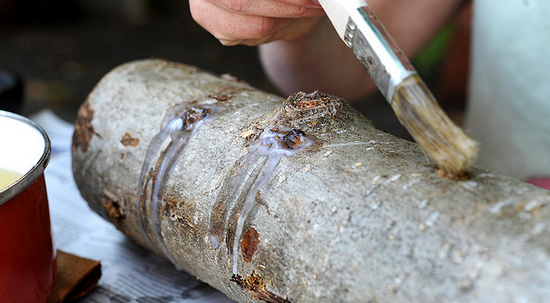
Step 7: Wax the holes
source
Another person is charged with finalizing the process. We found it worked well to warm the wax in a crockpot and then to transfer the warmed wax to a smaller pot. The person applying the wax follows after the plugger and makes sure that the spawn is fully sealed with a glob of wax. This helps to keep the moisture in and invading fungi out. An optional step is to wax the cut ends of the log to further seal it.
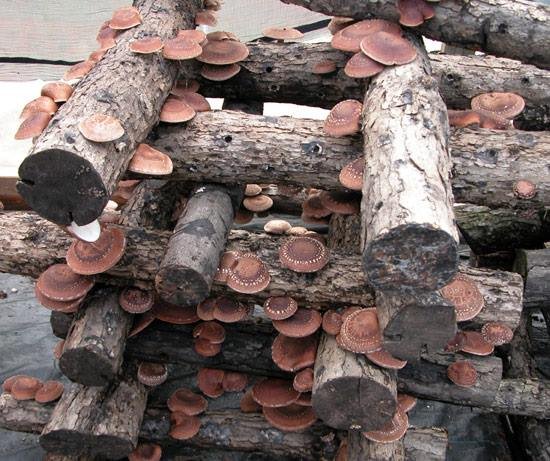
Step 8: Let them run
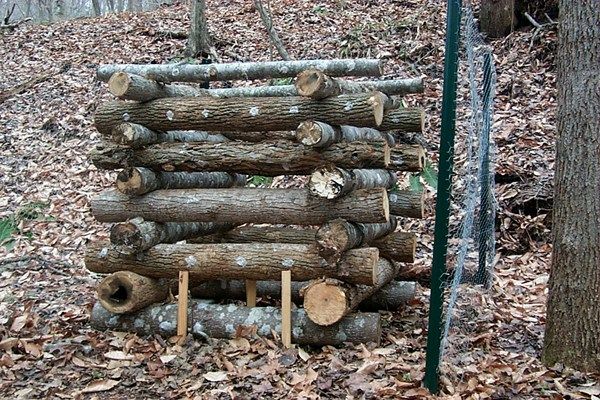
Once they’re all plugged and waxed, it’s time to let the mycelium run through the logs. This is called the colonization phase. We stack them on pallet in ricks: think of a log cabin. The key here is keeping the logs off the ground and allowing good airflow.
source
Step 9: Wait
The logs often take several months (6-9) to colonize. Once they are colonized, fruiting can be induced through soaking, either by immersing in water or through heavily watering.
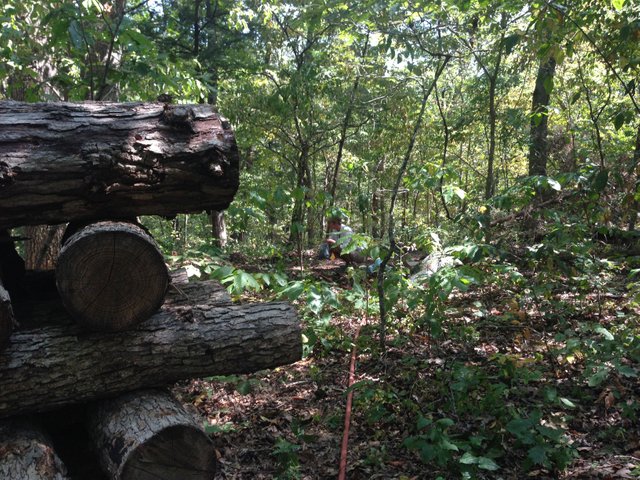
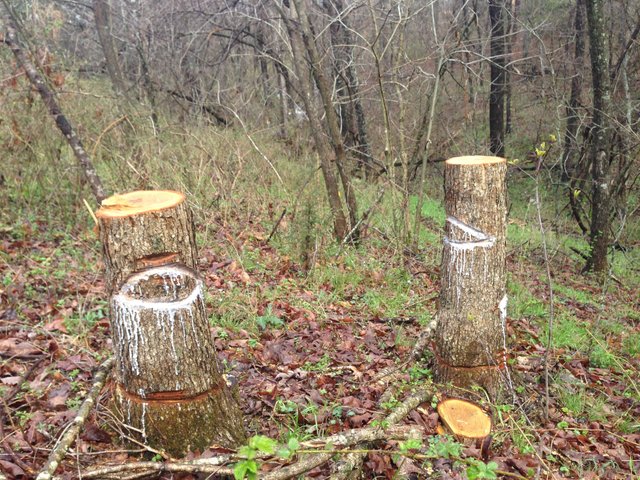
There are many methods to do this. You can also inoculate stumps, as shown below.
As our logs aren't even a year old so we aren't sure how successful our methods will be. We can say that we didn't have good luck using the Soy Wax and putting the logs in the woods as critters ate off a lot of the wax and ate the mushroom spawn! Other methods of wax that aren't sweet smelling would work better in this case. Our friends covered theirs to keep them away from the chickens with some light landscaping fabric so that may be another method of protection. When we get some mushrooms, we'll let you know!
This is truly an easy process that yields delicious results!
source
We did this to add another protein source to the homestead, one that is delicious, nutritious and medicinal! Can't beat fresh mushrooms!!
You can do this with a variety of mushrooms that are edible and even medicinal. Mushrooms are a fantastic addition to any diet.
Have you tried this before? Did you have any success? If not, which mushrooms are you excited to grow?
This is an entry into @kiaraantonoviche's #homesteadingchallenge Teach A Skill From The Homestead

This post is written by a passenger on the #ecotrain! Check the tag and follow other passenegers for more enlightening and inspiring posts :)
So cool! Very inspiring. Hope to finally do this right someday. We tried it years ago and didn't keep them moist, we didn't know what we were doing. This will be helpful. Resteemed!
This is certainly something I could do in my backyard. I will definitely remember this!
Tons of White Oaks all over, Thank you for this great post!
Perhaps paraffin wax would work well to seal the logs, as well as being unscented or unappealing to animals..
One of my neighbors grows several types of mushrooms this way.
Congratulations! You are now an Official Featured Blogger on Sotall.org. This post has been added to our growing directory of Steemit post for the Homesteading/Survival communities. You can claim your badge along with the code to add to your posts to let the world know you have chosen to help others Survive, Thrive and be Prepared! Click here to get the code
I hope to do this soon. The drilling and waxing can be a lot more work than you realize. Sounds easy on paper, but I can see how it would be a full days work getting them all inoculated and stacked. They should provide years of low labor food though. I read that the log to mushroom conversion is 1 to 1. A 100 pound log should yield 100 pounds of mushrooms in its life time.
Ive just come home from the first of ten days learning about the fascinating kingdom of fungi @mountainjewel and then i saw your well written post giving great instructions about shitaki growing on logs! Syncronicity 😊 today just about covered the introduction and boilogy of fungi and Wow did it open my eyes, talk about microcsm macrocosm!. I cant wait till next weeks lessons now where we get more practical... 😊
Awesome! Yet another thing I'll have to grow this year!
Excellent well written post. I think you were smart to make it a group effort. Those kind of projects are a lot more fun with friends. Divide and conquer! Well done!
wow Mushrooms everywhere
You've been entered into the challenge, thank you!