How To: Wooden Flats for Seed Propagation
I'll show you how we made our own seed flats from free scrap wood. The total cost was the price of nails and our own sweat equity.
Earlier this winter we were thinking about the new garden we would be planting this spring. While there were still a lot of unknowns about the space we would be planting, what we did know was that we wanted to start a lot of veggies and flowers from seed!
We thought back to our past experience propagating seeds on the farms we have worked for and agreed that we both loved the wooden seed flats that were in use at Camp Joy Gardens (where @idyllwild apprenticed) and how nice it would be to build our own seed boxes. It would be a good way to dust off some basic carpentry skills and put them back into practice before taking on bigger projects.
After digging through some photos we had a rough idea of how the seed flats were constructed but were looking for a more solid plan in case there was more foresight to be had before building.
We picked up our copy of John Jeavon's How to Grow More Vegetables and were in luck - there were some plans for seed flats with some well thought out reasoning for dimensions, in particular depth of the wooden flats.

If you can't read the following image you can right click it and "view image" for the full resolution.

John Jeavons was mentored by the same Alan Chadwick as Jim Nelson of Camp Joy Gardens, so we trusted in his plans.
Shortly after we made the intention to build our flats I started scrounging for wood. Luckily my friends had some wood paneling left over from a previous remodeling project that were discards due to flaws that were destined to become firewood - as well as some old plywood. They were perfect for making seed flats!
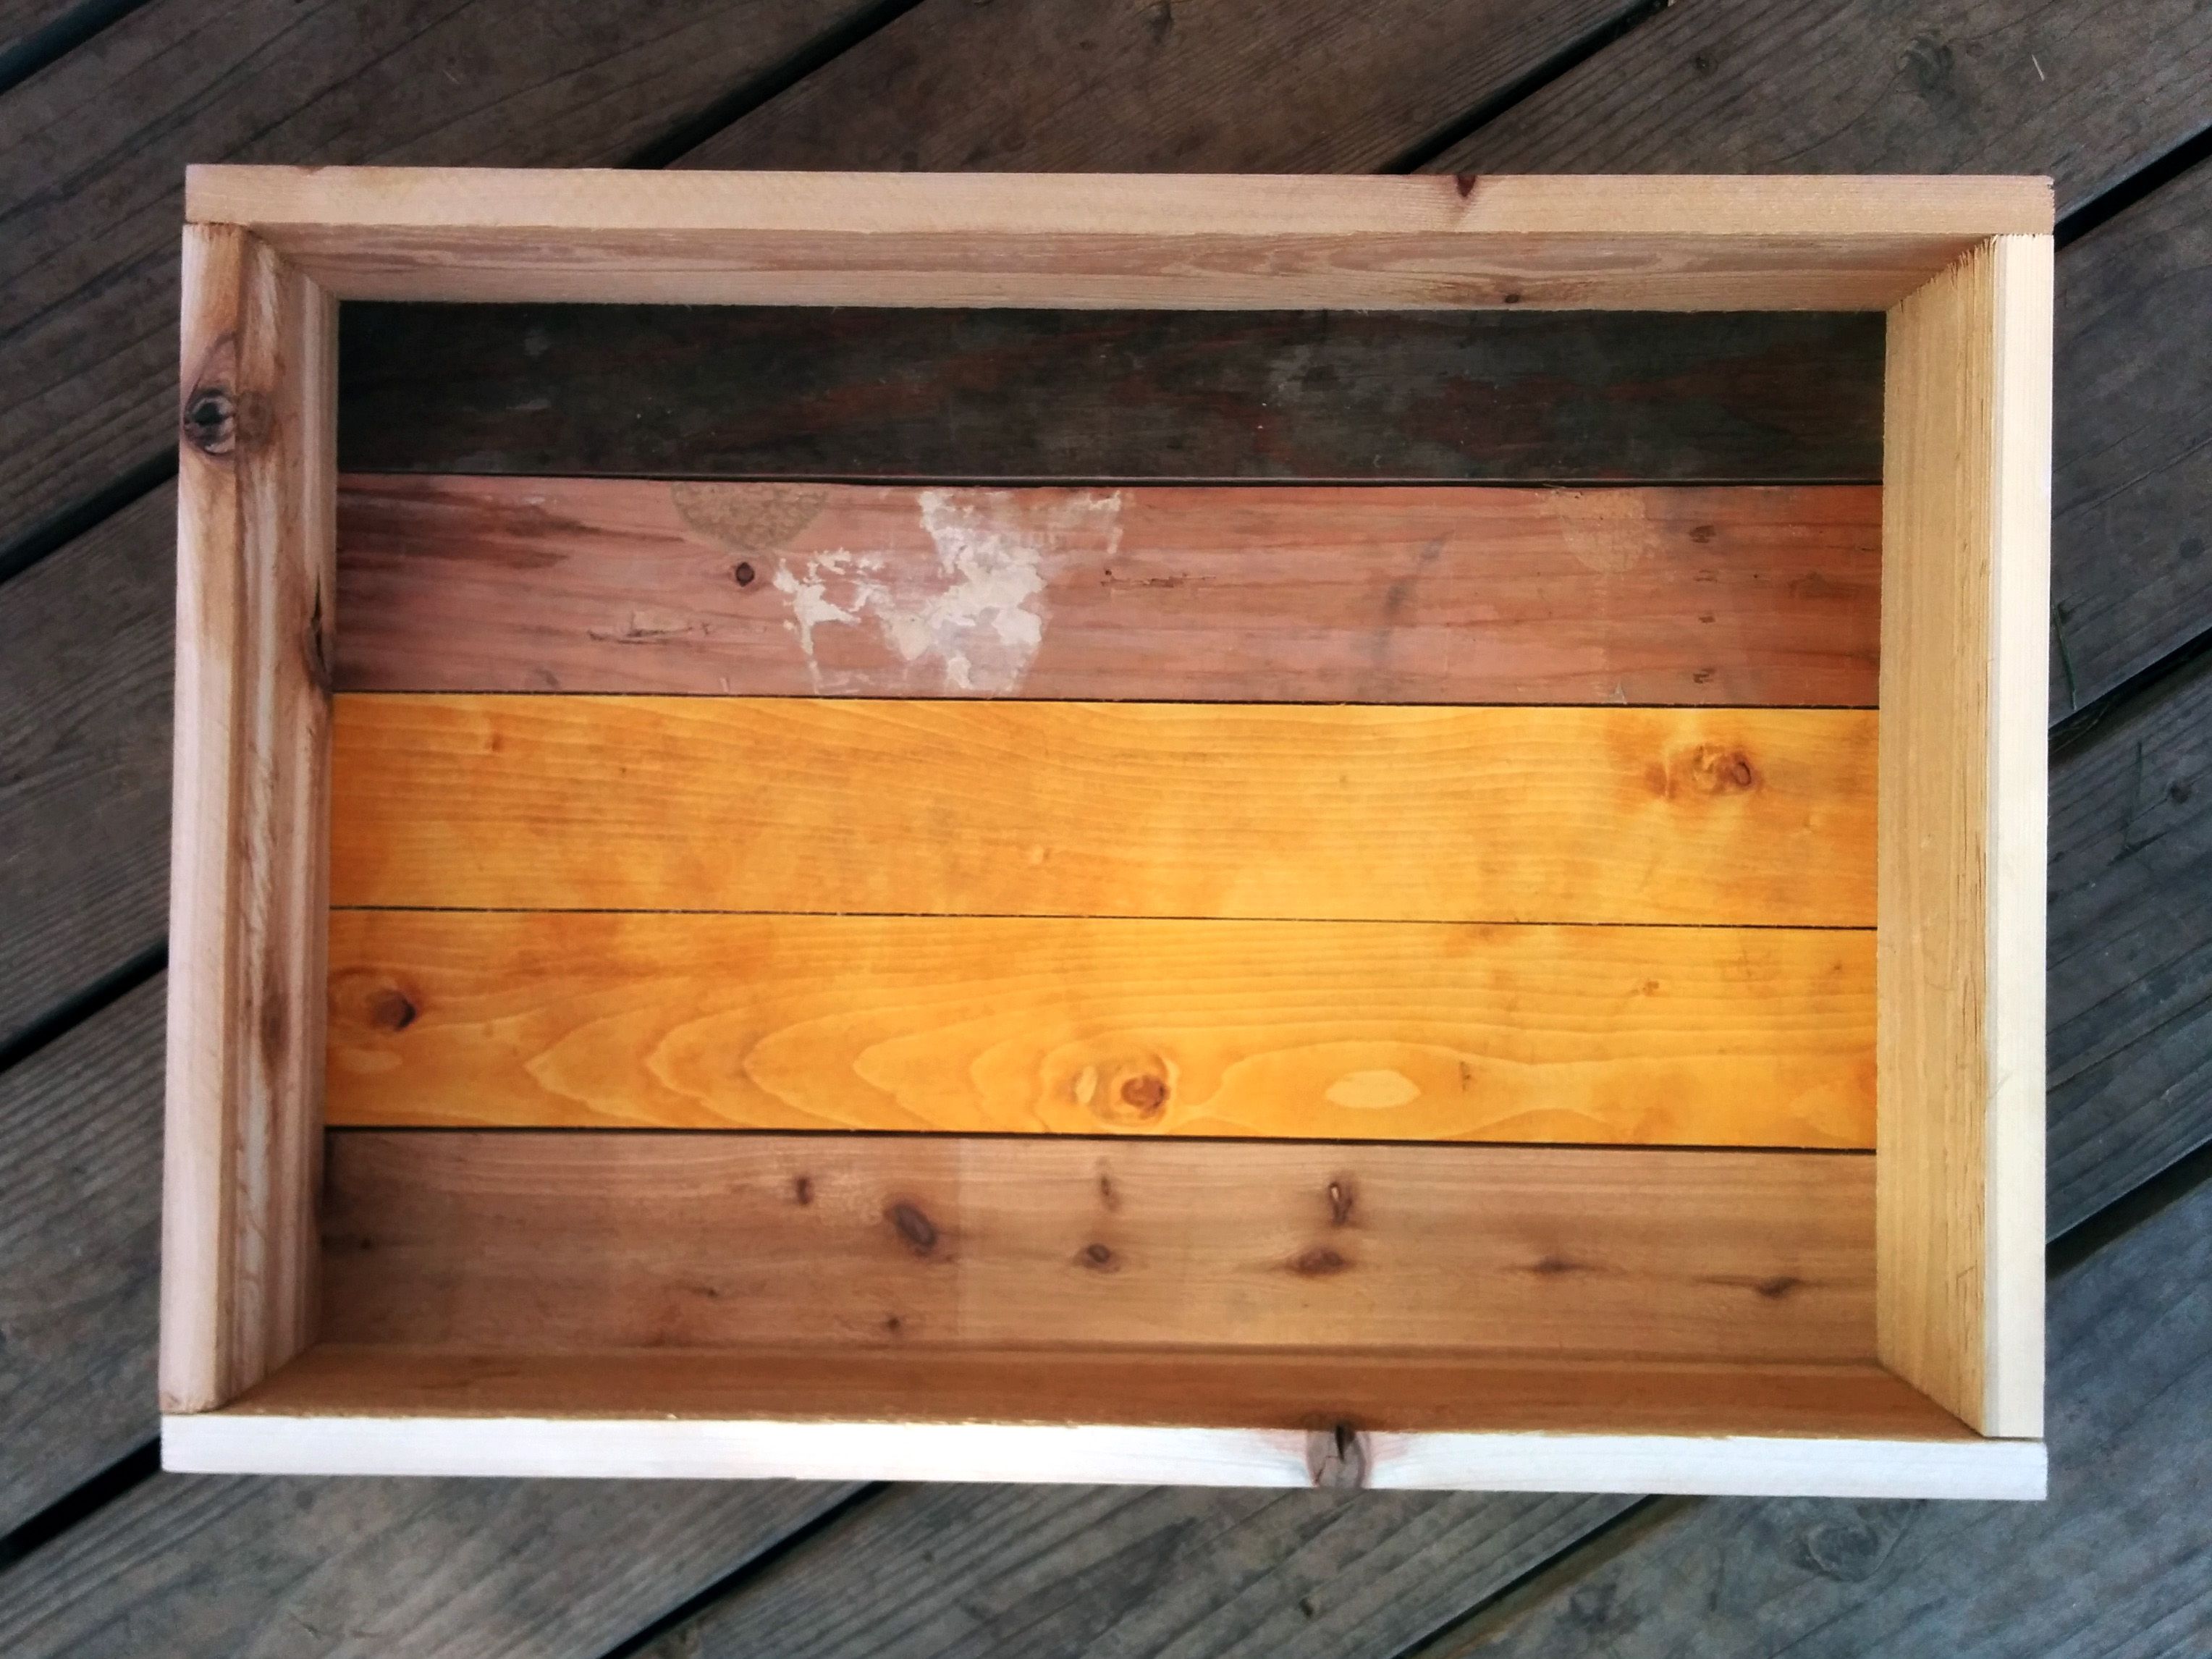
The wood was 3/4" instead of 1", but it seemed thick enough and sturdy enough to accept nails. A lot of the scrap pine wood was tongue and groove and I measured after the tongue and groove would be ripped out it would be 3 1/2" wide. So instead of sticking to the 3" depth I kept the extra 1/2" for 3 1/2" depth. Rather than cutting it out I figured it would come in handy later, and we didn't have to fill the soil to the top.
We also decided to adjust the measurements slightly smaller on the length so that it would be easier to carry. The long sides would be 22" and the shorter ends would be 14" for a total planting space of 14" x 20 1/2" x 3 1/2".
There were quite a few different pieces of wood in widths ranging from 2" to 5". I decided to use the non-uniform pieces as bottoms and have varying widths of bottom slats that would add up to the full size. It would have been easier to use uniform widths for measuring everything out but I wanted to take advantage of the free material and maximize the number of boxes we built.
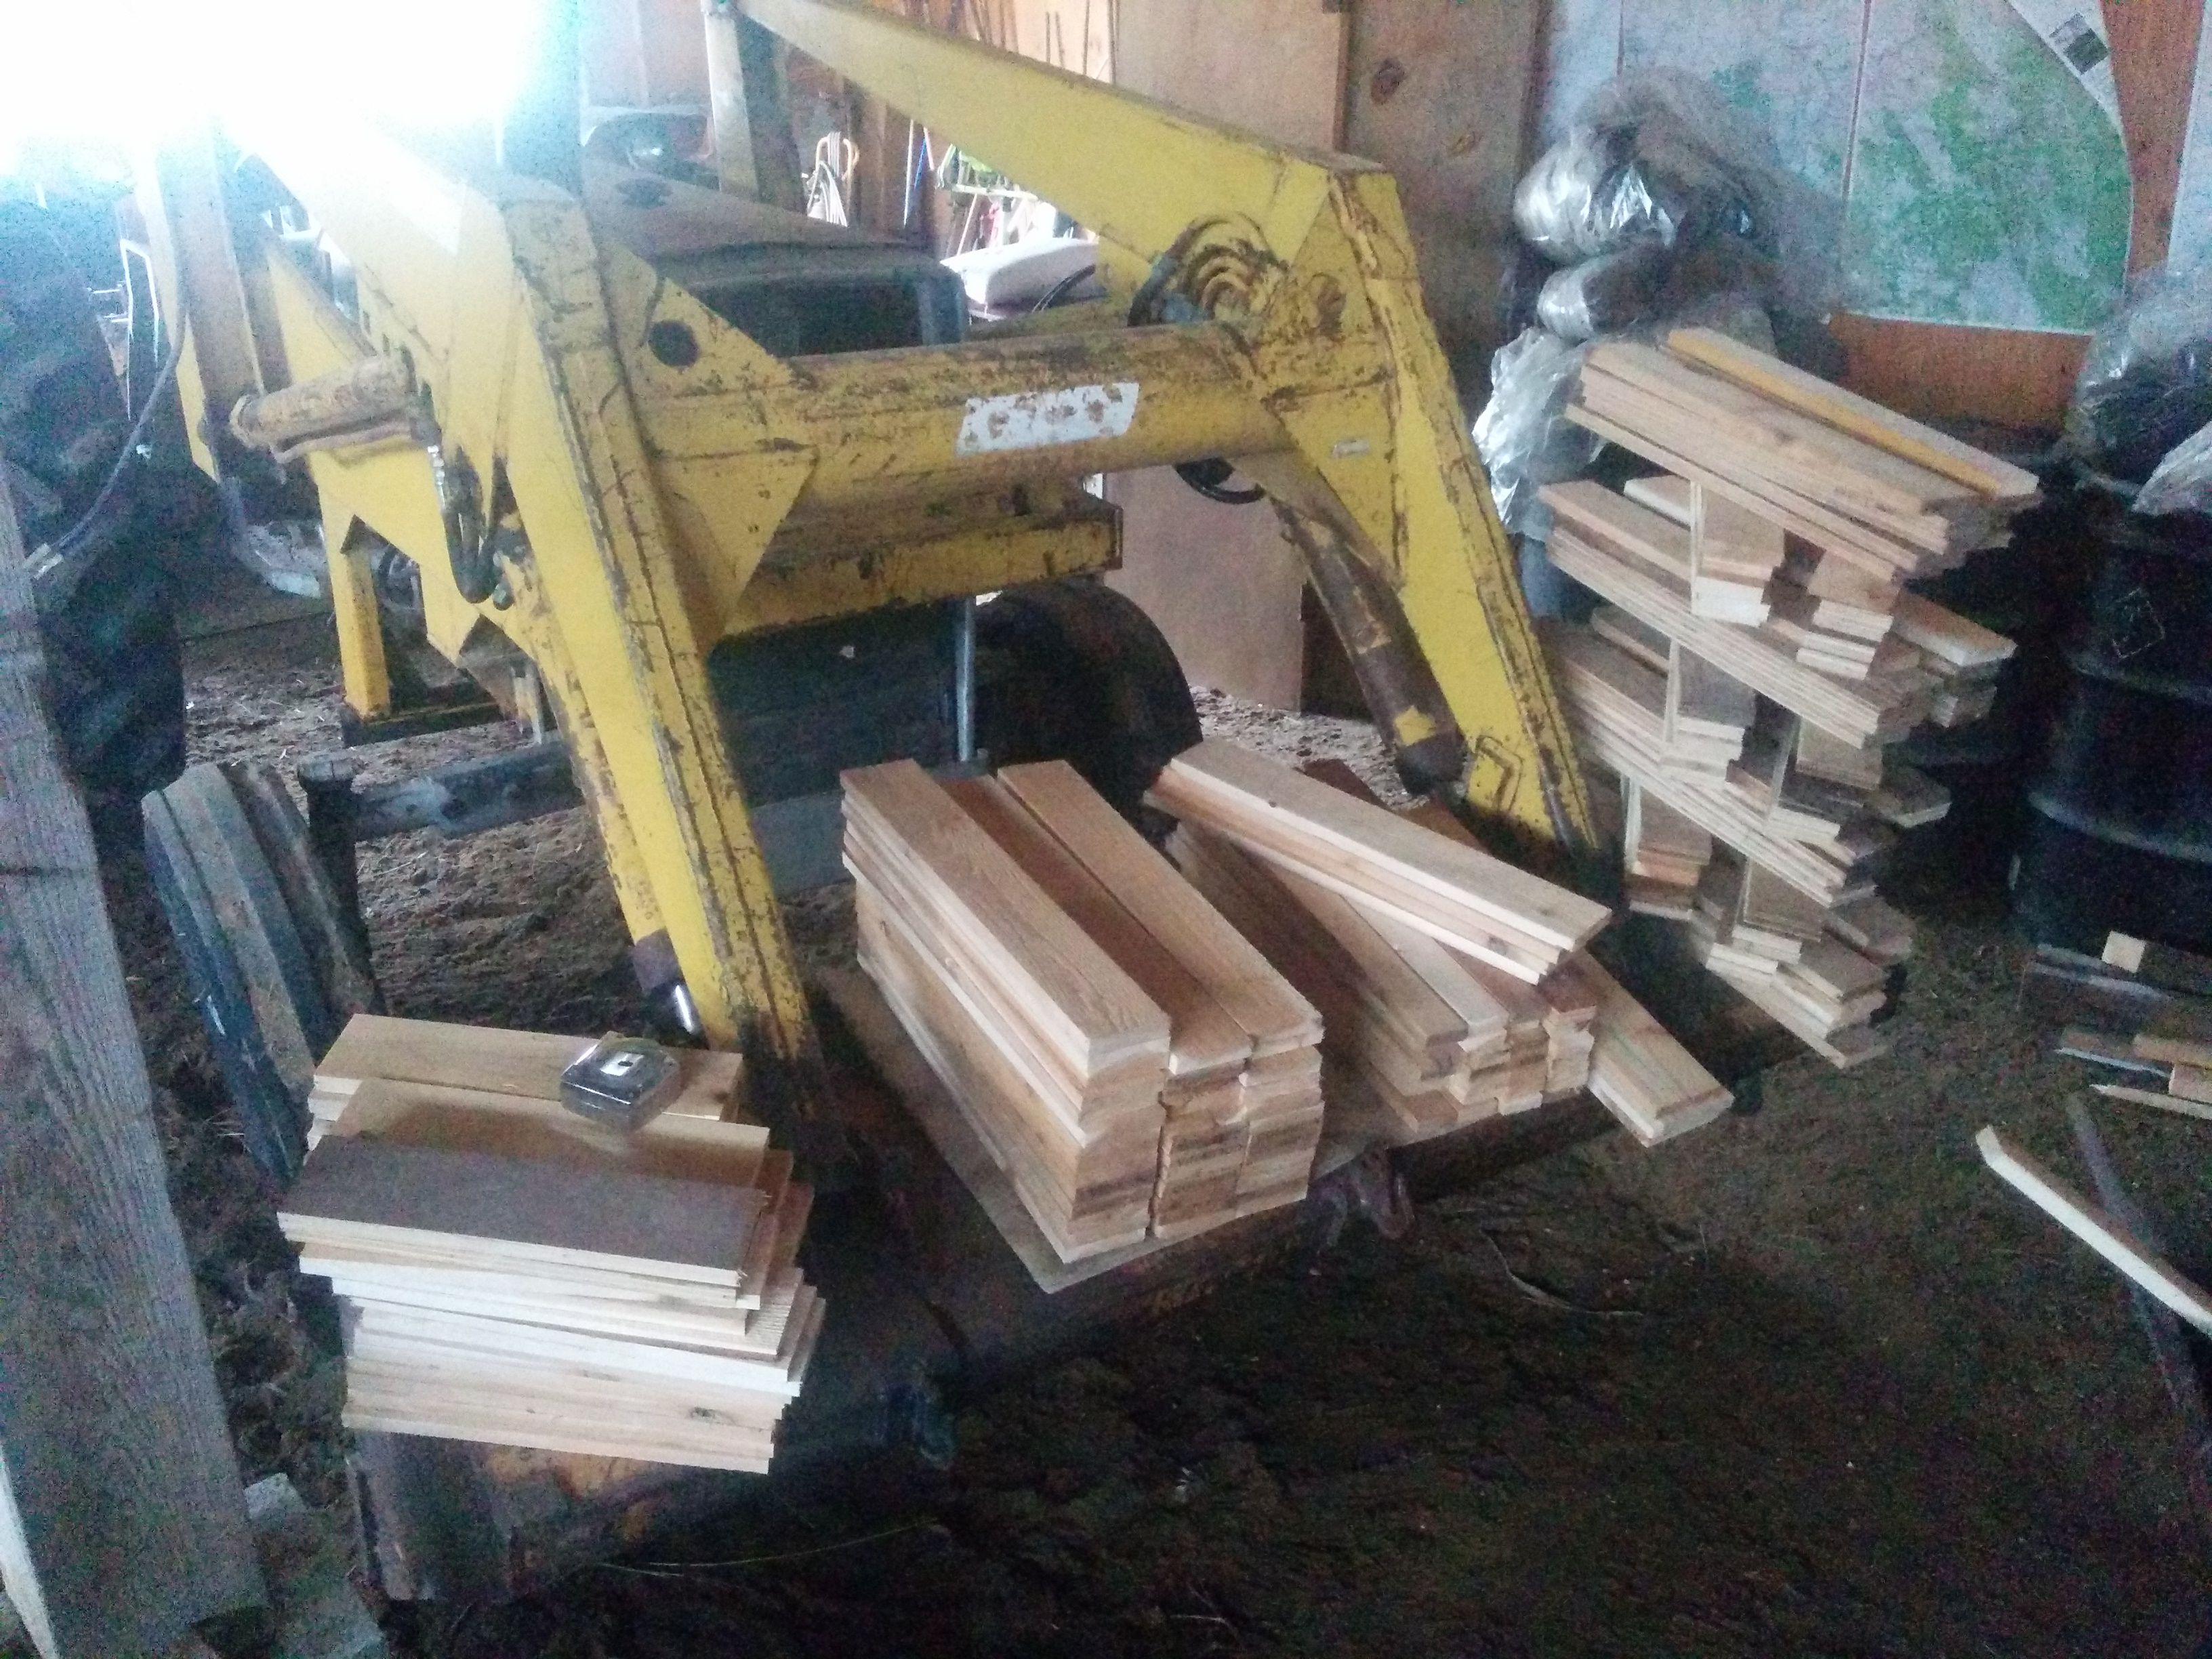
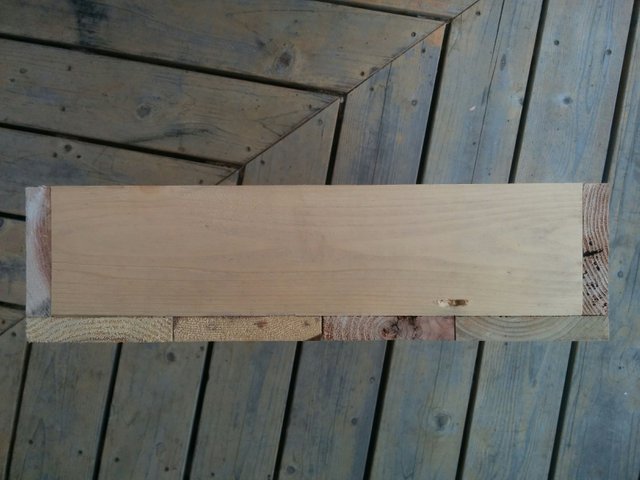
After getting the basic measurements figured out I started ripping all the boards I had at hand to the widths that I wanted to work with.
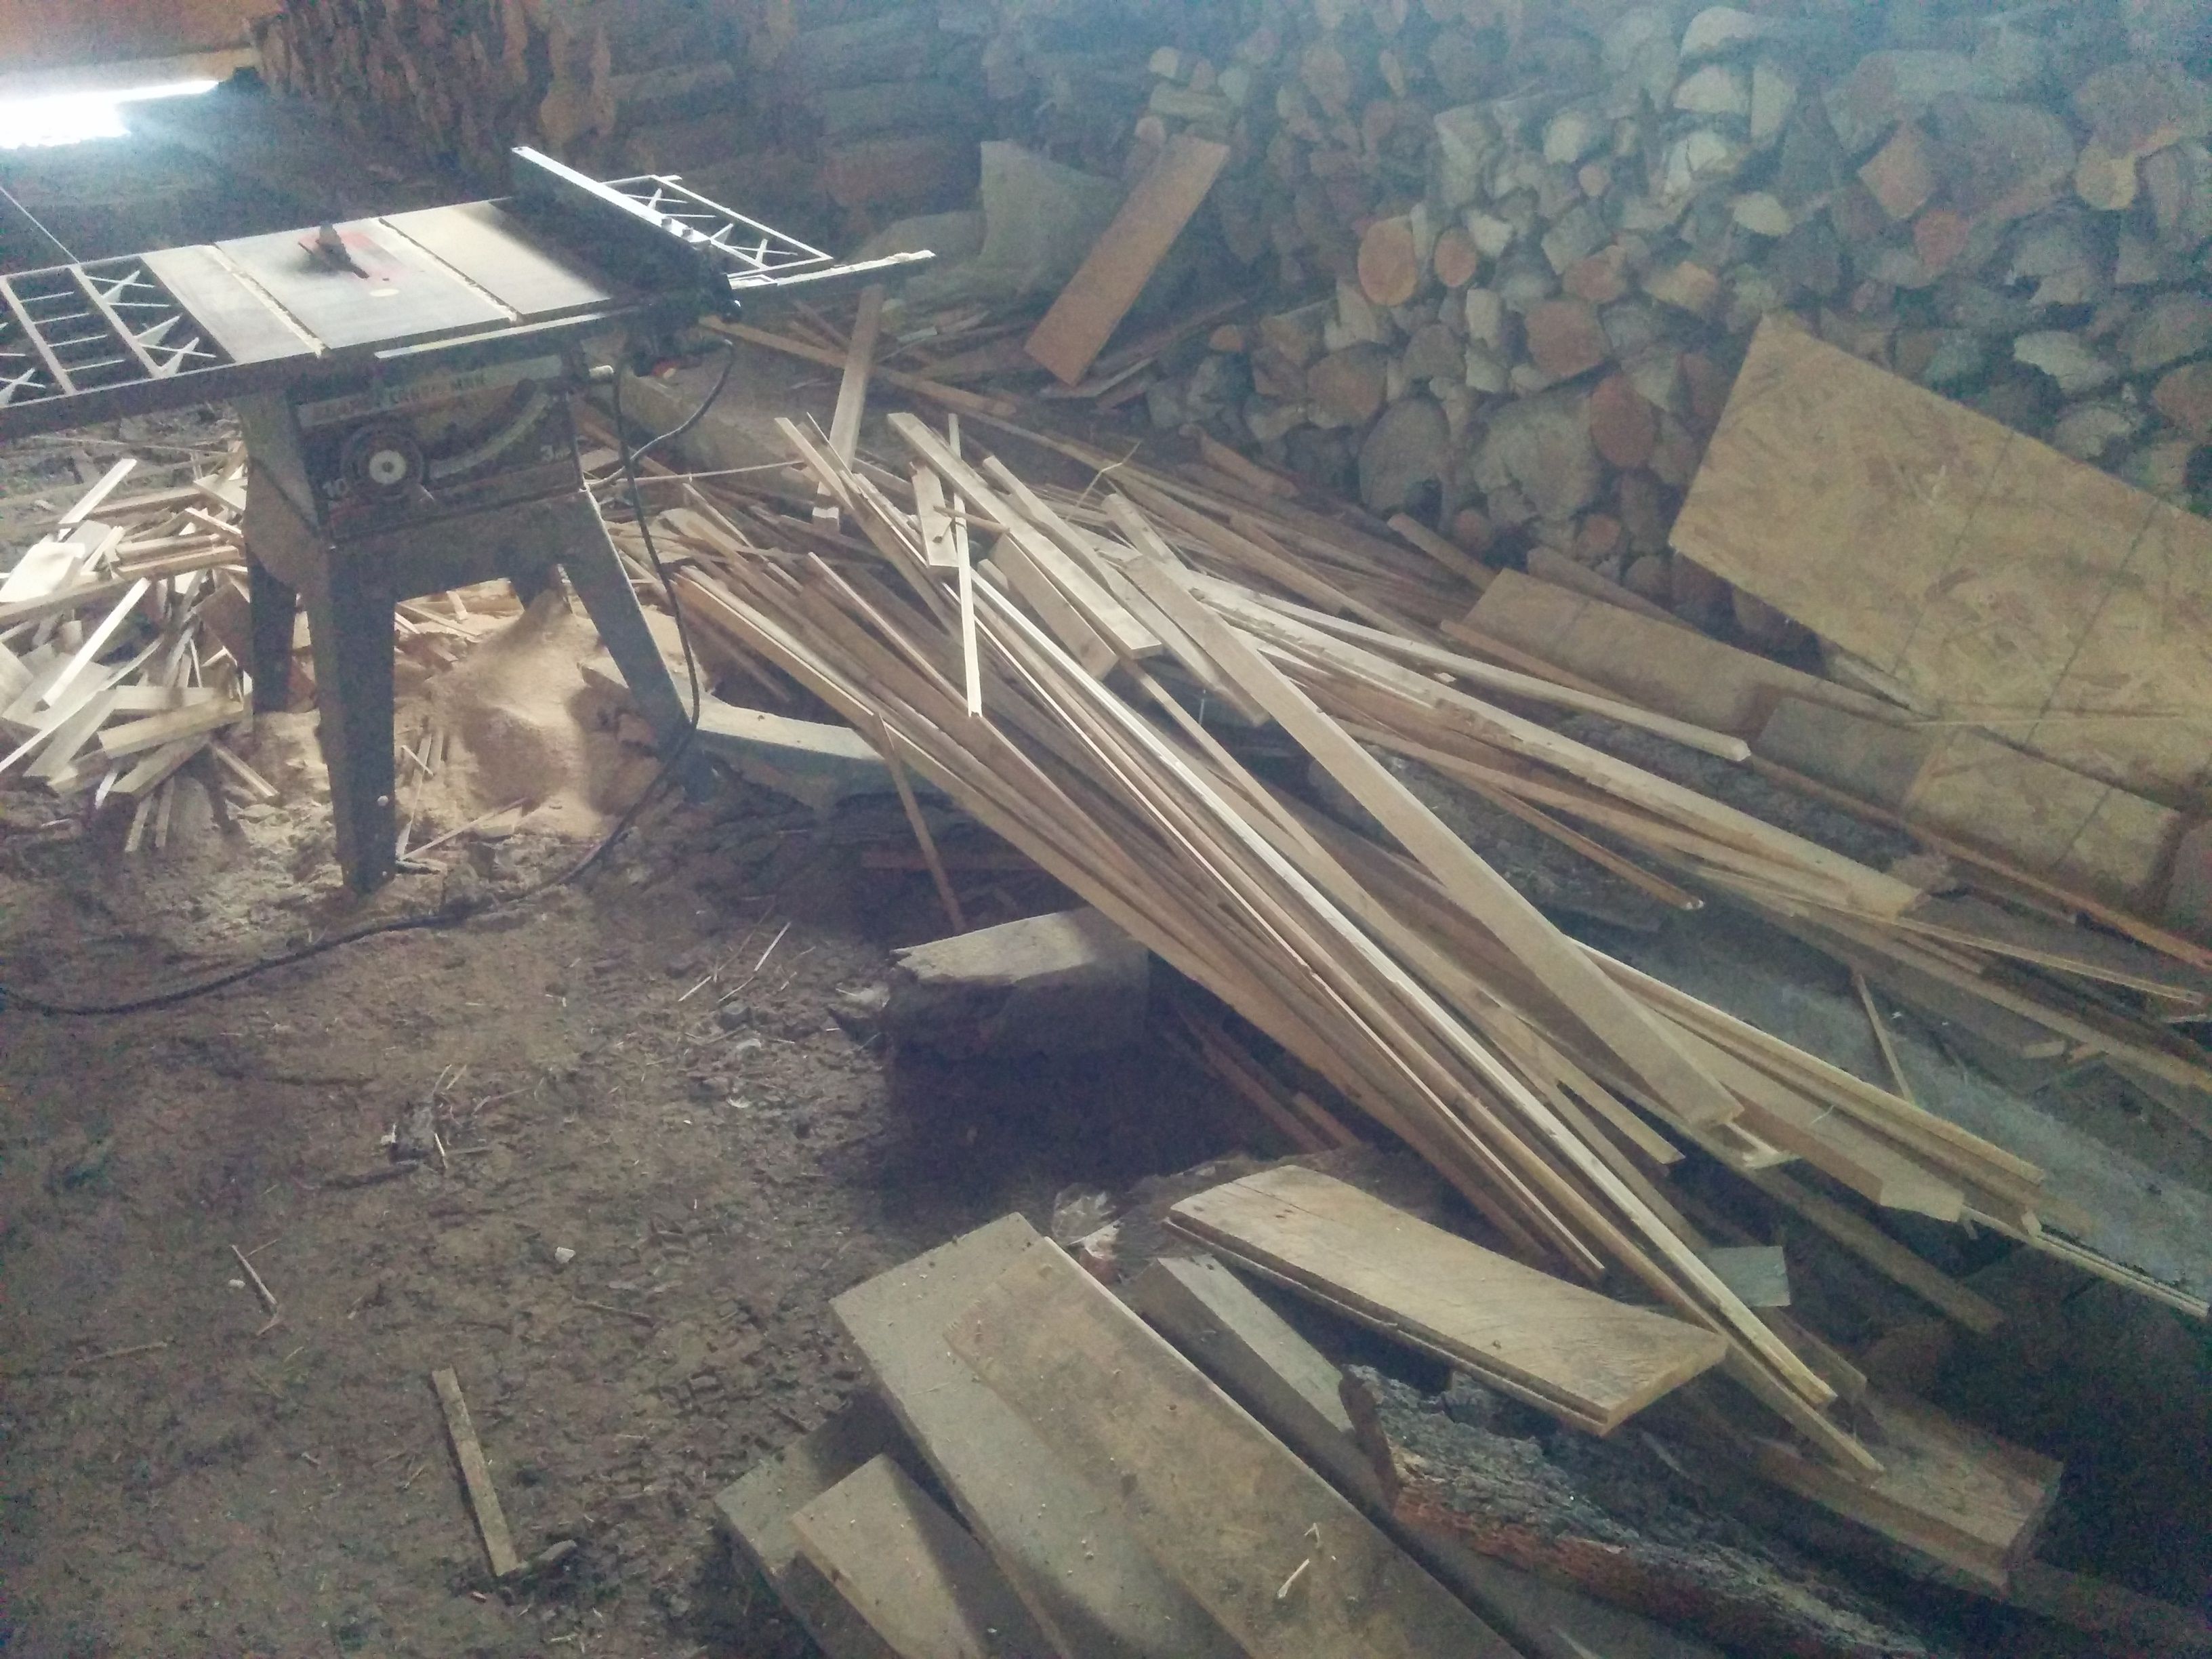
And then I cut them to the lengths that were needed. I started with enough pieces for one box and then lined them up for a quick prototype.

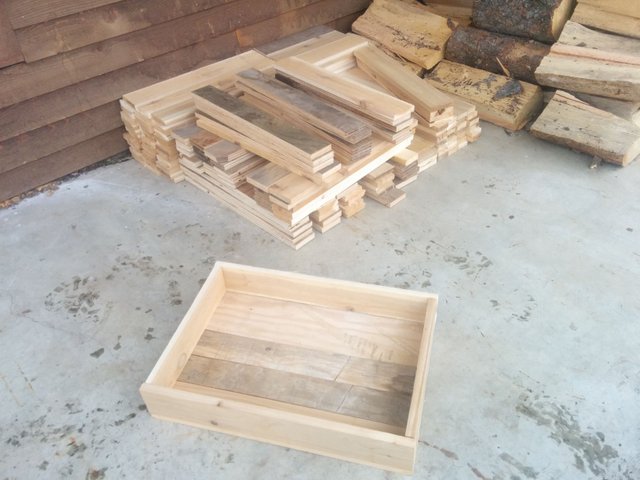
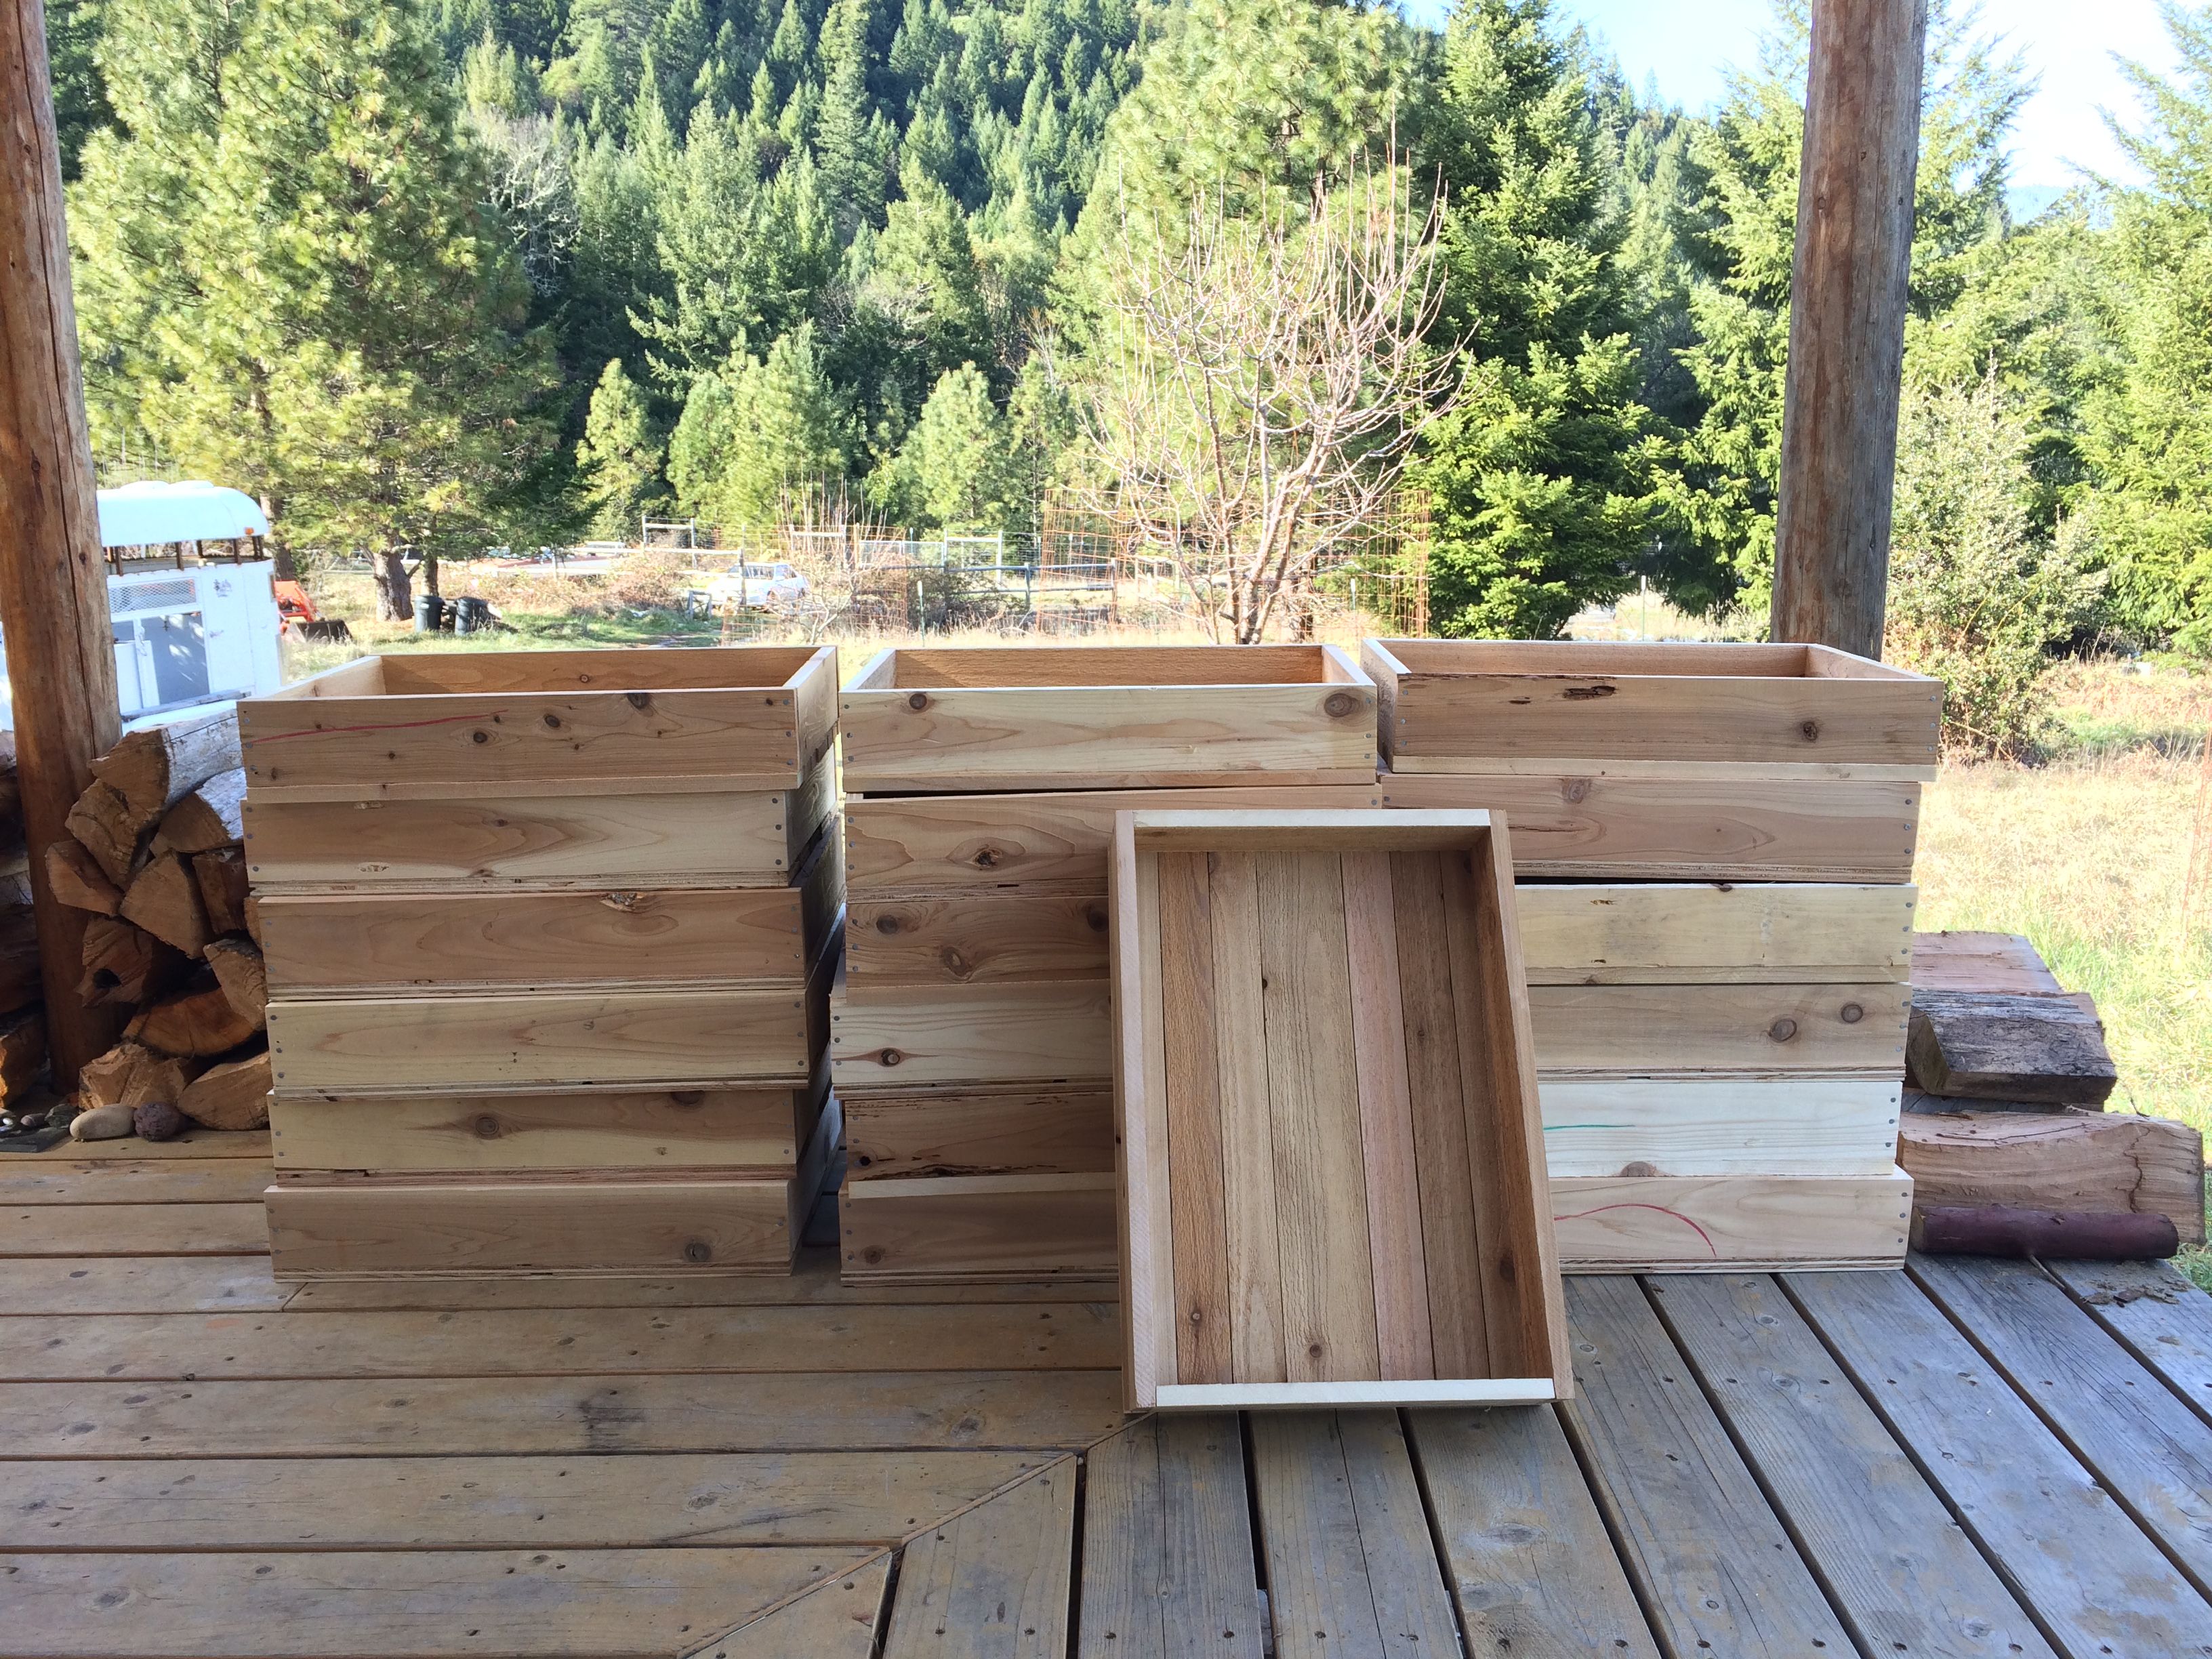
Everything looks good, I trusted my math and so I just went for it and cut all the rest of the pieces to size. After cutting out all the rotten and split pieces, I ended up with enough wood for 19 boxes.
Here it all is stacked up on the front porch waiting for us to move :)
Finally we arrive in our new home and amidst a flurry of unpacking we choose a sunny day to begin assembly!
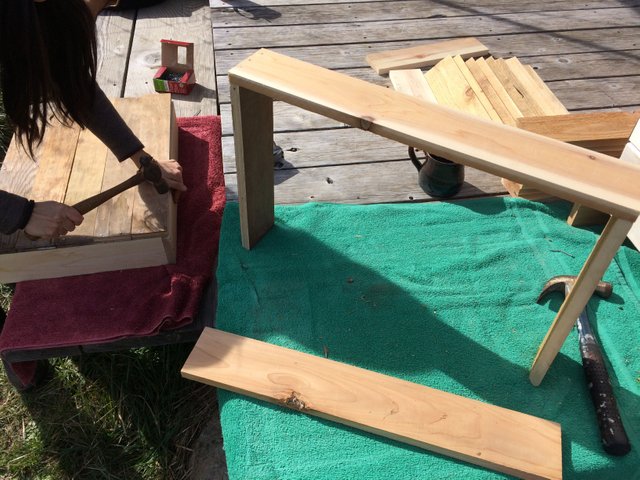
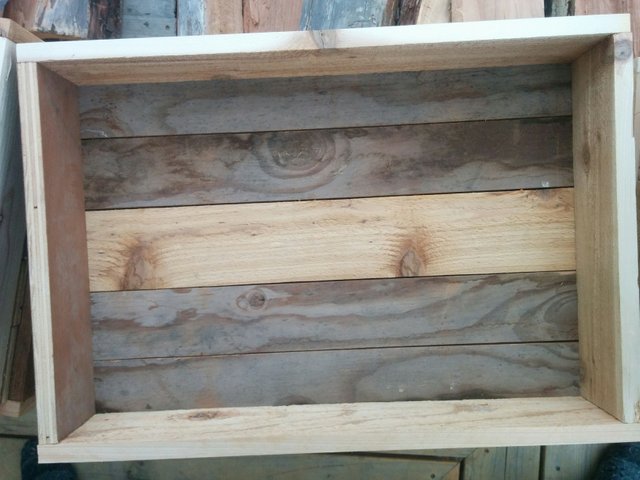
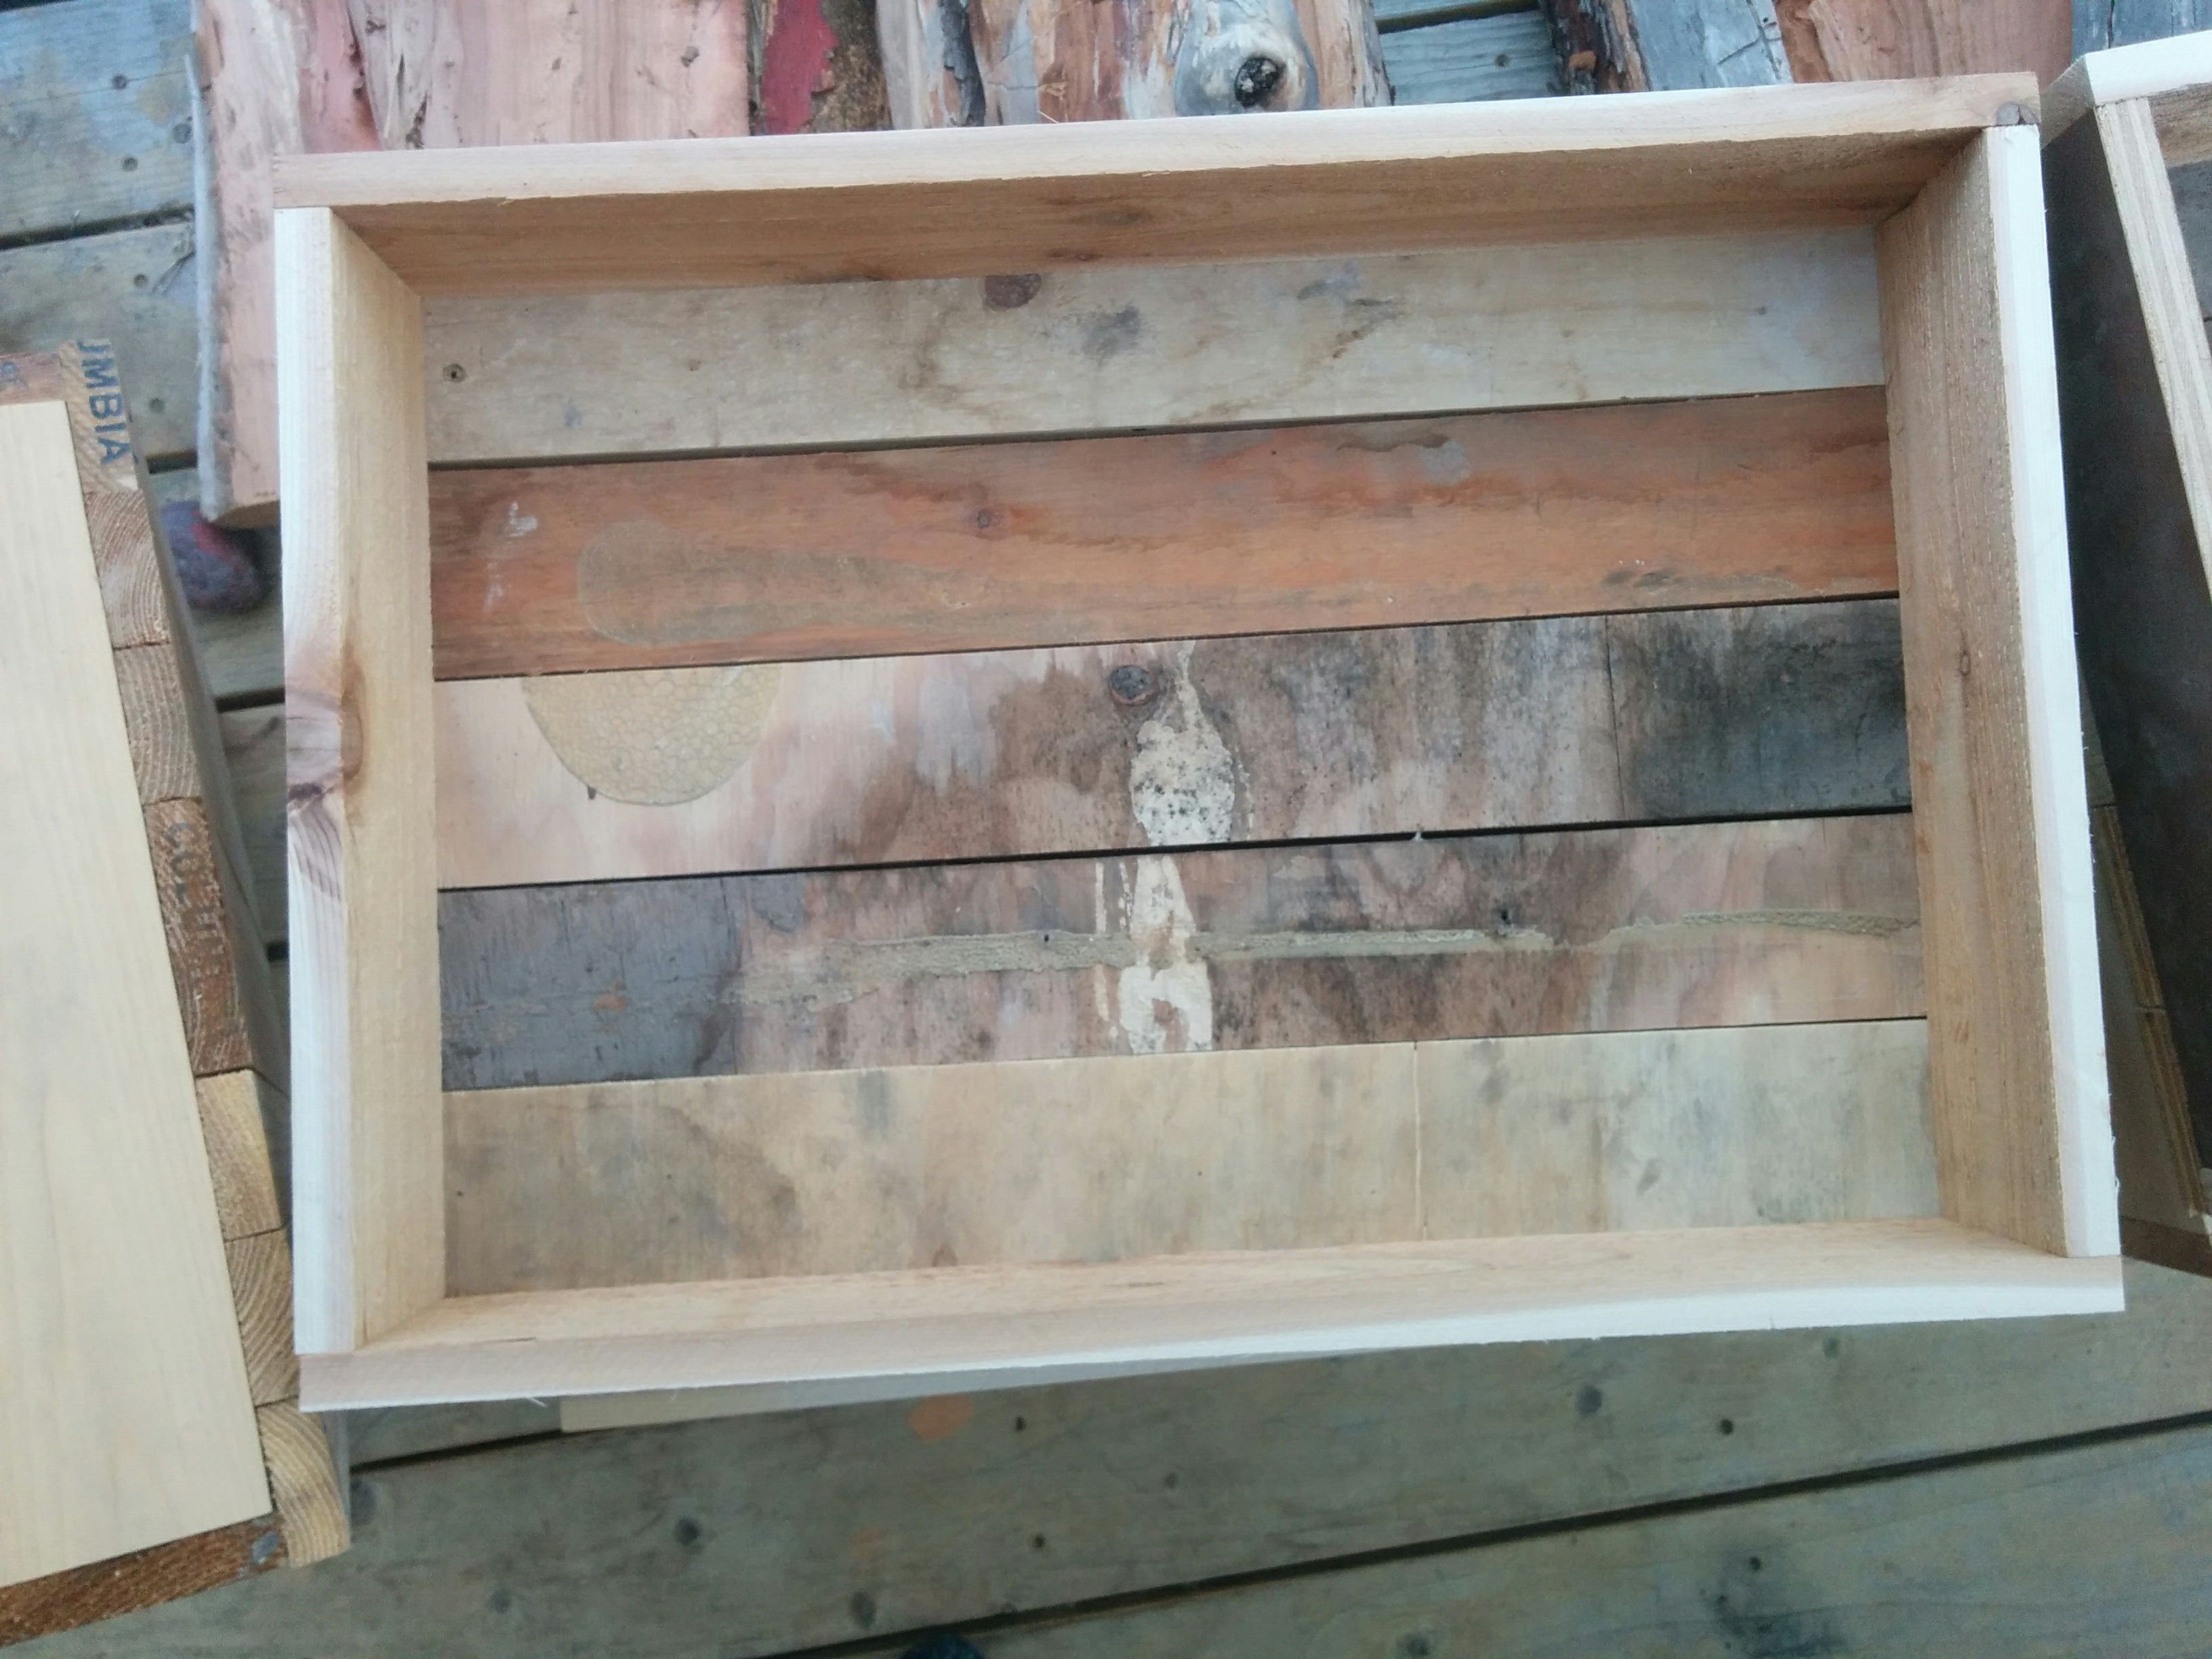
As you can see from the next 3 images the width of the bottom slats doesn't matter as long as they all add up.
The important thing is to have approximately 1/16" of spacing between the slats for drainage.
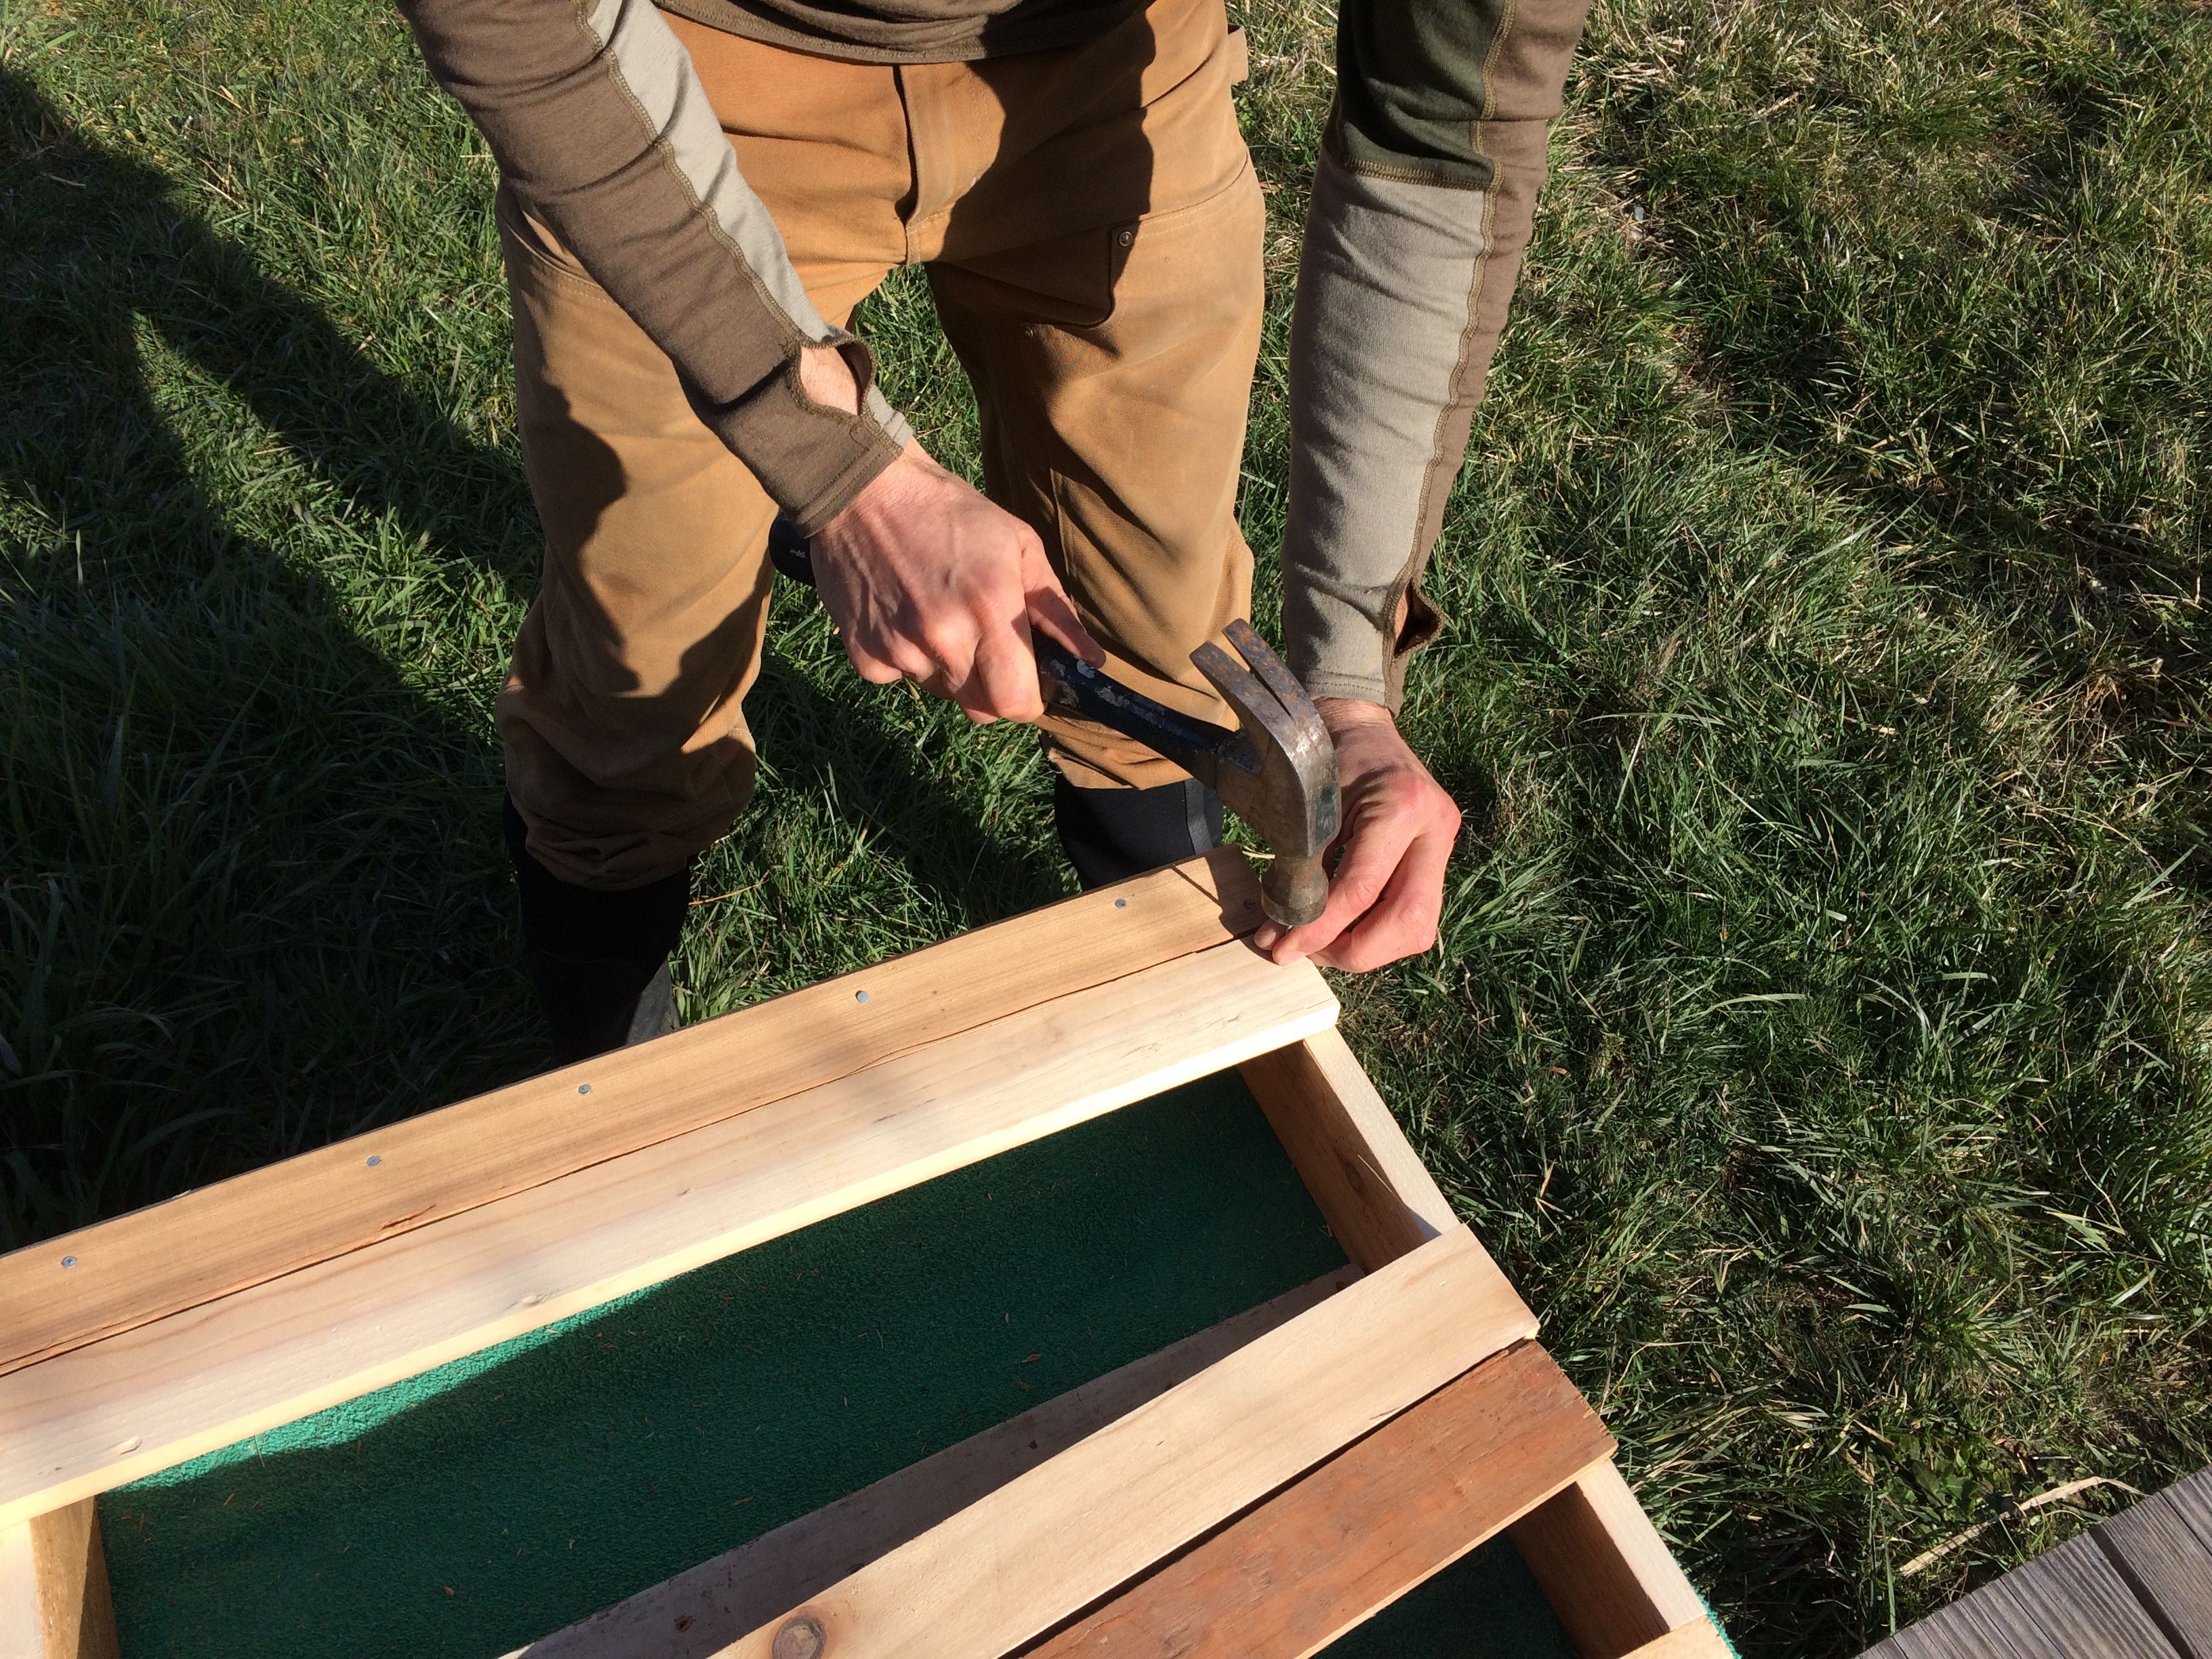
In case you got this far and you're inspired to make your own seed boxes, here are some closeup photos so you can see how we assembled ours. If you need to see the image in more definition you can right click and "view image".

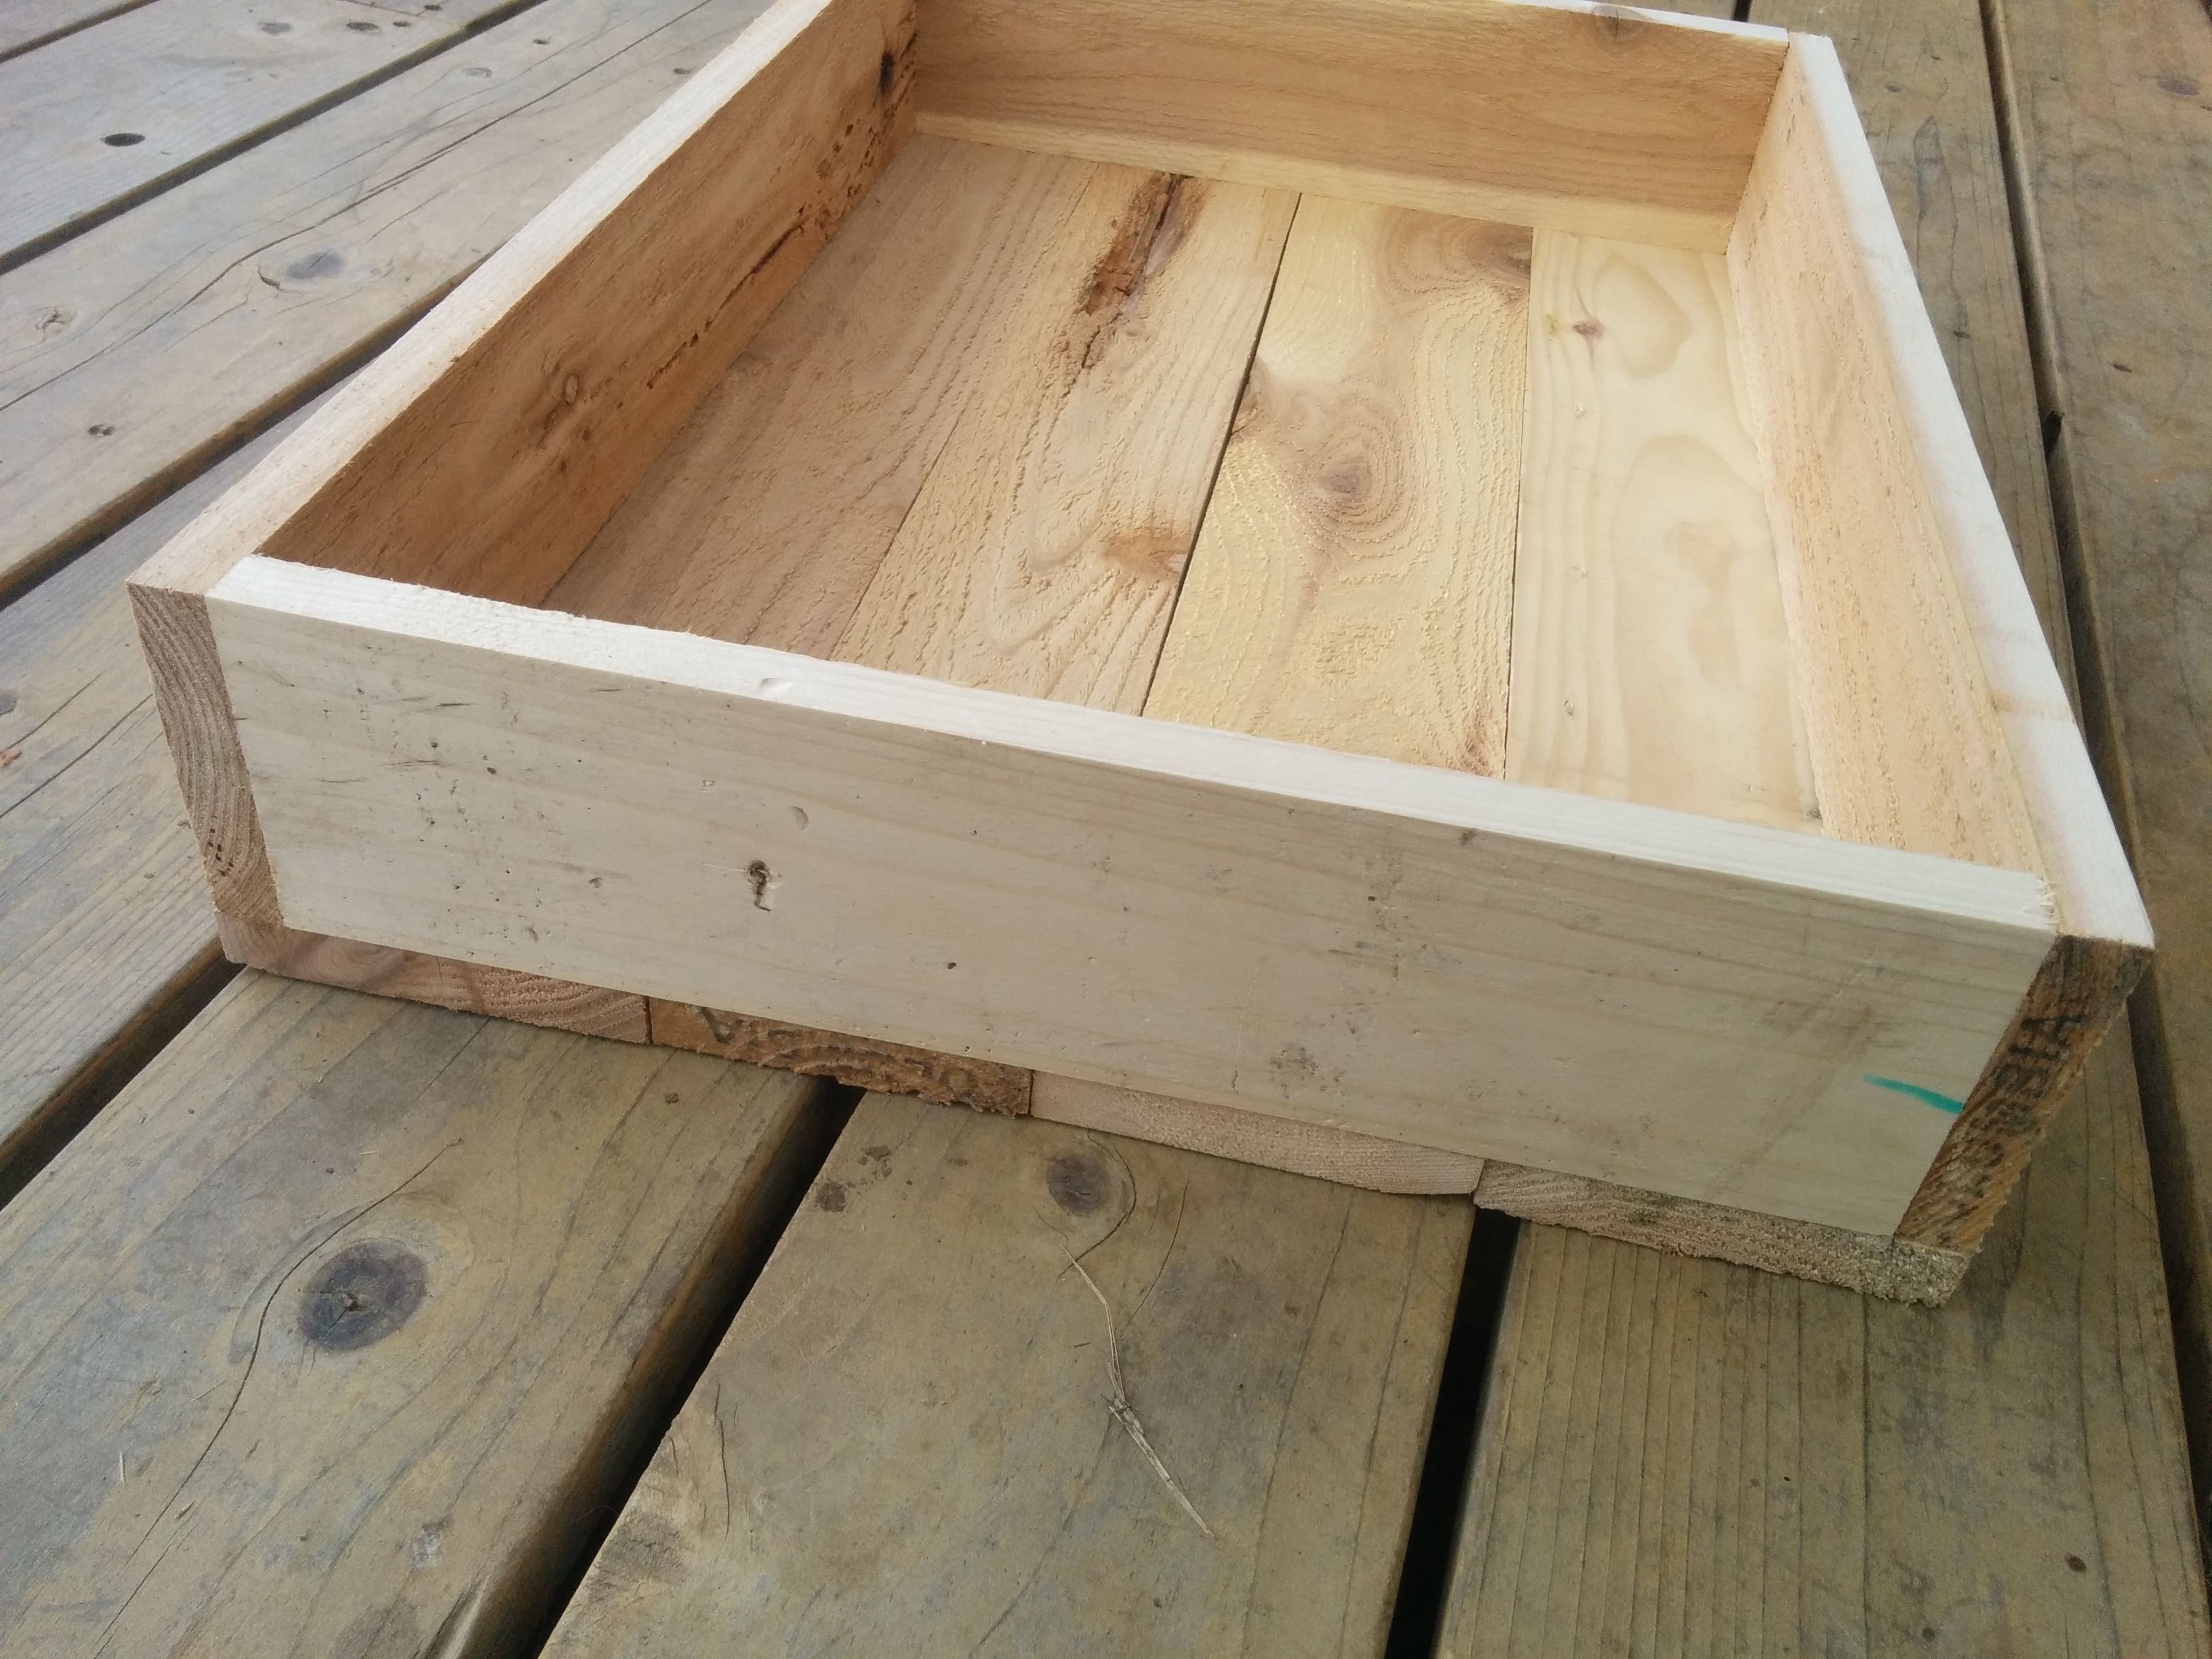
The ends and sides are nailed together with the shorter ends inside the longer sides.
So I measured the bottom slats to the same length as the wider sides.
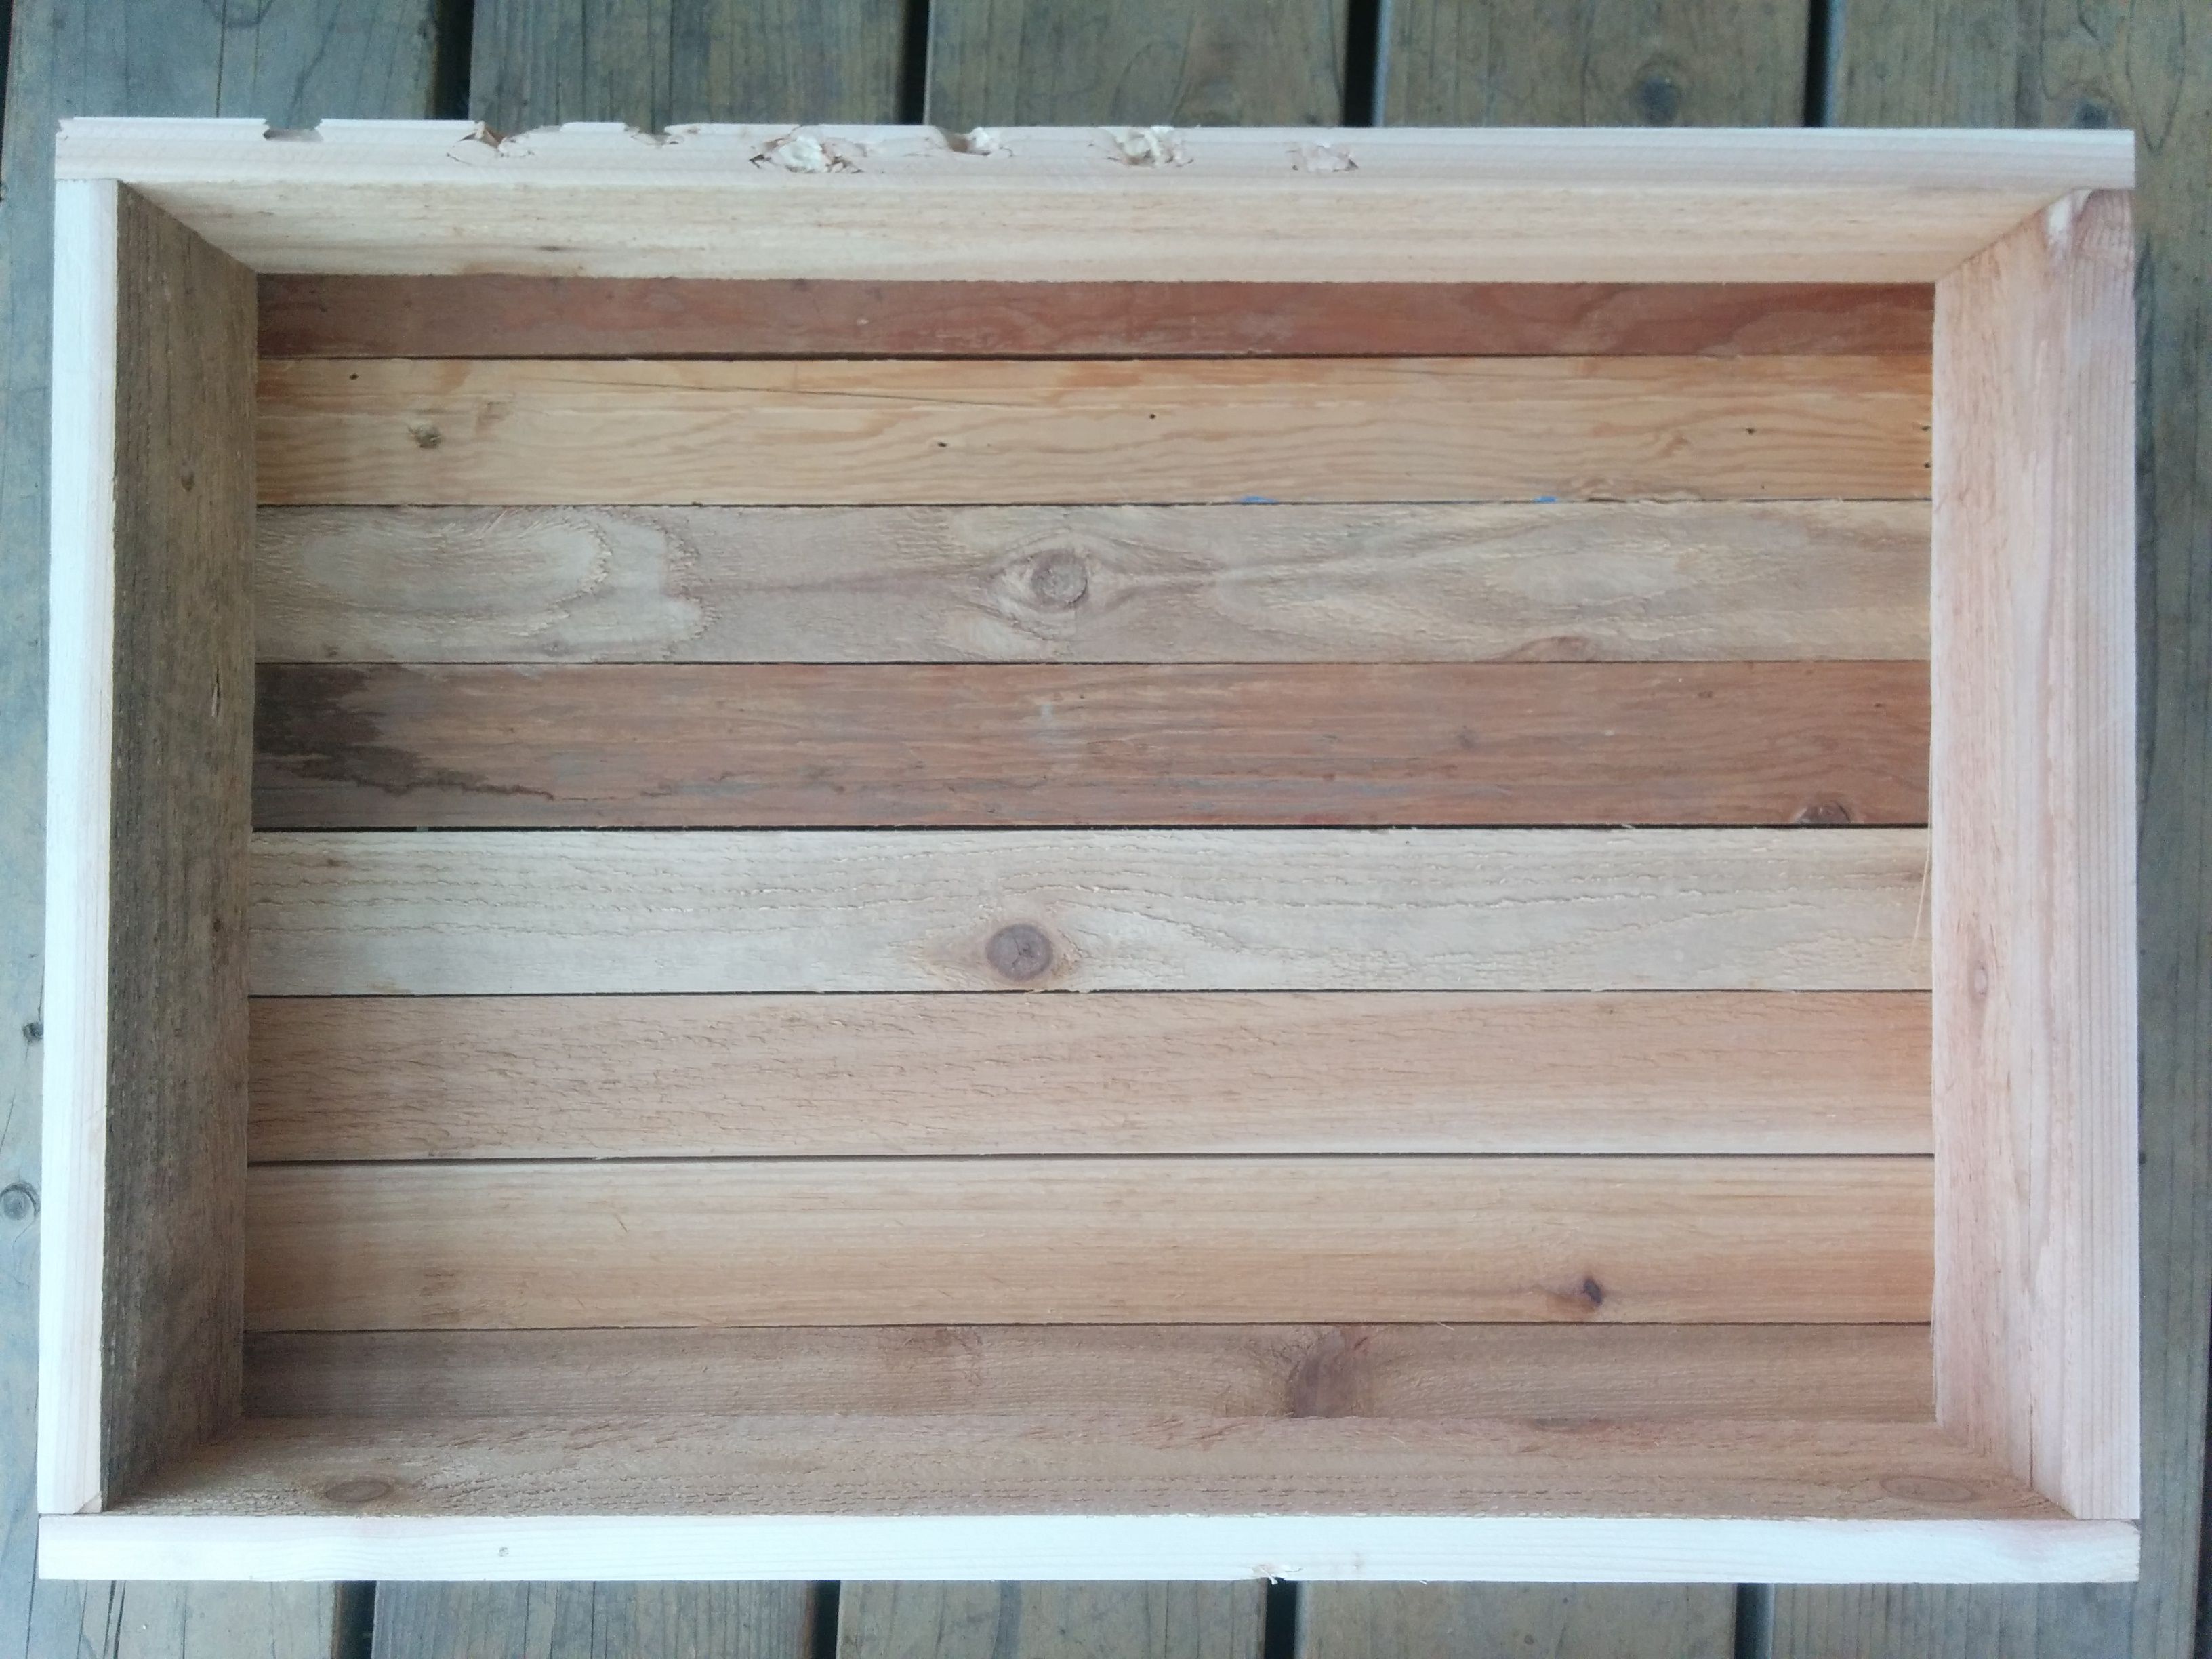
Here is the view of the end.
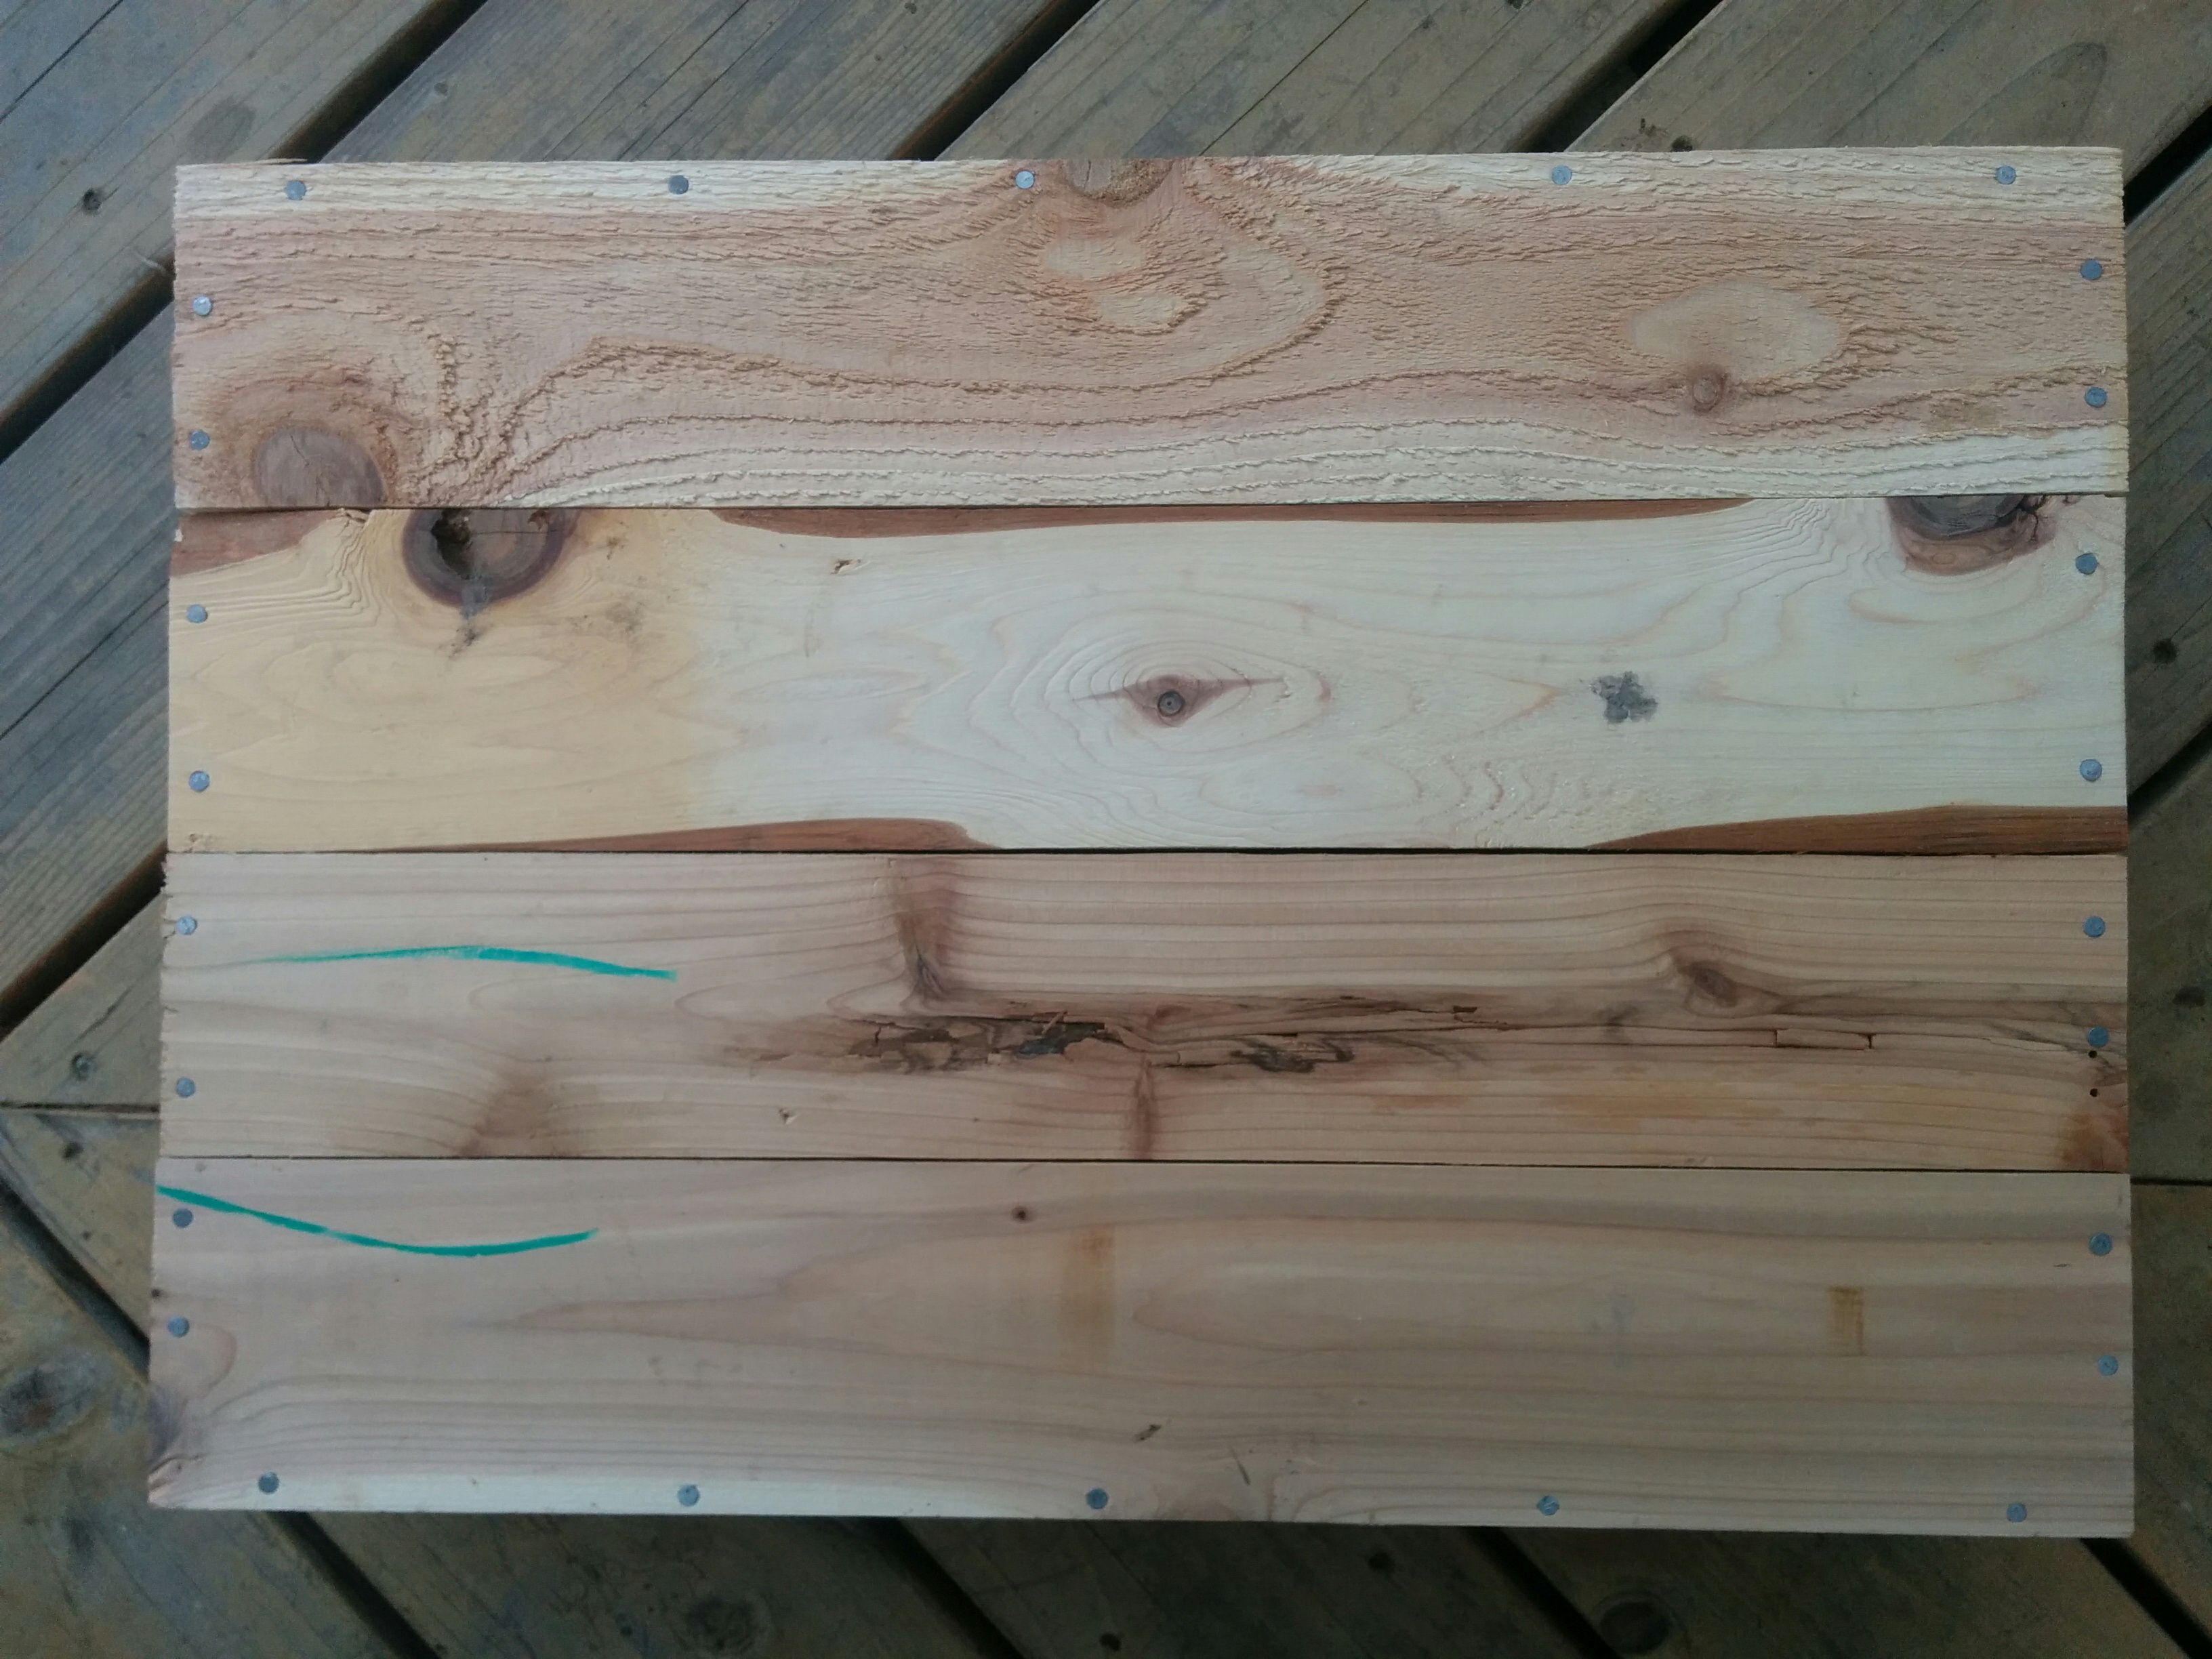
And here is the bottom view. You can see where we placed the nails.
Just to show an alternate style of assembly the Camp Joy flats had two thicknesses of wood (which just happens to be holding veggies :). The sides and bottoms were thinner than the ends, which might save some $ if you were buying the wood new or give you flexibility if you have different dimensions of wood lying around.

When all was said and done we ended up with 19 seed flats! It was about 2 days work with some luxurious breaks! Not too shabby. I am hoping they last for many years of gardening :)
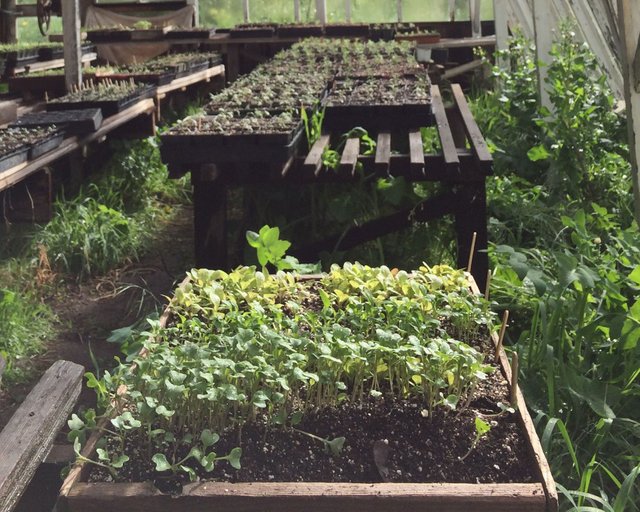
Now that the seed boxes are constructed we are working with homemade soil mixes for our seed propagation. More on that soon!
How cool is that. Thank you, gonna go find my hammer and @canadianwoodguy
LOL! Yay for team effort!
A very well organised and informative post.....I really like the way you explained step by step.....I really love plantation thanks for sharing.
Thank you @universalpro for your very kind and generous comment :)
This is outstandingly great. You're such a good carpenter. Thanks for the tutorial. Will put it into practice. Hope it's comes out as beautiful as yours. Have a great day.
How exciting! If you do end up making some flats I'd love to see them :) Thank you for your nice compliments :)
No problem but don't expect perfection
LOL I don't in my own work either... I think it's called wabi sabi :)
Great tutorial and those are some beautiful boxes! I could see my kids helping to put them together! Now I need to read up on how seedboxes are used. I told you, I'm new to this whole gardening thing. ;-) Might seem like a silly question, but how do you transfer the seedling to the garden bed, just scoop out gently to avoid damaging the roots of the neighboring plant?
I will be posting my experience and pics with using the seedboxes in the the coming days/weeks/months for sure! The short answer to your question is that you can pretty much seed into the flats as tightly or as spaced apart as you want. If you seed them tightly you would need to "prick them out" or transplant them into other boxes, pots or into the ground sooner than you would if you spaced them further apart in the flat. Some plants are much pickier than others when it comes to transplanting, but in general many plants are quite resilient and easy to transplant as long as it's not during a really hot part of the day. So yes, just scoop them out, carefully separate eachother's roots if they are close and intermingling and plop them into their new home wherever it may be :) You'd be surprised what kind of handling some little seedlings can put up with!
THOSE are great! Small enough to move when needed but sturdy enough for the weight of the soil and dirt. Plus you make the process look simple.
Thank you @goldendawne! Your thoughtful comment means a lot to me :) I'm already enjoying them and I don't even have anything growing in them yet!
This is a wonderful post, good clear photos. If I EVER get a greenhouse, I would love to have these for seed starting, etc. I resteemed so I can refer back, just in case... But now I start in the house and the leaking....
Thanks for your nice words @goldenoak farm :) I feel lucky the home I am renting has a small attached greenhouse... Next year might be a whole different story LOL. Good luck with your leak.. I hope it is not too bad!
I don't have a greenhouse but was referring to the wooden boxes leaking in the house when watered. Right now this is my set-up:
I invested in rigid trays as the cheap flimsy ones would break corners and leak.
Oh i gotcha now! Wow that is a very pro setup. I like what you have going on there! Thanks for sharing the picture :) Is this current? Your plants are already quite nice sized.
No, this is current:
Storage onions top shelf, kale and flowers second shelf, kale under 4 lamp light. I am only Zone 4a so I can't start things as early. These were started Feb. 27.
They look like they are doing great and nice sized already! Thanks for sharing the photo :)
This is great! I love the entire step by step tutorial, it is something worth trying and I won't hesitate to do that.
Thank you @ewuoso!
I luuuuuuuuv the wooden seed trays!
I am going to bookmark this page so I can remember what to do when spring rolls around. I can use some of the wooden pallets I've been collecting. So much nicer than the plastic trays. :D Thanks for sharing the plans. Your boxes look wonderful, well done.
How exciting! What a great idea to repurpose wooden pallets! I hope that they are untreated chemically. If you do make them, I think it would be a project that would interest others as well, since pallets are readily available :)
Thank you. This is such a great way to re-purpose old bits of wood.
:)
Excellent, I love the wooden trays! Congrats on the move, exciting times!!
Thanks @karenfoster!