How to top up a lasagne 'no dig' garden bed
This morning I decided to top up one of my lasagne/no-dig garden beds, the birds were chirping, humidity was below 50% and this bed receives early morning shade so there was nothing stopping me ( I ran out of excuses!).
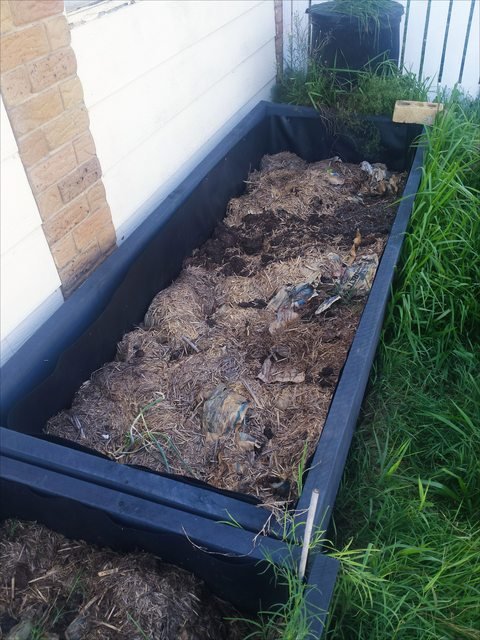
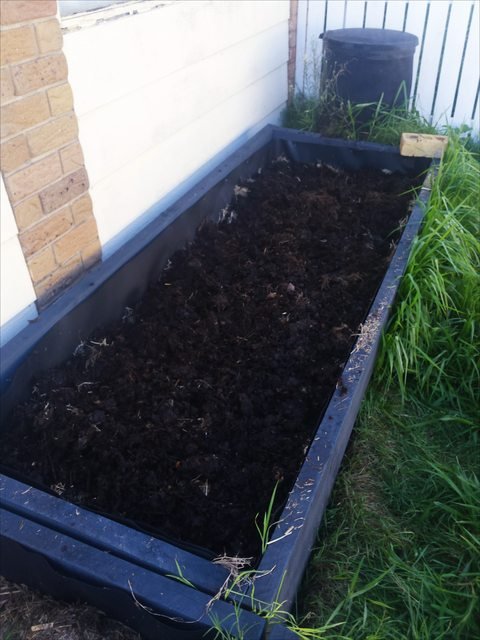
You can see from the photo below, that the soil height of this bed has dropped significantly, which was to be expected considering we built these lasagne garden beds 12 months ago.
What is a lasagne bed you crazy lady?
Lasagne gardening, no dig gardening, sheet gardening, gardening for lazy people (like me!) involves alternating layers of green and brown materials to build up a garden bed on top of the soil rather than tilling or digging up the existing ground.
Eventually these materials start to break down into soil, which combined with veggies extracting the nutrients results in a significant drop in the soil level.
I had to take a moment to appreciate how delicious this soil looked, soil which was created by throwing a whole heap of stuff together and letting nature do her thing.

Okay, enough about me getting all attached to my soil, that's just weird.
I purchased some products yesterday to assist in this top up, eventually I hope to only buy the sugar cane or straw- as I should be able to generate enough compost to top up the beds once they become more established, rather than having to buy chicken manure (seeing as now I have 4 chickens!).

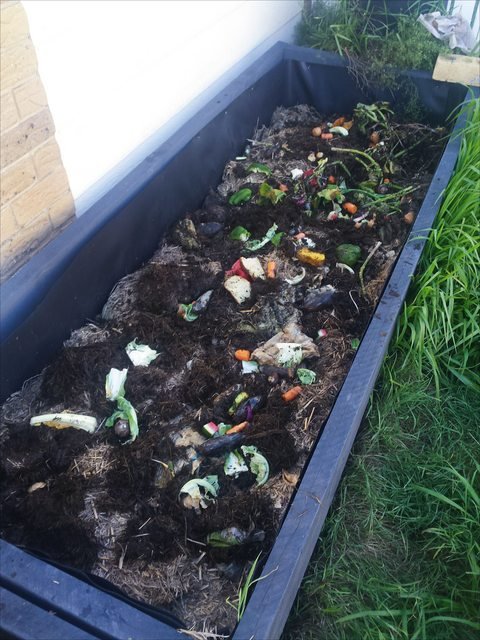
Step One - Chunky Green Layer
Throw on any chunky fruit and veg scraps you have hoarded, anything which you would usually add as green items to a compost (fruit, veg, lawn clippings, green leaves & thin branches). I have also included ground coffee beans, egg shells and some uncomposted items recently thrown into the compost bin.
This is a green layer, and I put the chunkier green items further down so that they are closer to the worms and not right near the surface where rats might dig them up...have you ever seen a rat dig though?
Step Two - Chunky Brown Layer
Create a layer of brown items, such as dried leaves, newspaper, straw etc. I used some Lucerne I had left over, brown paper bags, dried leaves and some sugar cane mulch.

Step Three - Green Layer
Add another green layer, this could be the same as Step One (but maybe not quite as chunky), I like to use animal manure too, so this layer was a bag of organic composted chicken manure.
Step Four - Brown Layer
Sprinkled with sugar cane mulch as another brown layer I also watered this layer in.
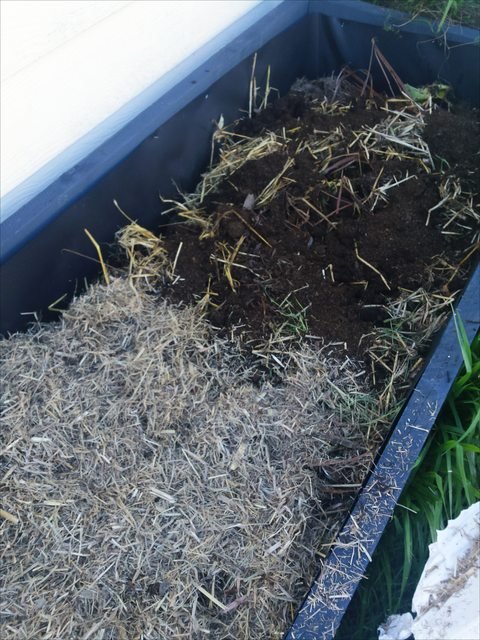
Chicken manure layer being covered by sugar cane mulch
Step Five - Compost
As I am getting closer to the top, this layer is a compost layer, so I took the little compost I had in my compost bin and excitedly spread it over the top to form a layer.
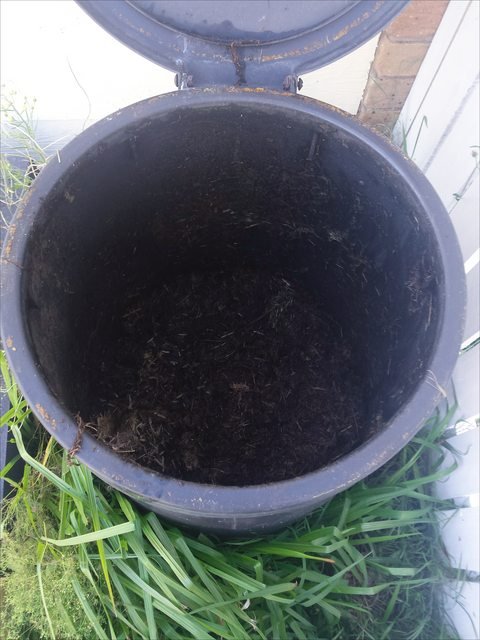
Thanks to my weirdly long arms I could just get down to scrape the bottom
This was a fairly small layer, about 3 inches thick, as I have kinda sucked at composting...so when I plant I might need to create holes and add more compost or soil in the planting hole itself.
Step Six - Additives
Sprinkled 4 handfuls of complete Organic Fertiliser which contains manure, fish meal, natural minerals, seaweed, blood & bone and sulfate of potash. I haven't tried adding pelletised fertilisers before, but this is made by a local company and comes with rave reviews.
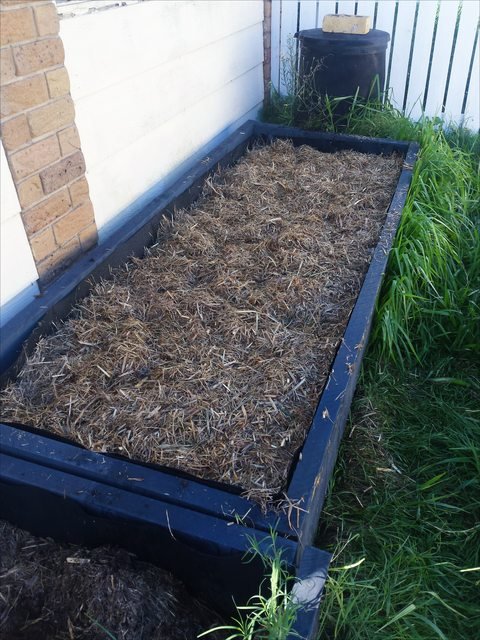
Step Seven - Newspaper & Sugar Cane Mulch
I learnt this step from watching one of Morag Gamble's awesome permaculture YouTube videos. Morag explains that by putting the wet newspaper as the top layer of your garden you will stop or at least reduce any weeds or seeds germinating from your compost layer. I did this when I first built these beds and it worked a treat!
Basically, you take about 10 sheets of newspaper (I had to use less today as I had less on hand), and you dunk them in a bucket of water until the newspaper is nice and wet (but not falling apart).
Then you lay these out on the top of the garden bed, and cover with your straw or Sugar Cane Mulch before finally watering everything in - and you've made a lasagne!
It might seem like alot of work (or maybe it just felt like a lot!), but this was much less than when we initially built the beds, the soil created will be great and over time the amount of materials required to top up should reduce.
In a week or two I will plant some salad greens and some other veggies to see how they grow.
Have you tried a no dig garden approach?
xo
the girlwhogrew
Good stuff!
I am trying to switch to no-dig raised beds for all my gardens. So much easier.
I'm looking forward to collecting another huge lot of autumn leaves this year (the only upside of an approaching winter) and adding them to the compost and on beds as mulch.
As for the lasagne layering, I tend to end up doing that in building up new compost piles - and one can never have too many of those in the garden! Hopefully the 'big reveal' will show how well they've transformed into black gold. :D
Yeah, I found that the hardest part with my compost bin was to accumulate enough green and brown material to fill it to the top and leave it to compost....I kind of ended up throwing random scraps and brown leaves in there along the way.
I'm a bit jealous about all of your autumn leaves! Where we are we don't really get a real 'autumn', so I usually prune shrubs/trees and pile them up to die/brown off.
I was surprised at how rich and healthy the compost turned out, it was nice to see the 'black gold' all things considered - always room for improvement though :-)
@Originalworks
The @OriginalWorks bot has determined this post by @thegirlwhogrew to be original material and upvoted it!
To call @OriginalWorks, simply reply to any post with @originalworks or !originalworks in your message!
This is an amazing post, welcome to steemit, keep up post like this and you will be a whale in no time.
Thanks gardengirlcanada! That is really nice of you to say, I've been spending quite a bit of time on my posts - so means a lot to get that kind of feedback! :-D