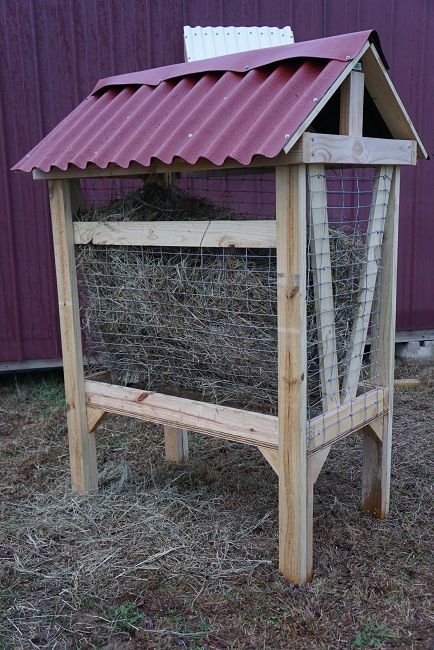
How to Build a Free Standing Hay Feeder
Ever since we started raising goats in July, I have wanted to build a free standing hay feeder. However, with other priorities, I am just now getting to it. The reason I chose this hay feeder was because it met my needs. I needed something large enough to meet the needs of my flock. I wanted something that weighed heavy enough the winds out here wouldn’t topple it easily, but I wanted it light enough that 2 people could easily move it. I ended up using most of my scrap wood on other projects so I had to purchase the materials I used for this project. The cost came down to ~$150 USD.
Materials Used
- 6 - 2 x 4 x 10’s Exterior
- 4 - 1 x 4 x 10’s Exterior
- 1 - 2 x 4’ x ¾” Exterior Plywood Panel
- 3” Exterior Screws
- 1-¾” Exterior Screws
- 9 x 1” Roofing Screws w/ Rubber Washer
- 9 x 2” Roofing Screws w/ Rubber Washer
- 1 Ondura Corrugated Asphalt Roof Panel
- 1 Ondura Ridge Cap
- 4’ Fencing

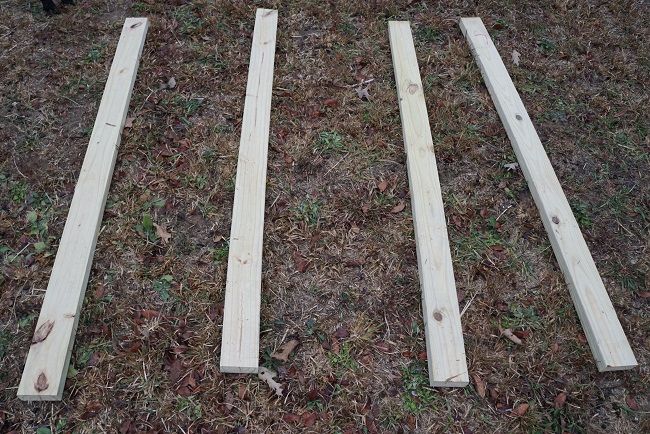
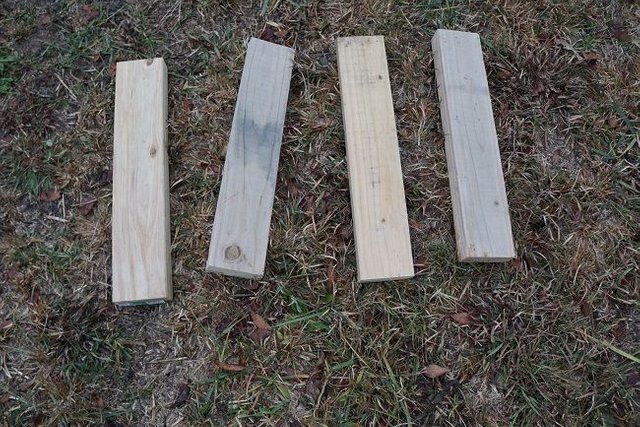
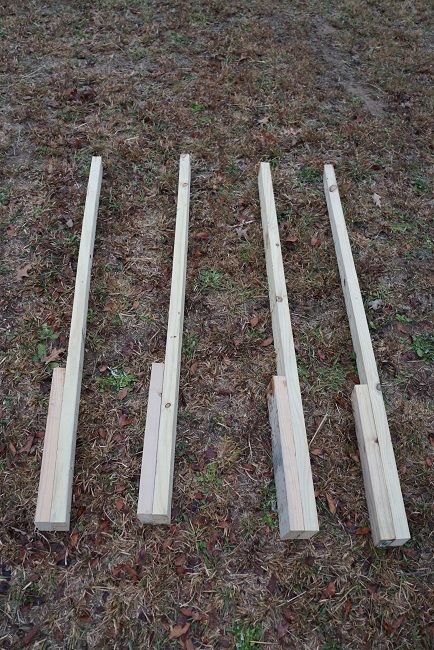
First, I started by cutting 4 - 5’ long 2 x 4’s and 4 - 18” long 2 x 4’s.
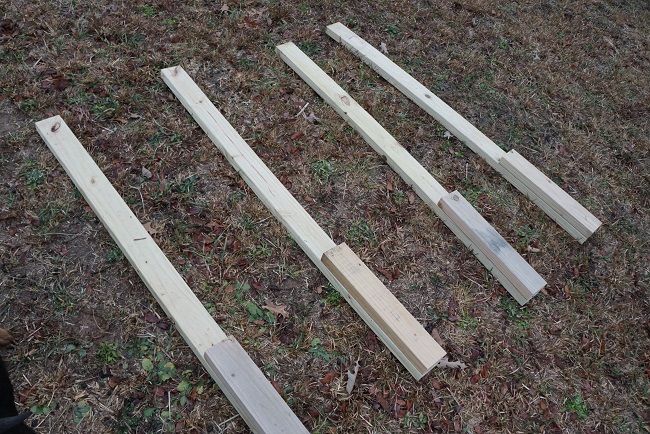
I then placed the 18” pieces over the bottom of the 5’ pieces and screwed them together on both sides using the 3” screws.
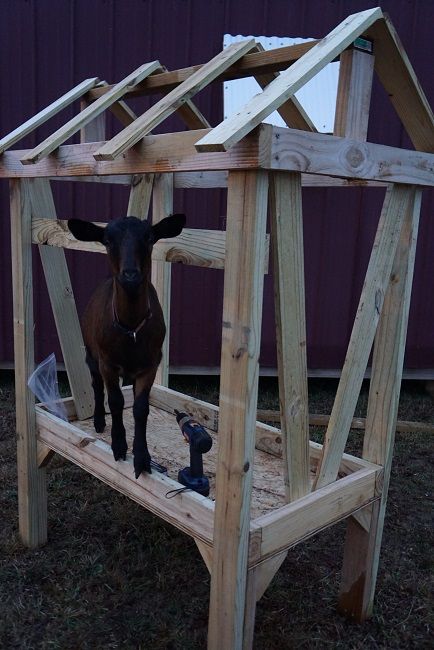
Pro Tip:
Have a goat hold the board still while you put the screws in.
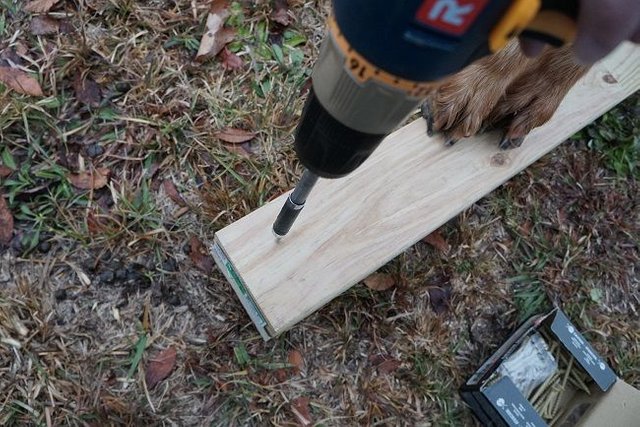
That gives us the 4 posts for the feeder.
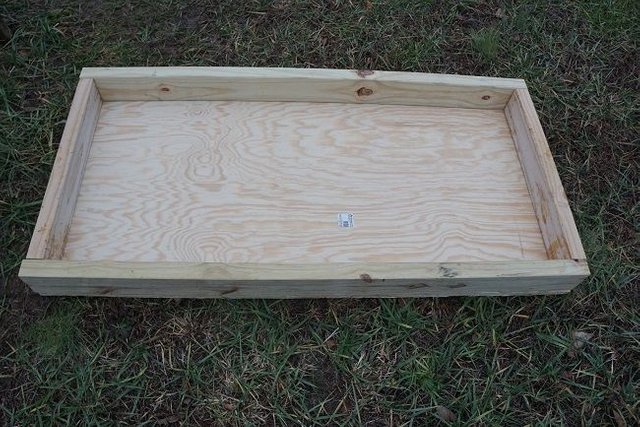
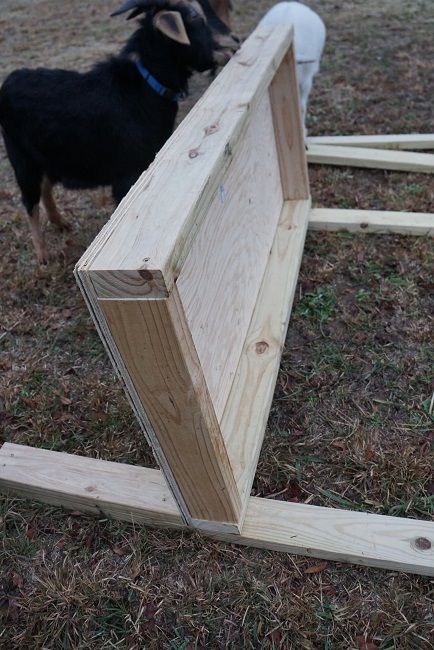
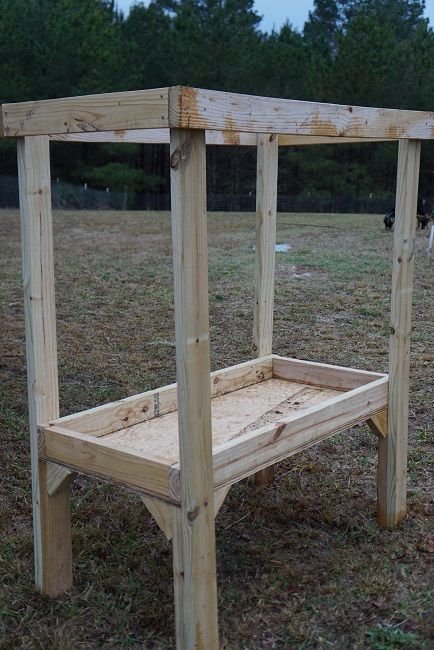
Next, I framed out the piece of 2’ x 4’ plywood panel using 2 x 4’s. I used the 1-¾” screws for attaching the plywood to the 2 x 4’s and 3” exterior screws in the corners.
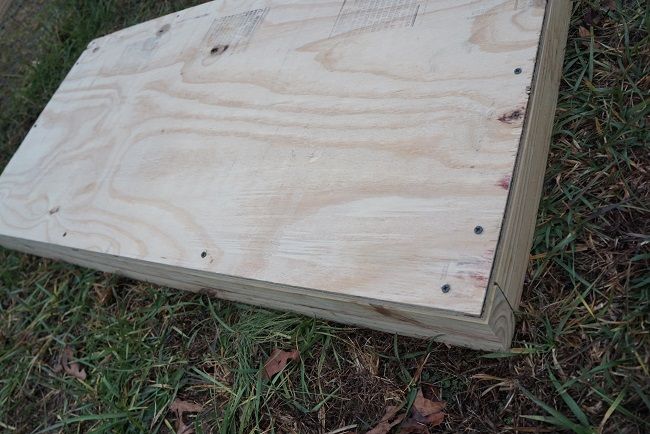
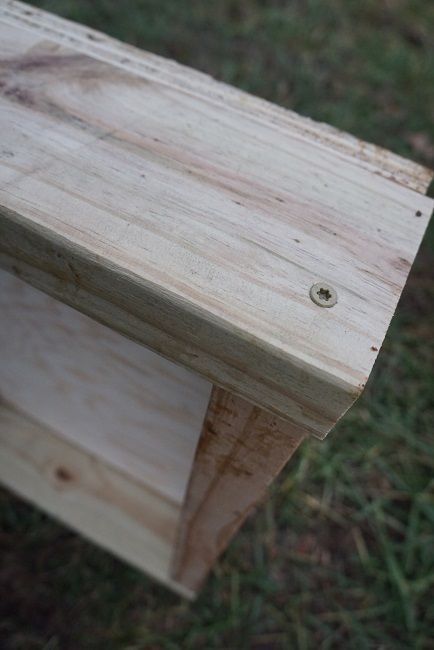
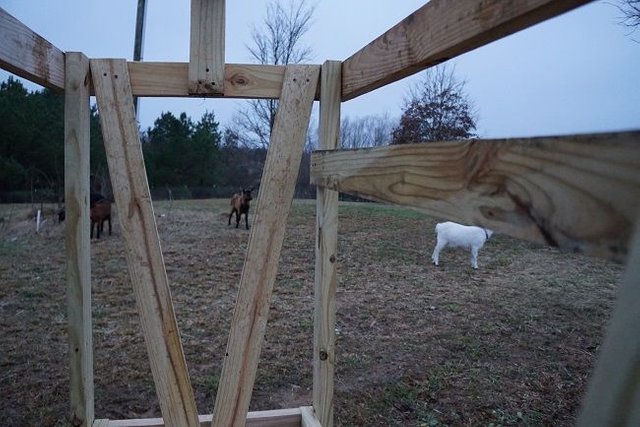
Then, I attached the framed out piece of plywood to the posts using the 3” exterior screws.
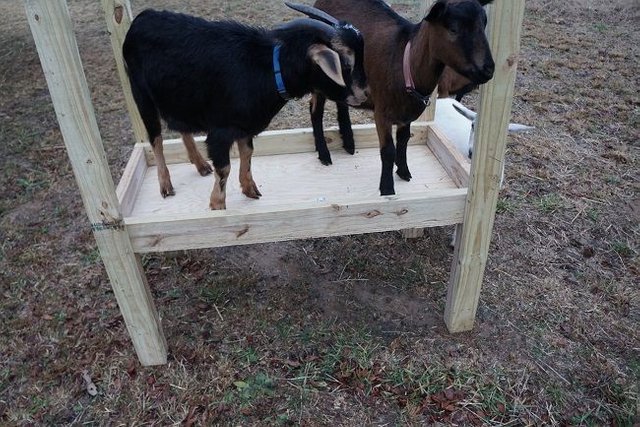
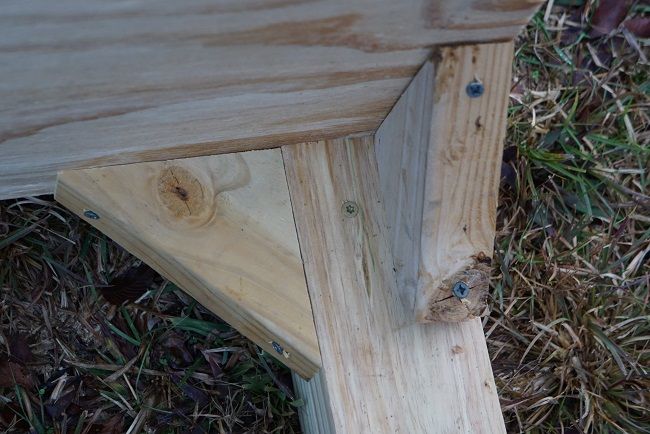
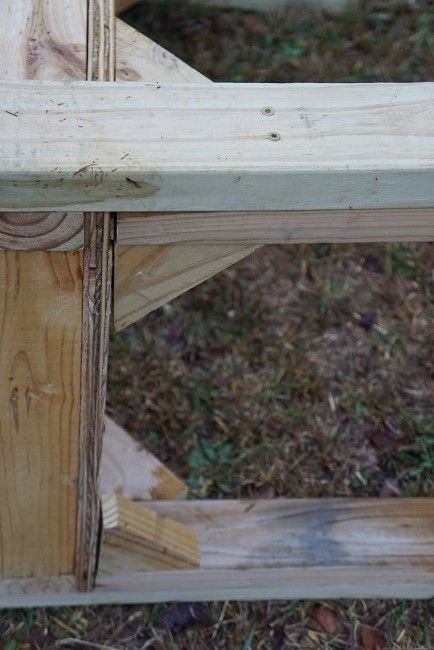
Once I attached the posts, I set the structure upright and did the “goat test” to check for stability. I felt like it needed some more stability so I cut some scrap 2 x 4 pieces for corner angles and used the smaller exterior screws to attach 2 to each corner.
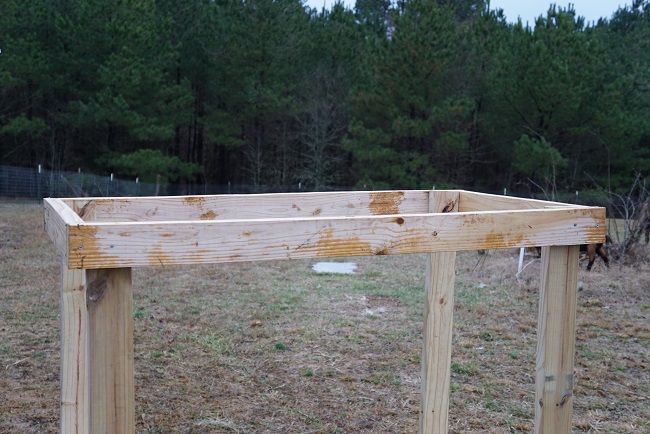
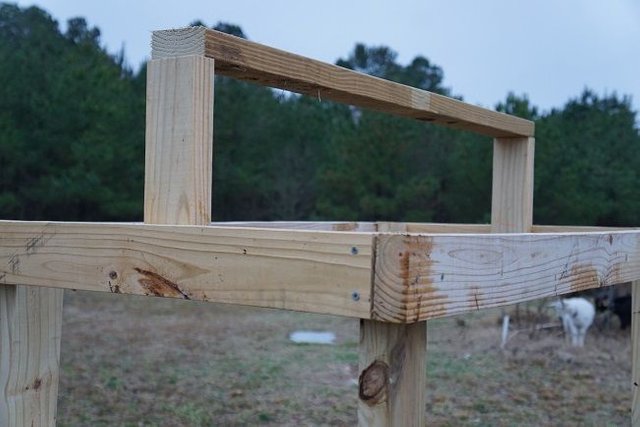
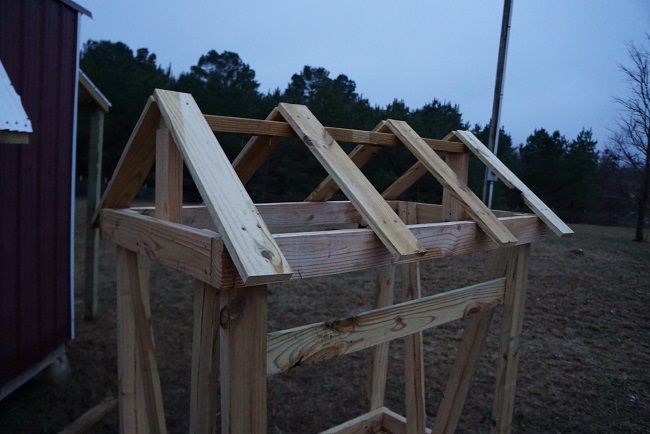
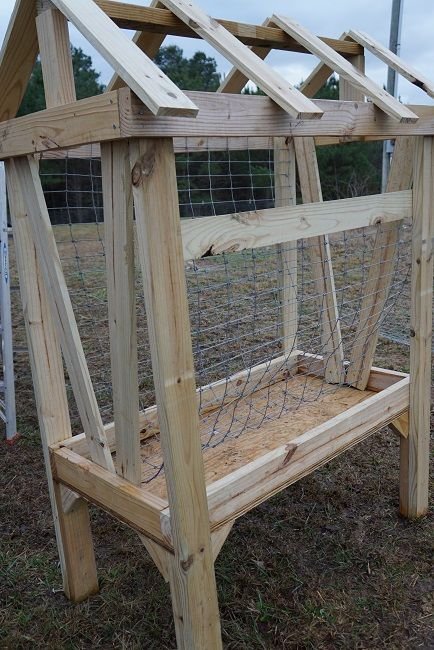
Next, I built a frame around the top. Starting with the shorter side, I went end to end with a piece of 2 x 4. Then I cut and attached the long sides going end to end again. I used the 3” exterior screws for this step.
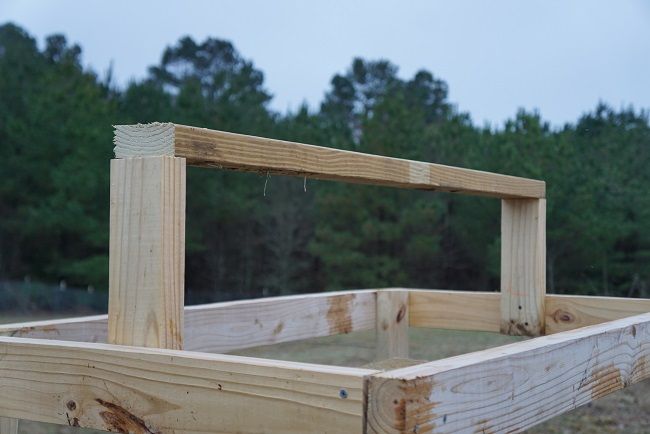
Then, I cut 2 - 1’ long pieces of 2 x 4 and placed them vertically and on center for the top. I then added a piece of 2 x 4 on top of that to make a ridge (I don’t have the measurement for this one). I used the 3” exterior screws for this step.
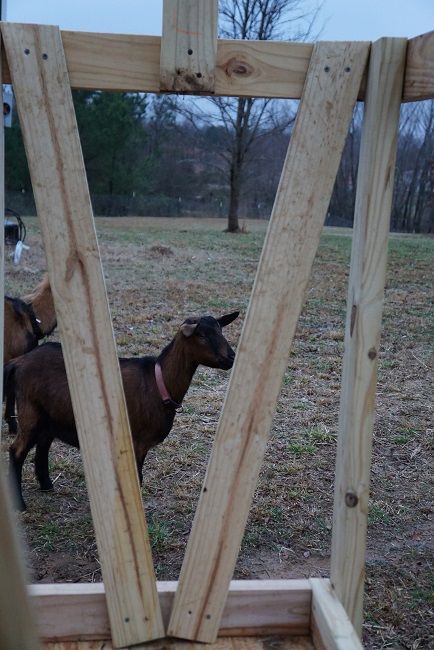
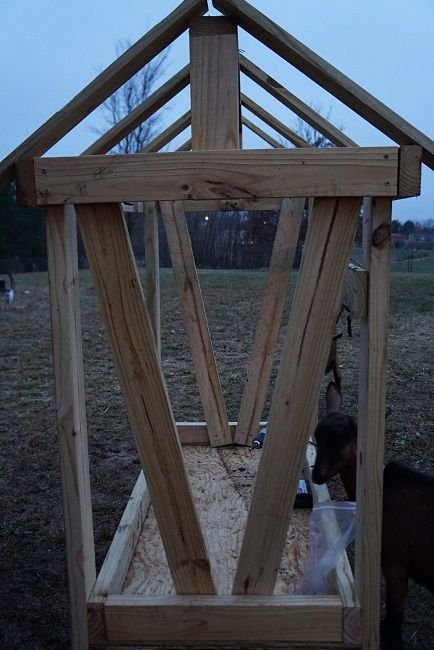
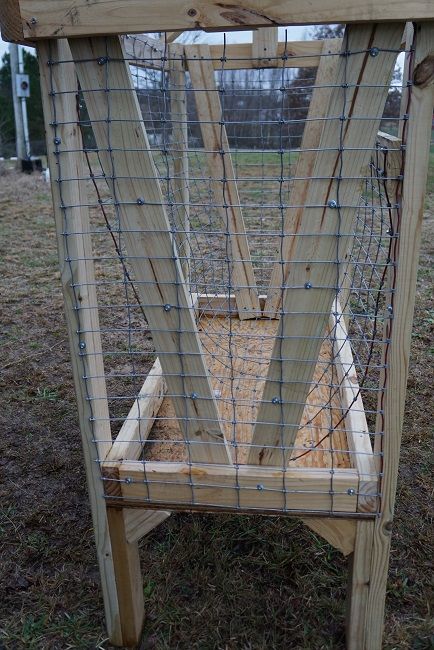
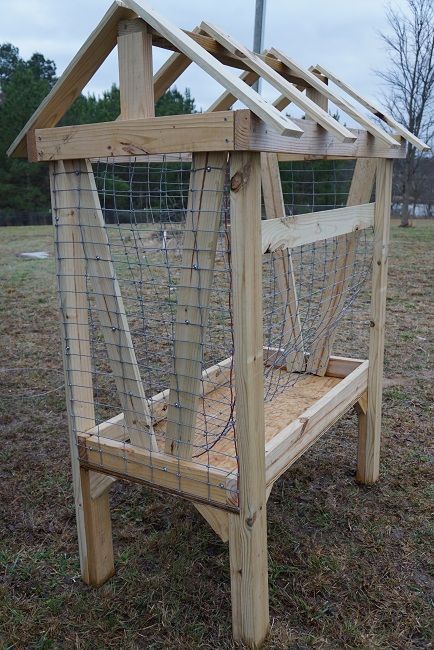
I cut 4 - 43” long pieces of 1 x 4 to make the “V” on either end. I centered the piece at the bottom and used a sharpie to draw a line at the top to mark my angle cut. I made the necessary cut and attached it using the smaller exterior screws.
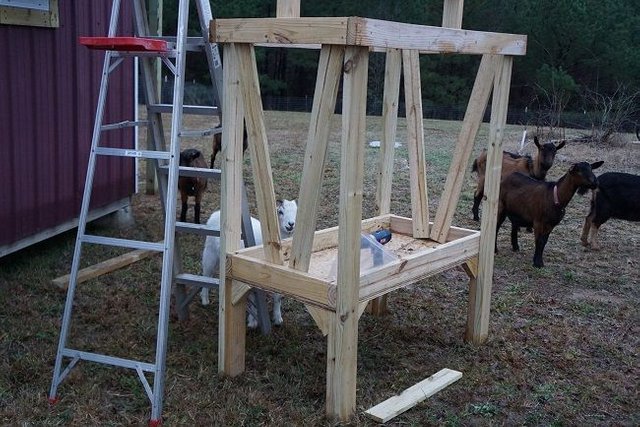
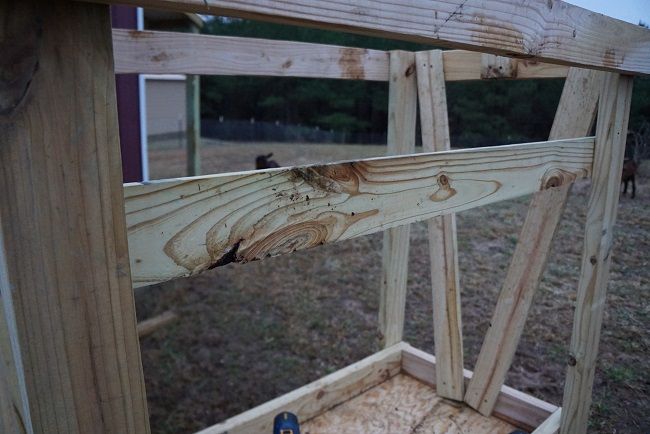
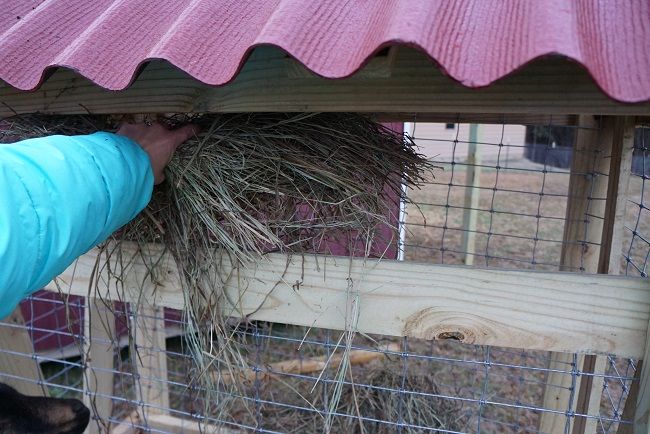
Then I cut 1 - 4’ long piece of 1 x 4 and measured down 10-½” from the top frame and screwed this piece in so the top of it was at the 10-½” mark. I used the smaller exterior screws for this step. This will allow a slot for me to add in the hay.
Next, I cut 8 - 23” long pieces of 1 x 4 for the roof and attached them using the smaller exterior screws.
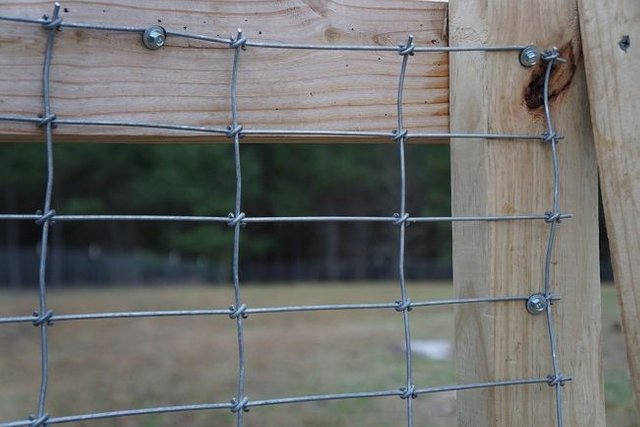
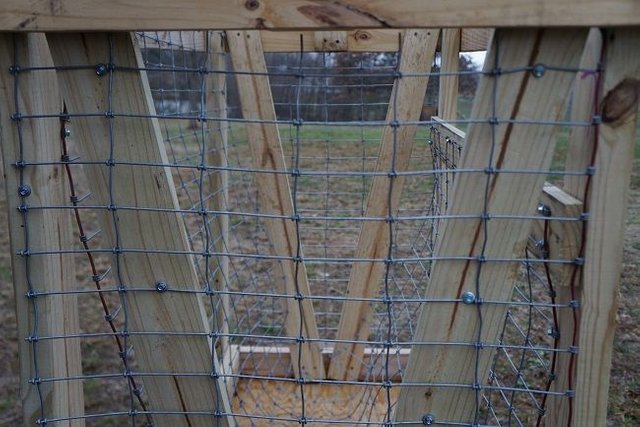
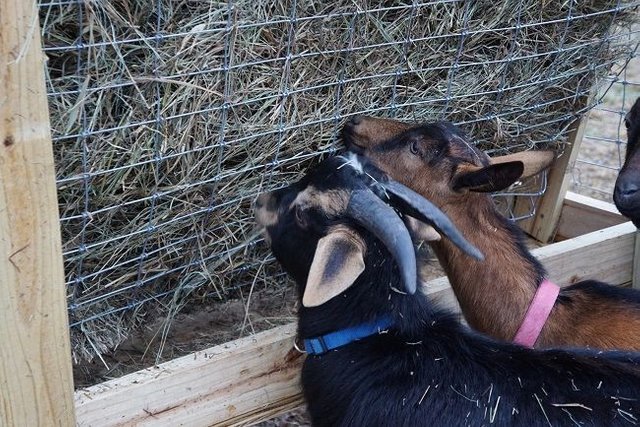
I trimmed up a piece of 4’ tall fencing and placed it inside the feeder. I trimmed as necessary to get a good fit. I used the 9 x 1” roofing screws to attach the fencing to the frame.
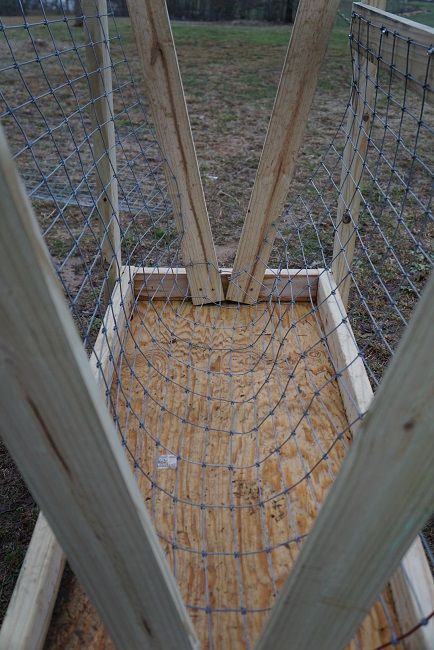
Next, I cut pieces of fencing for the ends and used the same roofing screws to attach the fencing to the frame.
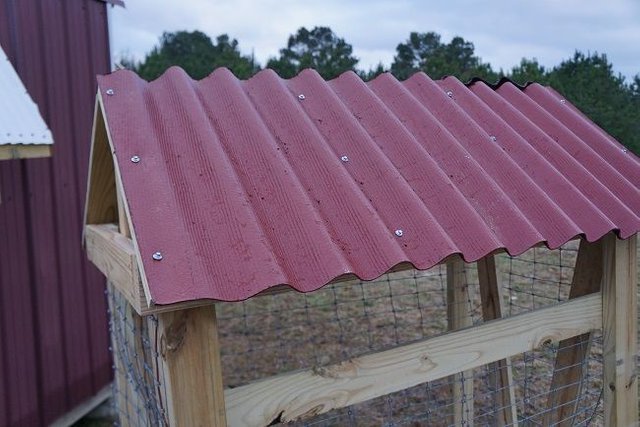
Next, I used a jigsaw to cut 2 - 4’ x 25” pieces of the roofing material. I attached these to the roof using the 9 x 1” roofing screws.
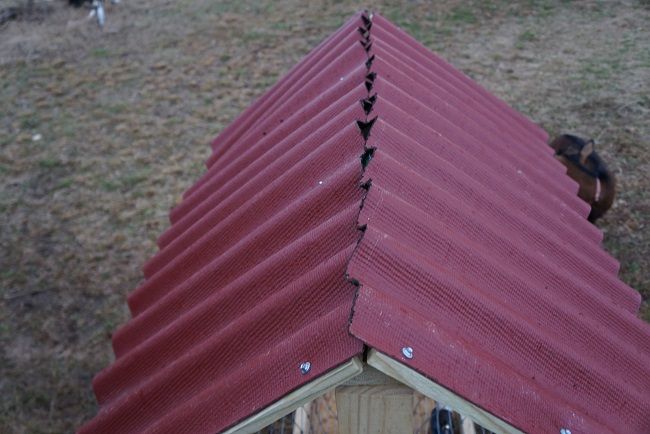
Next, I cut the piece for the ridge. This was cut at 53” long. I attached it using the 9 x 2” roofing screws.
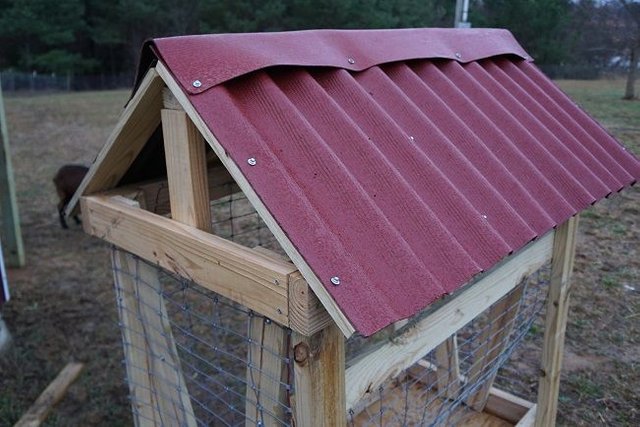
Lastly, I filled it with hay!
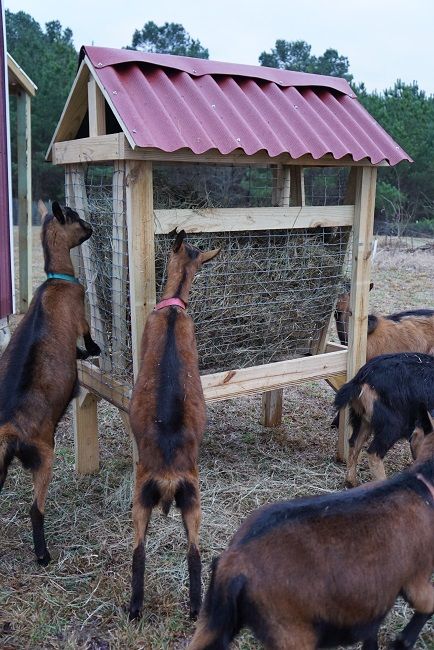
Completed free standing hay feeder.

Now that this project is completed, is there anything I would do differently?
Yes, there is. I would not use this type of roofing panel. I felt it wasn’t as durable as other options that were available. I have one spot I will have to patch where the screw went right through.
![]()
What a great design! Do you mind if I print this off to refer to in the Spring?
Thank you and of course you can. Hope it works out well for you! Be sure and post some pics if you end up making one.
love seeing things like instructables stuff on here it is a good sign that steemit is moving in the right direction!
Keep it up!
Thanks @empiracoinllc!
Nice build. With any luck I'll need one next year. Just gotta get some fencing up to keep the sheep/goats in.
@beatitudes8 Thanks! We put up the fencing for ours in August. It was hot and dry. It was like trying to drive t-posts into concrete. This is the time of year to install a fence. Ground is much softer.
I probably should drive some post while its slow around here.
Great idea, and thanks for the complete instructions! We need to build a feeder like this for our goaties.
We actually have metal roofing left over from re roofing our house, so I may need to talk to my husband and see if we can make one soon...
Thanks for sharing!!!
You are very welcome! Using materials you have laying around is always more awesome than buying new ones. :)
Absolutely!!
Nice work. I love that the design is moveable. You can use it to concentrate manure in areas where you want to make more fertile. Thanks for the all the detail as well. Following!!!
Following you back @squdsi1! I actually haven't thought of it that way. I figured it would be moved if they start wearing the grass down to dirt.
I saw the goat's paw/hoof in there- were they helping build their feeder?
Great how-to post!
@goldendawne They were more curious than helpful. :) Thanks so much for resteeming this post!
@OriginalWorks
The @OriginalWorks bot has determined this post by @tahorfarm to be original material and upvoted it!
To call @OriginalWorks, simply reply to any post with @originalworks or !originalworks in your message!
Merry Christmas from the Golden D Homestead to YOUR homestead!
YOU'VE been Secret Santa'd TODAY! Please check your wallet for a Secret Santa Gift!
@goldendawne This is so kind of you and we truly appreciate the gesture! As we do not observe Christmas, would you be okay if we had the money donated to charity? Or we can return it to you, so it can be regifted. Thanks again!