i-Talent | GUIDE TO VECTOR/VEXEL FOR BEGINNERS (with step by step process)

Hi guys! For today I'm gonna be teaching you how you can create an artwork on your computer using a mouse. A lot of artists uses a graphic pad to draw on their computer but a graphic tablet or pad can be a little expensive especially for those who doesn't have an extra money on their pockets.
This tutorial is for those people who wants to try out digital arts and for those beginners whose trying to learn new techniques to use.
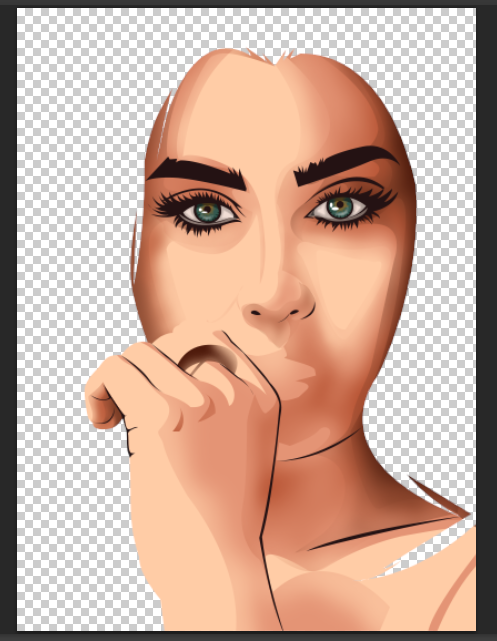
For this tutorial I'm gonna be using Lauren Jauregui's picture for reference.
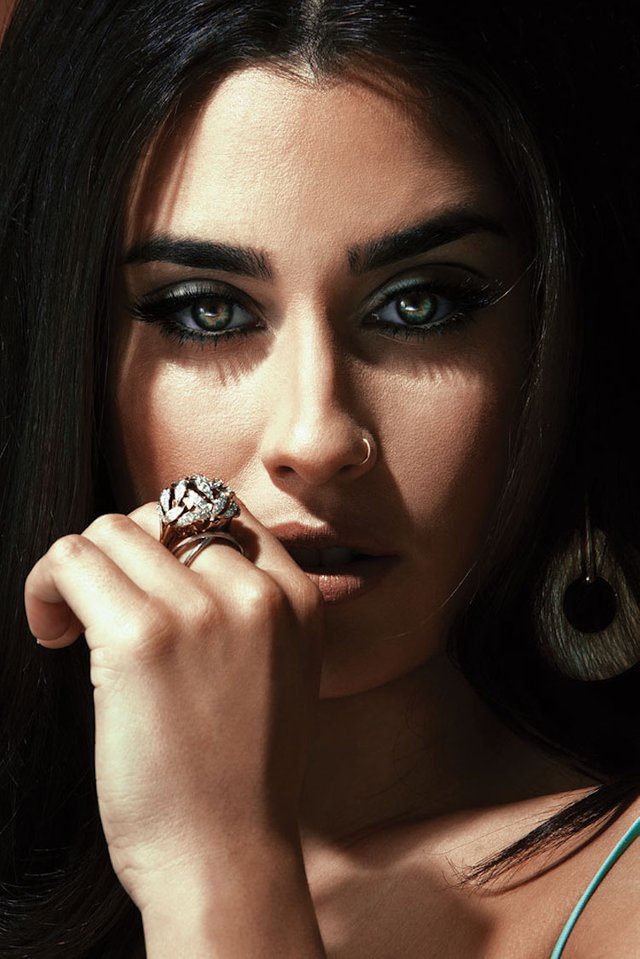
I love Lauren Jaregui and the fact the she being gay makes me wanna love her more. I love her raspy voice, her eyes and most of all I love her courage. I fell in love with her even more when she came out of the closet. I know that it is very difficult for her to come out since she is a member of one of the most famous girl group in the world. So I commend her for that.
Okay. enough with the fan girling let us proceed to the tutorial

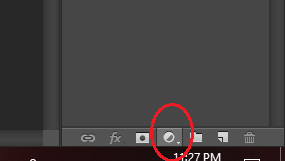
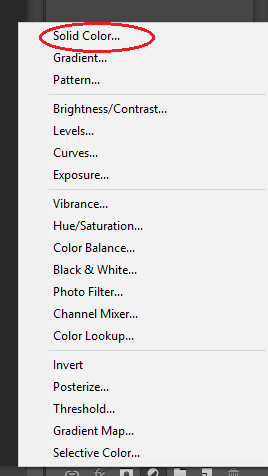
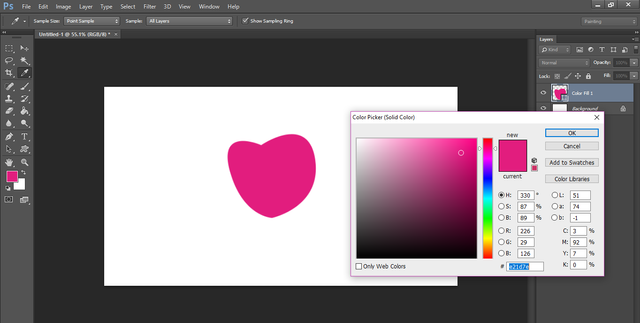
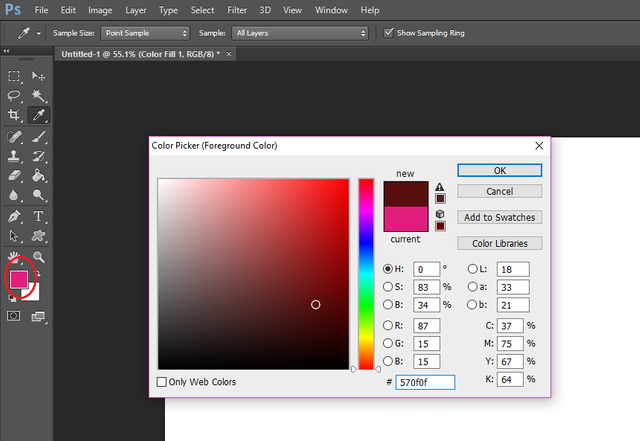
Setting up the tools
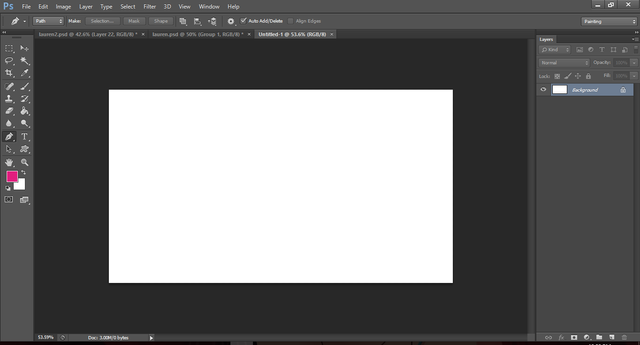
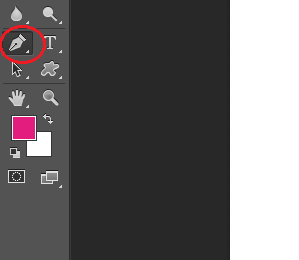
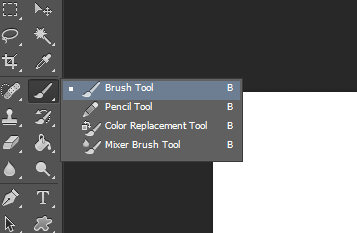
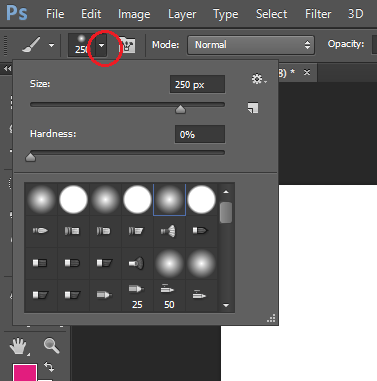
I highly suggest to play with the opacity and flow of the brush to get the texture you prefer.

PROCESS
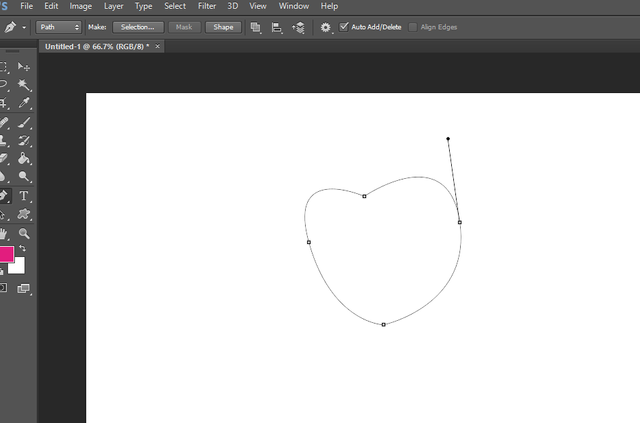
OUTLINES
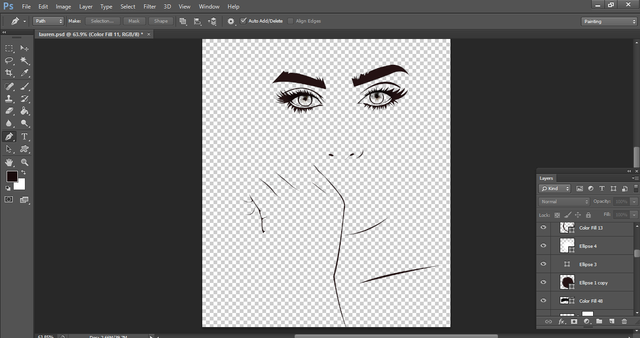
And now I'm gonna show you the process of how I make artworks using my mouse. First is some outlines. I don't usually use black for my outline.But it is up to you if you want to use black for outlines.
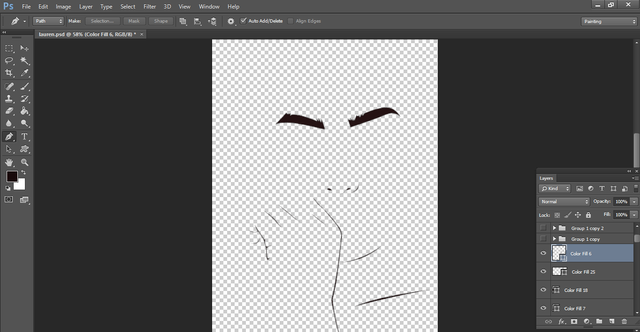
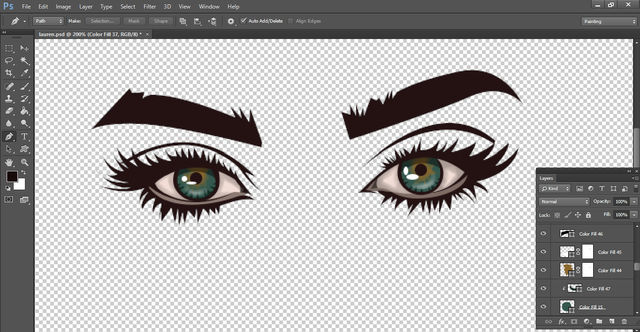
I also draw the oulines first for the eyes.
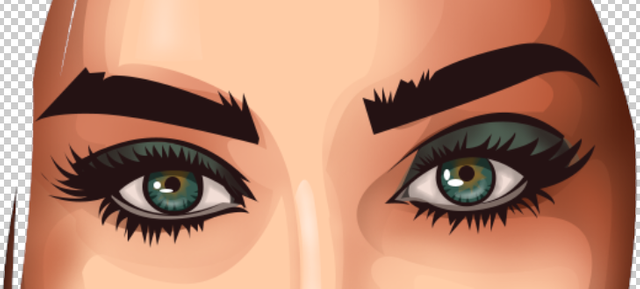
EYES
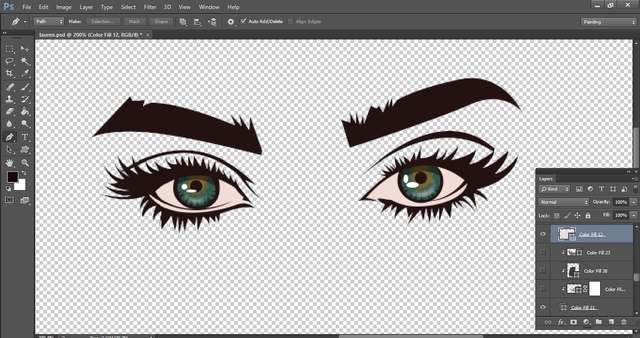
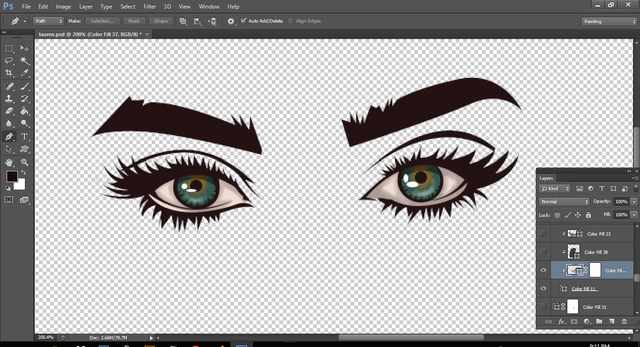
And now I'm going to start coloring her eyes. So, I started with the base color which is the color of her eyes ,"Green". When picking a base color, pick a darker tone than the color that you prefer.
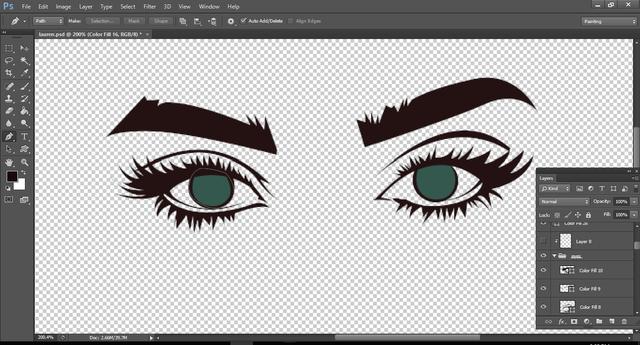
And then her iris and the highlight .
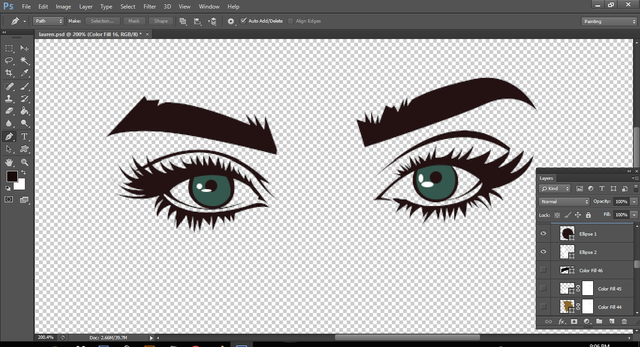
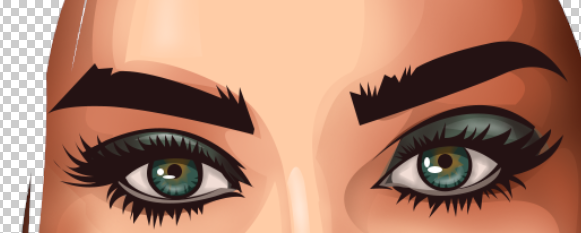
I added some small details on her eyes to make it more realistic.
I notice that her eyes has some brown colors so I added some too.
And then, I added some highlights again.
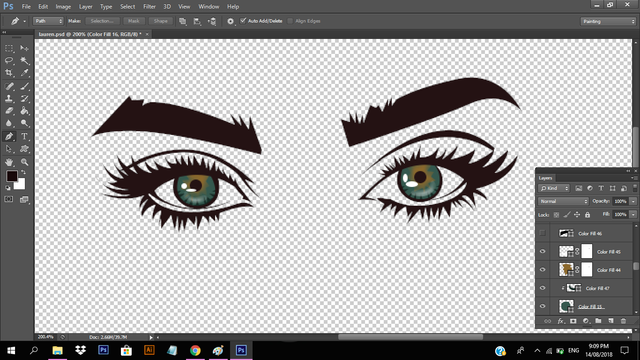
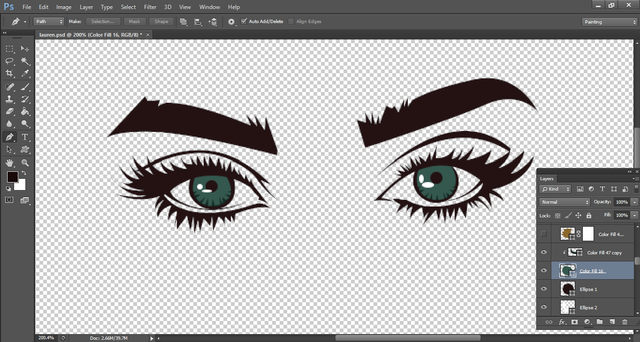
And then I added some shadows for more texture.

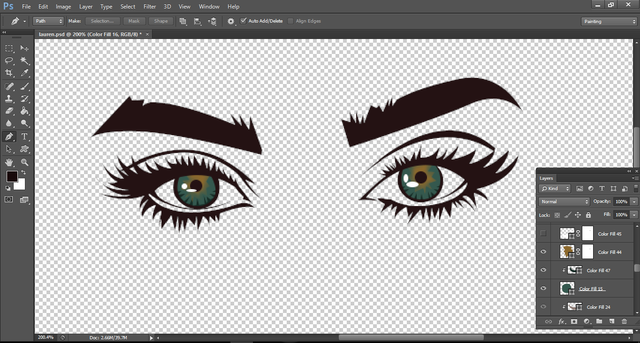
Next, is the white part of her eyes but again I don't usually use the color white for this. But again, it is up to you.
And then I also added some shadows.
And for the last detail, I added a tearline .
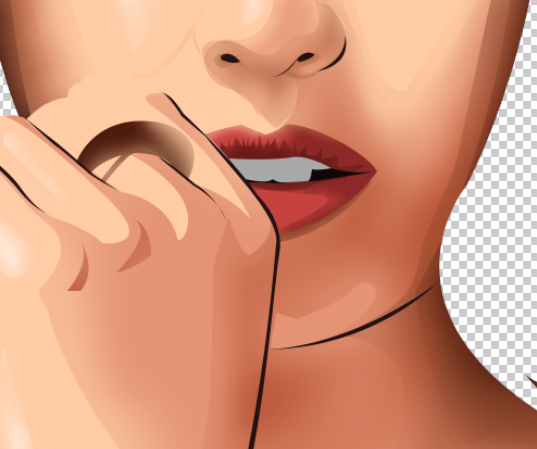
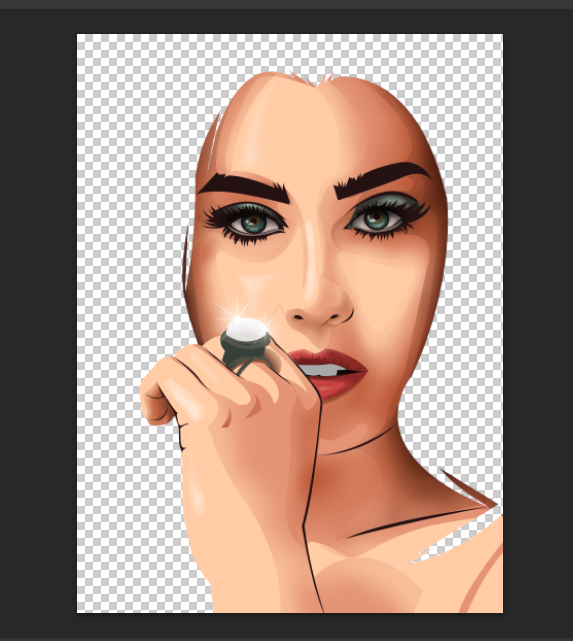
SKIN
Next step that I'm gonna do is coloring her skin. Like the way I colored her eyes, I started with the base color but I used the lighest tone for the base unlike the base that I used for the color of her eyes which is a darker tone.
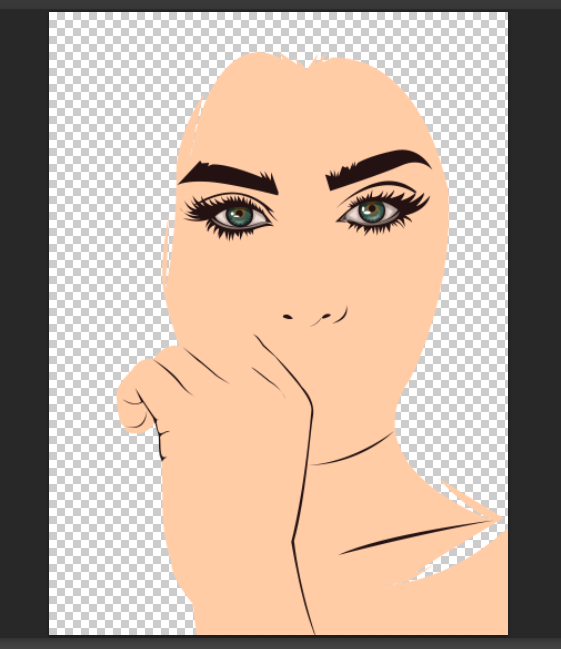
Then I used my brush to add the shadows. When adding the shadow start with the tone which is a ittle darker than your base then go darker gradually. Just like what I did on the following images.
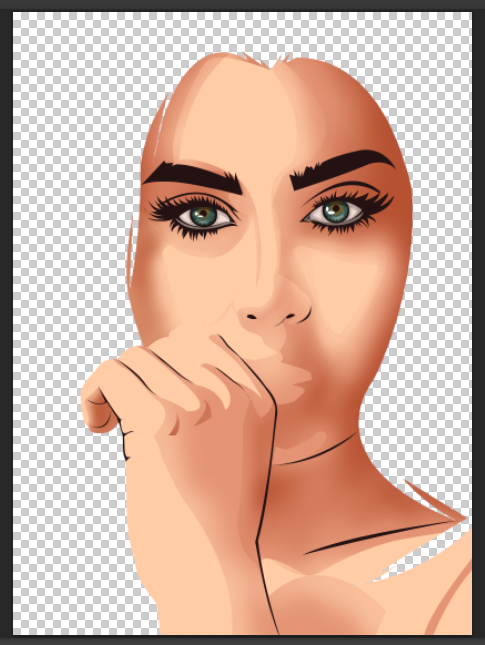
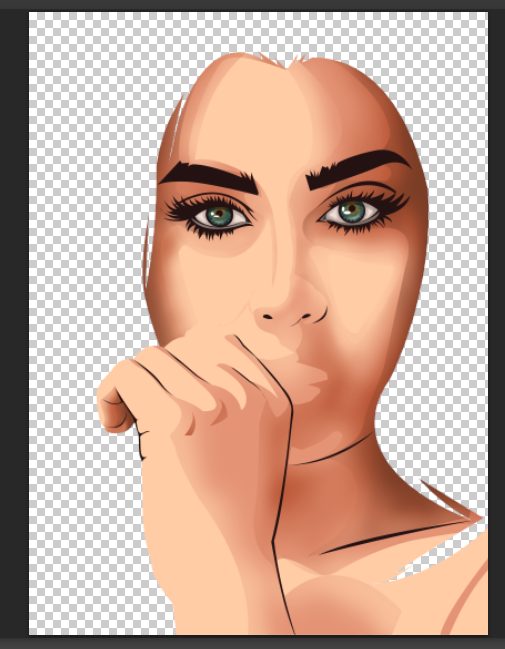
And then I used a white color to slightly brush some highlights on her face.
And then I also added eyeshadow or her eyelids.
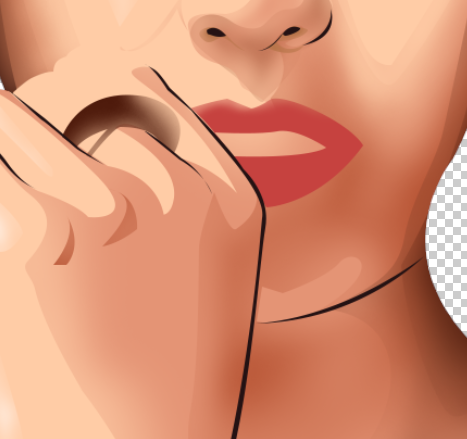
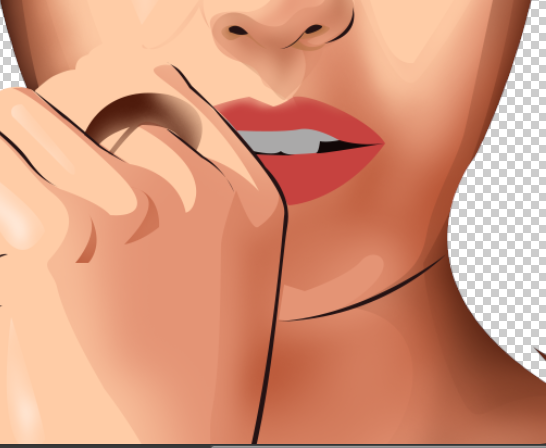
LIPS
And the same process for her lips. Which is based color first, then shadow and lastly highlights.
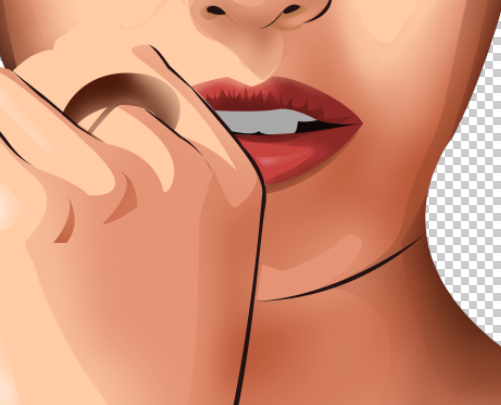
ADDIOTIONAL DETAILS
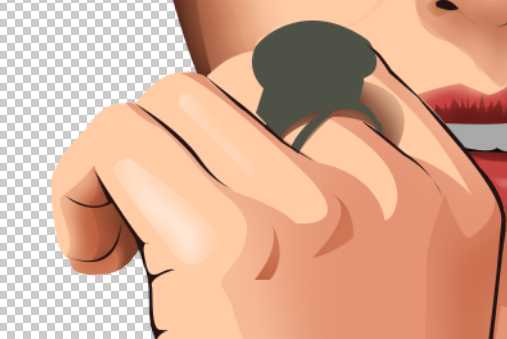
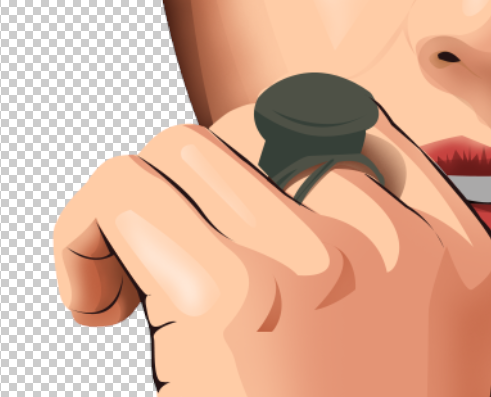
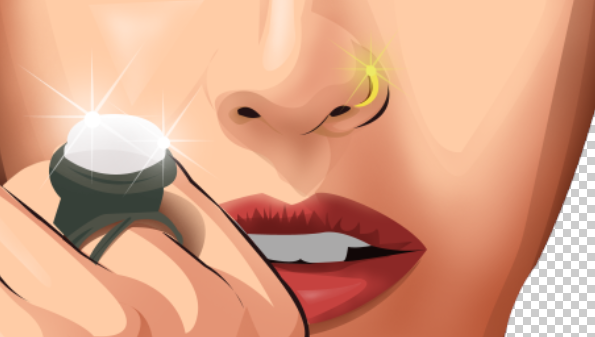
Next is her ring. It is kinda hard for me to copy the way her ring looks so I just made up my own ring and pretended that it is our wedding ring. LOL XD
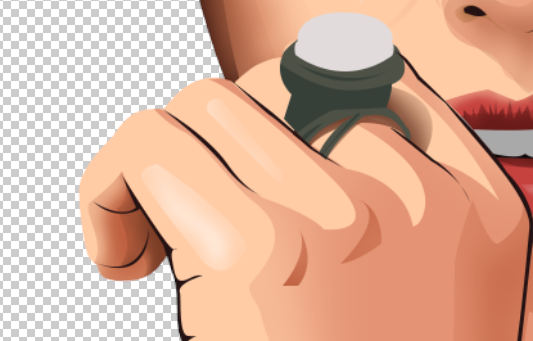
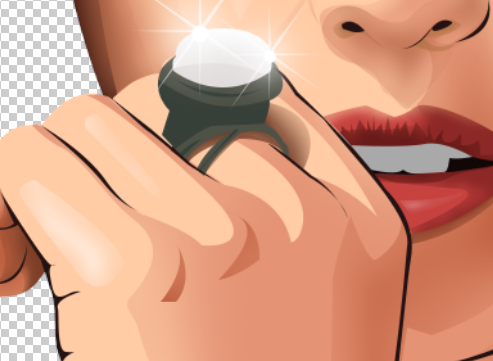
And I just made it shine to complete the jewelry look. It is kinda hard to explain how to make something shine but I will make a tutorial about this in the following days so stay tuned for that if you wanna learn how to make things shine.
And I did the same for her nose ring.
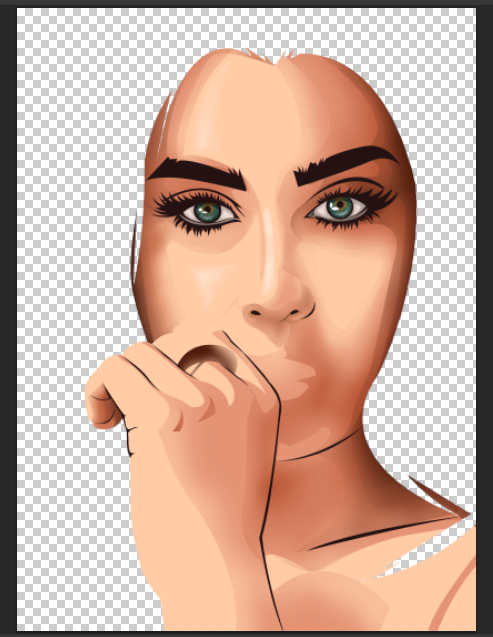
HAIR AND FINISHING TOUCHES
At this point, she is almost done but she's missing her hair.
I painted her background with the color that I used for the outline.
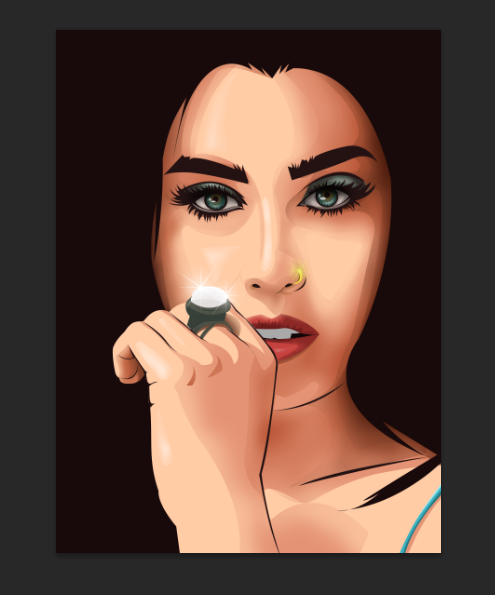
And then I drew some lines to make it look like the highlights of her hair.
And that's the way I draw on my computer using a mouse and once you have learned all the techniques, you can come up with your own and make your own ideas.
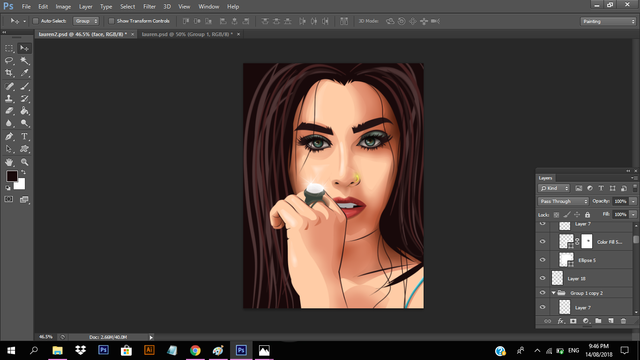
You can play with the colors and brushes and experiment with your artwork just like what I did below.
And that is it guys for this tutorial. I hope this could be helpful for those beginners and learn something from this. I'm gonna make a lot more tutorials and gay topics on this account so stay tuned.


:D
Cool tutorial
Thanks!
I have always struggled with vector and illustrator programs but this looks great.
thank you, i'm sure you'll get used to it.
This is pure genious! Thank you for sharing! ^__^
thank you. It is my pleasure to share my knowledge with my fellow steemians.
Outstanding post @trishy very elaborate vector tutorial, awesome pic results ✌
thank you for noticing my post. and also thank you for hosting this contest! :D