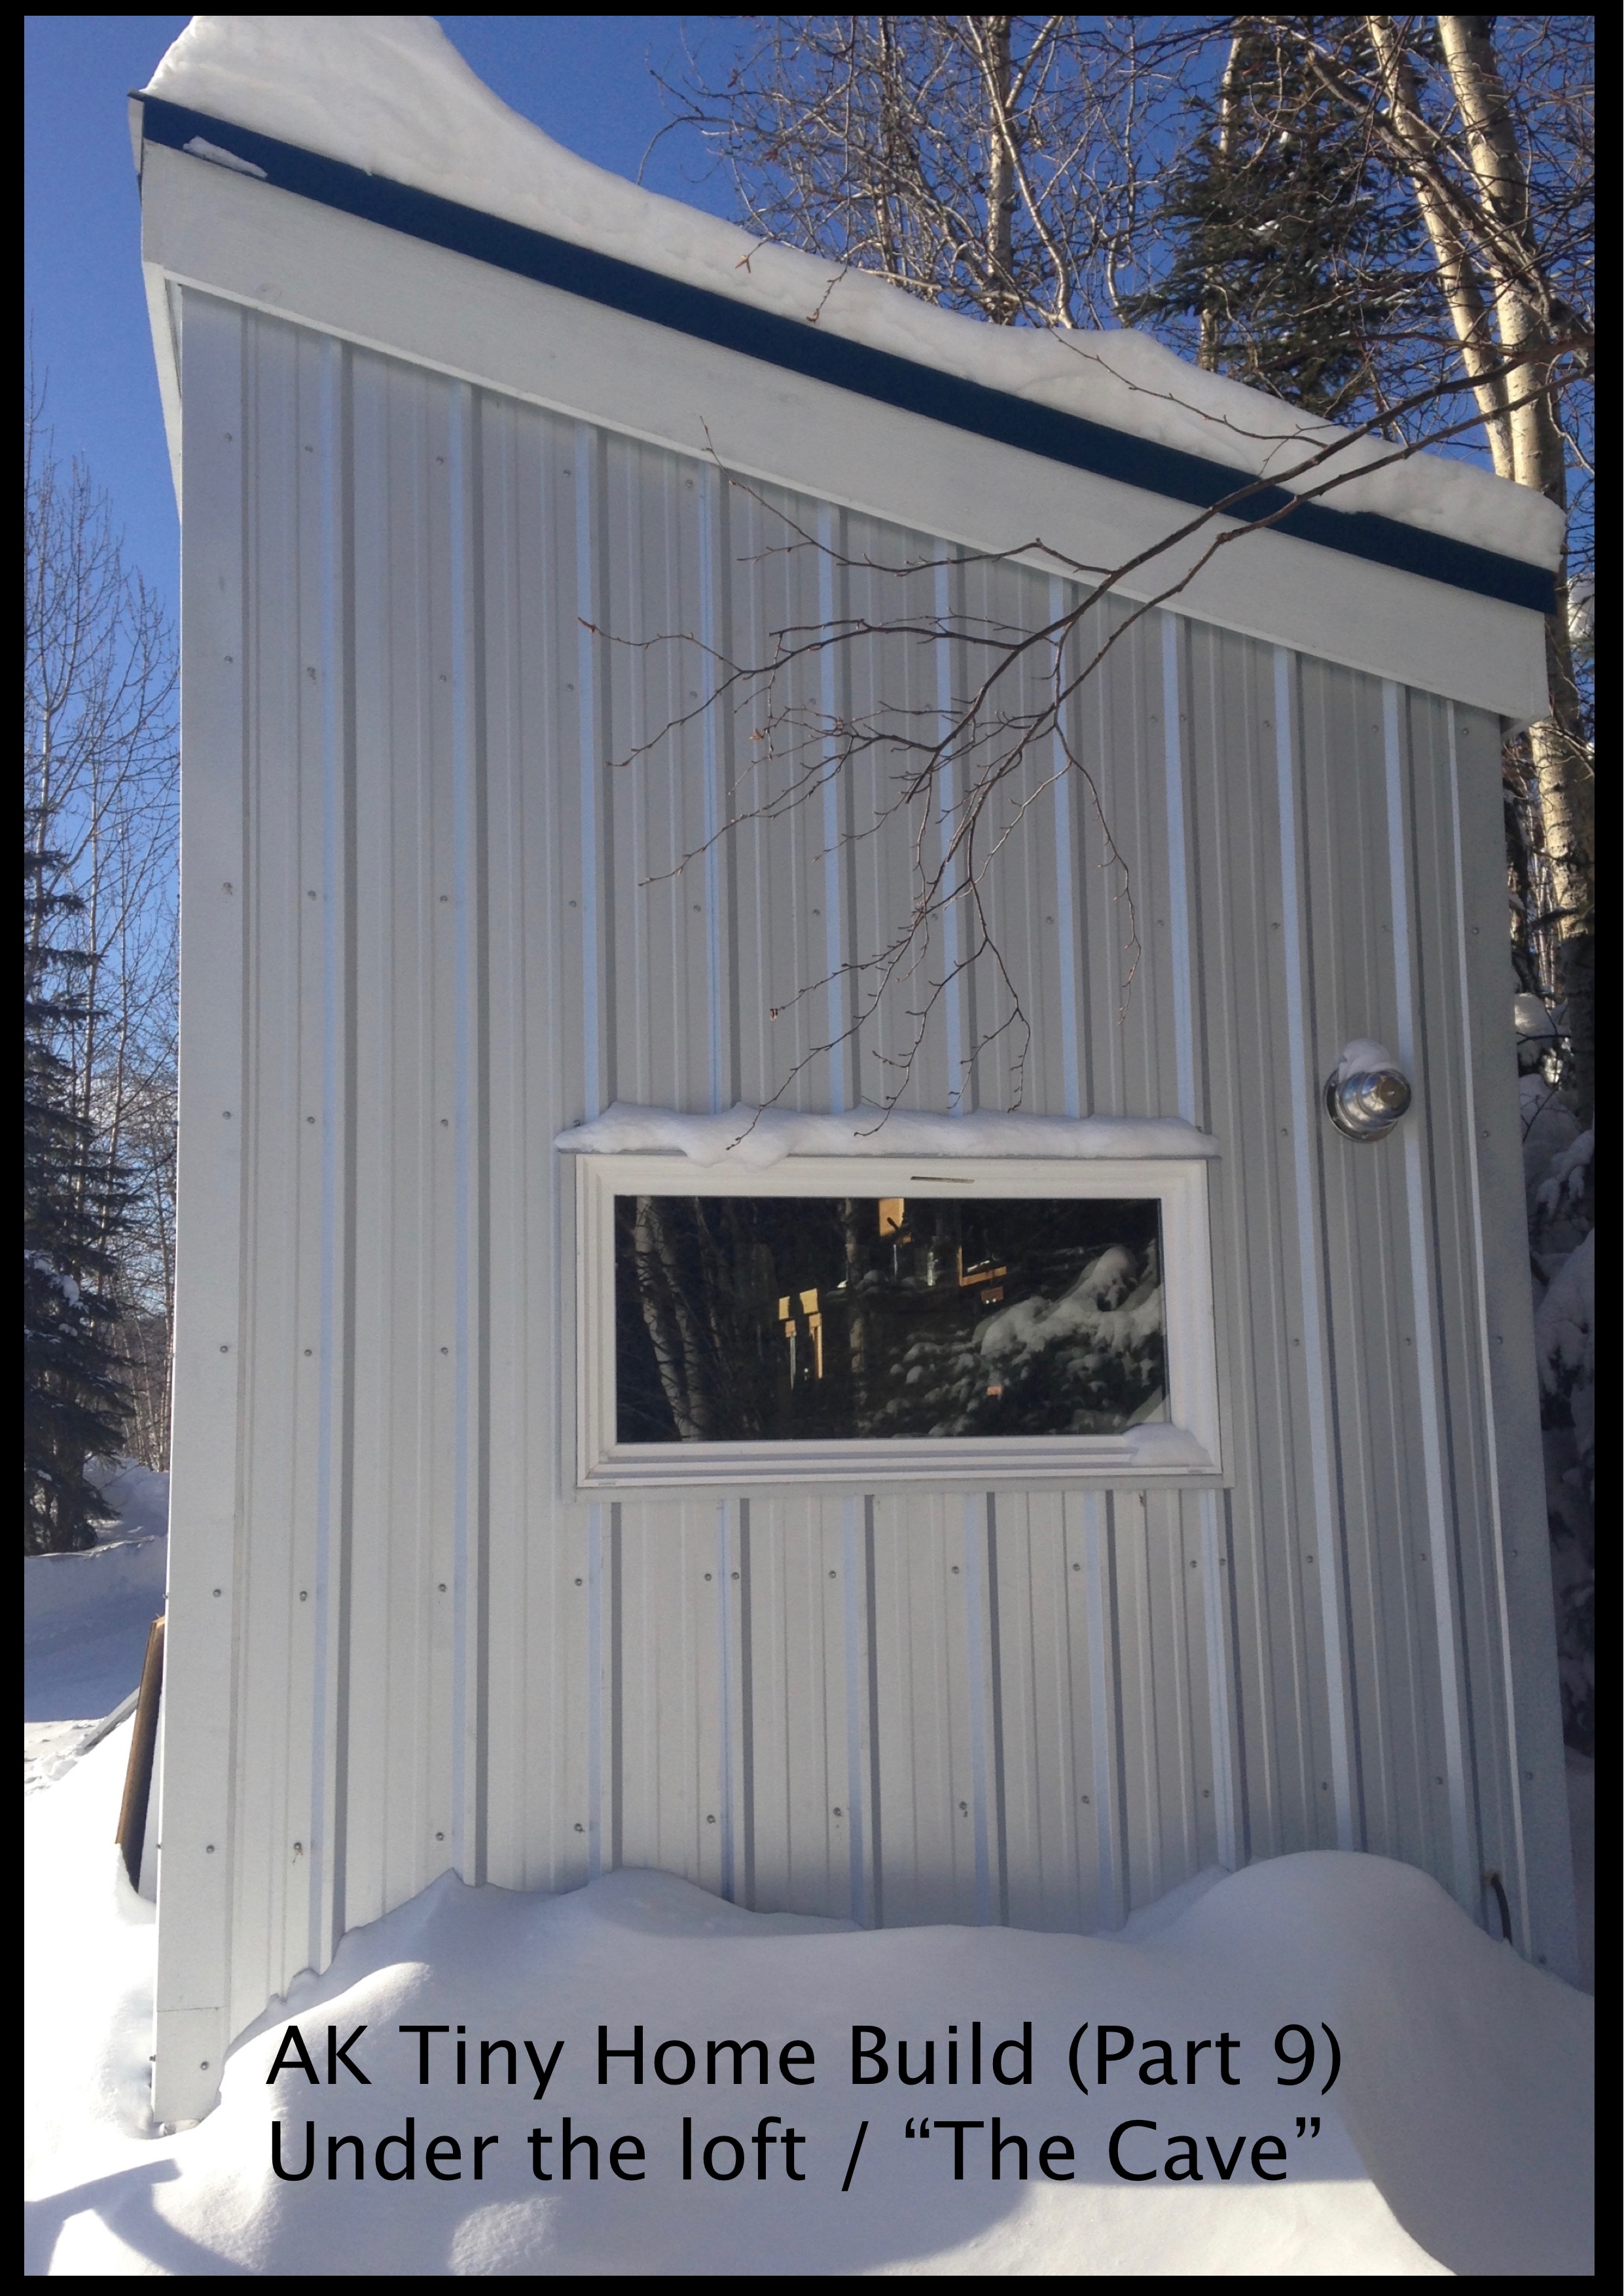
AK Tiny Home Build (Part 9)- Under the Loft / "The Cave"
Welcome back to another installment of the AK Tiny Home Build. This post is going to cover some of the steps that were taken in finishing under the loft. We call this area of your home the cave because it is always a little cooler and darker than the rest of the house. There is also a cave feeling when you step down from the kitchen level.
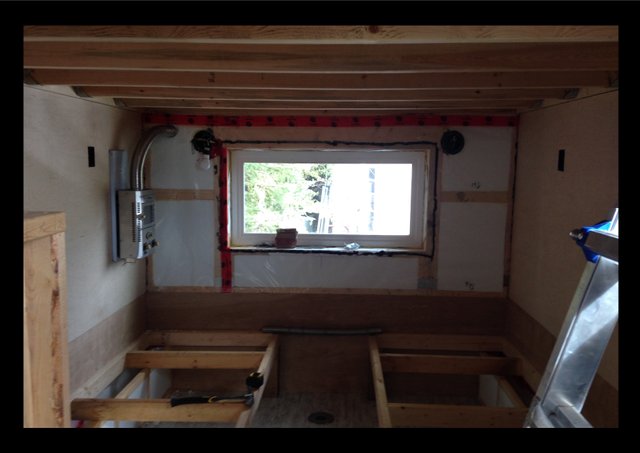
We didn't have a good starting picture...so I'll explain what has been done in the photo above. Starting at the bottom I have installed snap together vinyl flooring. Above that is the framing for a couch/bed/table area. On the walls there is 1/4 inch finish plywood, birch on the bottom and maple on the top. Last but not least, the first thing you probably noticed, on the left is a Dickinson propane heater.
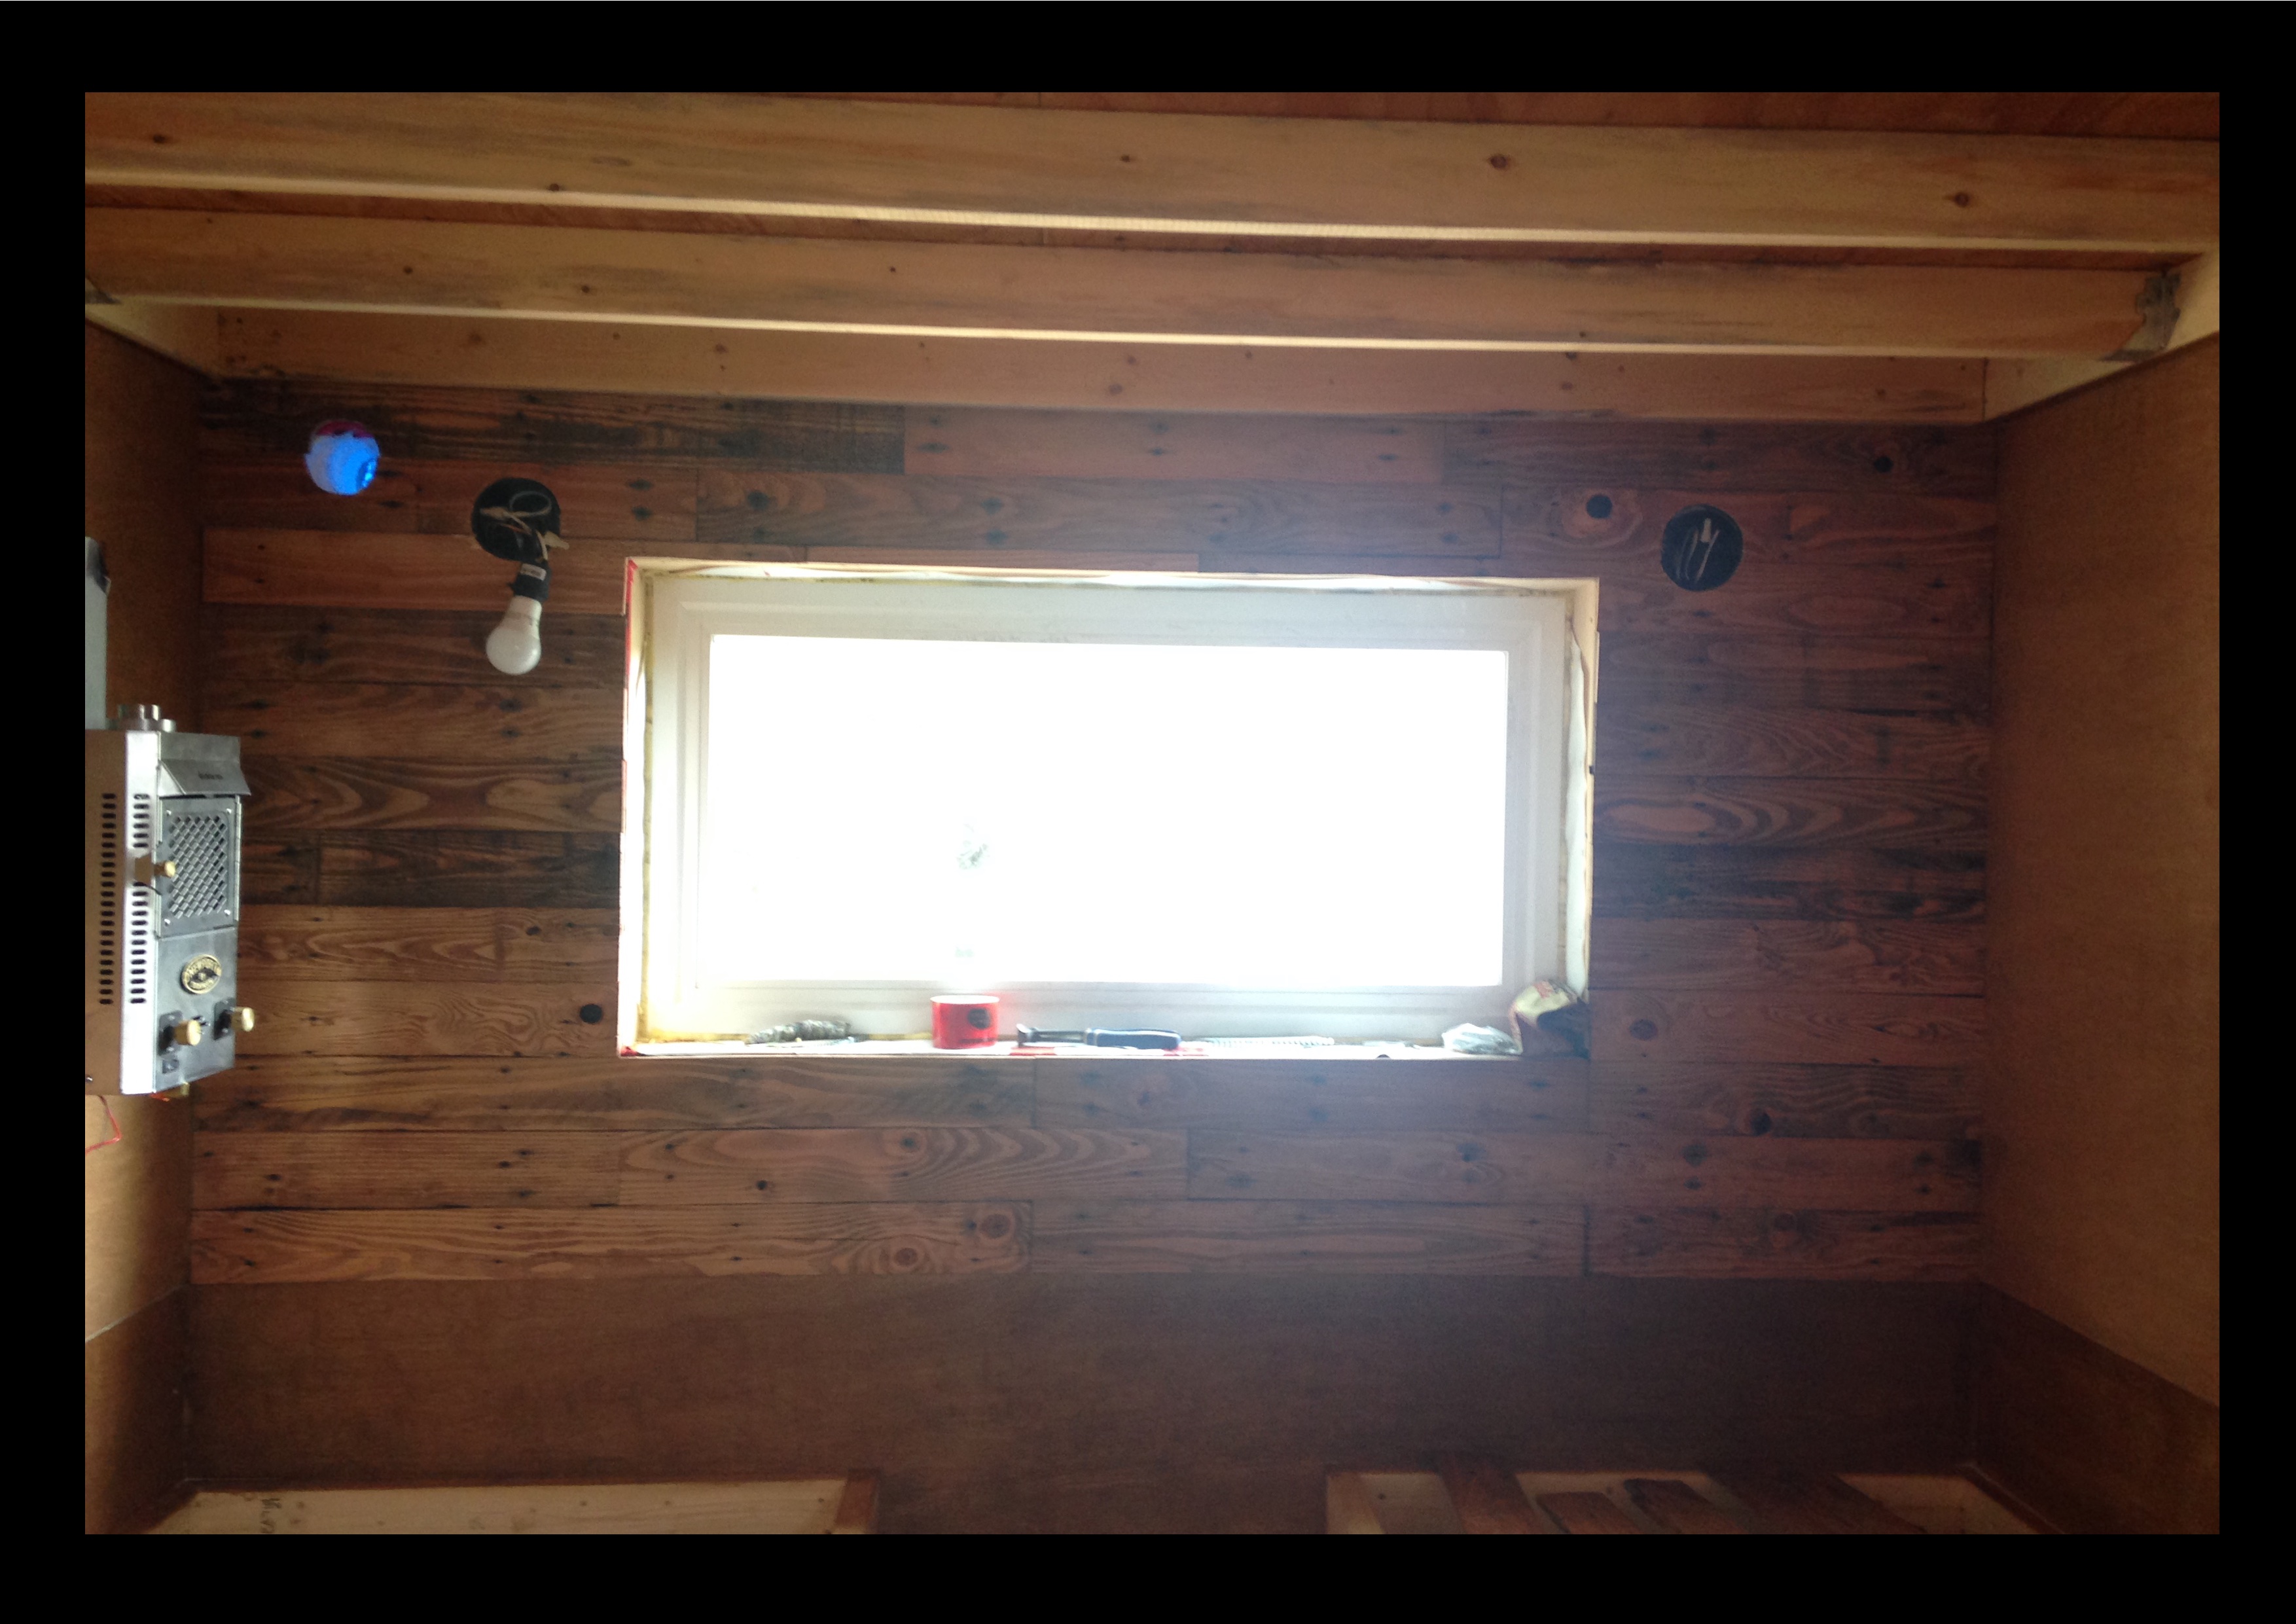
This is when you get to see where the pallet wood craziness started. The back wall is all the same kind of pallet wood planed down to 3/8 of a inch and stain with a cherry stain.
The window is trimmed out by yes....more pallet wood. The couch is coming together with a lid and trim.
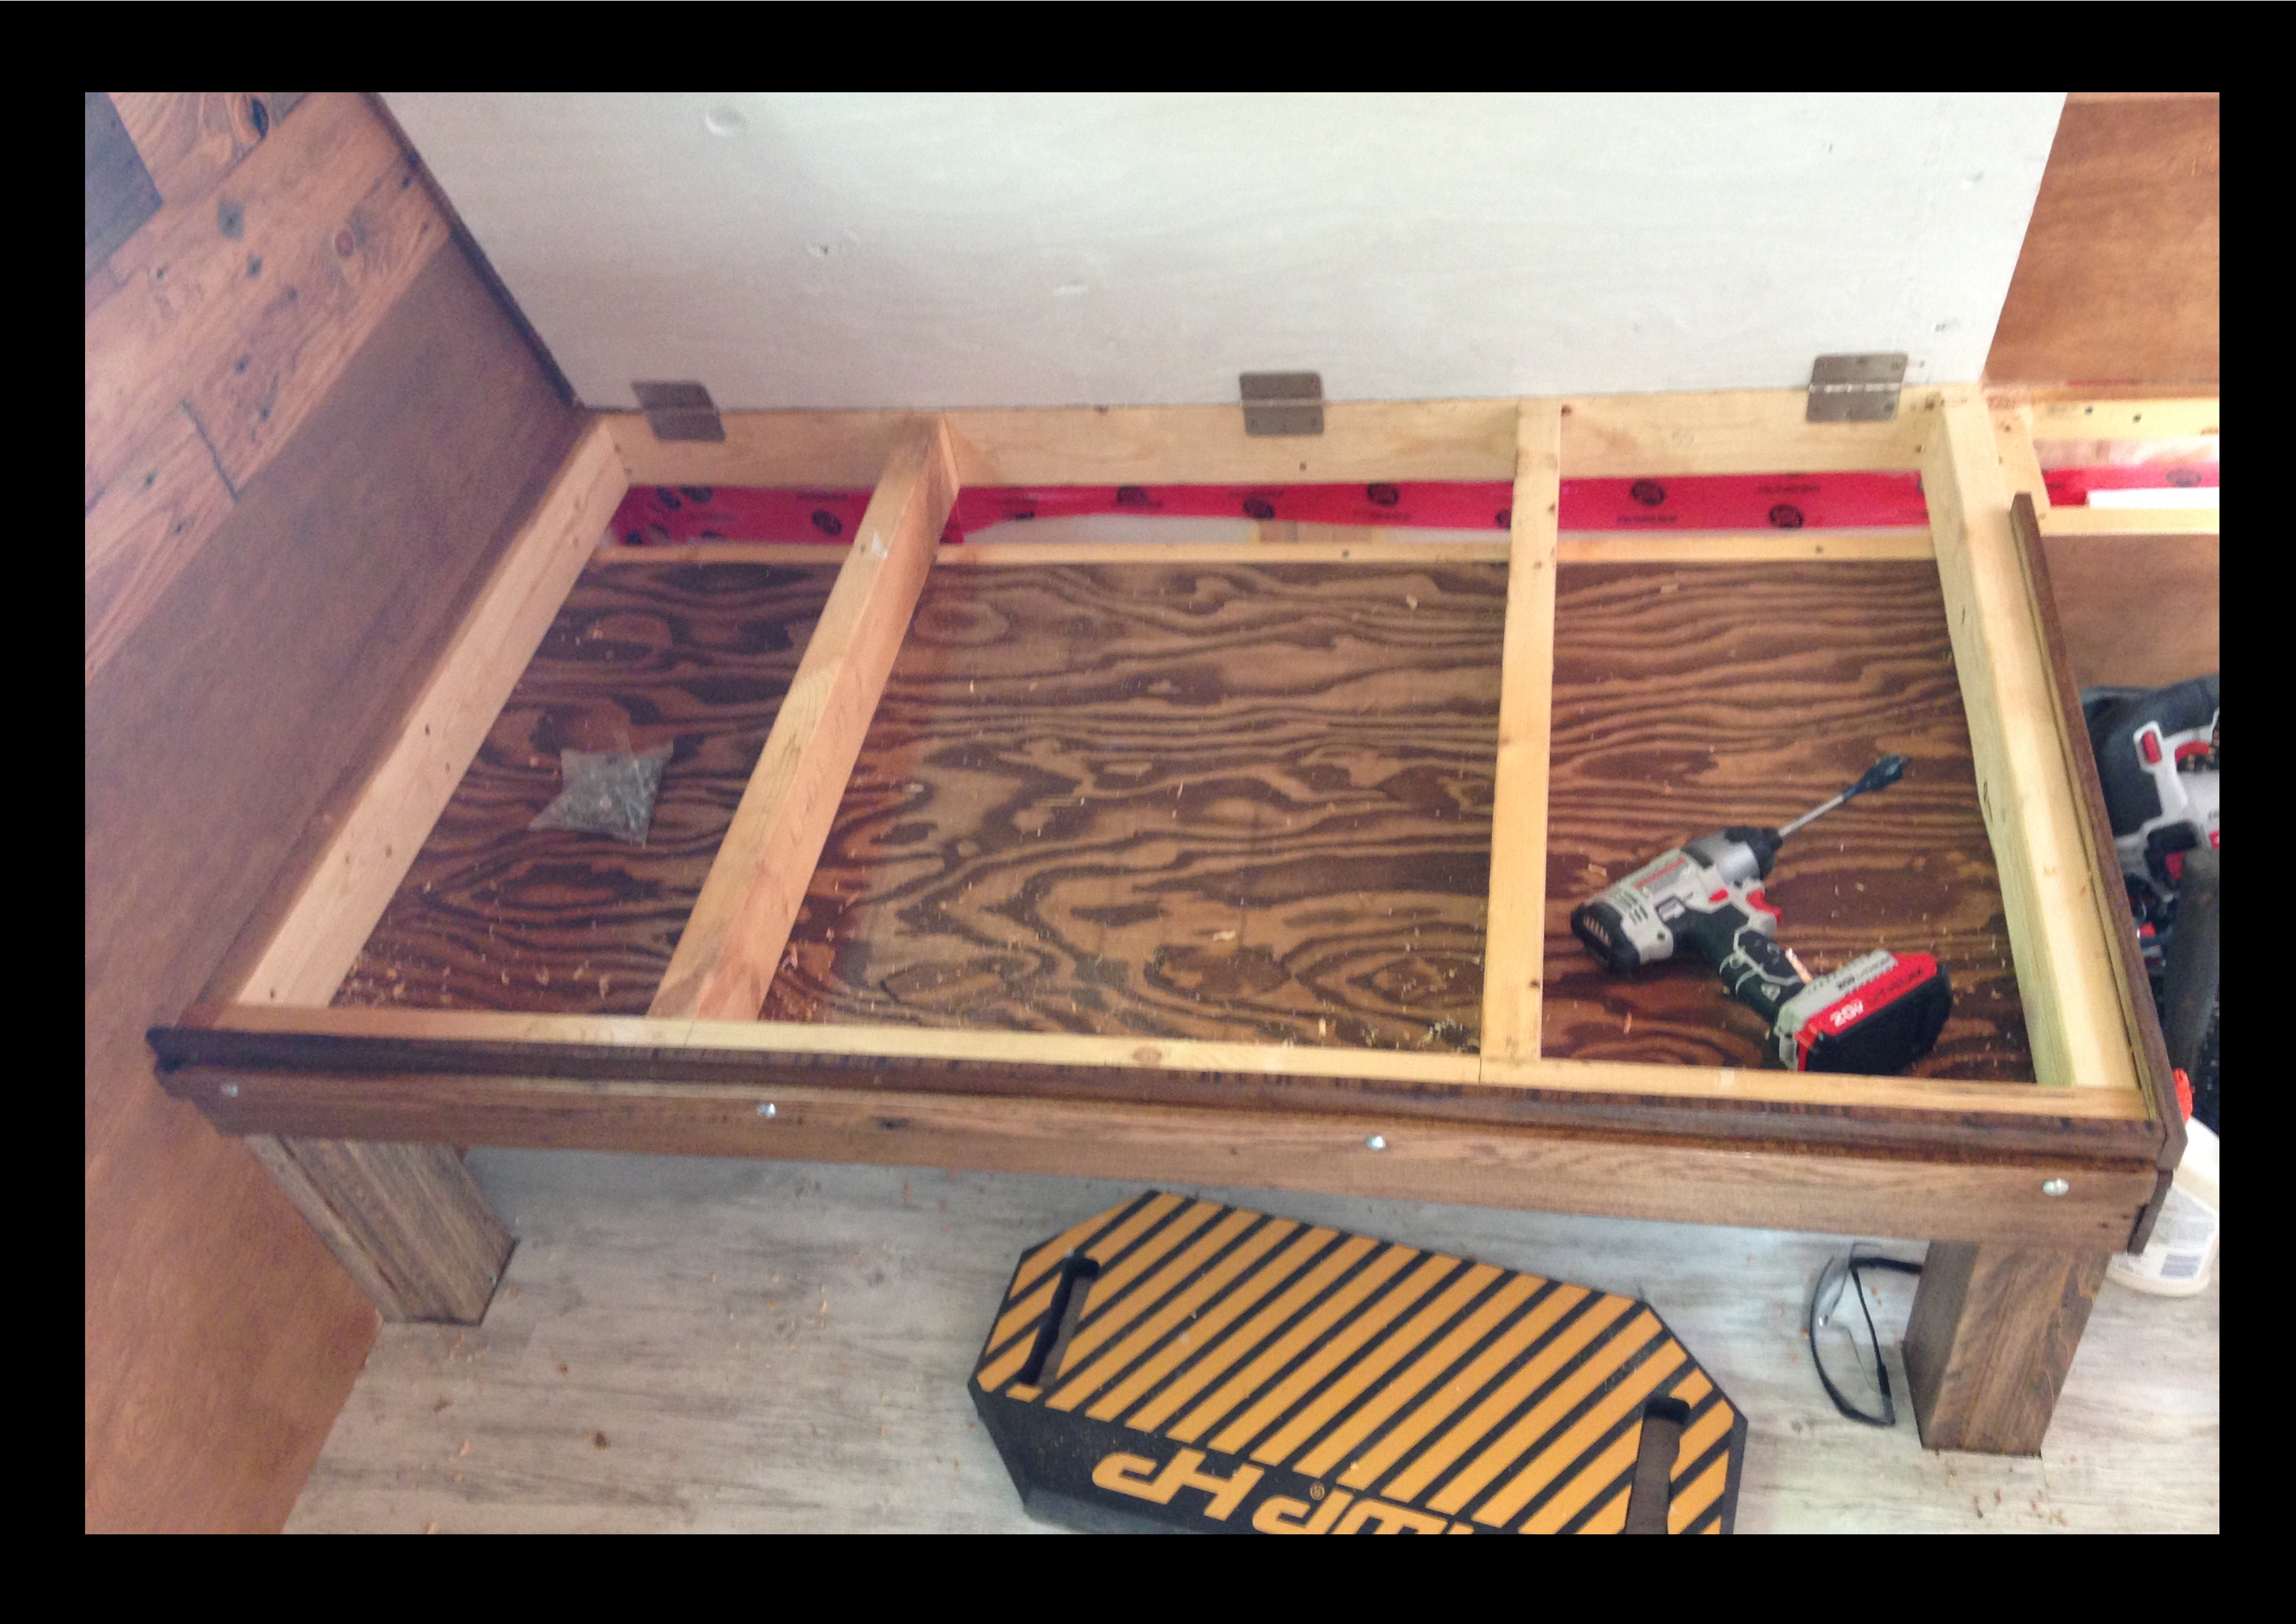
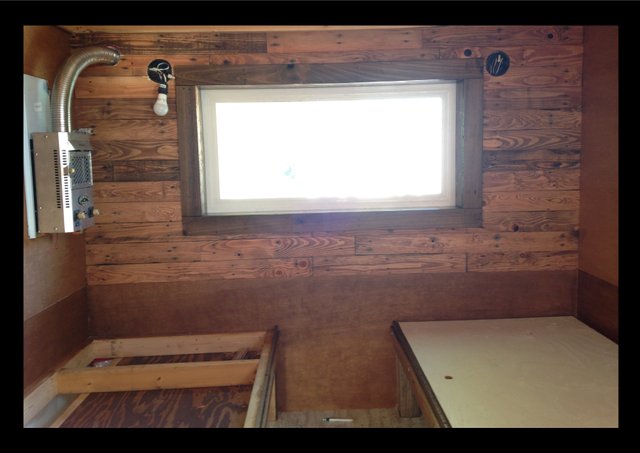
This hinge system didn't work and was changed. There is 1/2 inch semi-finish plywood stained and screwed to the underside of the framing to create the bottom for storage. The posts are made of pallet wood framing glued together and the trim around is pallet wood as well.
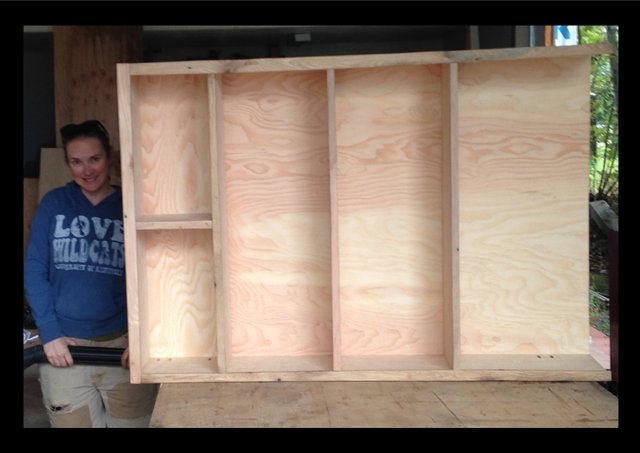
That's my beautiful wife and our first bookshelf built together. We salvaged some 3/4 inch maple finished plywood, that was sitting outside for around 7-8 years under a tarp, for this project. There is also more pallet wood (oak) used to trim out the front of the bookshelf. (I'm a pallet wood fanatic now.... If you have any pallet wood projects we would love to see them.)
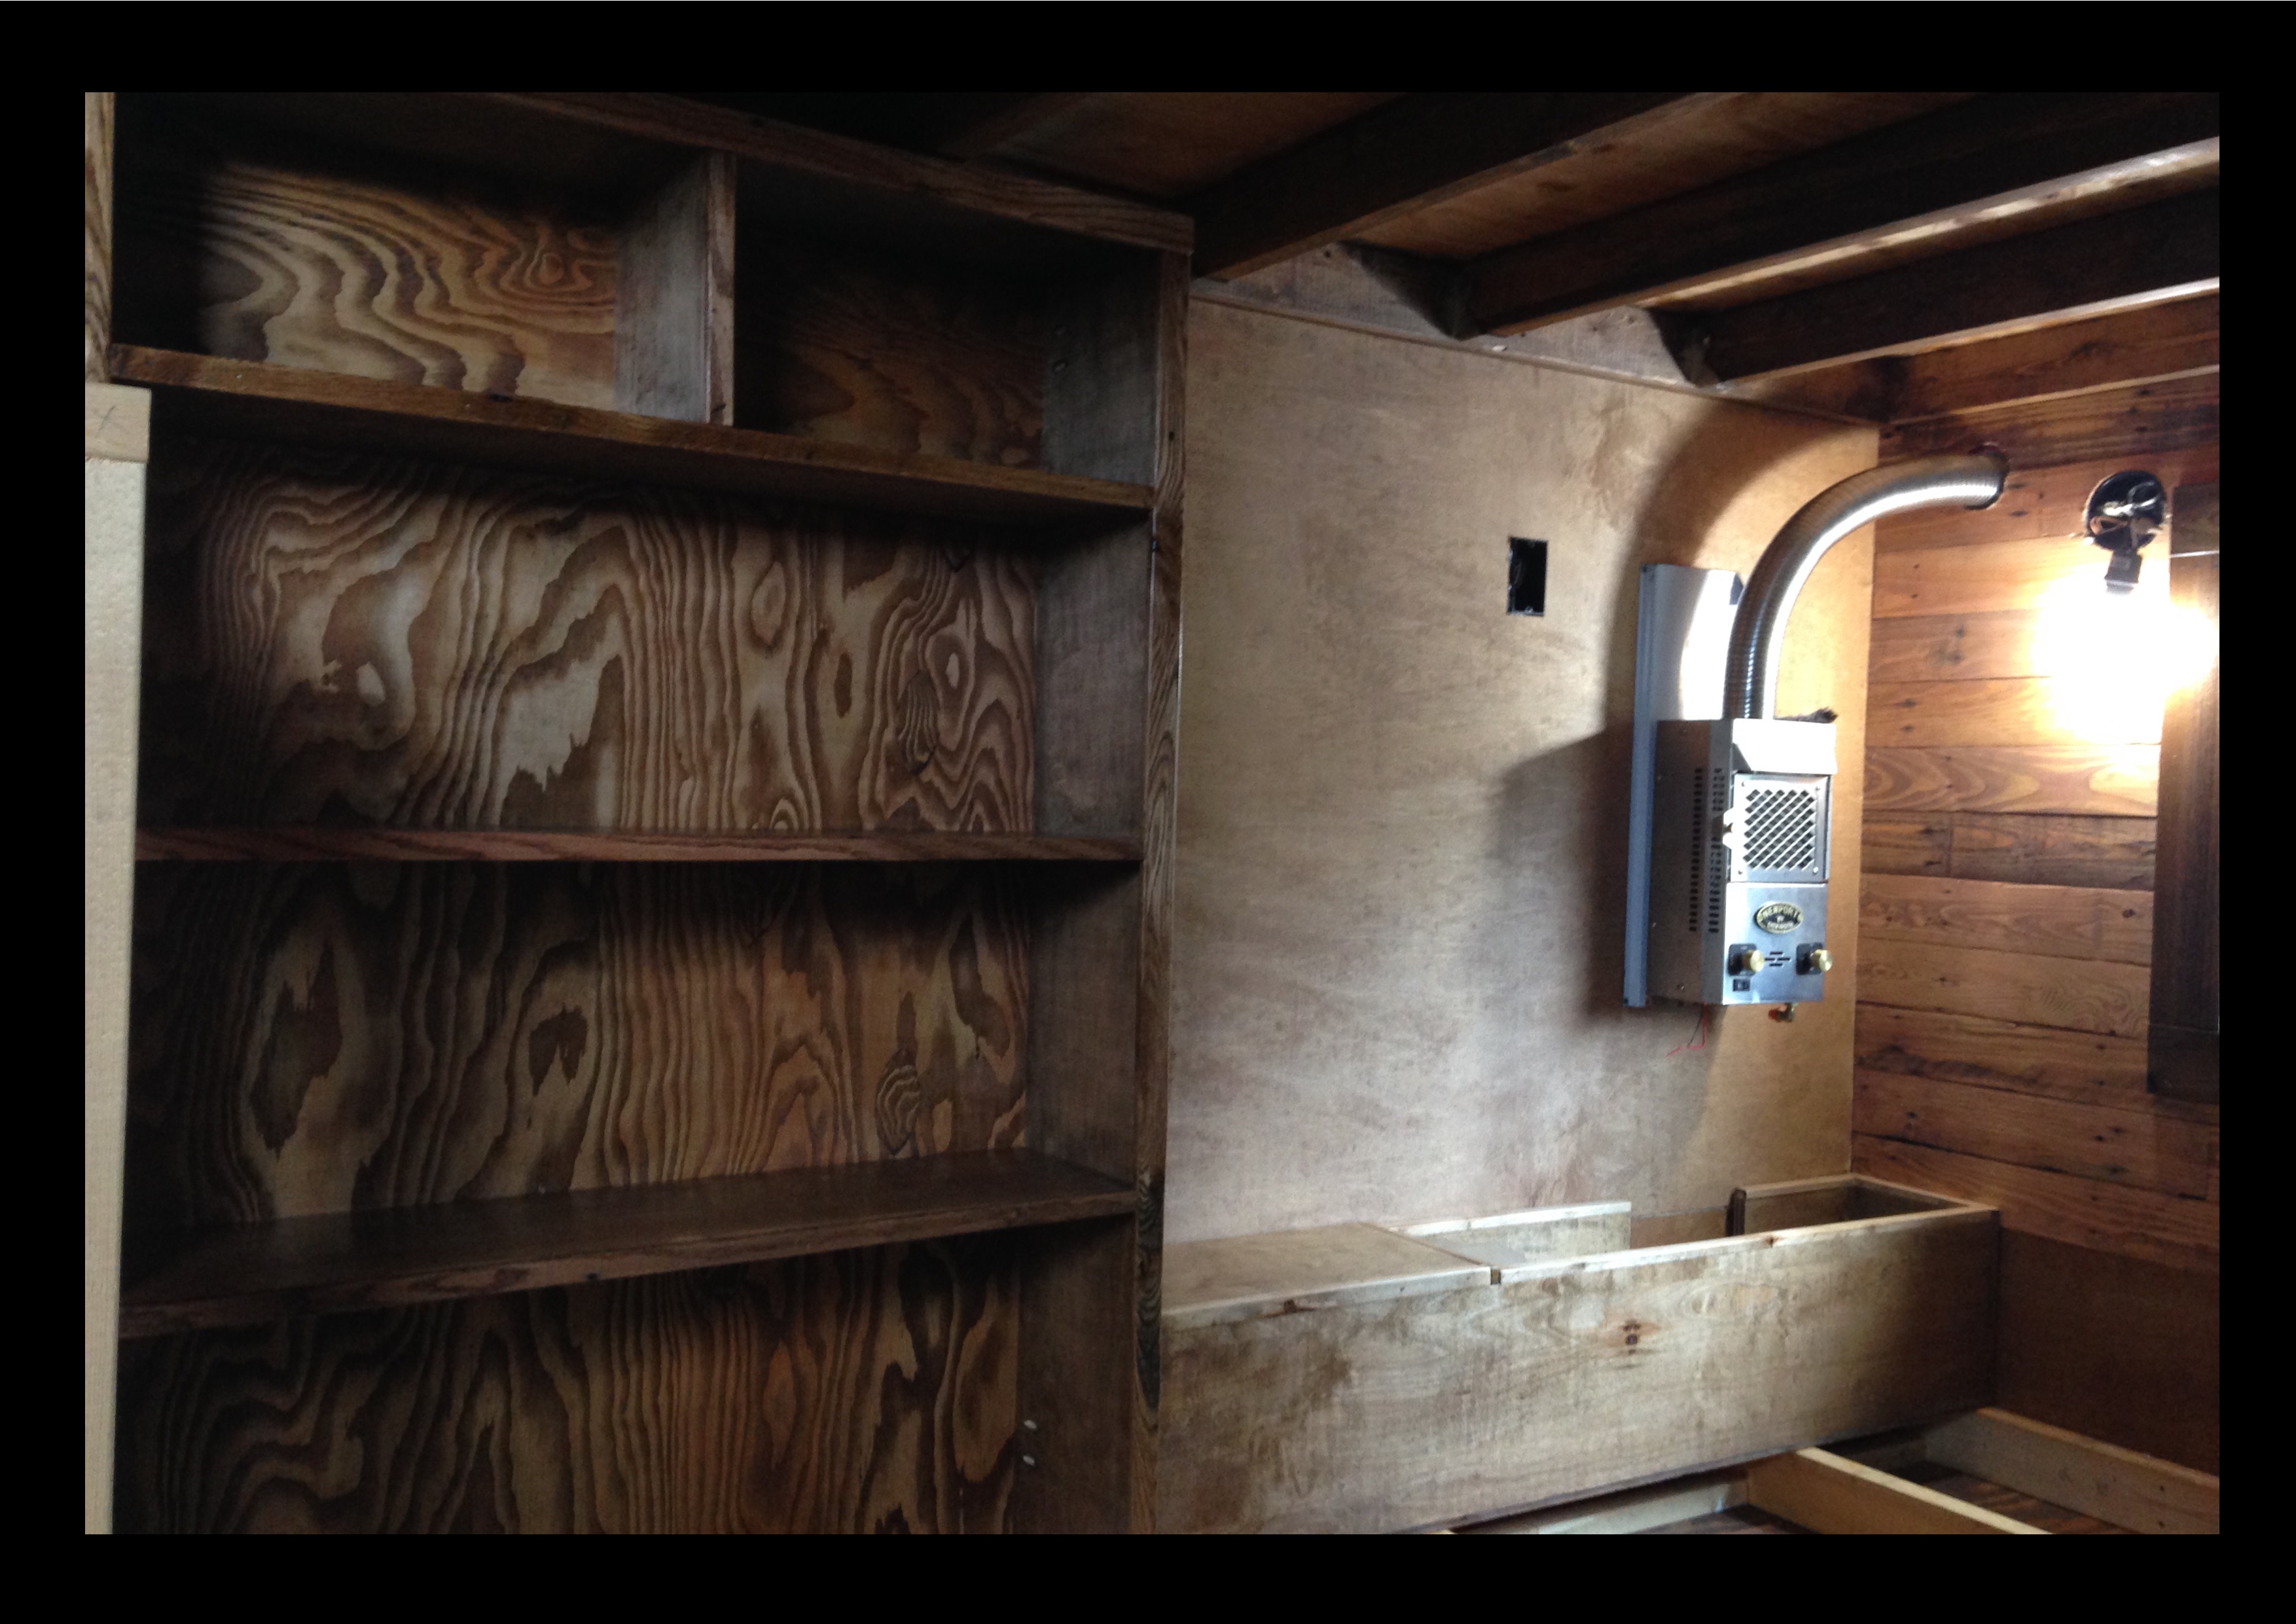
The bookshelf is stained a dark walnut and squeezed in. Big bookcase tiny home... To the right is the practice storage box, I learned a lot building it before the shelves.

We were having a good time in the cave and very happy with the progress at this point. Thank you for checking out part 9 of the tiny home build. If you have a questions leave a comment. We hope this will inspire or help others on taking on new projects as well as useing re-claimed materials.
Take care all my fellow Steemians,
Brandon
If you missed the first 8 parts of AK Tiny Home Build(Blog Evolution) here they are:
(Part 1)Foundation
(Part 2)Floor and Bottom Plates
(Part 3)Walls and Roof
(Part 4)Storage Box
(Part 5)Metal Roof and Siding
(Part 6)Interior Framing
(Part 7)Electrical, Final Insulation and Vapor Barrier
(Part 8)Pallet Wood Ceiling
It's looking good. Love using repurposed wood.
Thank you. We are pallet heads for sure!