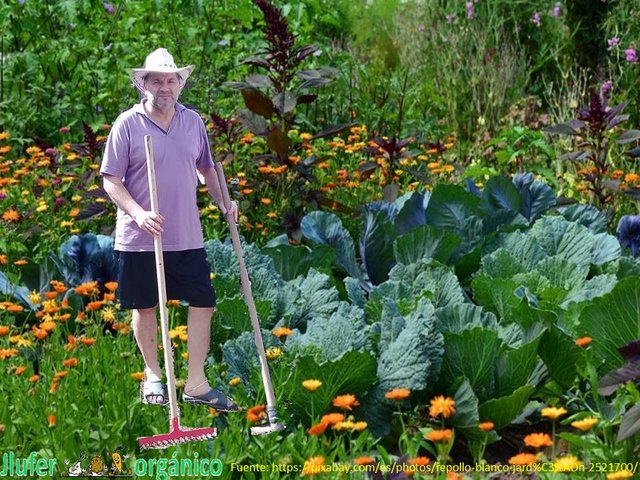
La agricultura es una actividad complaciente (Segunda Parte de preparación de nutriente Casero)- Agriculture is a complacent activity (Second Part of Homemade Nutrient Preparation)
Fuente: Álbum Familiar Fondo de imagen:

Buenos días queridos amigos. Aprecio de todo corazón el gran apoyo que brindan a diario a mis publicaciones. Este video es la segunda parte del tutorial de la preparación de un nutriente casero para nutrir o abonar las tierras de nuestras plantas.
Existen tres tipos de preparados de nutrientes, el que vimos el día de ayer es el proceso tradicional, aquel que las ¨materias¨ ¨orgánicas¨ van debajo de la tierra y el ¨compost¨ se forman gracias a las ayudas de lombrices y otros agentes de la tierra
Fuente: Álbum Familiar
El procedimiento de hoy tiene muchas similitudes al que vimos el día de ayer, salvando algunas diferencias. Una de ellas es el modo de preparación, este se realiza con la colaboración de una licuadora o una multiprocesadora.
Fuente: Álbum Familiar
Otra marcada diferencia es el tiempo en que demora hacerse el ¨abono¨ el procedimiento que pudimos ver el día de ayer tarda de tres a cuatro meses en preparase, sin embargo, este procedimiento podría estar listo a partir de los treinta días.
Fuente: Álbum Familiar
La preparación de nuestro nutriente casero se realiza en la licuadora. A continuación describiré el procedimiento paso a paso
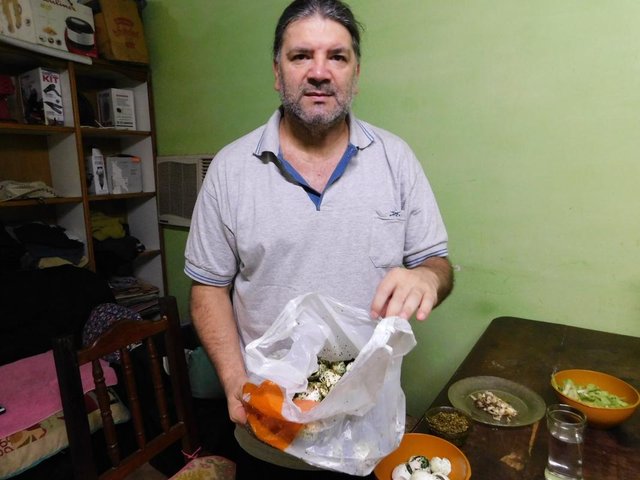
- Reunir materiales. Los desechos de los ¨productos¨¨orgánicos¨ debemos juntar en un recipiente o una bolsa. (Recuerden procesarlos antes de los cinco días)
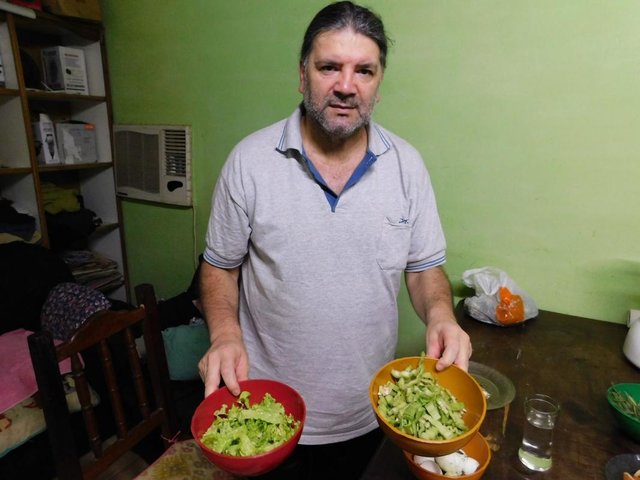
- Preparar los materiales. Debemos tomar las cascaras o los ¨desechos¨ y cortar en trozos pequeños para ayudar a nuestro electrodoméstico a que los procese
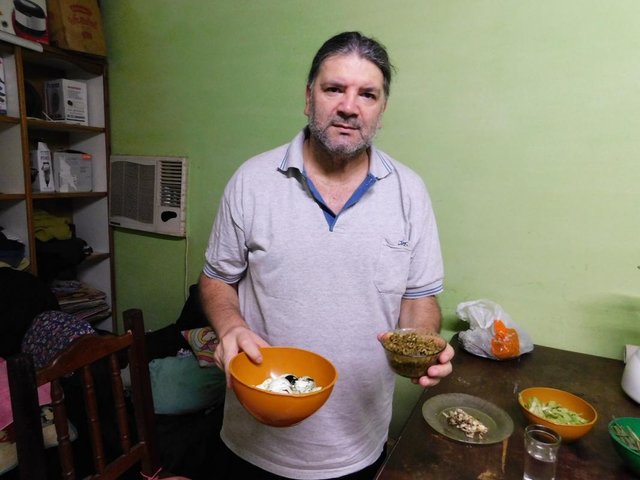
- Ubicar los materiales en la licuadora. Colocar un vaso de agua seguido de todos los trozos de ¨materia¨¨orgánica¨ y proceder a licuar hasta que todos los elementos se hayan licuado.
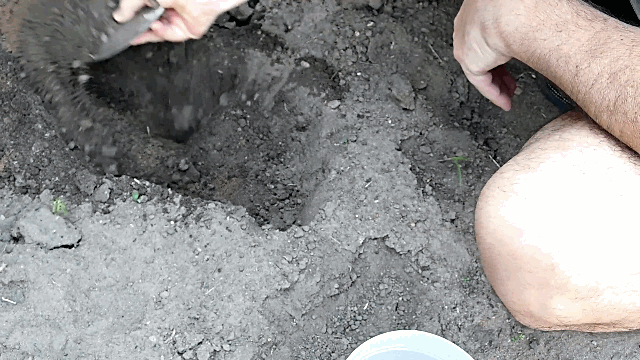
Una vez que hayamos terminado de licuar nuestros nutrientes, procederemos a ubicar nuestro preparado bajo tierra, este puede ser en la misma maseta o almácigos en donde tenemos nuestras plantas. El ¨compost¨ o nuestro nutriente casero estarán listos para ser usado a partir de algunas semanas desde su preparación
Fuente: Álbum Familiar
Como pudieron ver, la realización es muy sencilla, espero que este tutorial haya resultado de su agrado y se animen a preparar su propio nutriente casero.
Good morning dear friends. I appreciate with all my heart the great support they provide daily to my publications. This video is the second part of the tutorial of preparing a homemade nutrient to nourish or fertilize the lands of our plants.
There are three types of nutrient preparations, the one we saw yesterday is the traditional process, the one that the "material" "organic" goes underground and the "compost" is formed thanks to the help of worms and other agents from the earth
Source: Family Album
Today's procedure has many similarities to what we saw yesterday, saving some differences. One of them is the way of preparation, this is done with the collaboration of a blender or a multiprocessor.
Source: Family Album
Another marked difference is the time in which it takes to make the "bonus" procedure that we could see yesterday takes three to four months to prepare, however, this procedure could be ready after thirty days.
Source: Family Album
The preparation of our homemade nutrient is done in the blender. Next I will describe the procedure step by step
- Gather materials The waste of the "organic" products must be collected in a container or bag. (Remember to process them before five days)
- Prepare the materials. We must take the husks or "waste" and cut into small pieces to help our appliance to process them
- Locate the materials in the blender. Place a glass of water followed by all the pieces of ¨materica¨¨organica¨ and proceed to liquefy until all the elements have been liquefied.
Once we have finished liquefying our nutrients, we will proceed to locate our preparation underground, this can be in the same pot or seedlings where we have our plants. The "compost" or our homemade nutrient will be ready to be used from a few weeks after its preparation
Source: Family Album
As you could see, the realization is very simple, I hope this tutorial has been a pleasure and they are encouraged to prepare their own homemade nutrient.


Can you make a dual language post, please!
@ttg hello dear friend, at the end of the post in Spanish begins the publication in English
I wish you a wonderful day
We can definitely learn a lot from you and get encouraged to live organic life
This post has been appreciated and featured in daily quality content rewards. Keep up the good work.
@appreciator hello dear friend, I appreciate your kind words from the heart, it is a huge source of motivation.
Thank you very much to you and all your team for appreciating and supporting my post
I wish you all a wonderful day
Genial idea. No había visto esta forma, la de licuar los elementos orgánicos.
@antoniarhuiz Hola querida amiga. Este tipo de compost lo aprendí de mis padres, con la diferencias que ellos lo hacían en un mortero, lo aplastaban hasta desintegrarse.
Muchas gracias por esta agradable visita
Te deseo una maravillosa noche