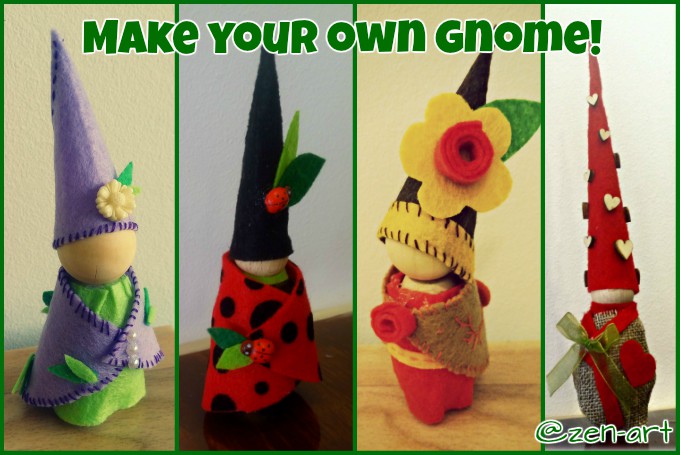
Make your own gnome - tutorial(ish)

It is a start of a wonderful week. The Sun is shining, my coffee is delicious (as is my apple pie) and when I thought about todays posts, gnomes came to mind. It is needlework Monday and some sewing projects are in order. Why not cute little gnomes that you can make for yourself?

- scissors
- needle and various colors of thread
- felt or fabric in different colors
- a glue gun
- small decorations or buttons
- wooden peg (in one or two pieces)

I often use felt because I find it to be the easiest material to sew manually (do not have a sewing machine yet) but sometimes I do take some scrap fabric too even dough it is slippery in my hands. If you use a sewing machine any fabric will do and if you sew manually then I definitely recommend felt.
Wooden pegs can be bought in any hobby art store and they do not cost much. I buy them in two pieces, body and the head separately and then glue them together using a glue gun. In Croatia, I think they are around 3,5 HRK which is 0,5 euros, a good price if you ask me.
As for the small decorations, you can use plastic or wooden ones. Those are tiny details that will make your gnome stand out. I love small ladybugs, buttons or beads but I did make a few of my gnomes with just felt alone.

I tried making one as I go and it did not turn out as good as those that I planned ahead so I decided to always plan it and prepare my self before making one. You can draw it if you have some artistic skills or just write down what your gnome will look like.

I usually take a piece of paper and write down all the pieces that I will need and for what part they are needed so it looks like a simple list that has coat - green, hat- brown sort of writings on it. When deciding what color to use on anything I take them in my hands and just see what goes well with what. I love contrast so mixing dark with bright colors is my favorite thing.
There is, of course, the change-your-mind effect that often takes place and it happens with decoration pieces. I plan what little part will go where and then when the time comes to put it there I decide against it and either change the piece altogether or put it somewhere else. Some things you can plan and imagine but can not know how they would look until you actually see them.

I have once tried making the head separately from the body and then gluing them together in the end but was not satisfied with the results so my advice is to first glue the two wooden peg pieces together and then go along to sewing the clothes for it.

While your glue on the peg is drying out, take your felt or fabric and measure how big your clothes pieces are going to be. Cut them out and glue them around the body of the peg. You could just make a little coat but then you gnome would look naked underneath. Always glue a little dress/shirt around the body so it looks like it has clothes on.
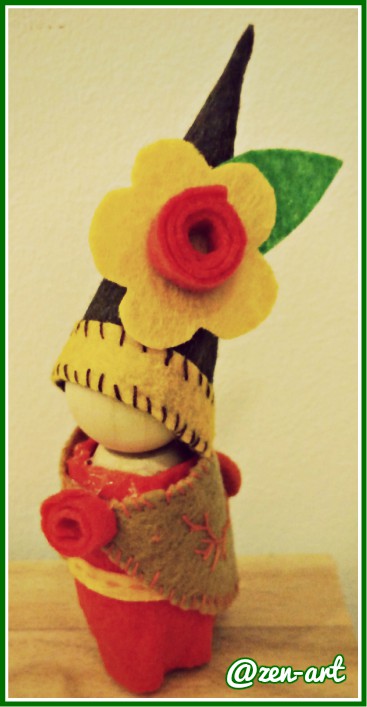
After you have the main clothes on the gnome, there are still two things left, the coat and the hat. Use a thread that is different in color from the fabric and make a little stitch around the coat and the hat. You will glue it, but the stitch gives a gnome-y look. When you are done with the stitches, glue the hat on the head and coat on the body.
The finishing touches are the most important. Decide if you want your gnome to have a flower, leaf, a bug or something else on it and play a little with different decorations and small felt pieces to make your gnome as cute as it can be.
Do you like my gnomes? Let me know in the comments which one is your favorite.

KEEP YOUR SMILE ON!
All images used in this post are mine and made by me, please ask for permission if you wish to use them, thank you.
For my recent Philosophy of hapiness posts follow these links:
- What is the difference between fault and responsibility?
- Are you carrying prejudices?
- Thank your parents, they did the best they could
- Where attention GOES, energy FLOWS
- How to decipher your DREAMS
- Panic attacks - a heart-attack monsters
For the "Into the quantum world..." novel that I am writing exclusively for steemit click here:


made by @simgirl
I like it. I don't know what I could use a gnome for, but I would create one. Perhaps a cat gnome :D
I will always support handcrafts and promote handcrafts to anyone as I found that in my country nobody does it anymore and it's seen as the plague. This, in turn, makes women who were enlisting in high school sewing classes to either skip school or follow journalism or social studies.
Most of them drop out or prefer to work abroad in unqualified positions rather than work like this.
It's a much wider phenomenon, maybe I will write about it sometime. How to counter this is also on my mind.
Mechanics is another one of the jobs that are seen as the plague.
Basically everyone just wants to have a university, which makes Romania one of the leading countries in Europe (people with diplomas that are bartenders and cleaners). This is slowly fixing itself as the tests have gotten a little harder nowadays but still, the mentality of following a University and everything will get solved without actually trying to solve it, is wrong.
That escalated quickly from sewing :D
That escalated quickly indeed :D But I love when it escalates. Thank you for your wonderful comments and info about your country and surroundings. 💚
this comment made me laugh at how much it escalated!!!! i think i usually have the same kind of comments!!!!!! LOLOL
Bitmoji for bitmoji?
What are you asking me here honey? :)
I don't talk to you anymore :D
And who is talking to me right now? Your twin brother?

You are talking to her :)
You are as crazy as they get, arent you? Well, the joke is on you, I love my new mustache :D
hahaha <3 <3 <3
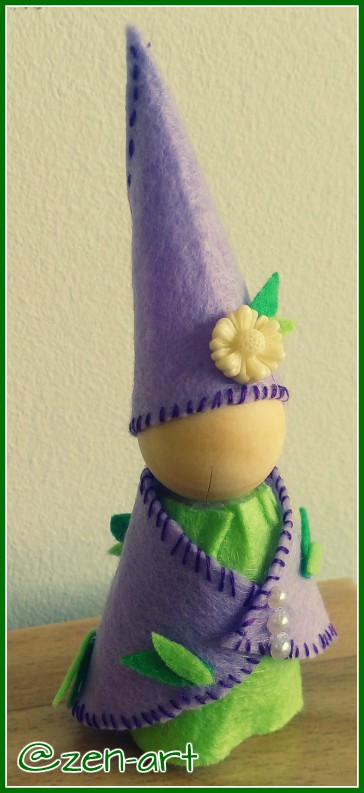
The first one in purple and green is my favorite. Thanks for the tutorial, they are really cute!
Thank you, they really really are cute ;)
These are so cute! You could use a wooden clothes pin too, but it might be a little skinny with a tiny head. :) Ha! Thanks for sharing these - super cute and look pretty fun and relatively easy to make. You always have such cute ideas. :)
They are easy to make, well, first couple of ones that I made did not look pretty but they were too fun to make, and now look how good they look :)
This will be a great thing to do with my older daughter for the summer holidays!
I am sure it will, take some pictures of it when you make it and share them with us, I would love to see them.
I nnever try to make an homemade gnome but i must try, they seems so cute, thank you for the tutorial!
you should try and make one, it is super fun!
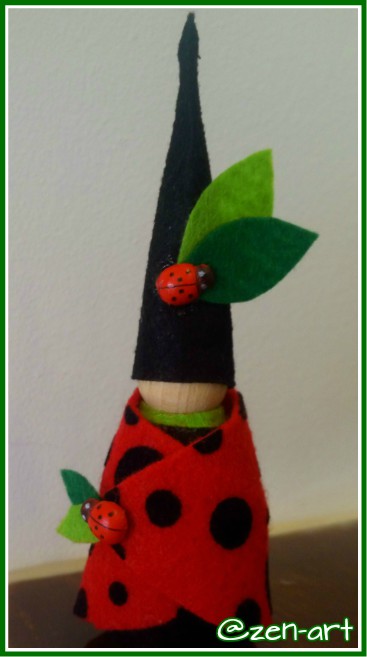
I really love viewing your Monday posts! You always have the cutest little projects and easy to follow along. I really like these little cuties. I think they would make really nice decorations around a child’s room. My favorite is the ladybug!!! Thank you so much for sharing and giving us instructions as well ;D
Ladybug is my favorite one too :) These are perfect little gifts for girls, but some adults were begging me to make some for them too lol
Lol!!! I bet they were!!! These are adorable for all ages!!! 😄😉
These are so cute! I think I will make one of these for my fairy garden :)
Yeah, they would look perfect around flowers
I remember making those when I was young. They were so much fun!!! :D
I have heard they even make them in some schools now, it easy for kids to make them and show their creativity.
Hi zen-art. A great greeting Comment, I loved the gnome of image two. And I think you've explained very well how to do them. Definitely, it is better to plan the work and thus obtain an excellent result. Thanks for sharing.
Thank you for your lovely comment, the second one is my favorite too :)