How can you repair a damaged blender? In this post you have the steps - Original from @jose27117 for steemit.
How can you repair a damaged blender?
Dear steemians a greeting.
Own Source
Own Source
Today I want to show you a new post about the field of repairs, to which I have been dedicated for more than 6 years. In this publication I will show you how I repair a blender, applying my knowledge in the field.
 Own Source
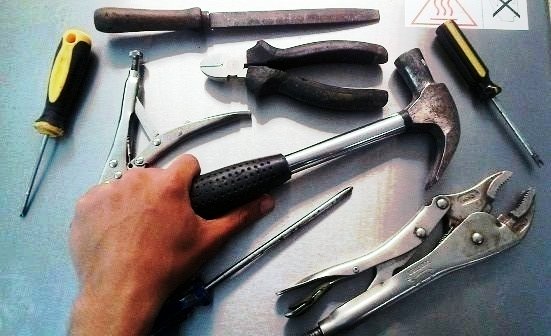
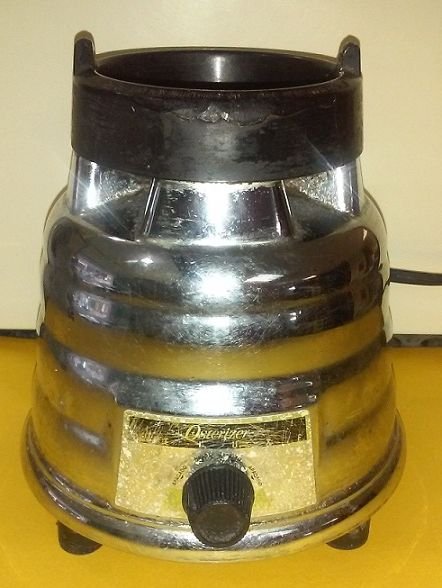
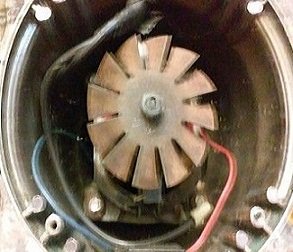
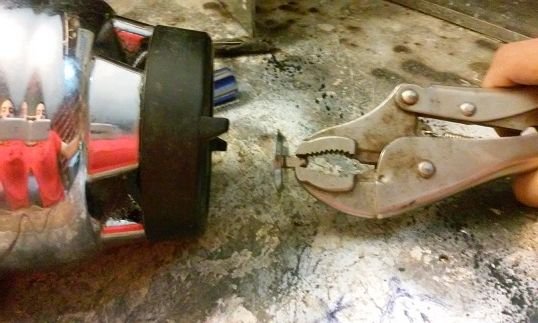
Own SourceIn today's case, we have an Oster blender from a customer who is unable to blend the food. When I looked at the product, I could see that there was wear between the parts that fit together. These parts are the motor quadrant and the gear knurl of the blade (the gear knurl is not replaced, the assembled blade is replaced).
Coupling wear is a very common fault in Oster blenders. Normally the motor quadrant is changed twice a year when the product is overused and for less overuse once a year. In the case of the blade it needs to be changed at least twice a year when the use is excessive.
It is very difficult for many people to fit the coupler, but it turns out that it is just the opposite, so I will proceed to explain the steps for its replacement easily. But first let's start by reporting on the docking system.

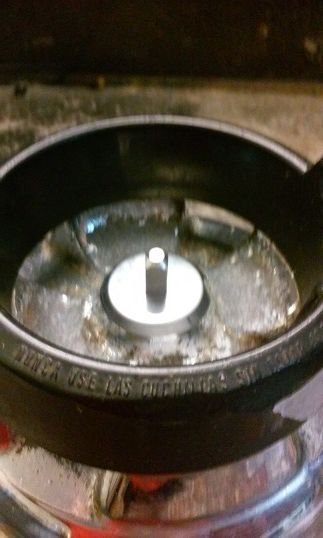
Information about the blender docking system.
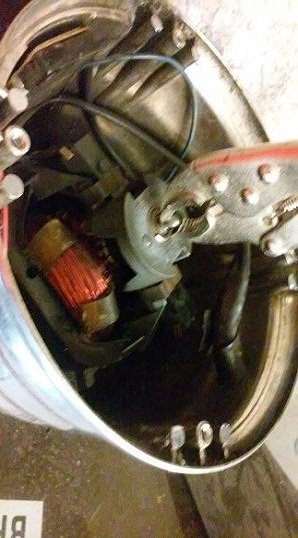
The coupling system is important for the functioning of the product, because it is the mechanical part that makes the necessary movements to blend and in the case of the Oster blenders its system is patented. Let's know the functionality of the parts I'm going to replace:
- The quadrant kit.
Own Source
Own Source
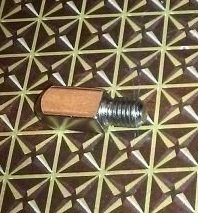
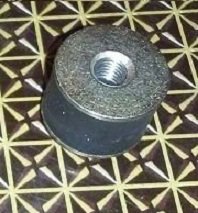
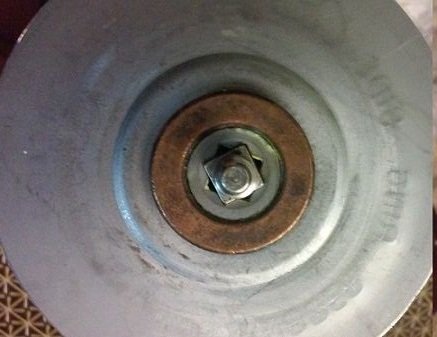
Square coupling:
All-metal, its function is to directly couple with the grooves of the blade. Its square shape is the one that allows a coupling with greater effectiveness and efficiency for the a blend process.
Own Source
Own Source
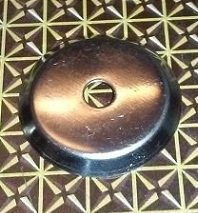
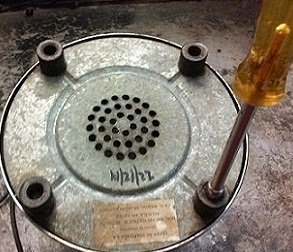
Coupling Collar:
All-metal, its function is to cover the hole where the kit is located to prevent spills of liquids into the engine.
Own Source
Own Source
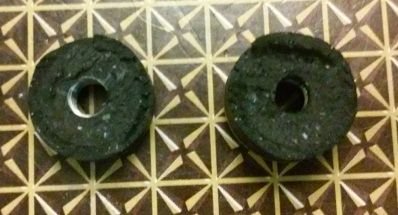
Rubber coupling:
Part that allows the internal motor to be screwed in with the square coupling. It is made of an elastic band that joins the two metal ends. Its main function is to prevent the engine from being damaged, in the event that the rotation system is blocked by an accident, the rubber will give way and the part will break in two.Image of how the rubber coupling splits in two.
Own Source
Own Source
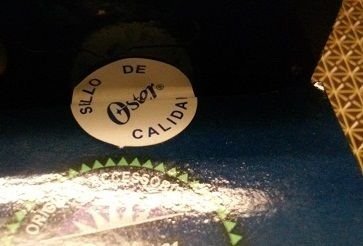
To verify that our Oster quadrant kit is original, this one has a manufacturing code.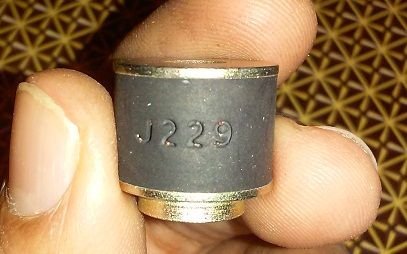
Own Source
Own Source
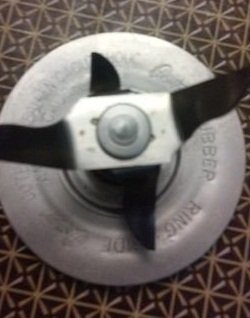
- The blade.

Own Source
Own Source
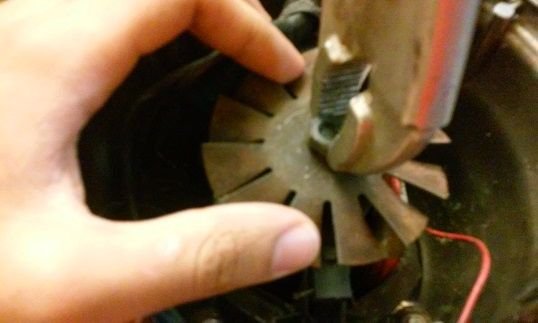
The blade is the piece that is in the glass container, below it has an opening that engages directly with the square coupling. This blade has a very well crafted rivet and its design allows to increase its tolerance to ice crushing.
Own Source
Own Source
To verify that our blade is original we must check the appearance of the box and the blade, although it is often very difficult for a person without knowledge of blenders to determine its originality. (The images show an original blade distributed in Venezuela, made in Mexico).
Own Source
Own Source
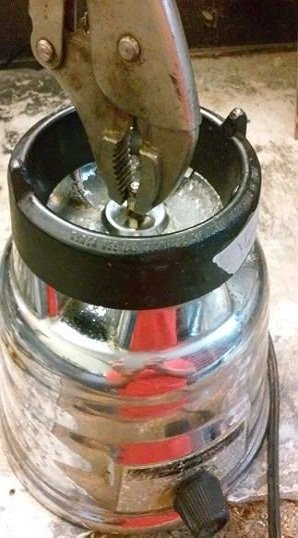
Now replace the coupling of the Oster blender by wear.
Own Source
Own Source
Own Source
Own Source
Own Source
Own Source
Own Source
Own Source
Own Source
Own Source
Own Source
Own Source
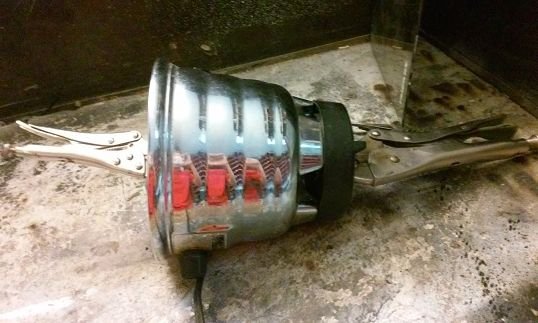
In the case of blending with ice, it must be crushed before placing it in order not to wear down the blades as soon as possible. When the liquefaction process is finished when the product is switched off, the axle continues rolling for approximately 5 seconds due to the impulse. It is necessary to wait for this impulse to finish in order to dismantle the glass cup and thus avoid its rapid wear on both parts.Finally, I recommend that for a longer durability of the parts:
Friends steemians we have finished another post about how to repair an appliance, in the case of today's Oster blender. It is still my pleasure to present my expertise to provide you with detailed information on repair procedures.
@jose27117
Go here https://steemit.com/@a-a-a to get your post resteemed to over 72,000 followers.
20.000+Followers can see you.(@tenorbalonzo,@hakanlama,@cemalbaba,@asagikulak) Send 0.200 Sbd or Steem. Post link as memo for
Hi @jose27117!
Your post was upvoted by utopian.io in cooperation with ocd - supporting knowledge, innovation and technological advancement on the Steem Blockchain.
Contribute to Open Source with utopian.io
Learn how to contribute on our website and join the new open source economy.
Want to chat? Join the Utopian Community on Discord https://discord.gg/h52nFrV
Great. Thank you so much.
Congratulations! This post has been upvoted from the communal account, @minnowsupport, by jose27117 from the Minnow Support Project. It's a witness project run by aggroed, ausbitbank, teamsteem, theprophet0, someguy123, neoxian, followbtcnews, and netuoso. The goal is to help Steemit grow by supporting Minnows. Please find us at the Peace, Abundance, and Liberty Network (PALnet) Discord Channel. It's a completely public and open space to all members of the Steemit community who voluntarily choose to be there.
If you would like to delegate to the Minnow Support Project you can do so by clicking on the following links: 50SP, 100SP, 250SP, 500SP, 1000SP, 5000SP.
Be sure to leave at least 50SP undelegated on your account.