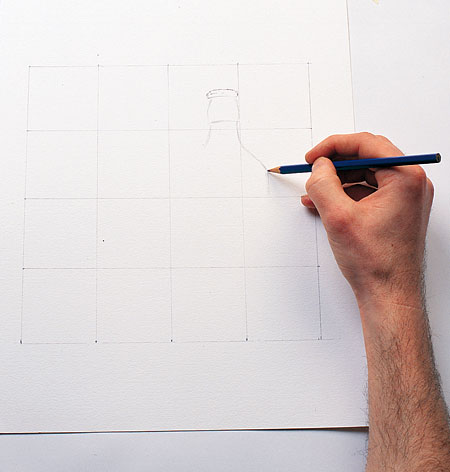
Remove the sketches of the objects:
- You can divide your paper into equal size paper to help place objects on the paper. Try to place the 3D object on the paper only as a contour, without pushing your 2D pen too hard on the paper. Do not go into the details of the objects and do not be afraid to make mistakes.
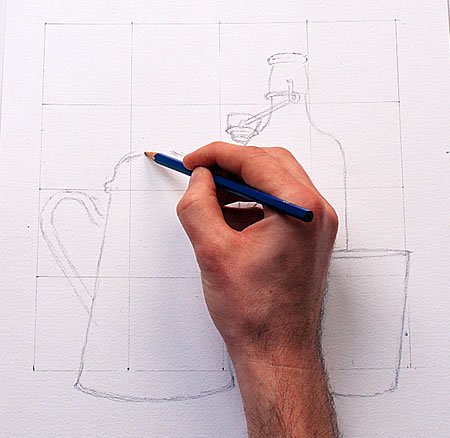
Complete the draft:
- If the objects settle on paper, you can add small details on the bottle and jug. They are ready to shade objects that are correctly placed on the paper and are correctly associated with each other.
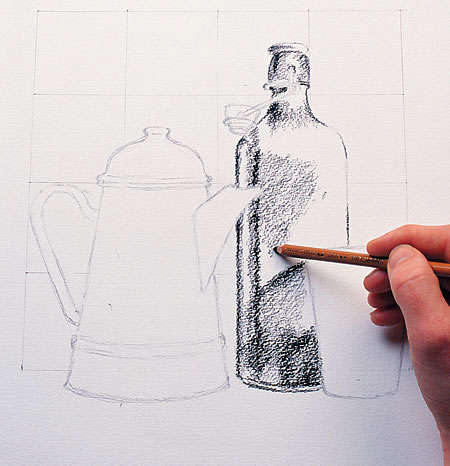
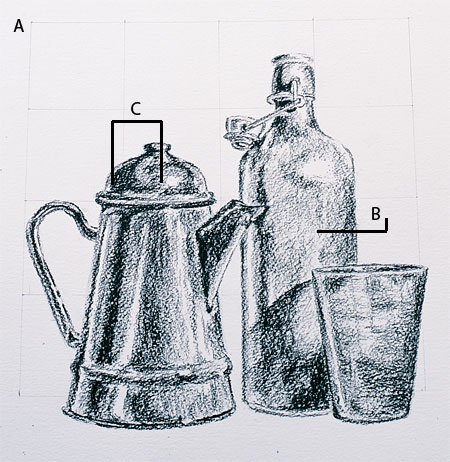
Get the shape of the balloon:
- Try to thoroughly examine the tip of the coal column like the mouth of the bottle. Then turn to the barrel, use your pen a little more to create the shaded area on the right side. Leave the lighted areas on the left and above the top blank.
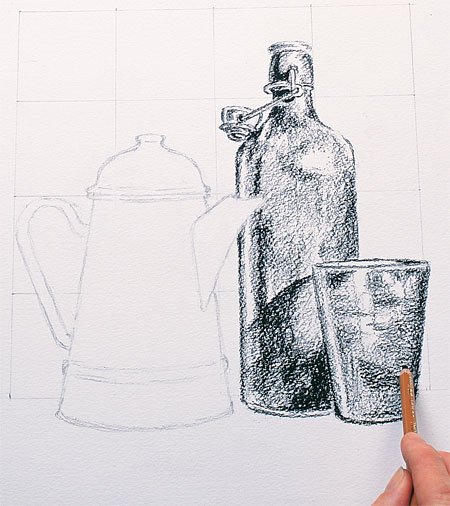
Work on the jug:
- Place a piece of paper over the areas you complete your drawing so that the pencil will scatter on paper and contaminate your picture. Then start shading the suspension. Shadow with vertical lines, leaving light areas out.

Darken the sulphate slightly:
- Go step by step to darken the shadows falling on the objects. You can create brighter light by wiping your eraser and pencil stains to sharpen the light in areas you see.!
GOOD DRAWINGS.