SteemFest 2: Step by Step TUTORIAL On How I Designed T-Shirts for the Event using Photoshop( Easy to Follow)
Hello Steemians,
I posted samples of some t-shirts for SteemFest 2 which I designed earlier, and the feedback has been amazing. Owing to that reason, I would be using this post to give you a step by step guide on how I created one among the t-shirts I designed.
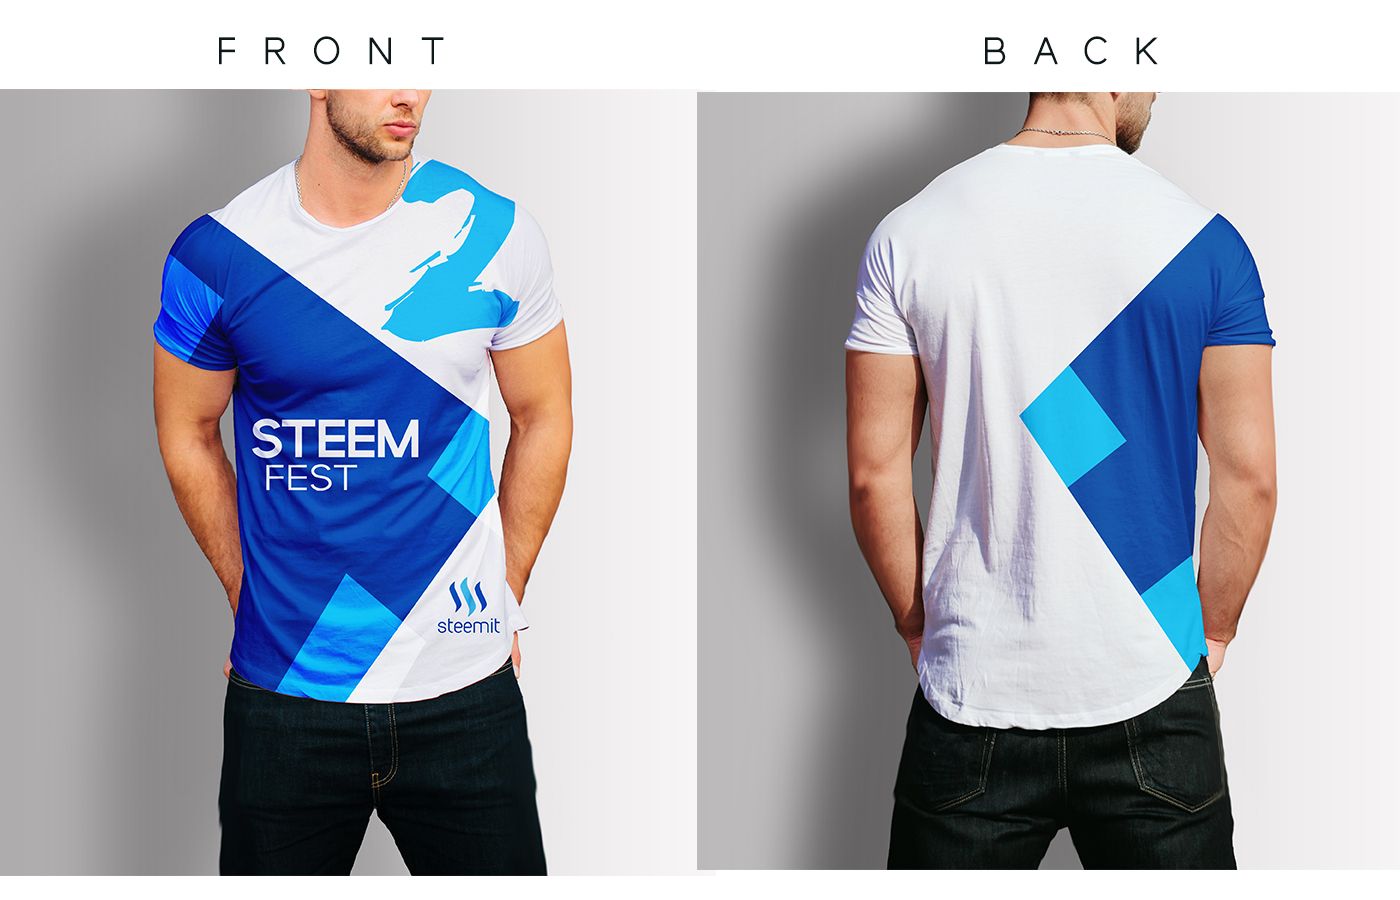
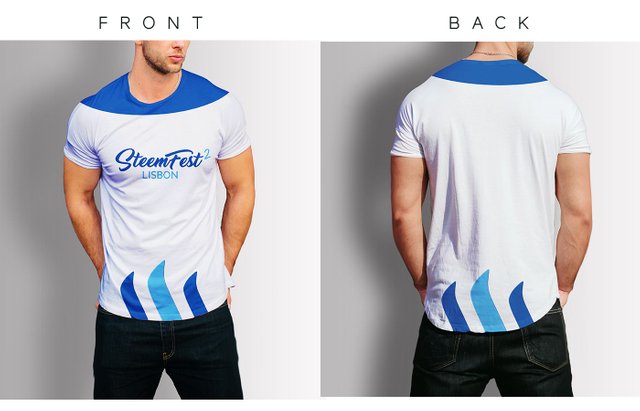
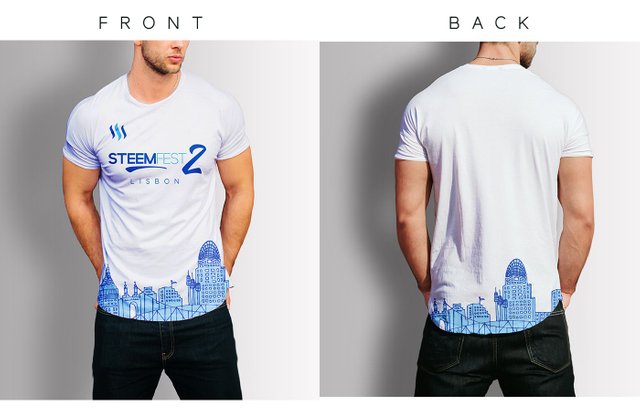
Read on as I put you through, but first I would love to show you my favorite:
Amazing Right ??
Step One
Open your Photoshop, and use "Ctrl+ N" to open a New Document, you would see the Guide with the Screenshot below.
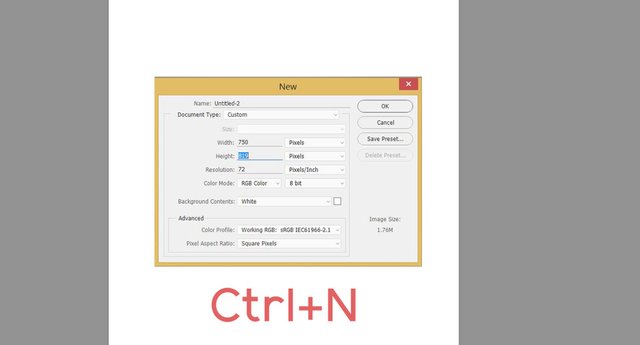
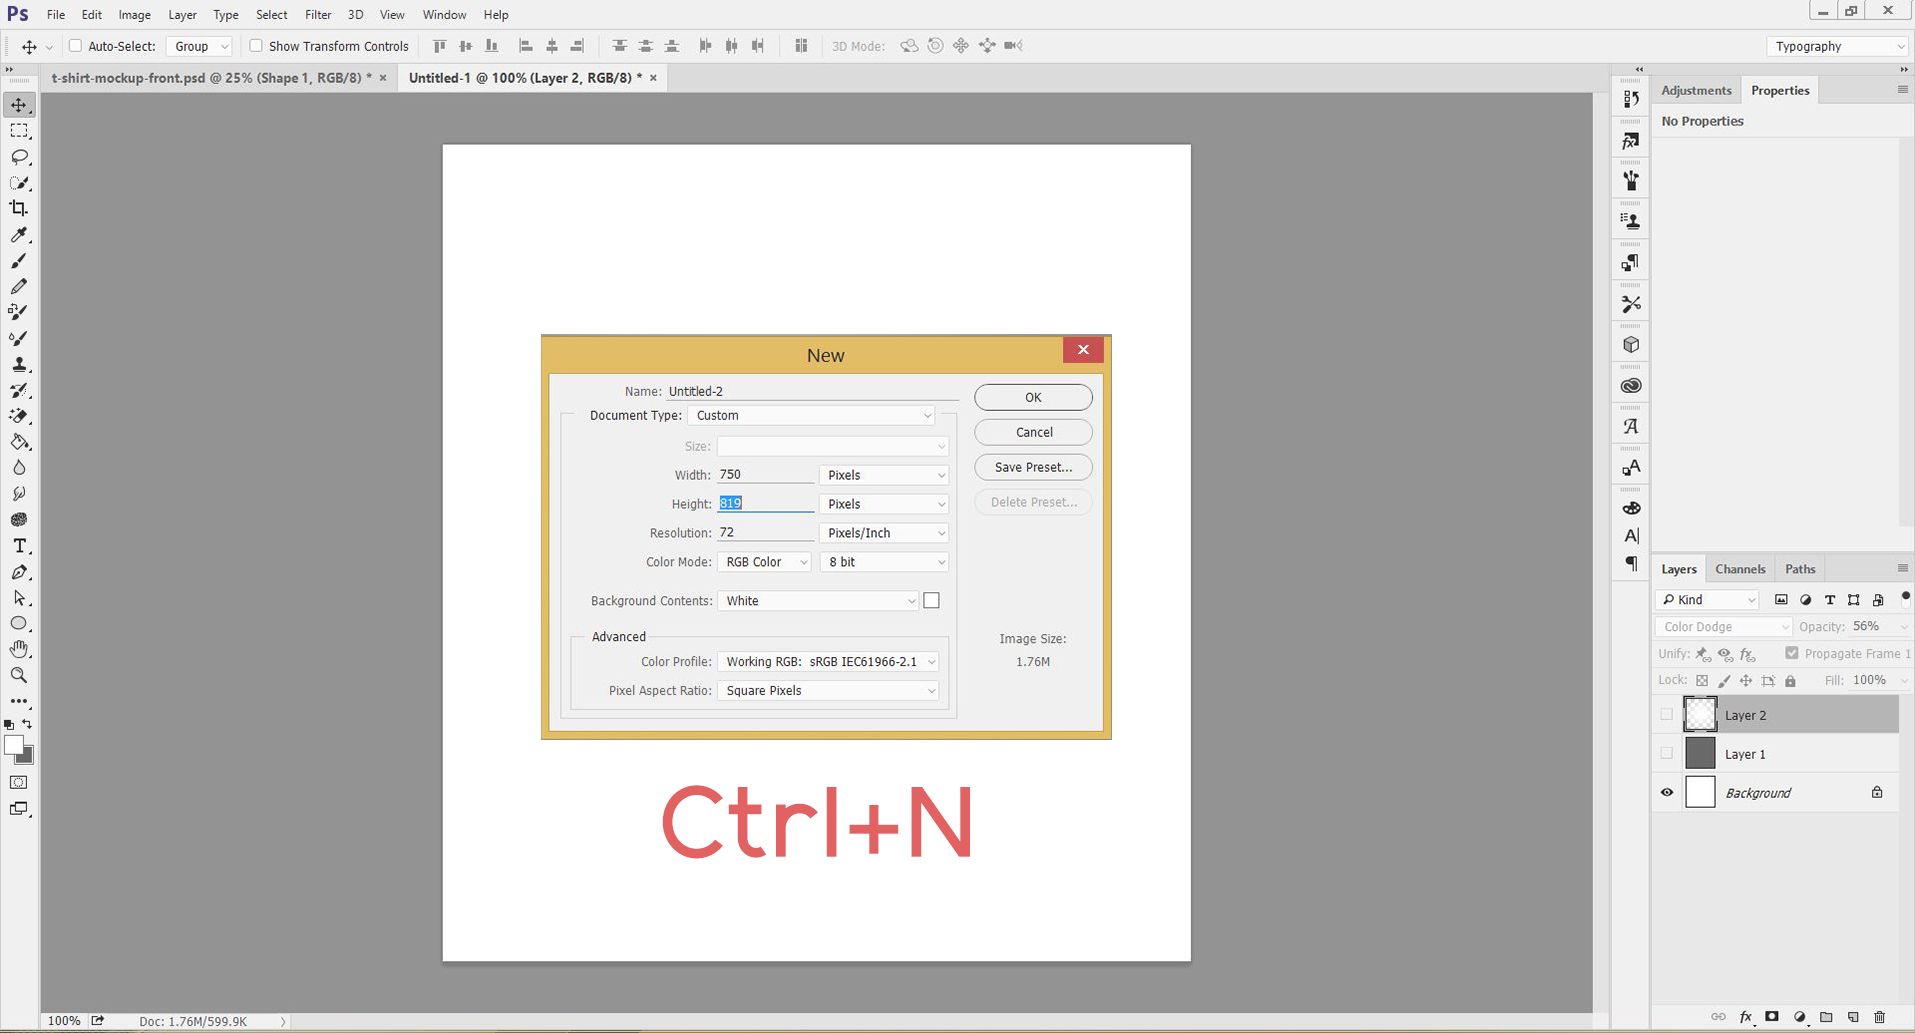
You can use any size of your choice, I did use the size best deem for me.
Step 2
After creating the Canvas of your choice on Photoshop, you should get something like this:
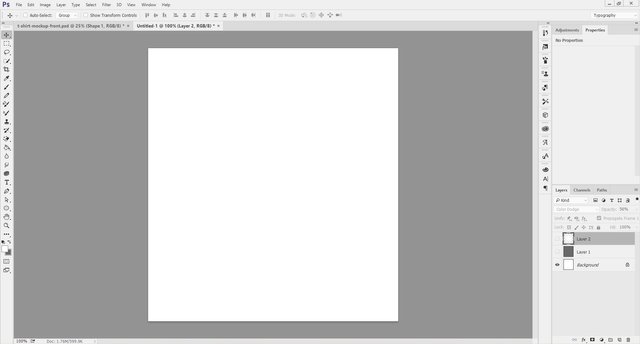
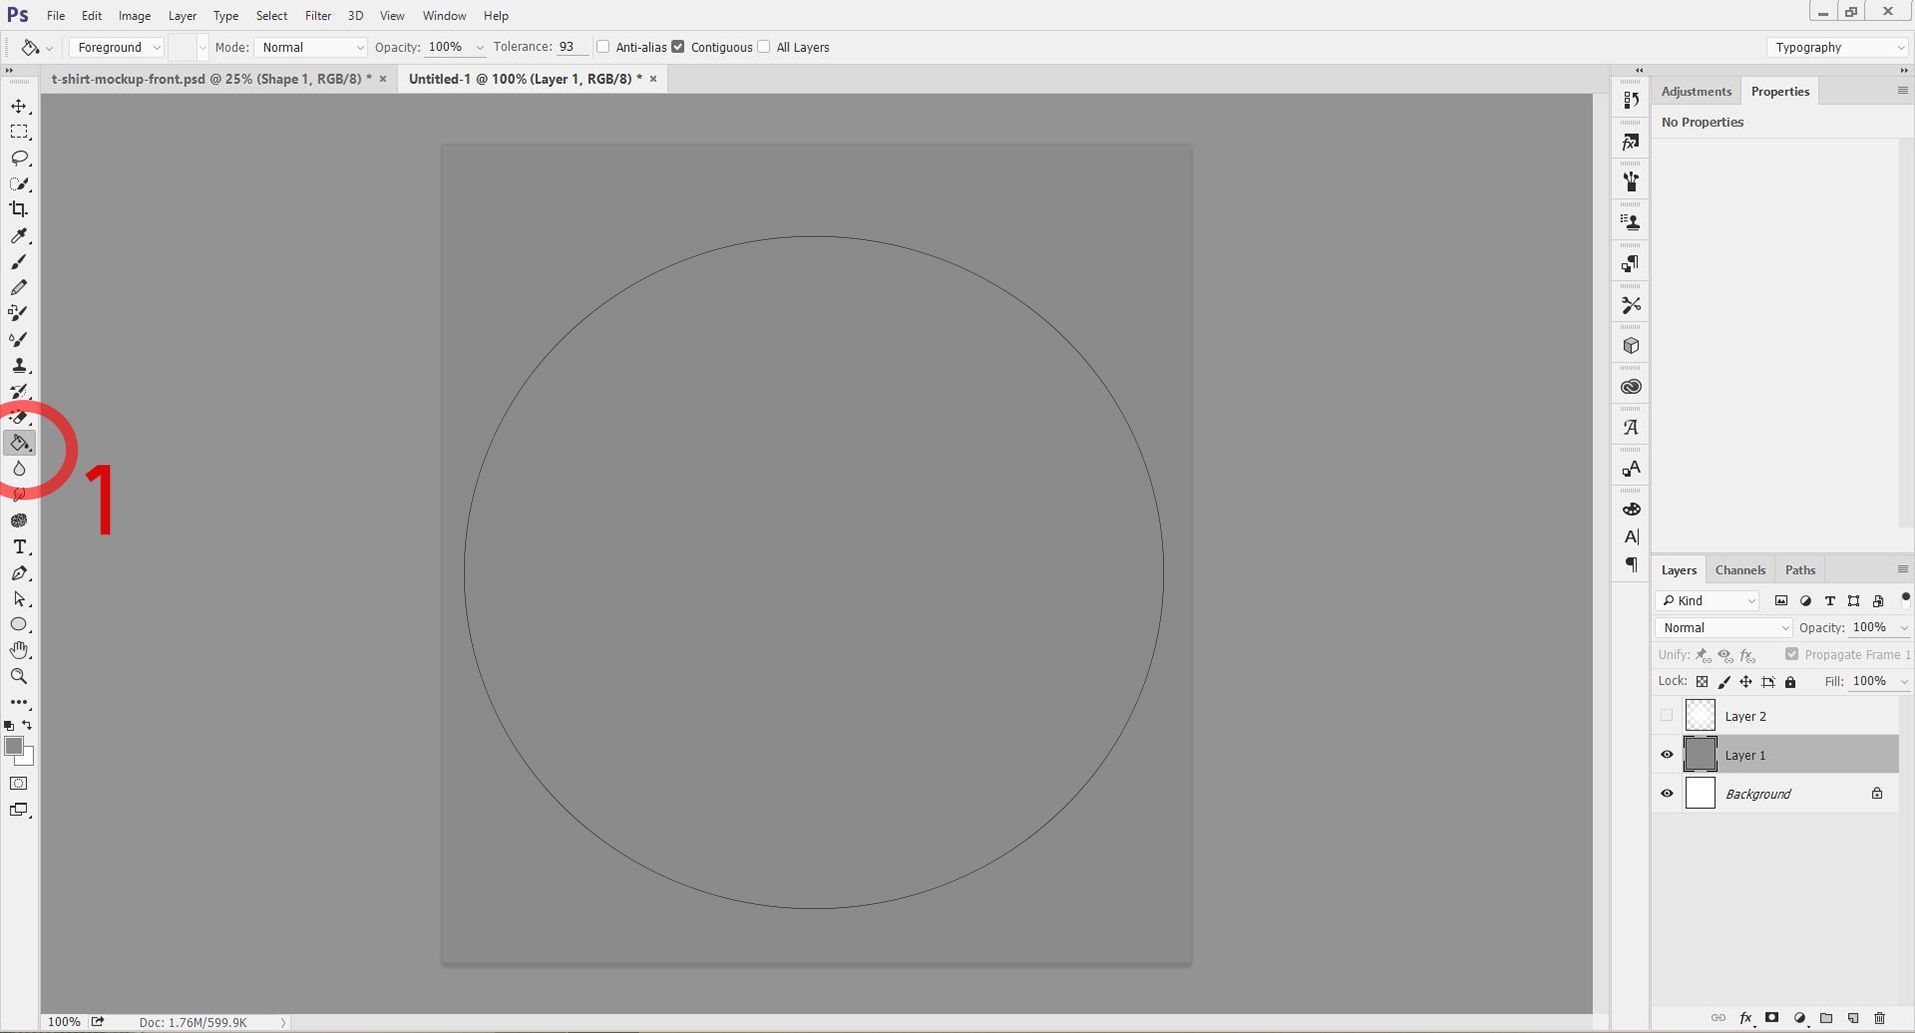
Pick a Color with the Paint tool from the toolbar and Paint the canvas the color of your choice, for me I used Ash Color
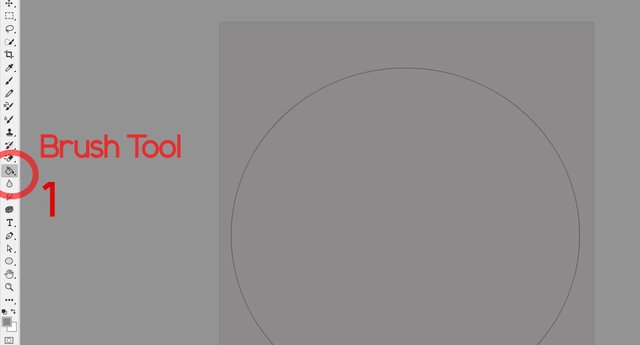
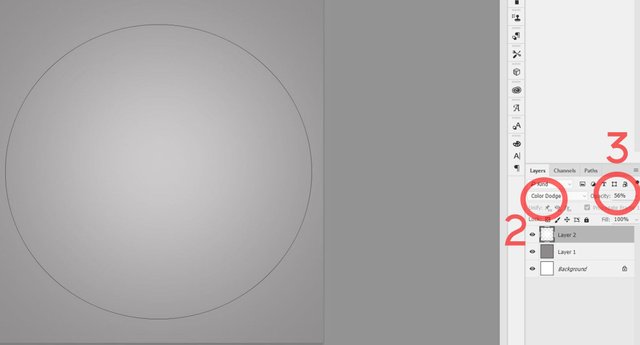
Then, I used the Brush tool to create a Light feel on the painted Canvas, View the screenshot below to understand what I mean by (light feel)
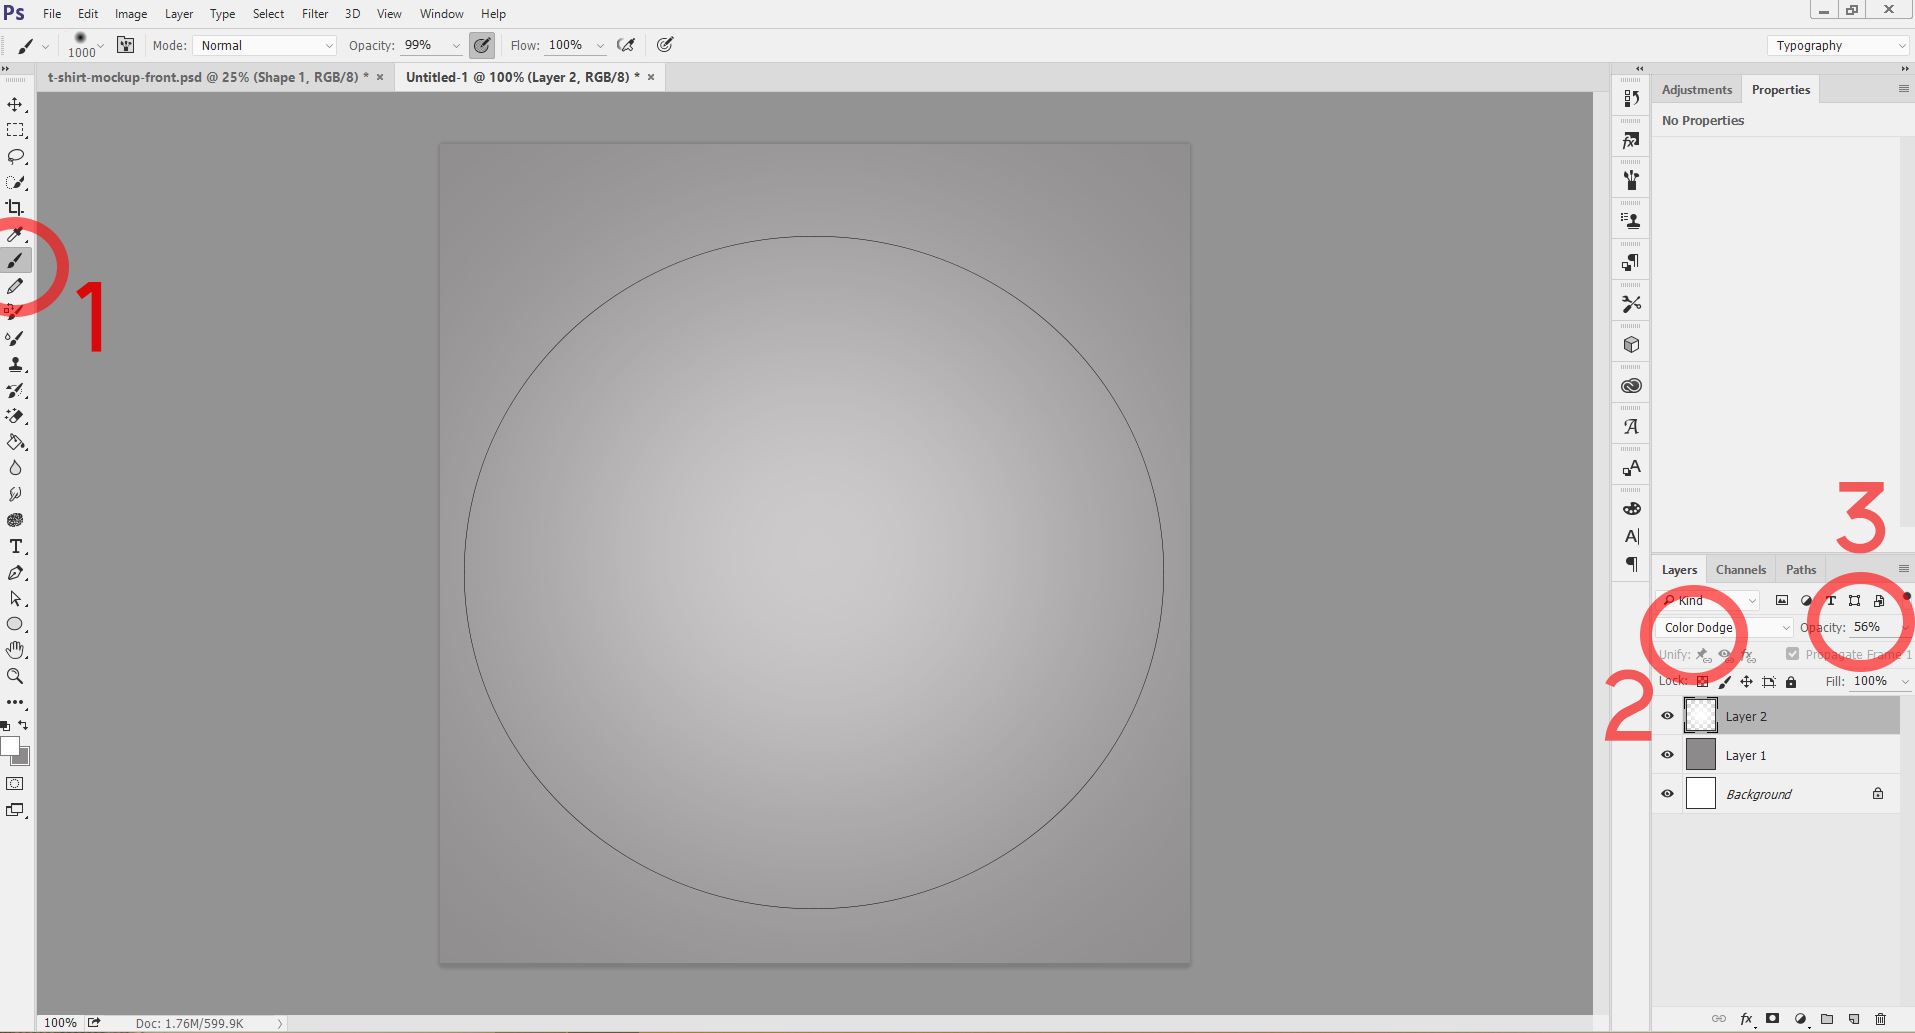
Change the Blending Option to Colour Dodge and the Opacity to 56%
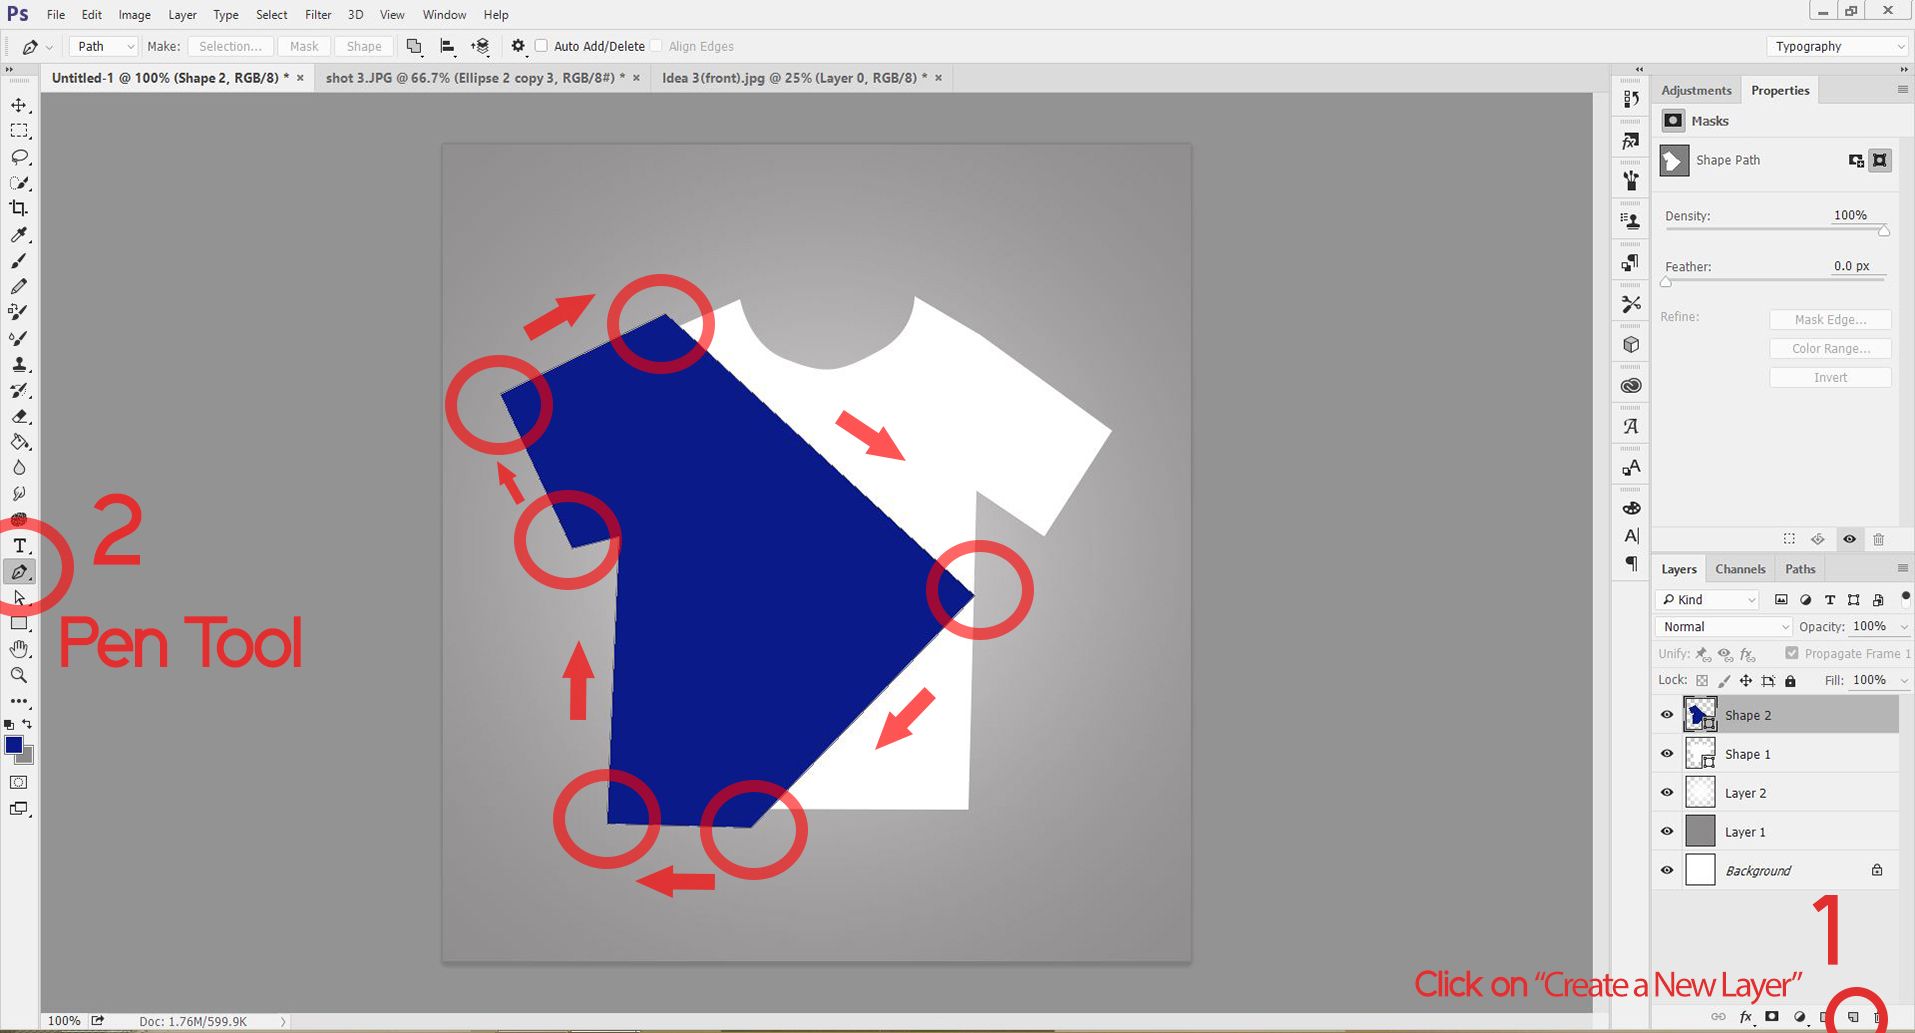
Step 3
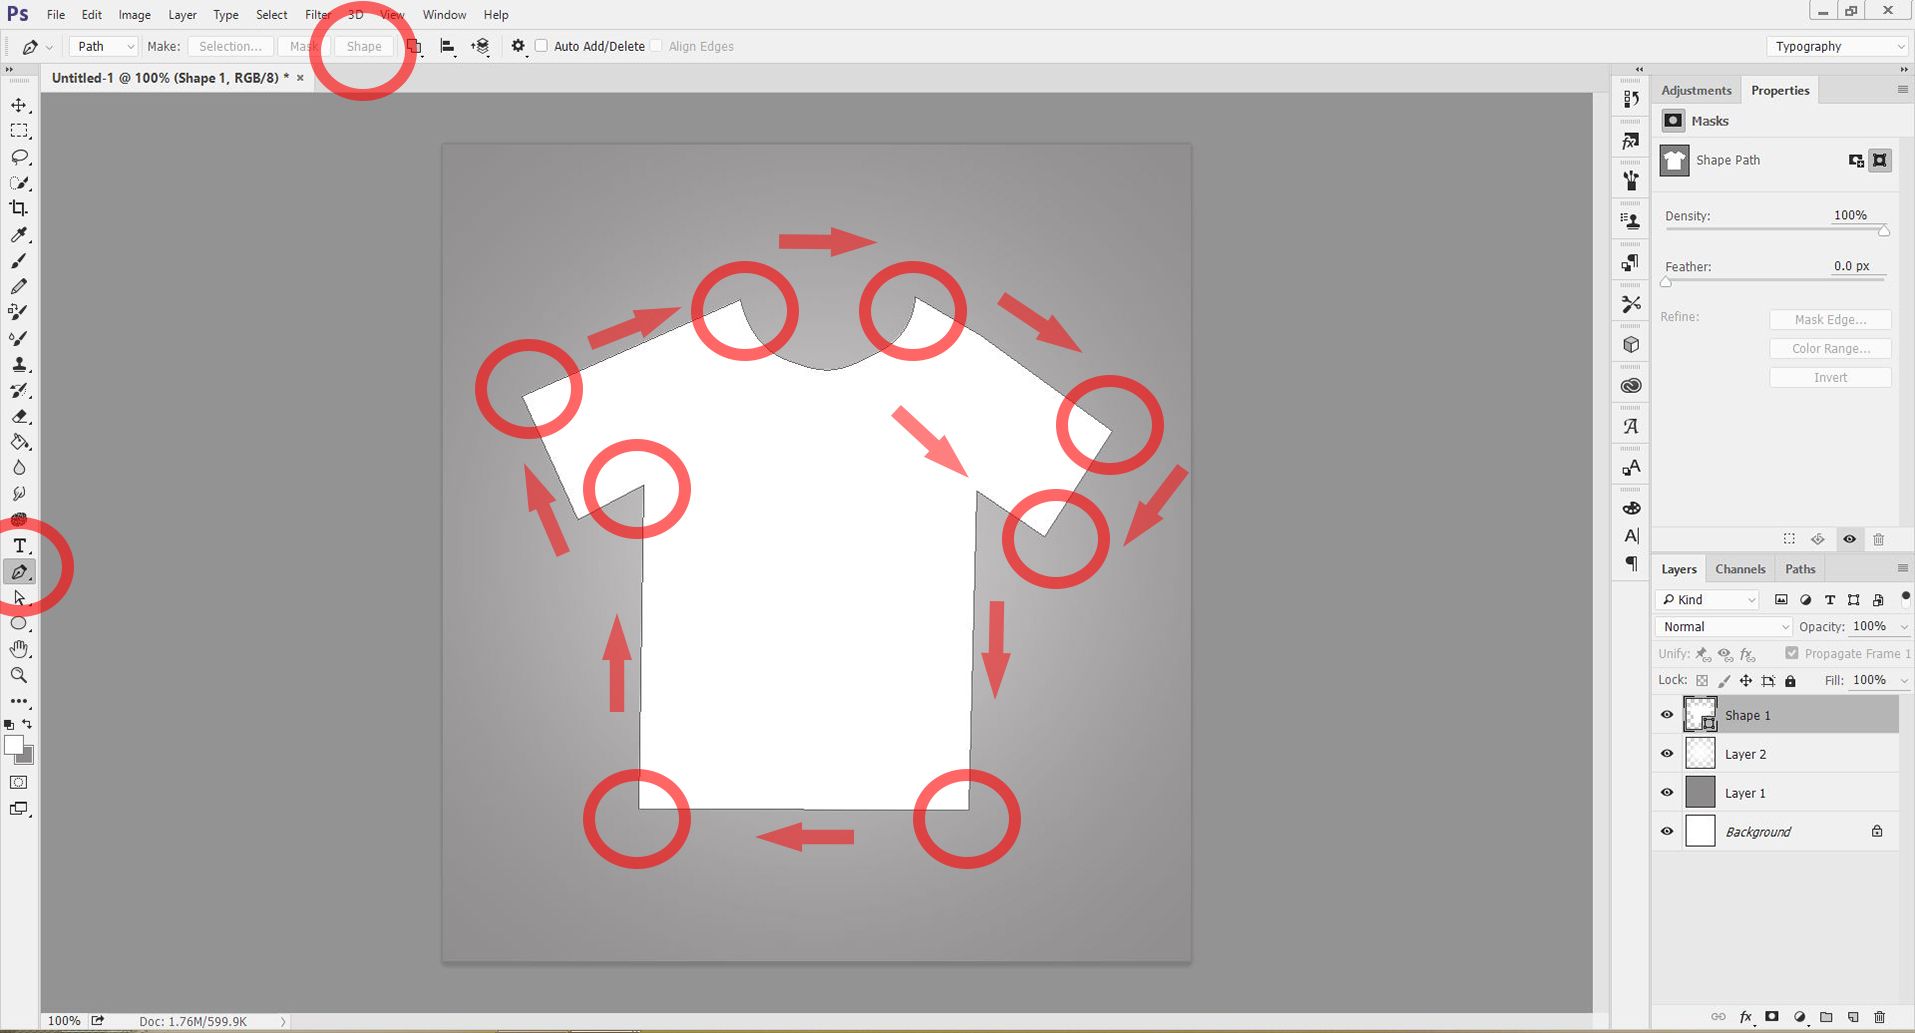
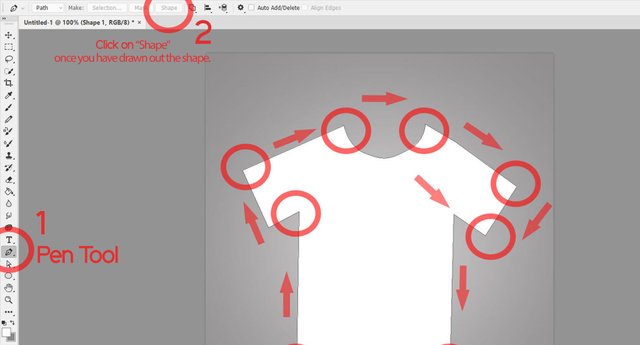
Its time to use the Pen Tool, simply access the Pen Tool by Clicking on P on your Keyboard and once you get it, use it to draw out the Shape of a T-Shirt.
Once you are done with it, click on Shape on the Upper Toolbar of Photoshop so it can convert your lines into a Shape.
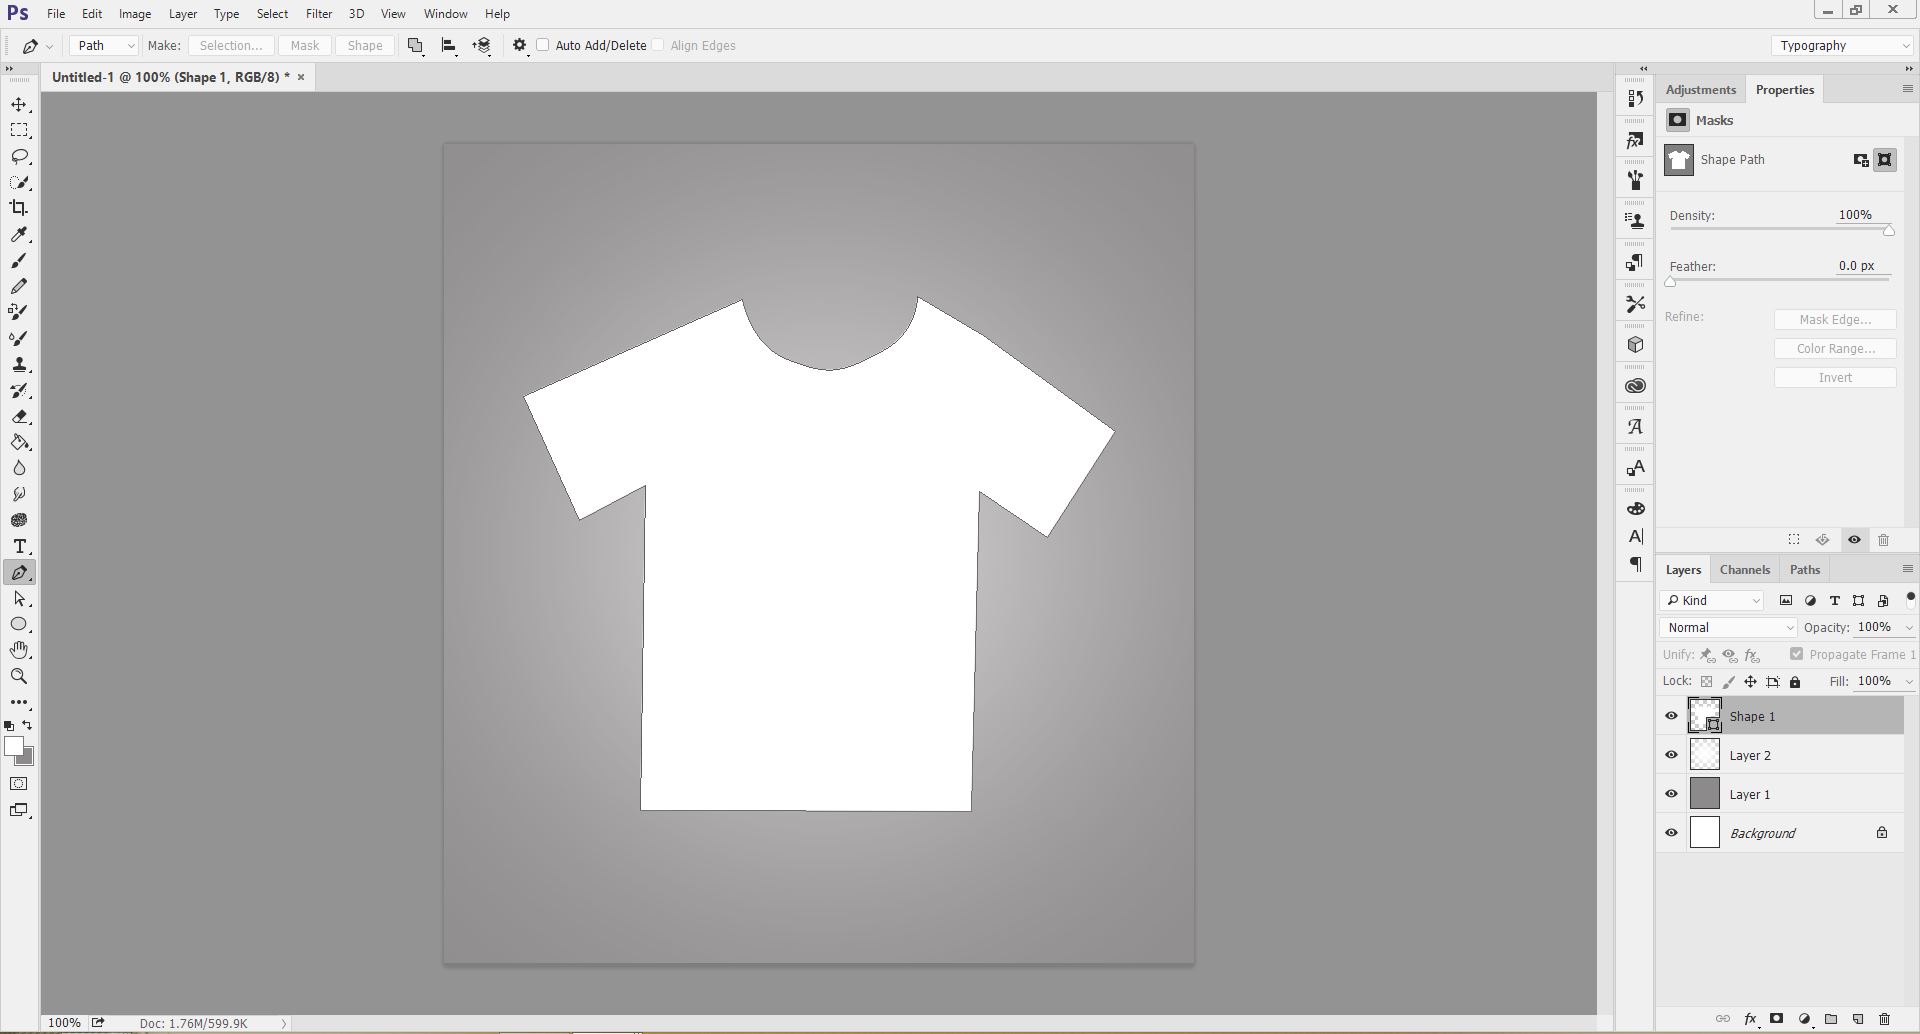
Step 4
Use the Pen Tool to create a different shape as you suite on the t-shirt which you have created with your Pen Tool.
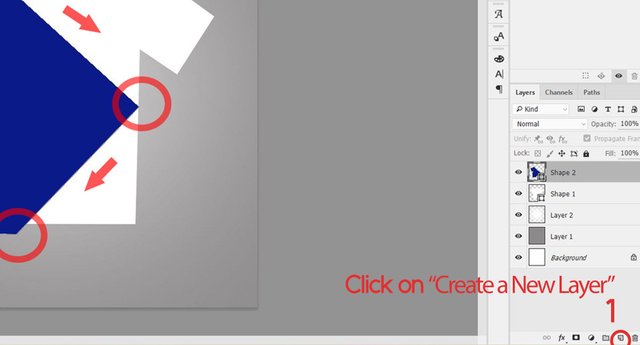
Note Before: Create a New Layer before doing that.
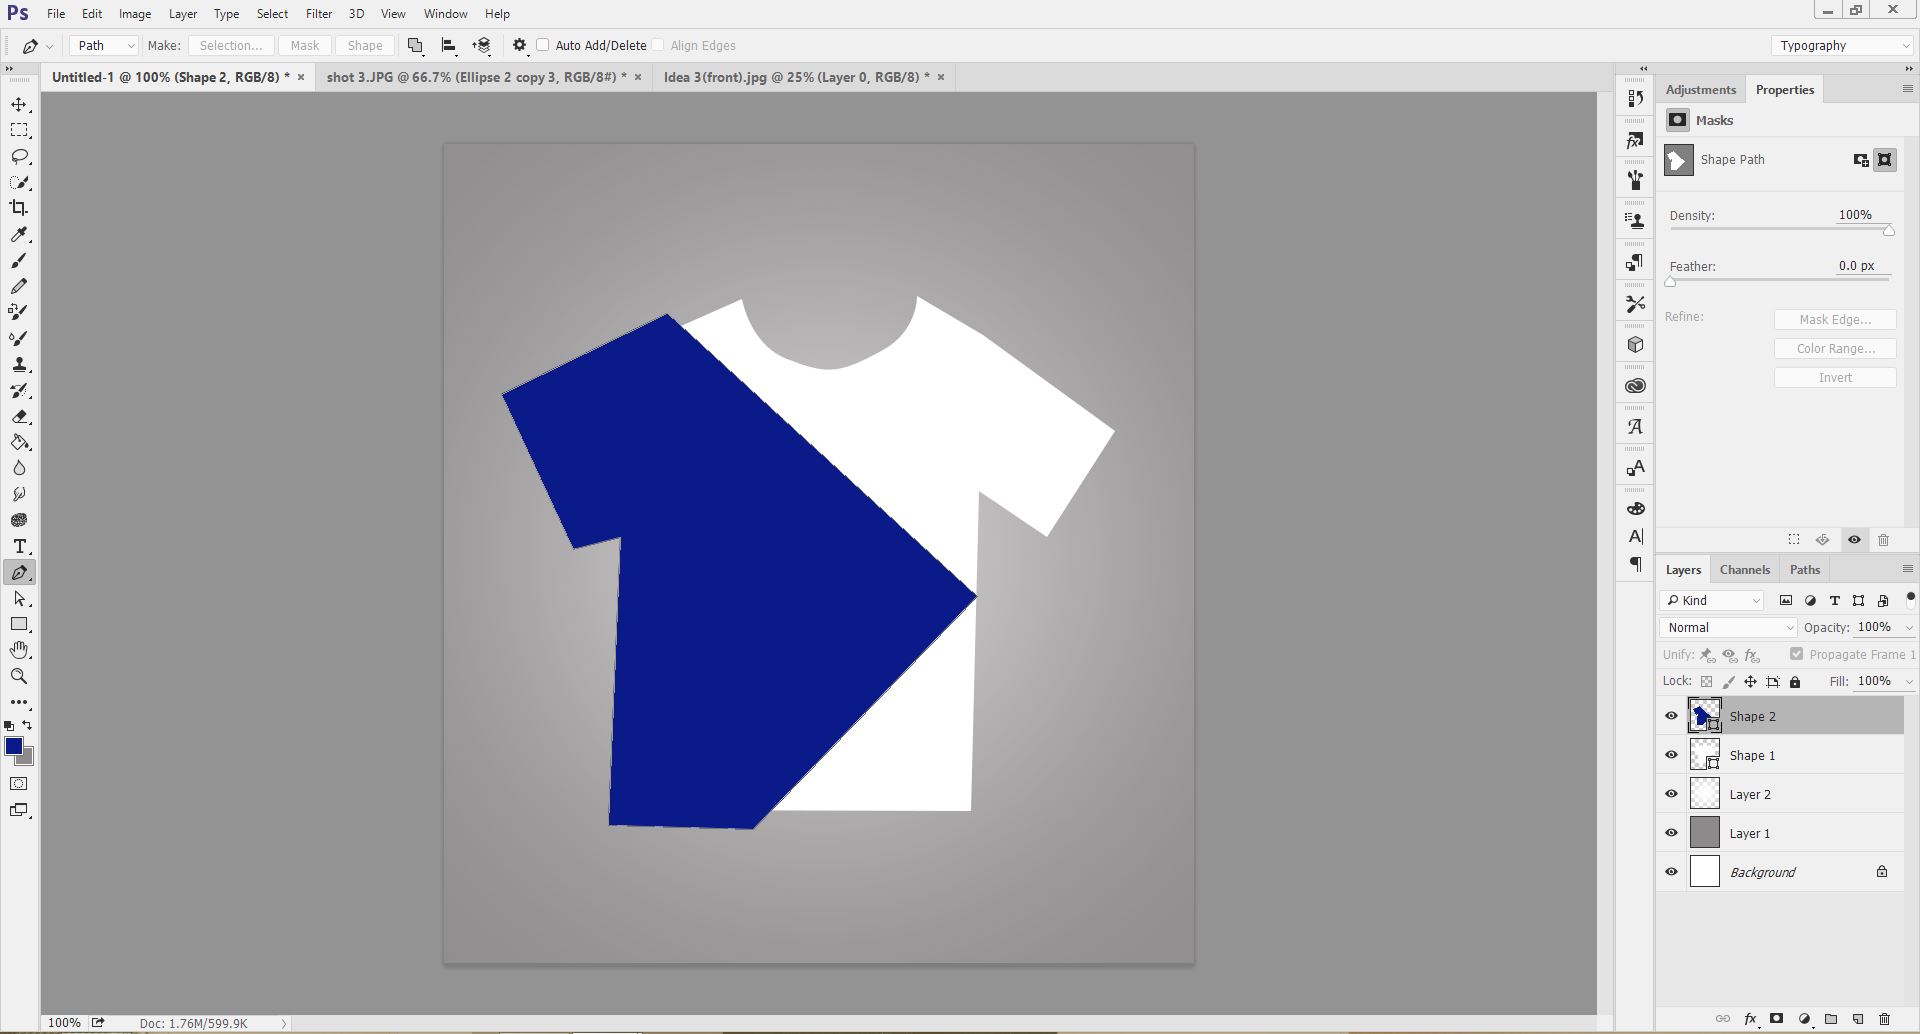
Step 5
Now we are going to be adding some shapes on the the Previous Shape which was created earlier.
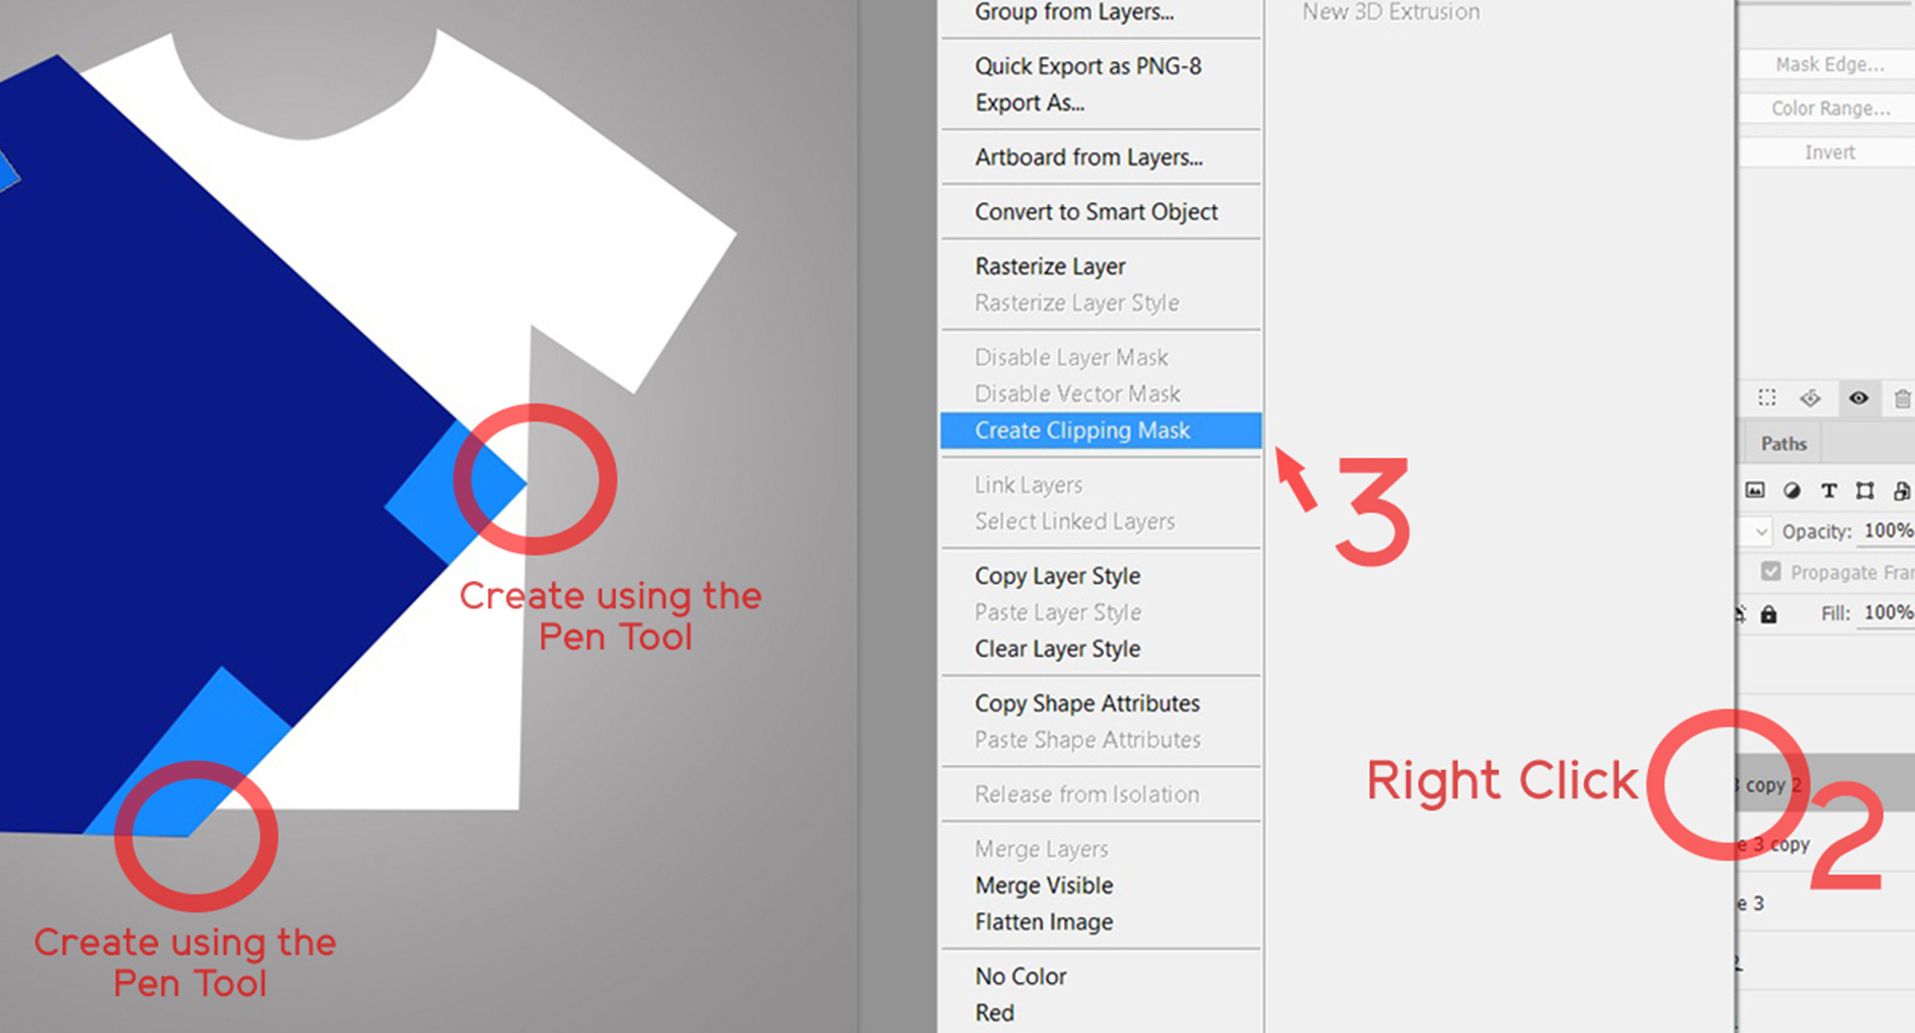
Firstly, Create the small shapes using your Pen Tool, as you did earlier with the Bigger shape.
Then Right Click, on the shape one after other to "Create Clipping Mask" on the Main Shape which was Created earlier.

Step 6
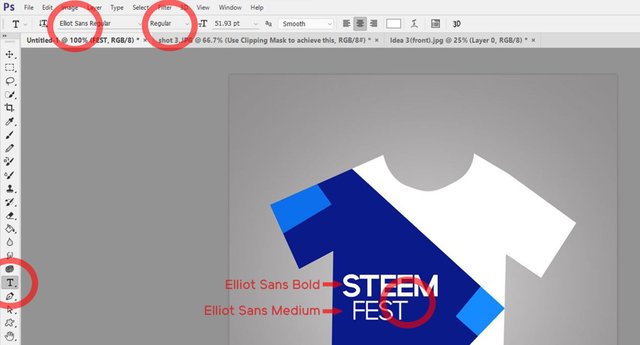
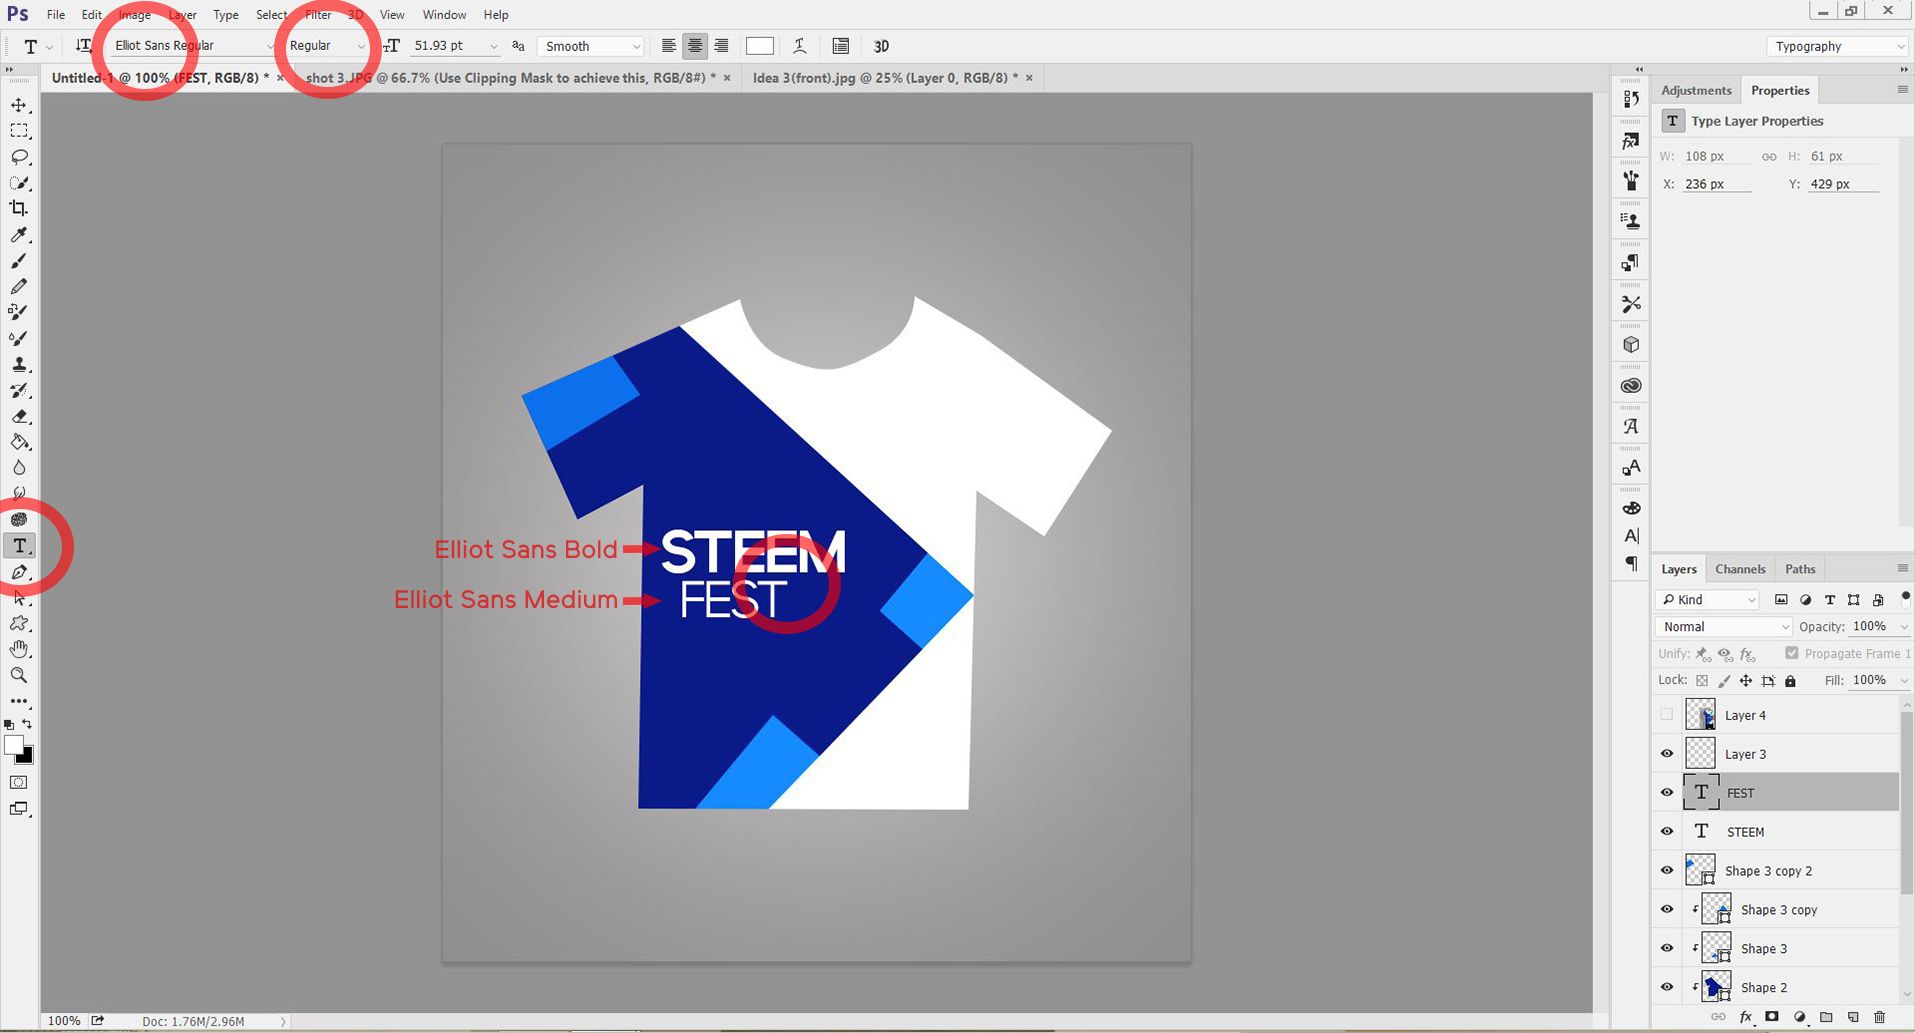
Now that we are done with the Creation of the smaller shapes, it is Time to Add some texts to the Sketch. I used "Elliot Sans Family Font" for my Design, you could use any font of your font as you deem fit.
Step 7
Add other designs as you feel like, as for me, I added Steemit's Logo and used typeface "2".
The Font used for typeface "2" is: Edoz Regular

Step 8
After successfully creating the t-shirt design, download any T-shirt Mock-Up Template for Photoshop to place your design on. I got mine here
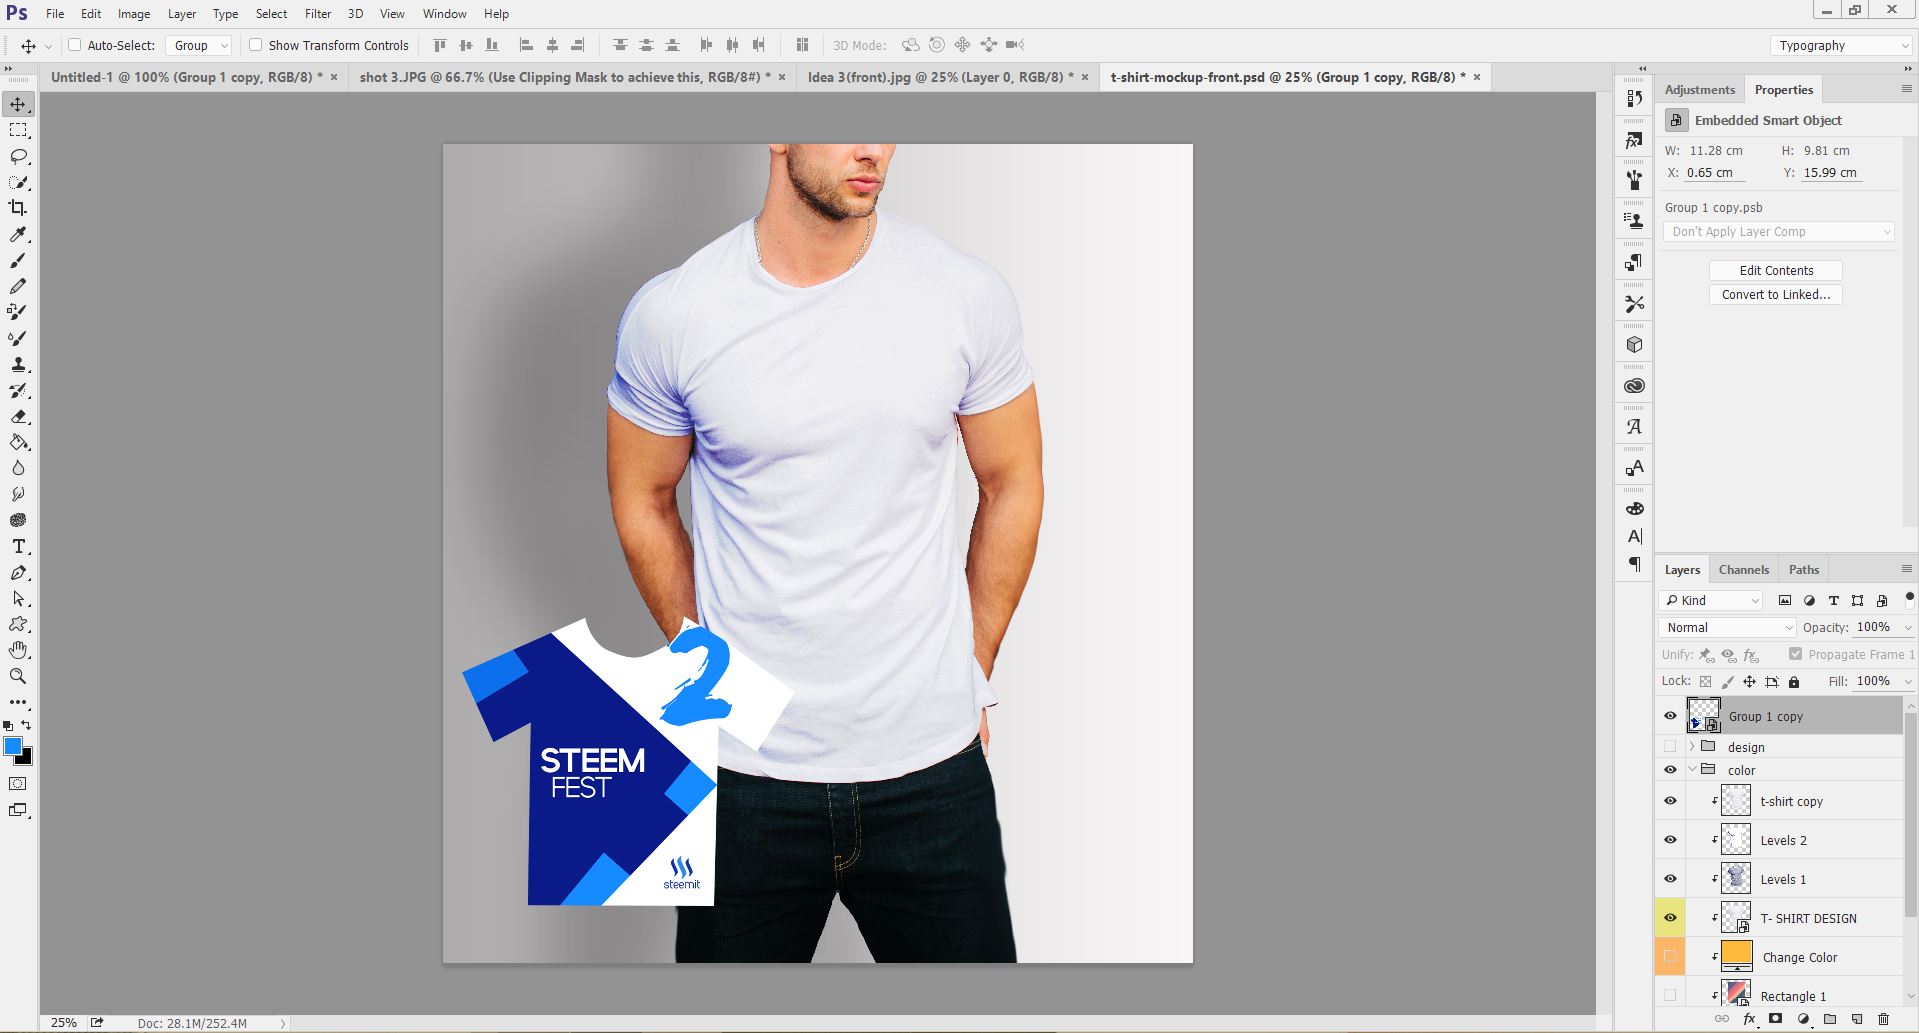
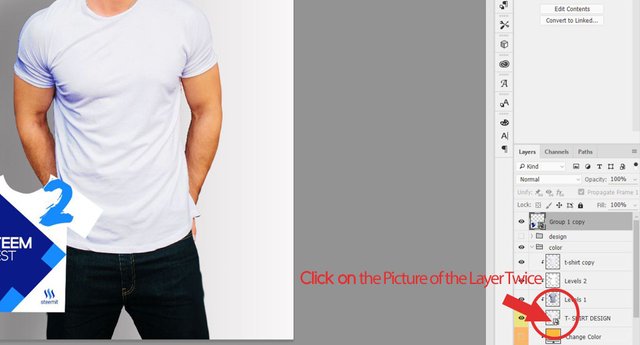
The Next Step to take is to Place the Design in the Layer Provided by the Mockup by clicking on the Picture of the layer Twice, the screenshot below throws more light on what is explained.
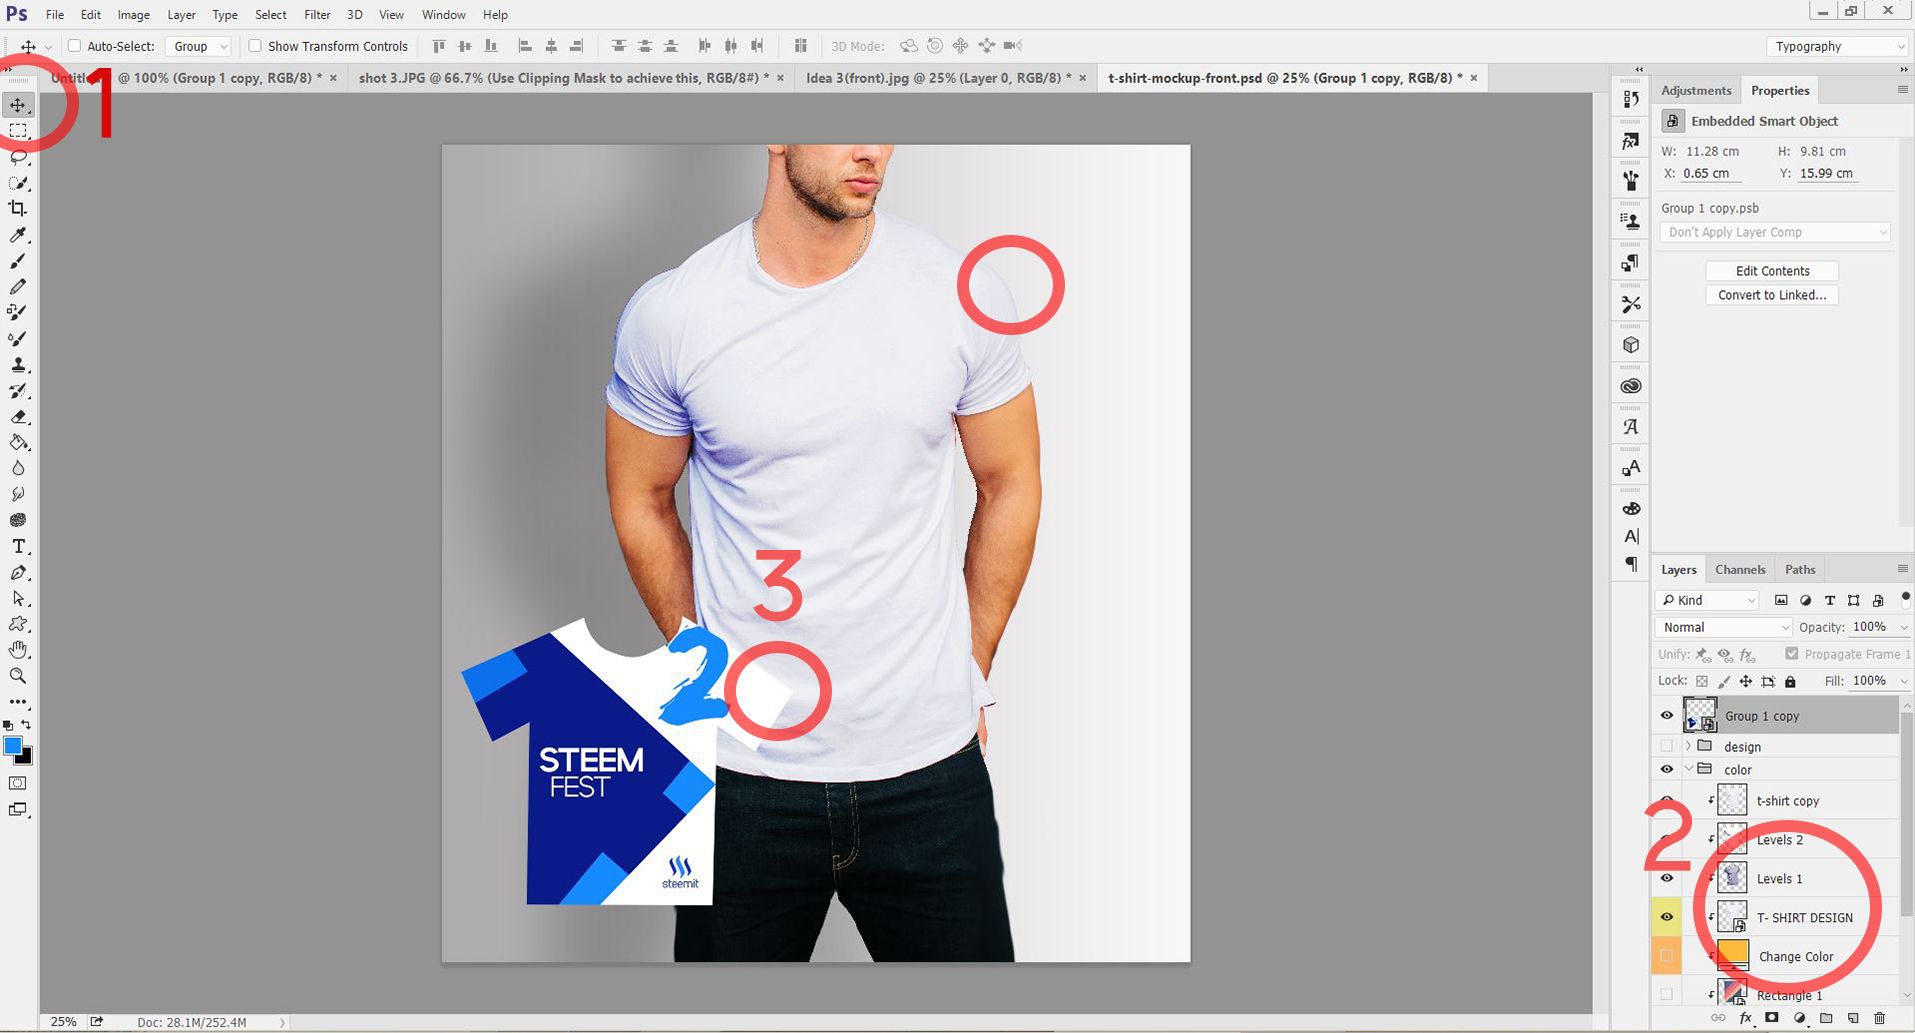
Once that is Done, place the design on the t-shirt and adjust till it properly fits the t-shirt on the Mock-Up. It would take some time before you totally perfect your Skill on doing this, this is because you would need to make adjustments on your design.
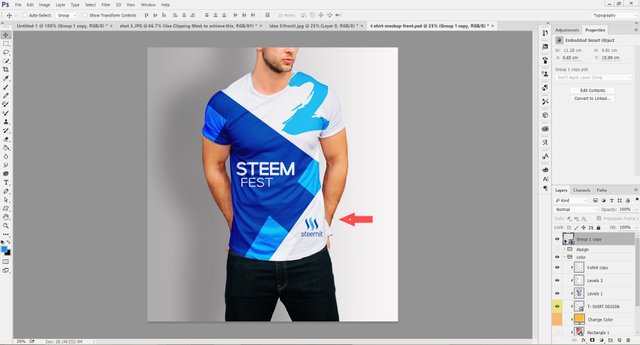
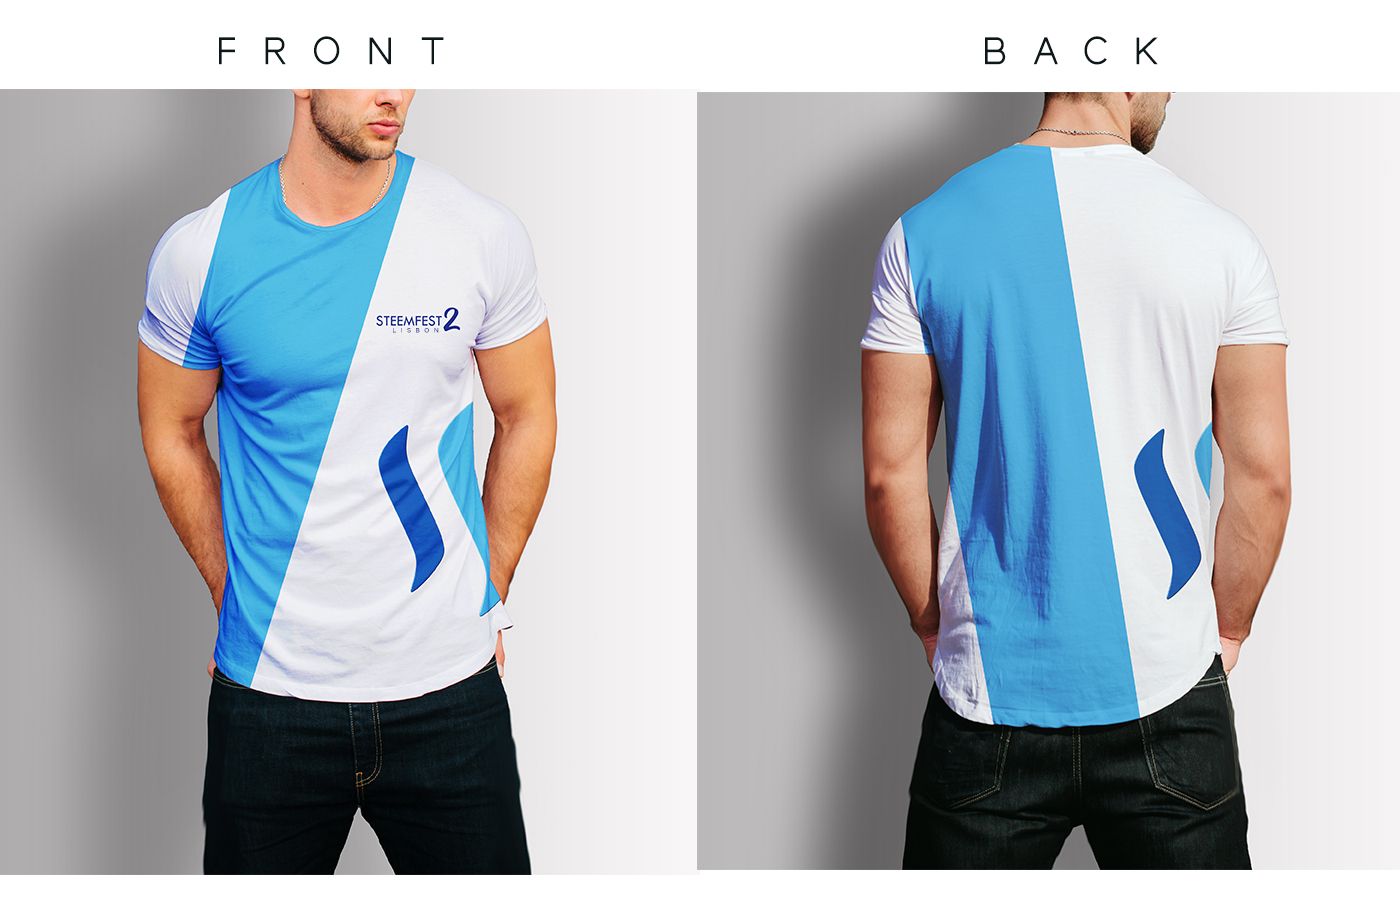
Once done perfectly, you should have something like this :
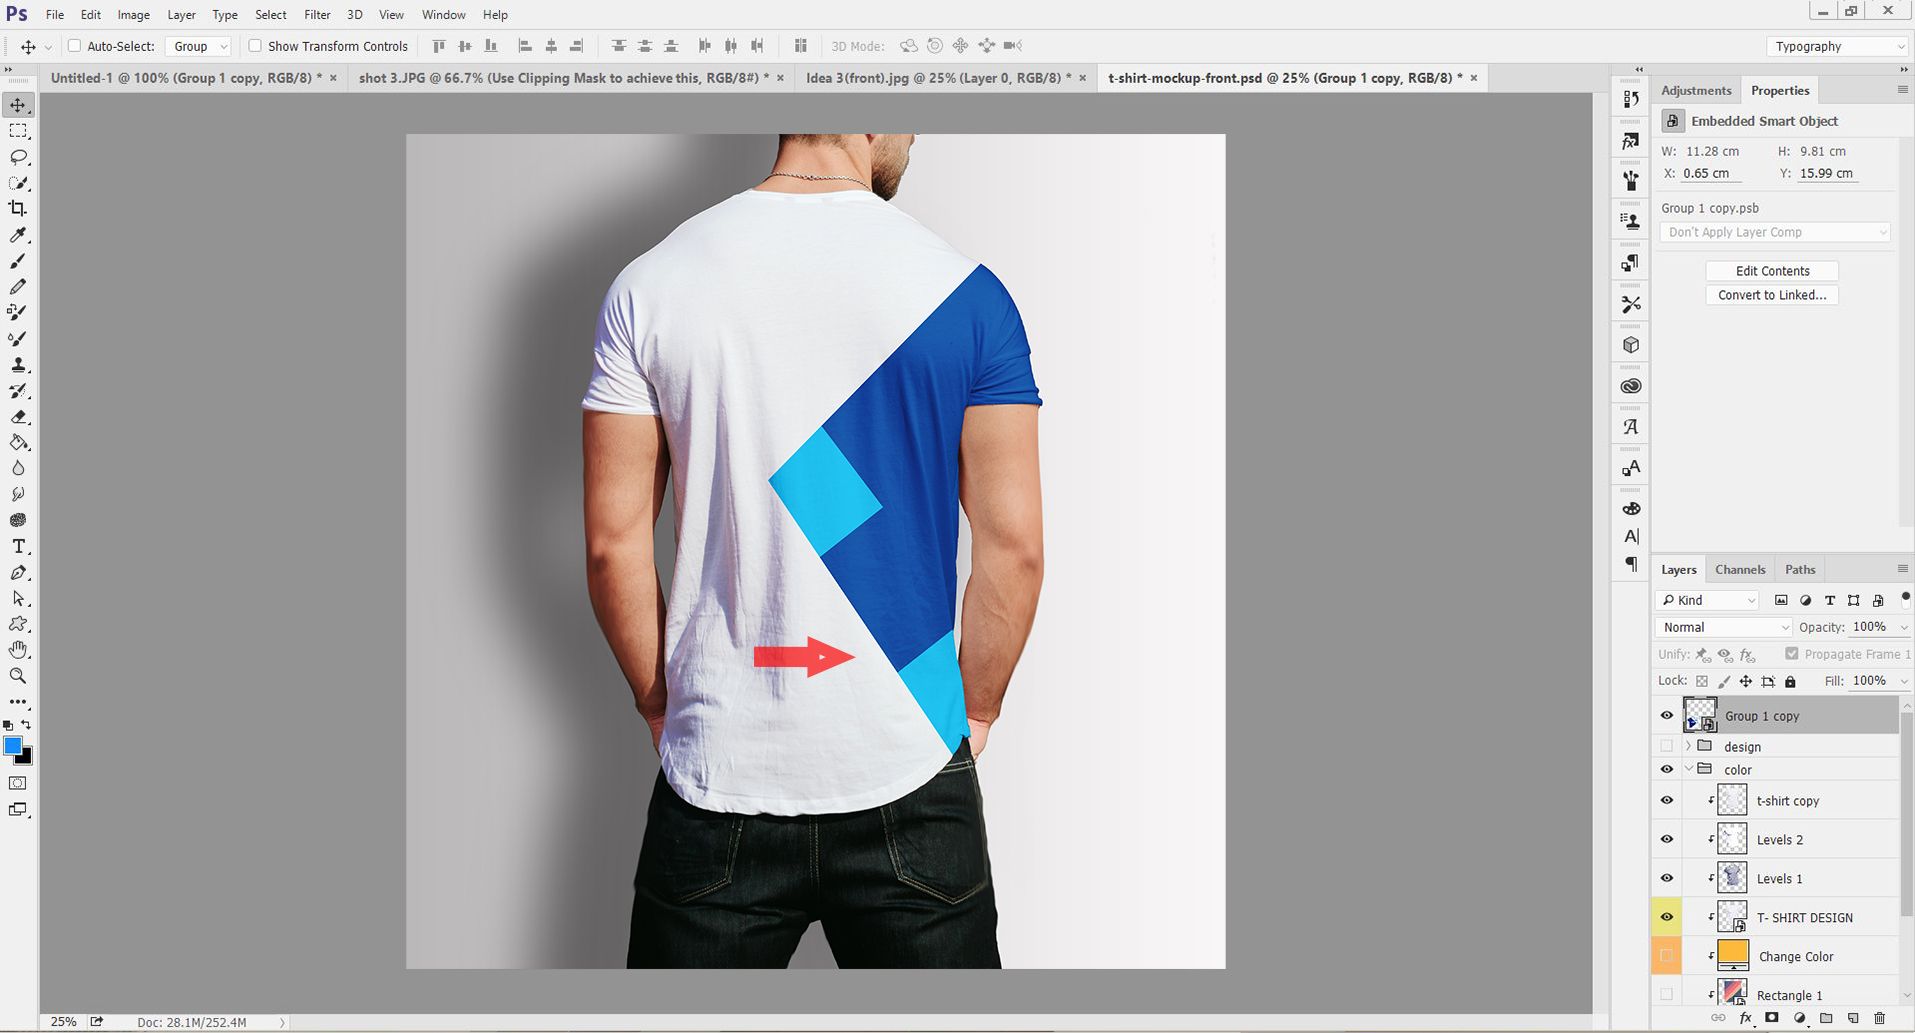
Depending on the mockup been used, you could be lucky to have the Backview of the t-shirt after downloading. Here is the Backview of my Mock-Up after following the steps explained earlier in details.
Nad we have completely learn't how to go about designing a t-shirt on photoshop and using it with a Mock-Up (PSD Editable). Here are some other samples I designed:
Thanks for reading Through my Tutorial, you can Upvote, Resteem and make Contributions also.Most Importantly,
I hope you have been able to learn from this.

Is the best design for steemit t-shirt that i saw, veruly good job:)
Thabk you for the instruction, i always wanted to do t-shirts design but somehow was not the motivation there, now with your instruction i will get to play with photoshop a little.
Thank you again!
Thanks @dennisbak, I really do appreciate your comment. I am also happy you are motivated.
winks
Nice! I like the last one
Awwn @cikxajen... That's cool... I am glad you you shared your view about it.
Hi @ufxpression. it will be great if u can publish your work on steepshot. It's a Steem Apps for photographers and images. Try it out here https://alpha.steepshot.io/browse
Ok... I haven't heard of that before though, but I would visit the Link. Thanks @pnc
Nice design!
Thanks @whatilearned
Very Cool
I am sure you will sell tons of product at Steemfest
Lol... I am flattered @theprettysoul
Thanks for your encouraging words.
An excellent design with full tutorial one need not hire any expert great going
Thanks... @teenovision
I am really encouraged with your words, thanks for visiting my blog.
i gbadun ur design dem. Abeg if dem get de print out make una let me know oo
Lol... We go let u know if he go happen. Thanks for visiting my blog @ionlyspeakpidgin
Love your display of originality.
Really you are great & your post is very nice .I AIl ready Follow You . Please visit my post and enjoy to read many historical blogs,nature,flower,butterfly ,love stories,heath tips,&different update news .I wish in future your blogs are top of the steemit .I wants to be your Friends . thanks only for you God bless you........
Amen... this for this. I am following yo right away.
Thanks You Support me
Nice one brother! Follow back
Thanks bro @danielike
I really like it! very sporty!
Thanks Dear