How I Painted This Illustration on a Brick Wall
Drawing, Painting, sculpting, carving, modeling these are all forms of art. Each has different discipline. Just like martial arts, we don't just throw a punch. We study the technique, the method and philosopy. Along the way, obstacles can hinder us from success, but it is our own choice if we stand up everytime we fall down or stay down and feel bad for ourselves.
Like all art problems, anything can surprise an artist. Question is; is he ready for everything life throws at him?
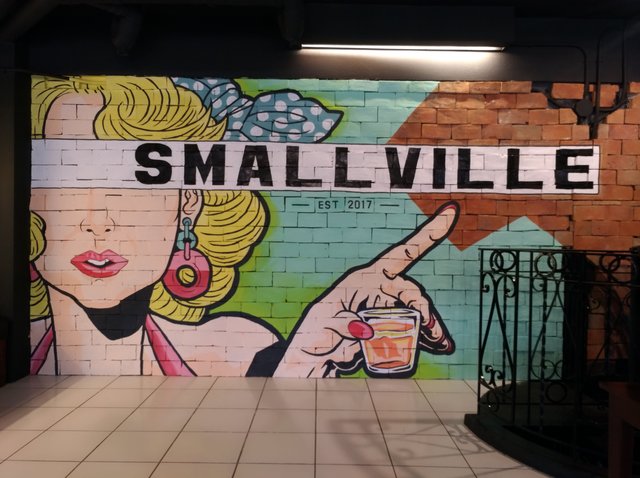
Now, I have something to show you. This was an illustration I made, a design for a local bar in Koronadal City, Philippines.
The Bar's name is SMALLVILLE(Obviously). It's the one and only local bar in Koronadal City which offers imported drinks, delicious food and a good place to chill.
You can also check out their Facebook page here: https://m.facebook.com/Smallville-Bar-493846537658319/?tsid=0.4790451862020171&source=result
Imma be showing you a mural painting process. Some may consider this as a tutorial. Either way, I'm just here to show you my work and let you know how it's done.
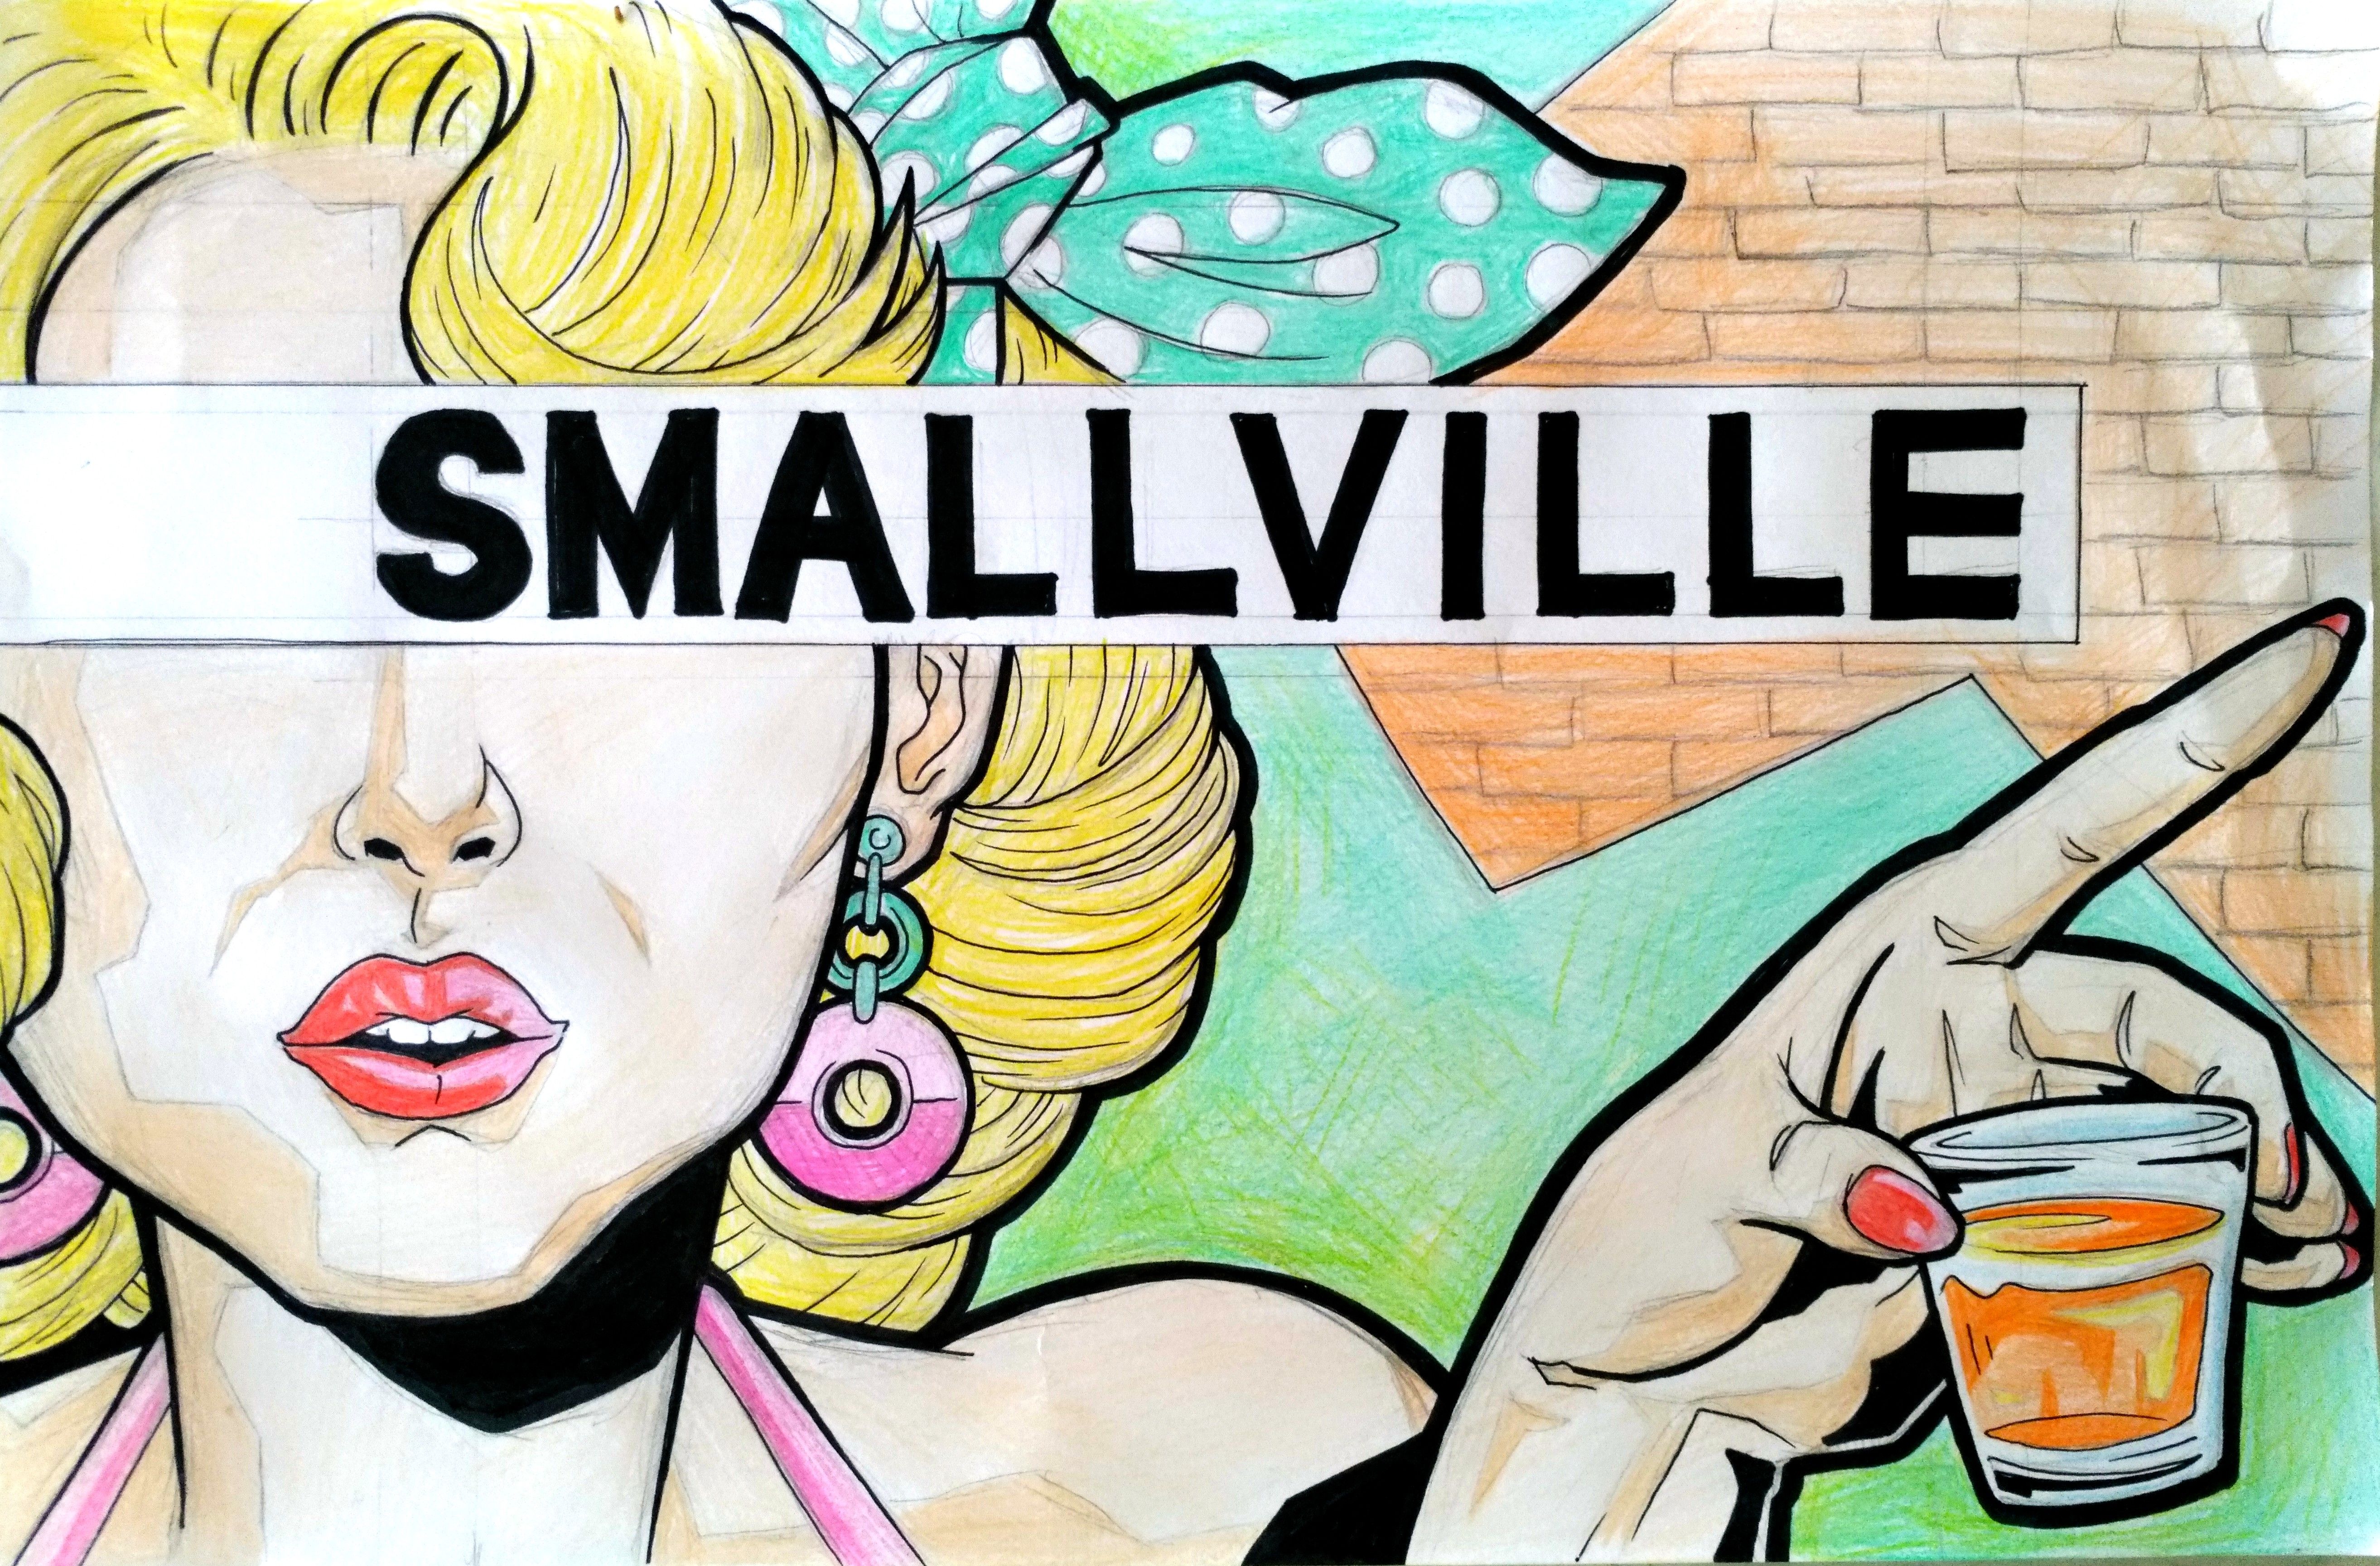
Now we go with the design. It was a bit challenging for me, making a multi colored design on a brick wall.
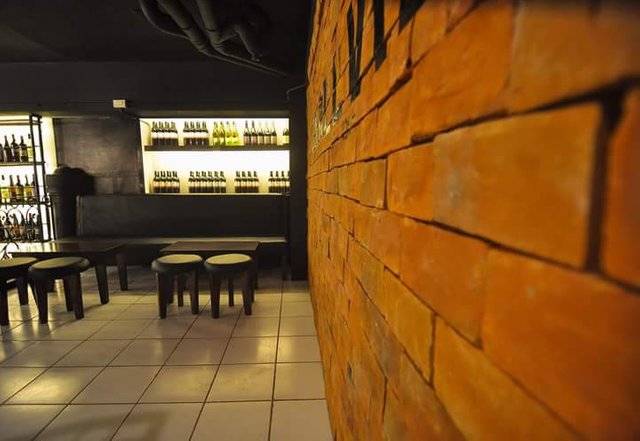
Check out those holes right here! Imagine how the paint would run on this wall. It would be a nightmare!
Wall has been assessed, sketched with colored chalks. Let us now make set of colors.
This time I didn't coated the wall with primer. Instead I planned to apply the colors directly.
All paints were FLAT WATERBASED LATEX PAINTS
The Color Set
-Flesh
-Apple Green
-Mint
-Pink
-Red
-Yellow
-Orange
-White
-Black
Color Application

Instead of complaining how hard it was to fill the wall with paint. It pro'ly took about 3-4 coats of paint before fully covering it up. I didn't waste any time until all colors were perfectly in place.
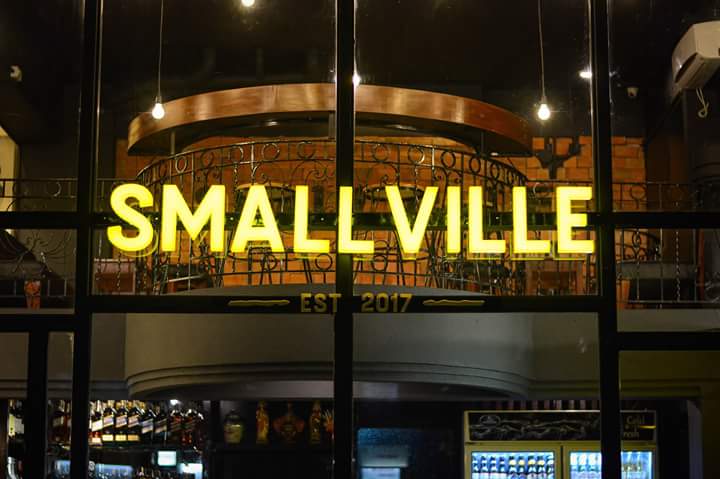
I highlighted their brand and used white, then recoated the black text to sharpen the edges, making it more pleasant for immediate identification of customers on the brand and bar name.
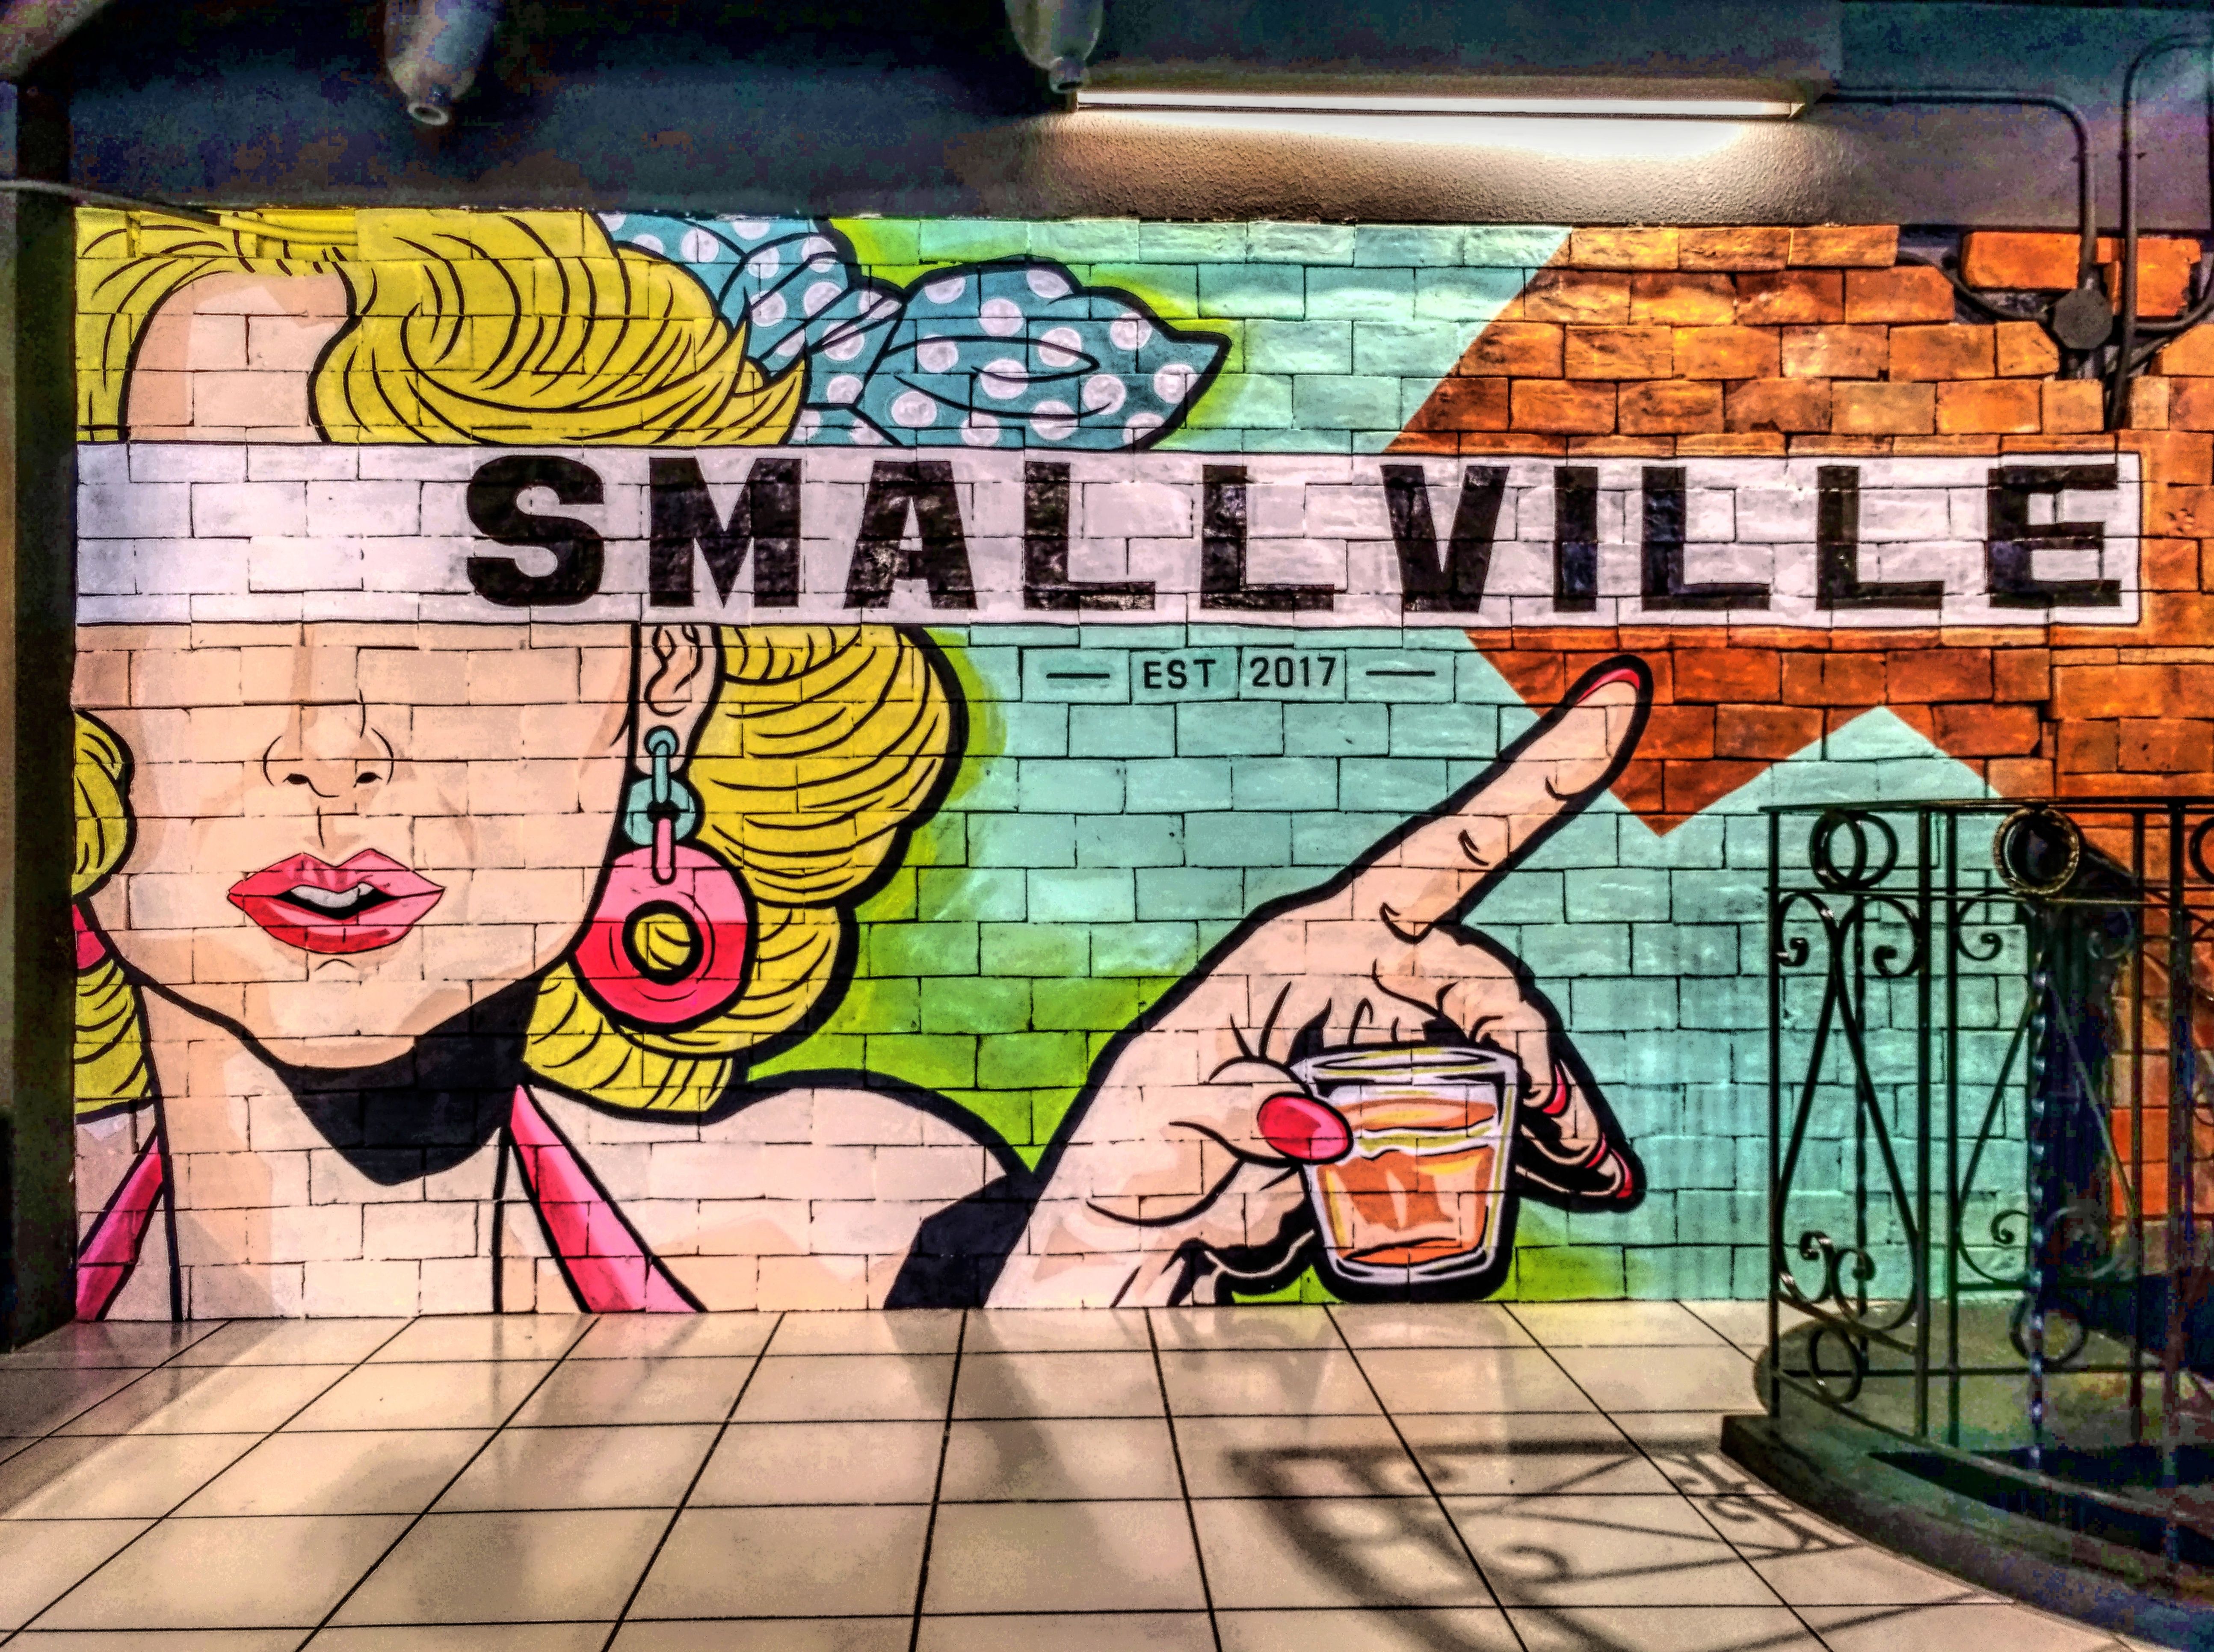
When all of the spaces were filled up perfectly, I now go with the outline and details. . .
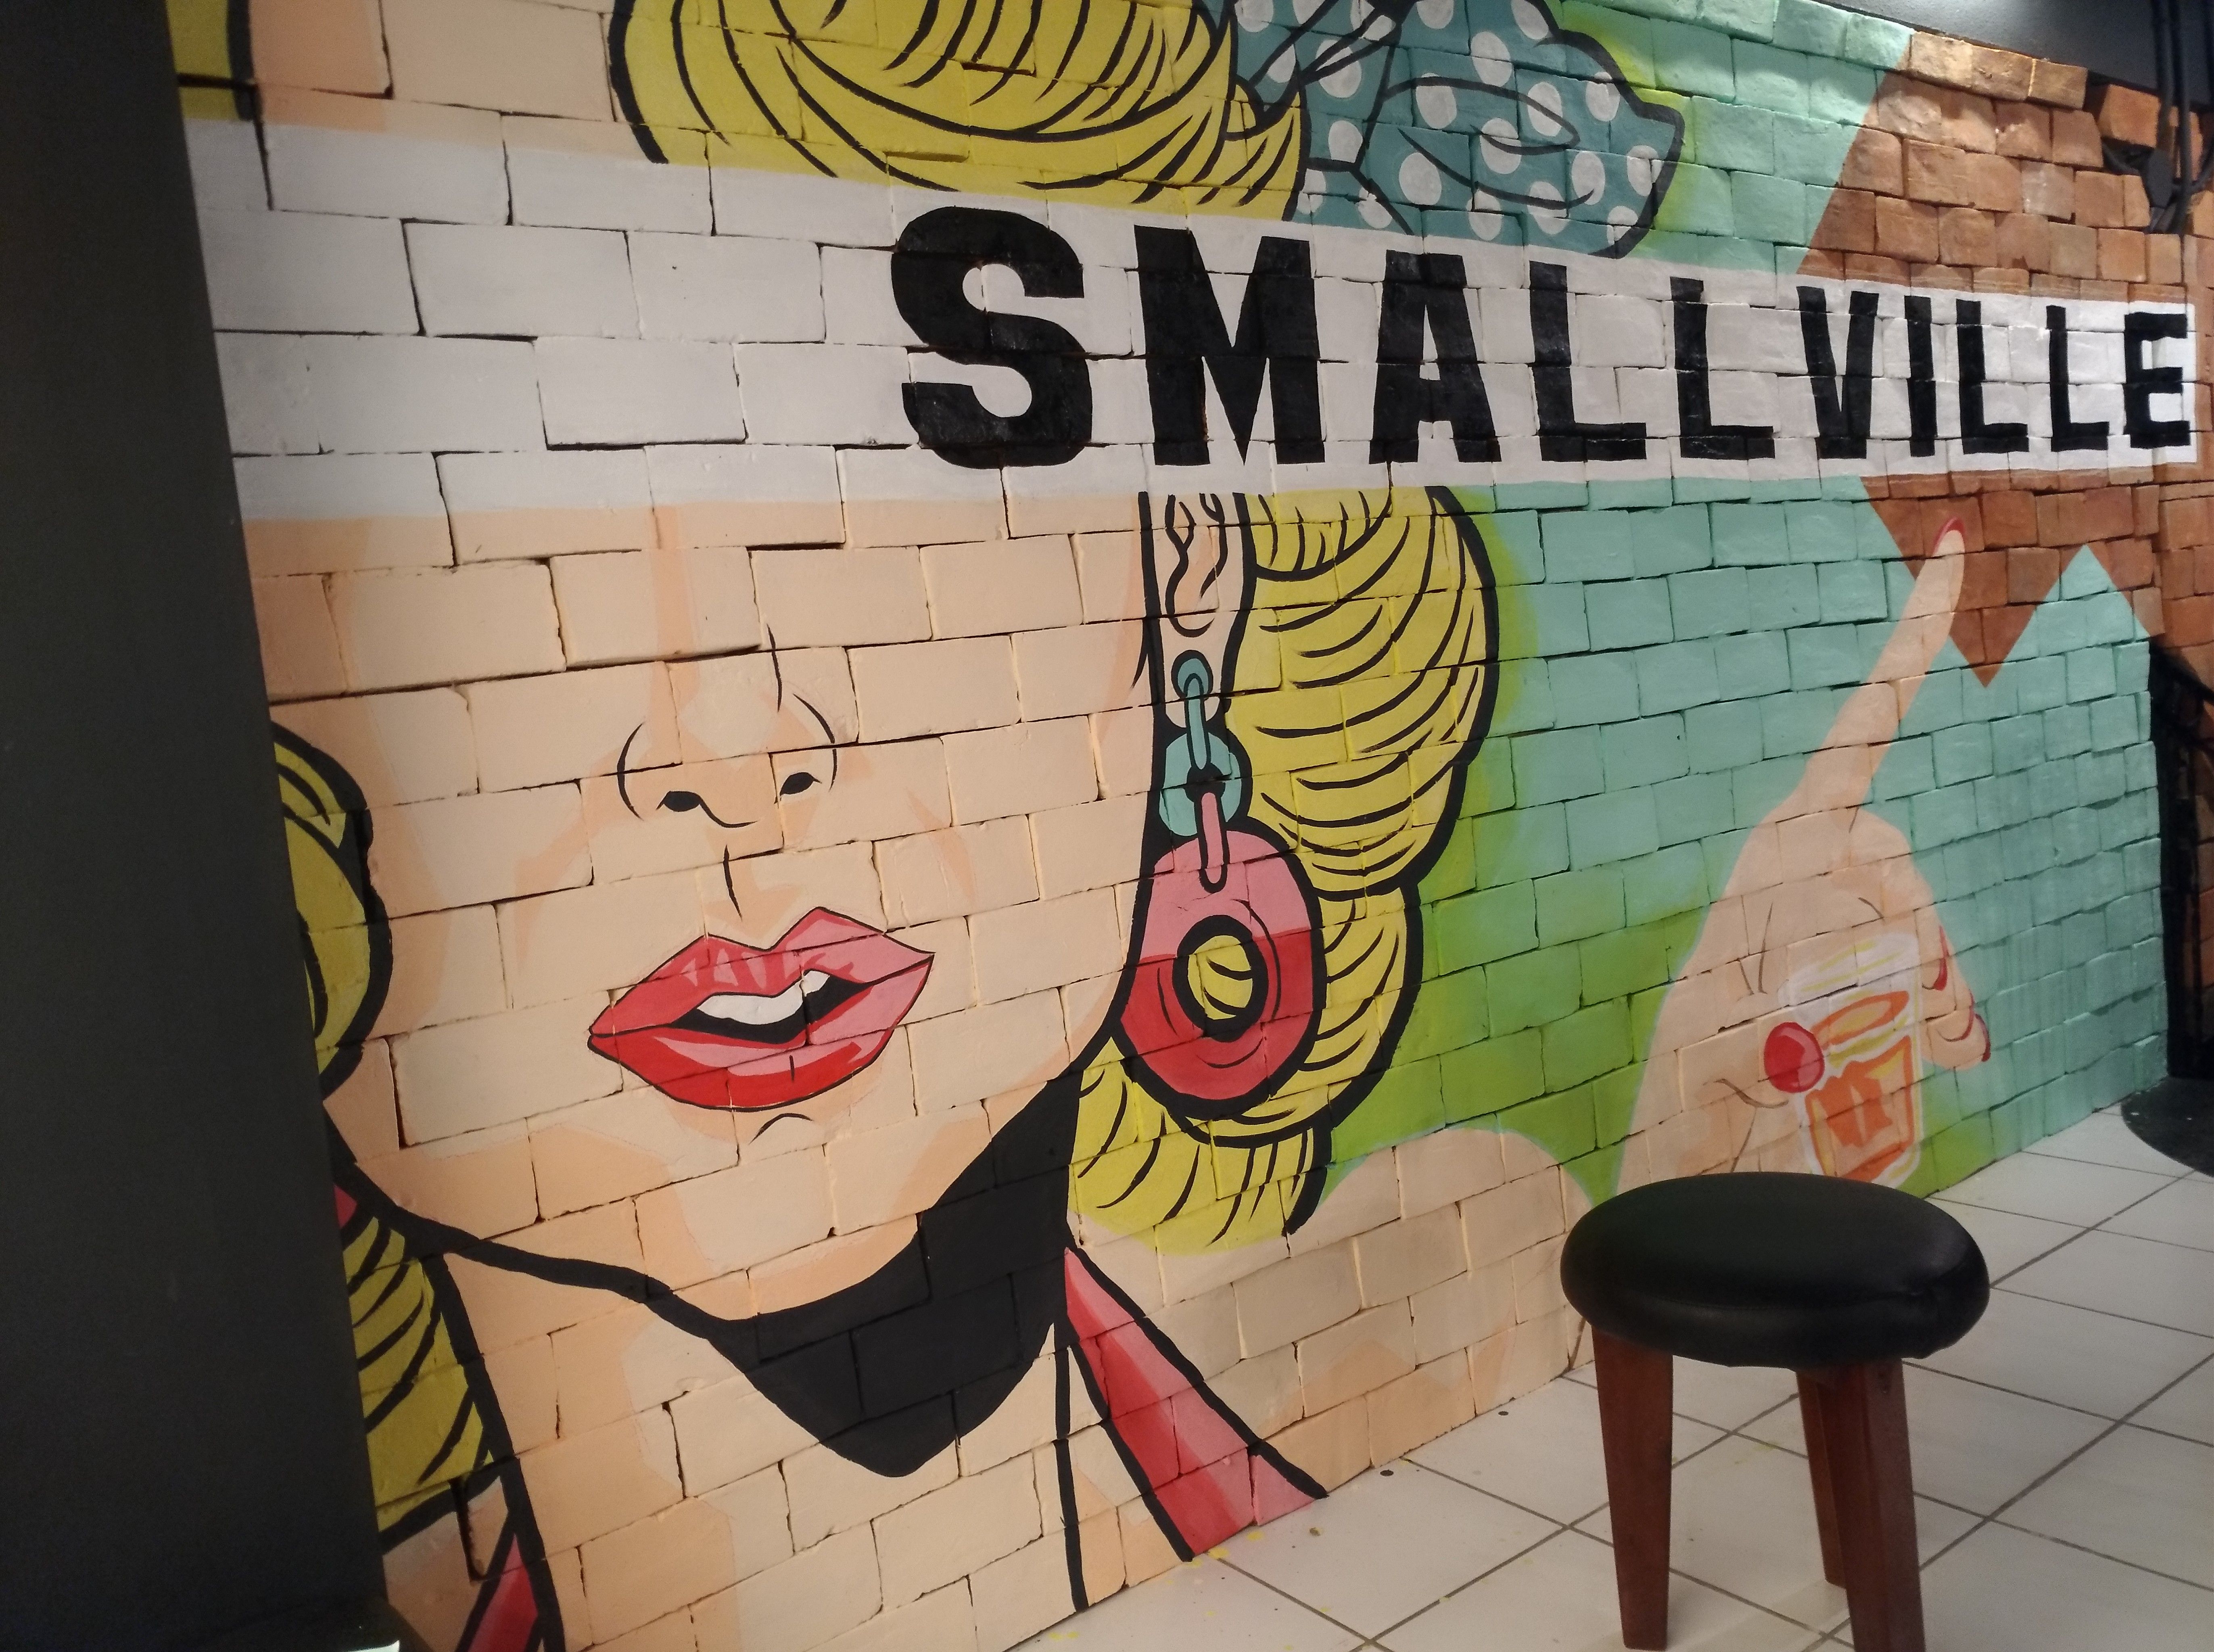
Making the width of the outer lines thicker than what was inside will emphasize the whole figure and can now be visually determined as of what was printed on the wall.
Took me almost 3 nights to finish this piece. There wasn't too much detail on it. But the color application almost bust my arm with cramps and had leg soars cause the wall was too low, I had to squat sometimes kneel just to reach out on spaces that were close to the ground.
With the piece done, clean and all neatly placed. Let us now go into sharing!

This work is licensed under a Creative Commons Attribution 4.0 International License.
Consider helping me through my growth as an artist by donating any amount. 🤗
It will be greatly appreciated 😍
Wallet to Coins.ph

Now that was a HOT SHOT! Couldn't believe I made it out alive. I got stressed out, some the time, got desperate. But hey, it's finished!
That was still a good experience for me, I like challenging myself. Test my skills, my patience and to prove how dedicated I am in my work.
Another day of sharing with you guys! Hope you enjoyed checking out this post.
What are you're thoughts? Lemme me know! Just comment down below and let's talk it out!
That'll be all for today, until next time. This is @ianceaz saying: "The greater the risk, the bigger the reward"
Chow!
You've received an upvote from @slothicorn! Click Here to Learn More
(@ghulammujtaba)