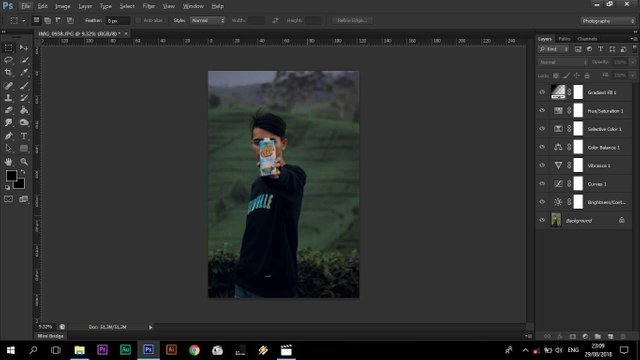
8 Step Coloring grade your picture using adobe photoshop
Result 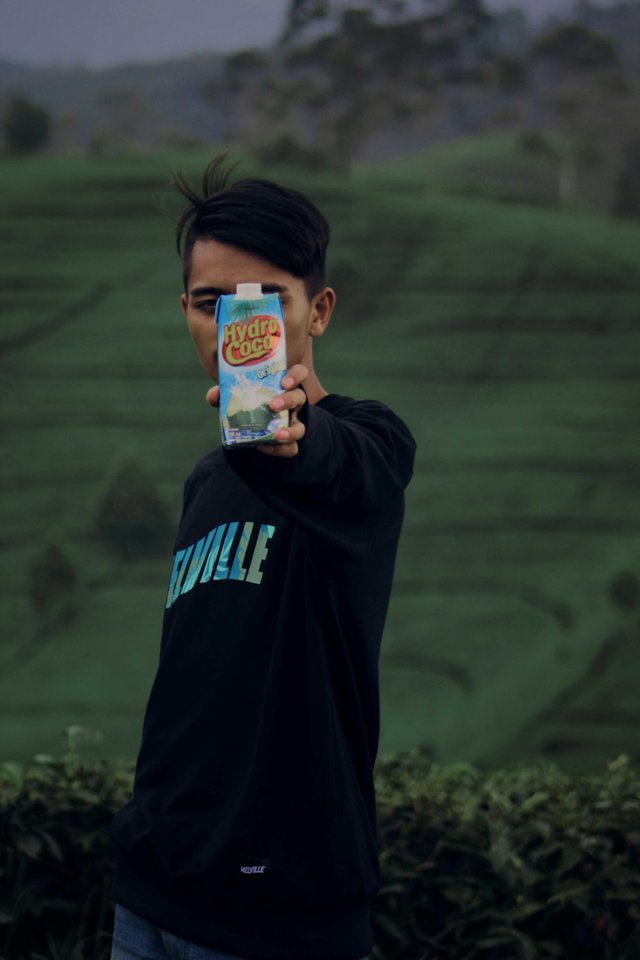
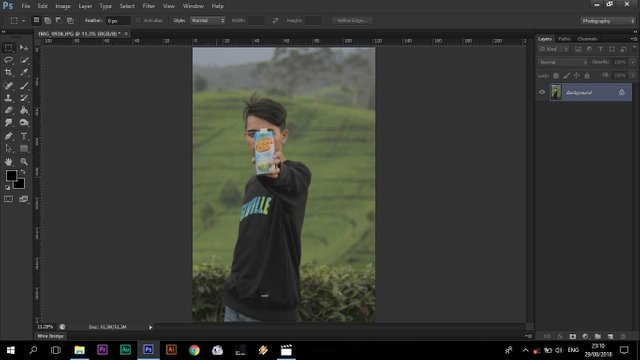
Step 1
Select you photos
Drag and drop to adobe photoshop
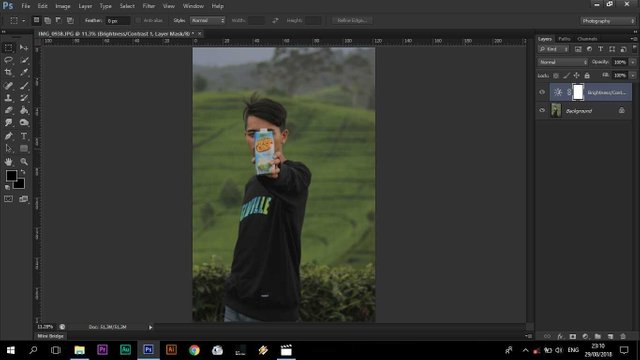
Step 2
Sett brightness and contrast
To make it look more different the highlights and shadows
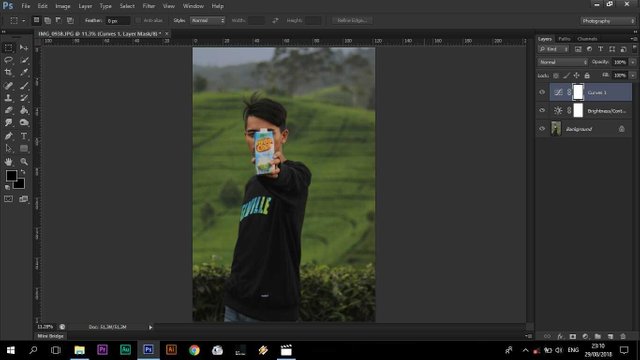
Step 3
Add a curve so that the foreground and background differences are clearer
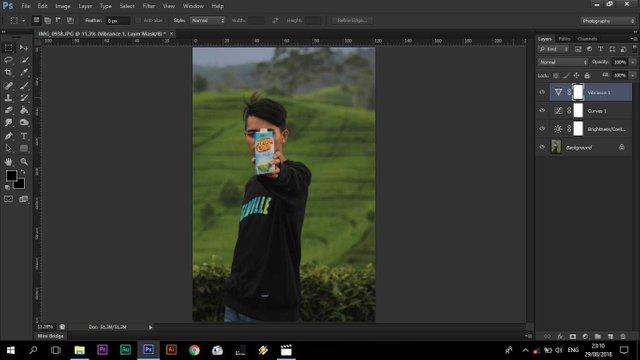
Step 4
Add vibrance to strengthen the color, and slightly lower the saturation to give the impression of fading is not flashy.
Vibrance : Strengthen colors
Saturation : Sharpen colors
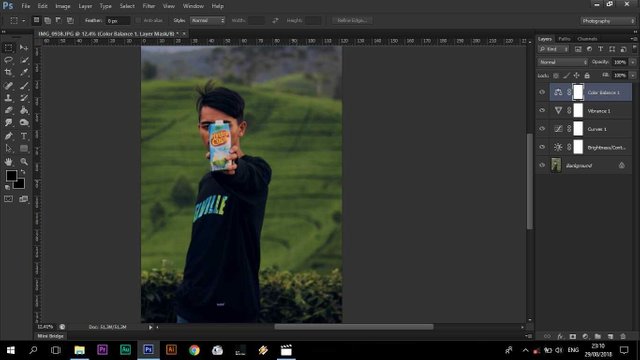
Step 5
Add color balance, to adjust colors in highlights and shadows. Usually the color of the shadow leads to blue while the color in the spotlight points to the opposite color (yellow or orange)
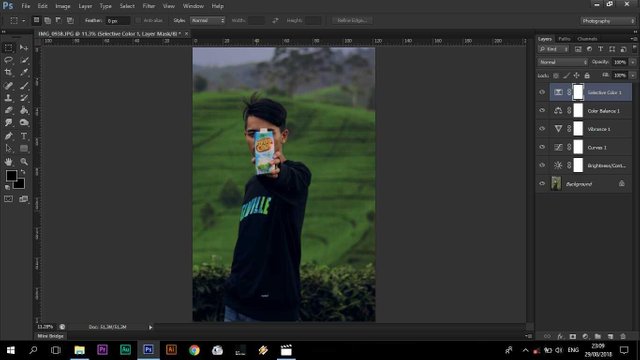
Step 6
Selective color is usually used to change a color to another color. For example in the picture I change the color of the yellow leaves to green.
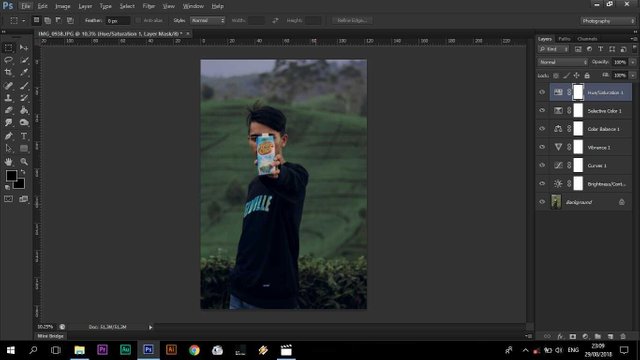
Step 7
Hue saturation. Usually used to strengthen colors or sharpen one color. The difference is with vibrance. If vibrance strengthens the overall color if the saturation hue can be used for the whole color or only the partial color.
Step 8
Gradation is usually used to give a gradation color but this time I use it to give a vignette effect (dark effect on the angle of the picture)
Please support me at steemit @yanyankaryana
You do things when the opportunities come along. I've had periods in my life when I've had a bundle of ideas come along, and I've had long dry spells. If I get an idea next week, I'll do something. If not, I won't do a damn thing.