DYI, Easy Enough.
Well I have been working a lot more than normal lately. Made it back home Friday evening and just as soon as I walked in the door, my wife hit me with a DYI project. Now I will admit that most of the time I hate DYI projects, I feel that most of the time you can pay someone to do it for you, for about what it cost you to do it yourself. This one was a little more enjoyable.
This was what she said " lets put up some wainscoting in the hallway". Now 1st off I had no idea what wainscoting was. A quick google search and I said okay I think I can do this pretty easy.
WAINSCOTING DONE EASY
So first I would need to install some chair railing in the hallway. Which was pretty easy consider I only had to to one Miter cut.
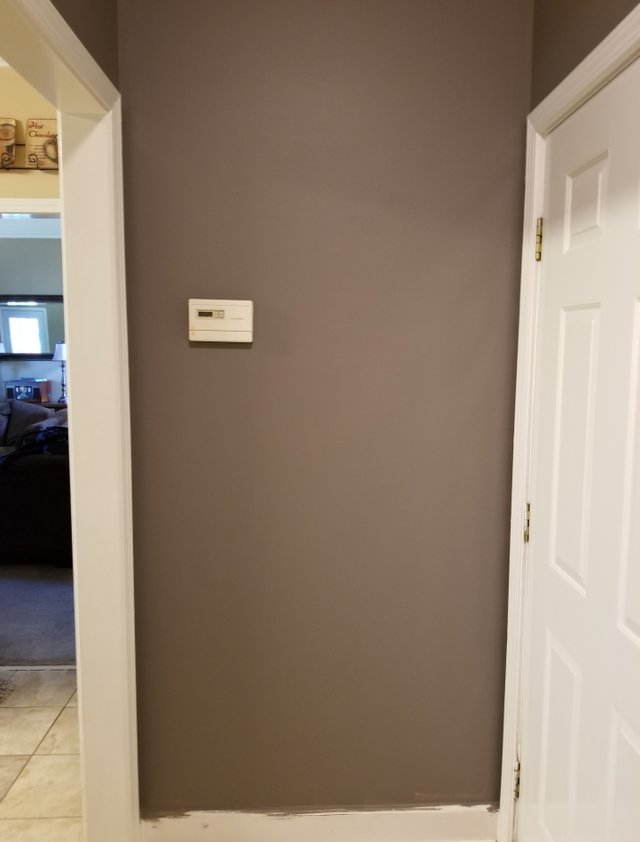
So Once I got the chair rail up it was time to start the picture Frame or wainscoting.
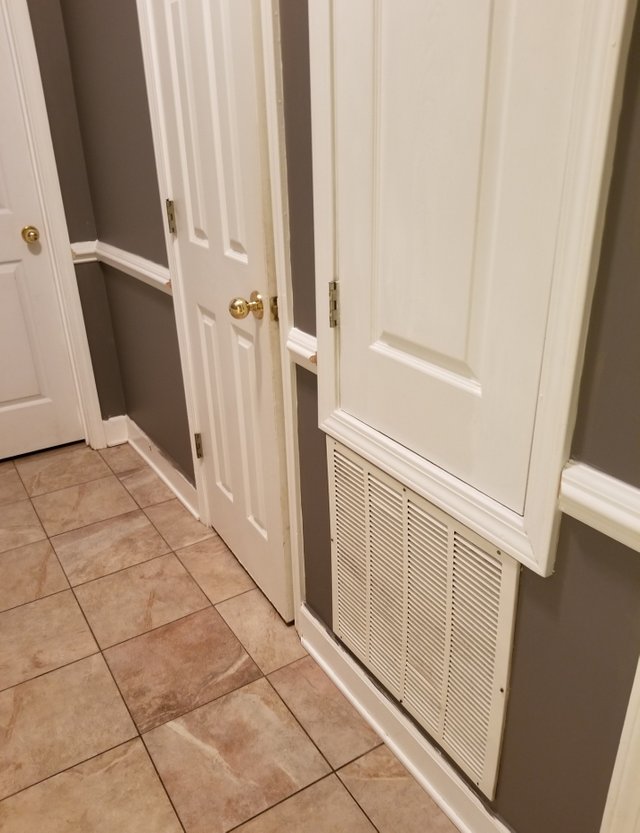
SPACING
So this was probably the most difficult part of this project. I was able to find a few tricks on your tube. 1st you have to decide how many inches you want your wainscoting apart from each other. I picked 4 inches but really you can pick any amount on the spacing part. Once you decide how many inches you want you will need to cut 2 sqaure blocks that size. So basically I went with 4 inches so my block is a 4 in sqaure.
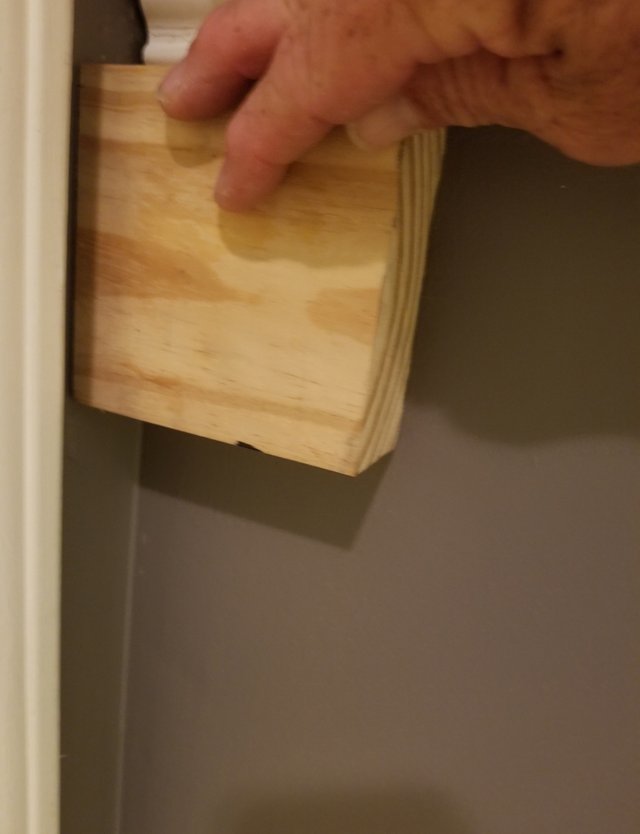
SPACING 1.1
Now you will take your blocks and use them as a guide to mark your wall. Take the block and place it right under the chair rail, draw a line. Then take the block and place it where the wall starts, draw a line, follow this same step on the bottom trim of your wall. Repeat this step on the end of the wall also.
SPACING 1.2
Now measure the length of your wall, then subtract inches of your block 2 times. So basically if you used a 4 inch block and your wall is 98 inches you would subtract 8 inches from your measurement. ( 2 4inch spacing) then we would use 90 inches going forward.
SPACING 1.3
Now you will need to decide how many wainscoting you want. We will use 4 for this example. So to evenly space out 4 on the walls. Your will subtract 12 inches from the 90. How did I get that number? Remember that the blocks are 4 inches. So if you want 4 wainscoting then you would subtract 4 inches 3 times. If you want 5 wainscotings then you would subtract 4 inches 4 times. It will always be one less then the actual wainscotings. So now are new number would be 78 (90 minus the 3×4 inch blocks. Now divide 4 into 78 and this will be the length of each wainscoting. So each wainscoting will be 19.5 inches. Now you will need to find out how tall each wainscoting will be. To do this measure the distance from the bottom of the chair rail to the top of the baseboard trim. Once you have done that you will need to subtract 8 inches from that number (2 4 inch wood blocks) so in my procject the measurements is 26 inches. So I would take the 26 inches and subtract 8 inches from it, making my length of my wainscoting 18 inches.
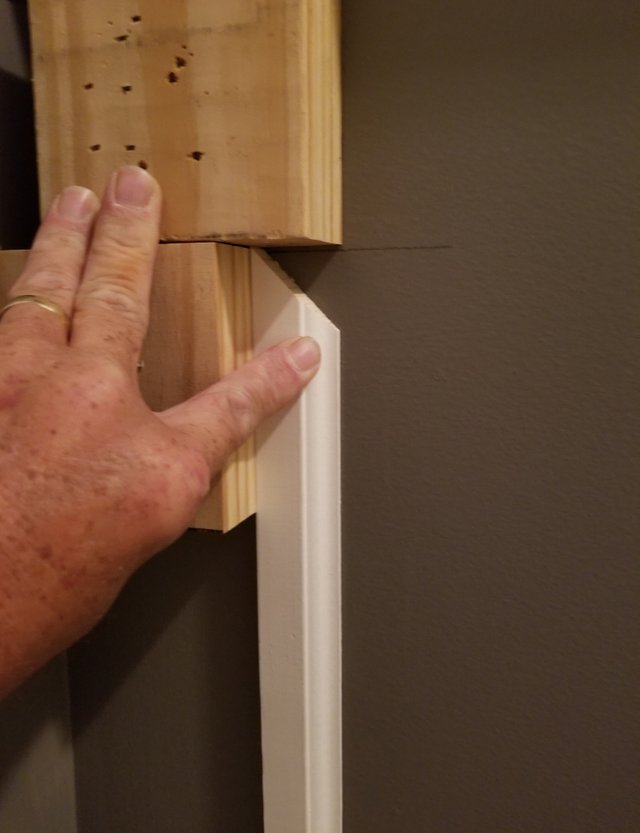
Now once your get your pieces cut you are ready to start installing them. Here is another trick to help you keep your project straight. Use your 2 blocks as a guide to make sure your pieces are properly started. See picture above. Once you get your first piece up use the block to make sure that the other end of the piece is straight. Then move on to the next piece.
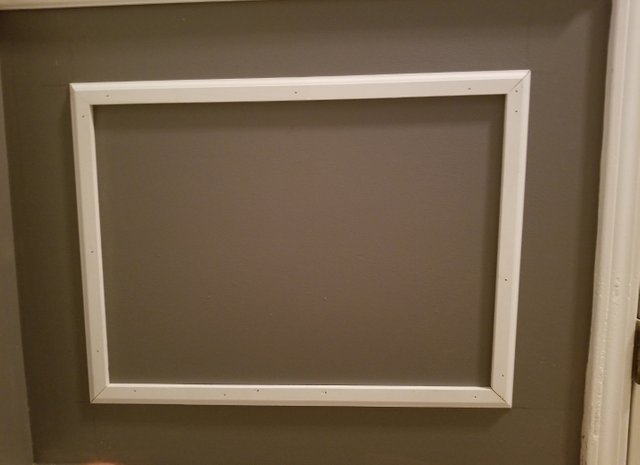
Once you get your wainscoting installed you may need to use some putty to fill in any cracks in your corners that you may have. Also putty the holes so you can not see the nails.
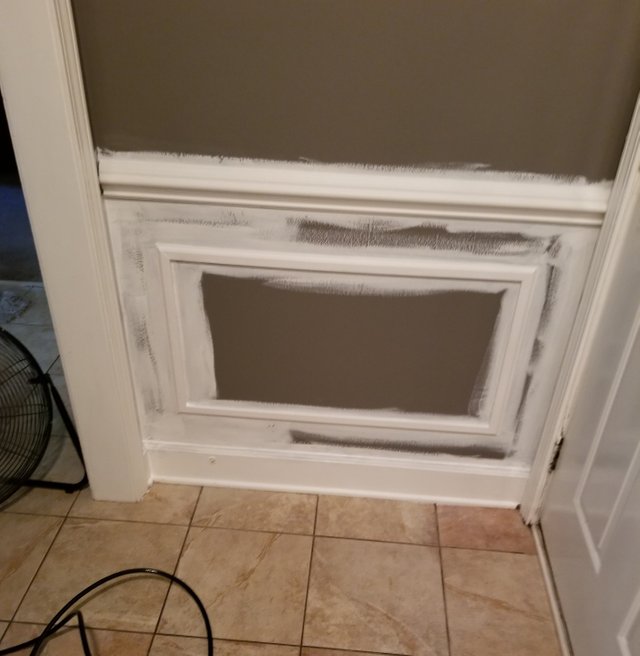
Now all thats left is the painting. Take your time on this, there will need to be several coats of paint put on your new wall.
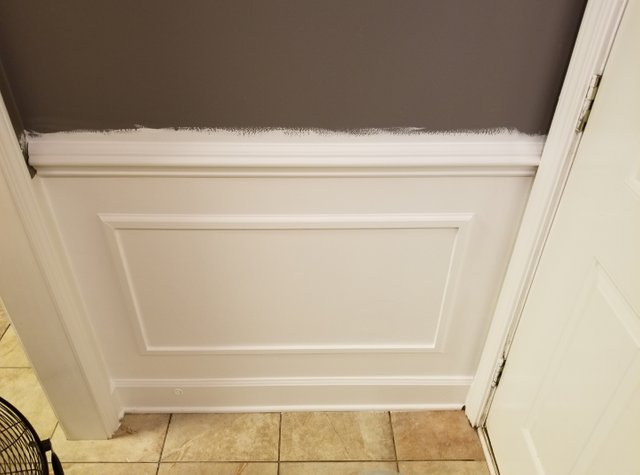
Once you are done with your painting on the bottom of your wall, you will probably need to repaint the top and cut your trim lines in. Take your time on this as well. You might even want to use some painters tape if you are not steady enough on your own.
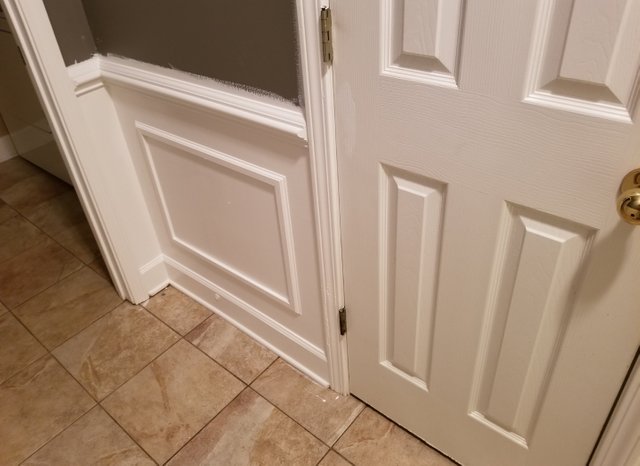
Here is your finished product, now this project cost me under $100, but I did already have the paint. So you can do this project for less than $150.00 and it makes a huge appearance difference.
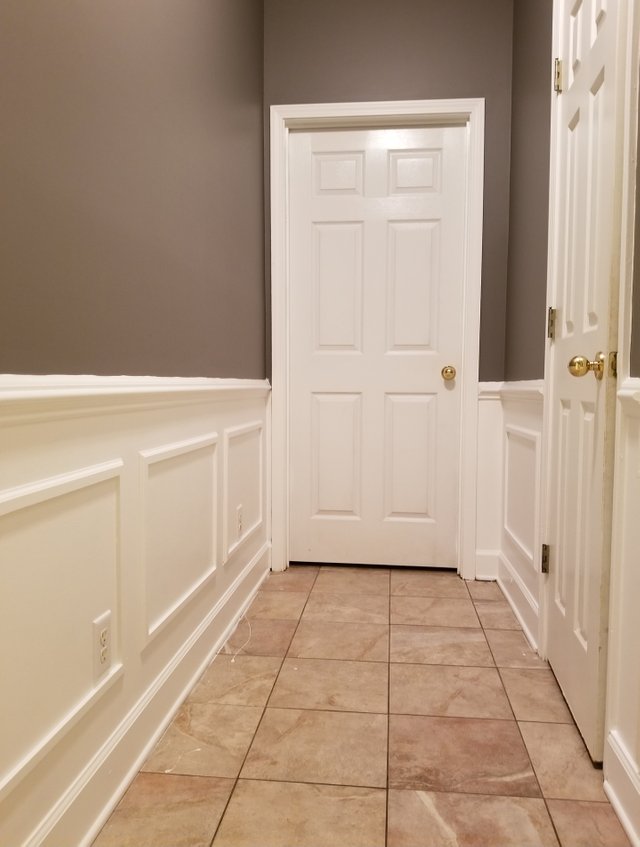
DYI is done. Now I gotta go pack for another long week at work. Have a good weekend.
Thanks for stopping by!

DIY is so much fun , there is no better feeling then look on something you did with your two hands
Posted using Partiko Android
They really are!!
Looks good Ray. But what you did is not true wainscoting. Wainscoting is a coating of wood over a wall with a raised or inverted profile. You did molding boxes on the wall. Very nice job though.👍
Correct. I thought it odd that there was discussion of spacing when paneling isn't spaced. But the intended effect was apparently achieved in order to ensure spousal satisfaction.
Spousal satisfaction is very important. Even if she is wrong 😉
Seconded...
Thanks for the clarification brother, glad my wife thought this was wainscoting😉
Bah ha ha, O my sides... whatever it’s called it looks great 👍
Once you're finished there, come visit me, I've got a list longer than my arm I need to get done and could use a hand.
Brother, If I could get the time off from work I would be there.
This post is supported by $13.32 @tipU upvote funded by @silver-hammer :)
@tipU voting service: instant, profitable upvotes + profit sharing tokens | For investors.
Just seeing this Ray, and damn man! You’re giving Holmes on Home a run for his money 😁👍👍
Nice finish buddy!