Science Experiments : How to Create a simple electric bell with my student
Do you know electric bell?? of course the electric bell is one that we can always meet in many places because almost all schools use electric bell. This time we will make an experiment how to make a simple electric bell with my student. Hope this will be useful for all of us. This experiment I did to train students in school to better understand the basic knowledge of electricity and this can be an inspiration for them to improve knowledge about science.

Basic Theory
Anlectric bell is a mechanical bell that functions by means of an electromagnet. When an electric current is applied, it produces a repetitive buzzing or clanging sound. Electric bells have been widely used at railroad crossings, in telephones, fire and burglar alarms, as school bells, doorbells, and alarms in industrial plants, since the late 1800s, but they are now being widely replaced with electronic sounders. [1]
The electric bell will work well when there is a flow of electricity flowing into the coil. So the iron will have magnetic attraction that will attract another iron with a beater to hit the bell so it can cause a sound.
The function of an electric bell relies on two things: the opening and closing of a circuit and an electromagnet. When power is running through the electric bell's circuit, an electromagnet draws a mounted metal clapper towards the bell, striking it. However, when the clapper is pulled by the electromagnet, it breaks the bell's circuit.
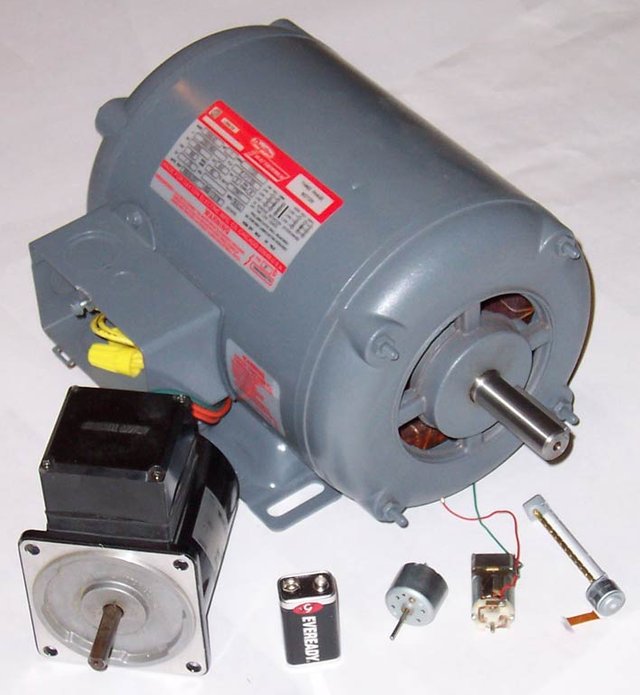
The main component of this electric bell is an electric motor is one of the tools used to convert electrical energy into mechanical energy. And this tool also has the reverse function, which can convert mechanical energy into electrical energy called a generator or dynamo. Many examples of electric motors are used for everyday purposes such as washing machines, fans and many others.
Tools and materials used in making simple bells include:
Tools needed
- Hammer
- Saw
- Zinc scissors
- Meter
Materials needed:
- DC Electric Motors as a producer of motion that causes noise
- Switch as button on / off,
- Place the battery Battery as current DC power source
- The wood used for the a simple electric bell
- Nails are used to connect / string up simple bells
- Rubber to bind Cover the bottle made of zinc 7. Cable to connect electrical current from battery to DC Electric Motor
- DC Electric Motors to the switch
- Nail or stick to hit the tin as a simple bell.
- Drink cans made of zinc
Here are the steps the process of making a simple electric bell
Measure the wood used to make the bell frame with the meter. The first wood with size: length = 15 cm and 4 cm wide as much as 1 piece. Second wood with size: length = 11 cm and width 4 cm as much as 2 pieces. Third wood with size: length = 25 cm and 4 cm wide as much as 1 piece.
Then Cut the measured wood using a saw and Prepare the hammer and nail to combine the cut wood, thus forming a simple bell frame. Do this be carefully, neatly and nicely so that the frame is strong.
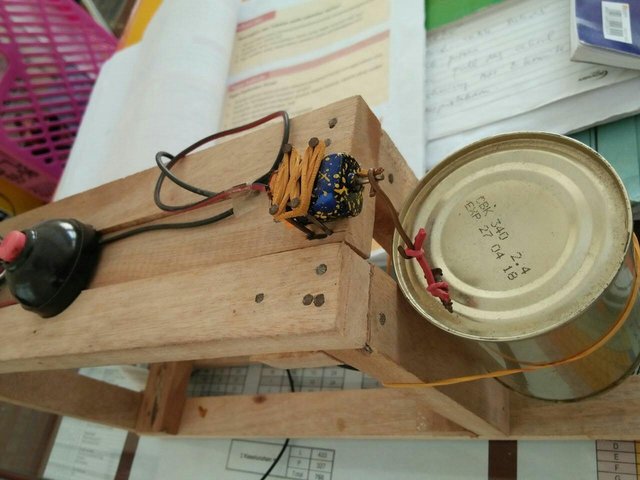
Prepare the bottle cap then spread the edge of the bottle cap with the hammer. Then hole in the center of the bottle cap with nails. Make sure the hole should fit with the DC Electric Motor tip.
Cut the bottle cap with zinc scissors. After that make another hole in one end of the bottle cap that has been cut as a place to put the stick. Tie the used tin with rubber on the third end of the wood
Take the DC Electric Motors and then insert the DC Electric Motor tip into the center of the bottle hole, so it looks like a propeller. Then take the stick and insert it into another bottle cap. And tie the DC Electric Motor with rubber on the a simple bell frame.
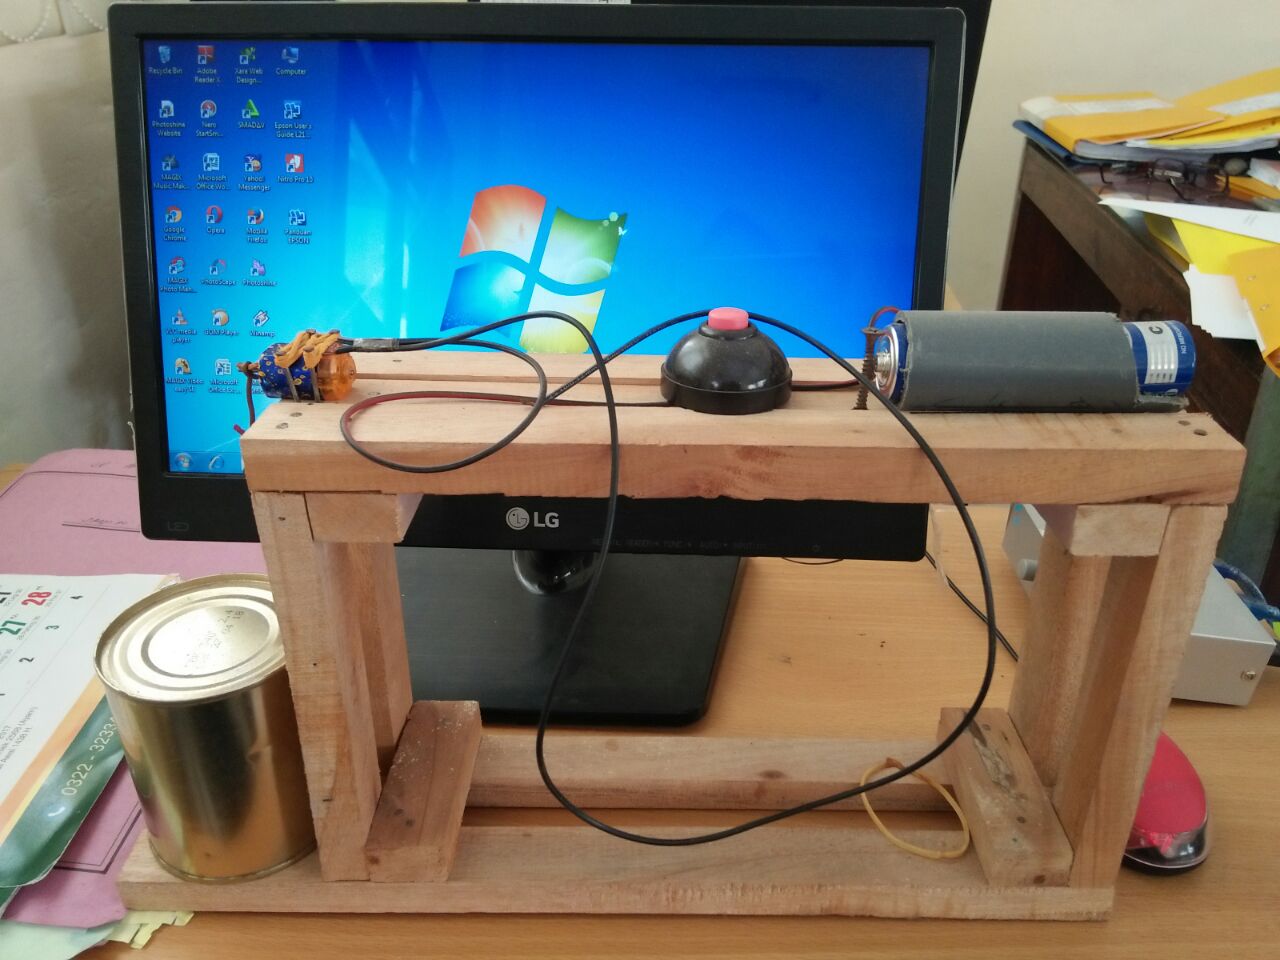
Prepare the beterai and beterai places, then install the batteries according to the positive-negative pole. Tie the battery pack to the bell with a strong rubber. Connect one cable from the battery to the switch and the other to the DC Electric Motor.
Then the last is take one additional cable that is used to connect the DC Electric Motors with the switch.
A Simple electric bell making is completed and now ready to be tested by pressing the on / off button. If it can produce a sound from the bell it means the experiment is successful.


Conclusion
After doing this experiment the student has been able to make a simple electric bell. And they have understood the main concept of how the electric bell works where the electric bell has an important component of the electromagnet and the electric current cutter. Simply put, this electromagnetic will connect the electrical current from the keystrokes to the sound of the bell that we often hear. And the results they get also in accordance with the concept.
They have also understood the principle of a circuit breaker which is a component that can stop the sound-producing current when the bell is pressed ie the circuit inside closes and makes the electric current flow to the electromagnetic. And the concept of Electromagnetics is made of two coils and one iron bearing, in which the coil serves as a magnet and the iron bearing becomes the a beater connector. Of all the concepts and principles of working the electric bells are already in line with the results of the simple electric bell they make. Incredibly they are very happy to learn it and hopefully they will become scientists in a future.
nice . teach me too .
Thanks...
Nice idea for monitored school experiment, thanks!
Thanks...@mcfarhat