DIY - Built in coat rack! Phase 3!
Part 3 of out DIY built in coat rack! Getting down to the detail in the finish work. I did have a decent set back though. I had a ripple show up about the size of two half dollars. Of course, right in the middle of the face in the third section to the right. I ended up cutting it out and the wood was actually hollow! A thin paper like finish in that area made it look finished visually. The paint soaked right in and caused a big ripple.
I ended up cutting out the spot and using wood filler. After a few sessions of sanding and filling. I ended up getting it pretty flat. Loaded it up with several coats of paint to blend it.
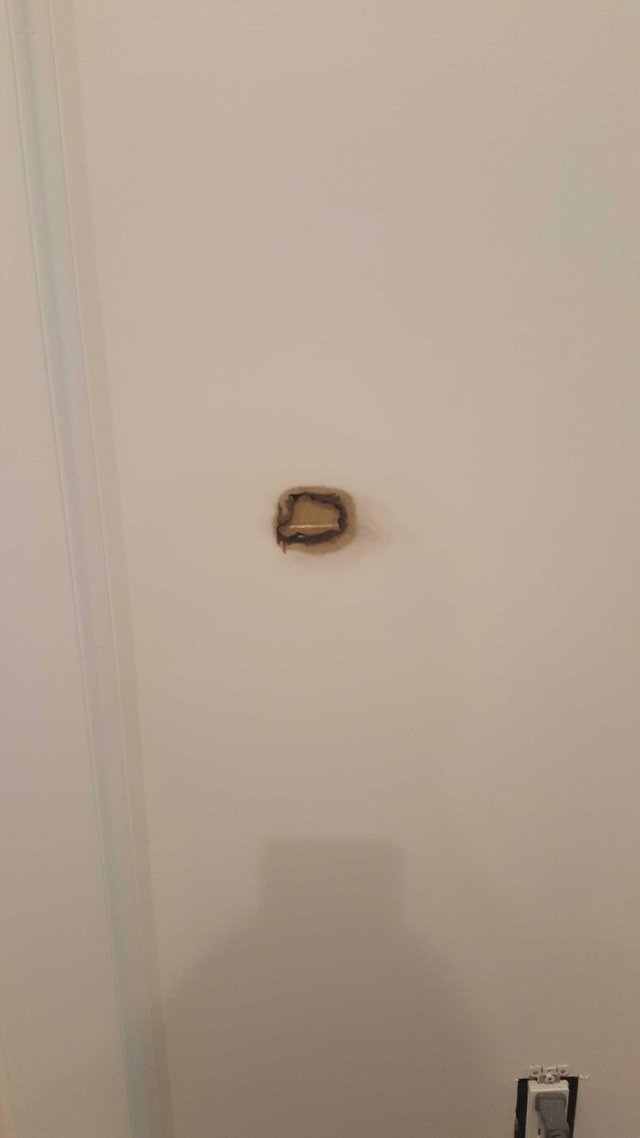
Here is the hole that needed to be filled. Amazing it was hollow like that!
**At this point I am totally done with the white trim paint. I took my protection cover off the oak bench. A good sanding made it feel incredible to touch. The 5.5in palm sander is a beast! I put up painters tape and protect the fresh white paint. As well are strike a straight line for paint and stain to meet.
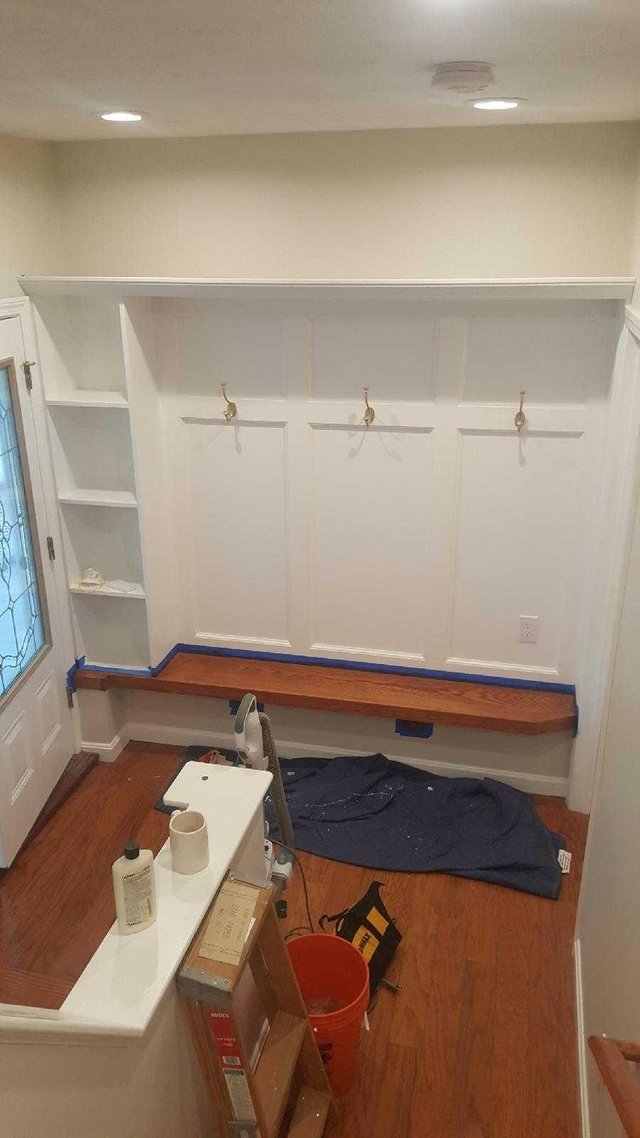
**It actually took several test samples to find a close match to the color of the wood floors. I ended up using a 2 to 1 ratio of two colors. I think I got it pretty close!!
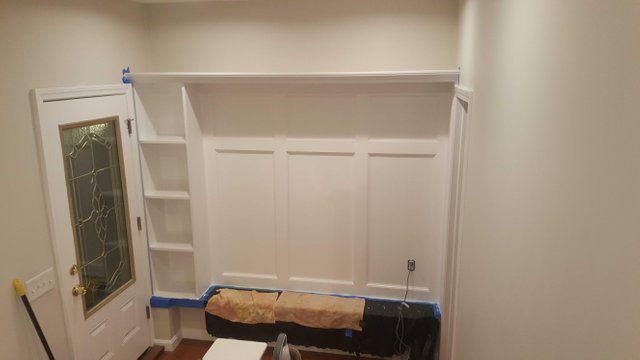
I'm going to let this stain set overnight. I will attempt to polyurethane the oak bench tomorrow afternoon. I intend to use two coats of poly. Looking forward to the finished product!
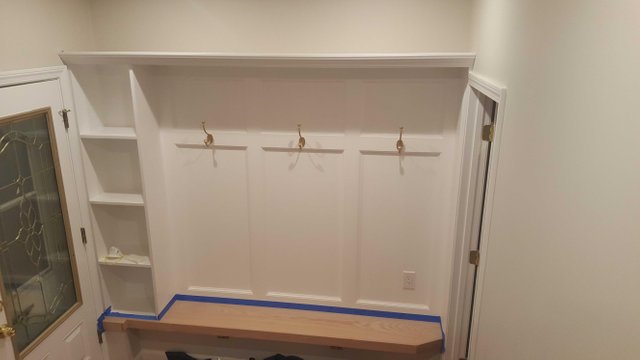
Here we are with phase completed. I ended up sanding most of it down with palm sander. I filled in all the nail holes and spacing in trim with white caulking. I intend on staining the oak bench last. Which is why I painted the built in first. I was very surprised at how much paint I had to put on to get a solid base coat. After painting the base coat I noticed some of the caulking in the nail holes shrunk. I will go back over them with wood filler. Like I should have done the first time.
Post white base coat
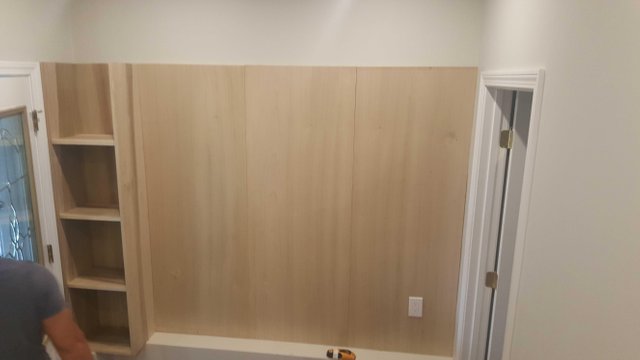
Sanded and prepped for paint
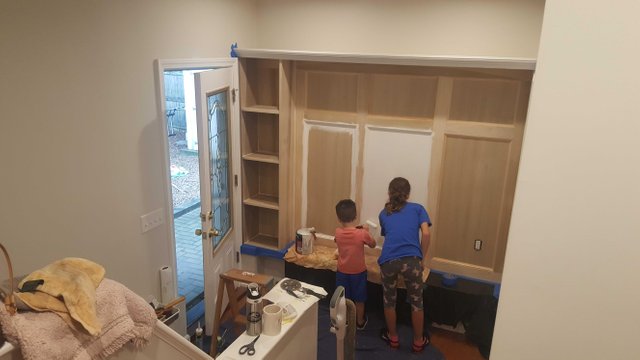
I hired two of the most experienced painters I know to help get this done. They were so excited to be a part of the project!
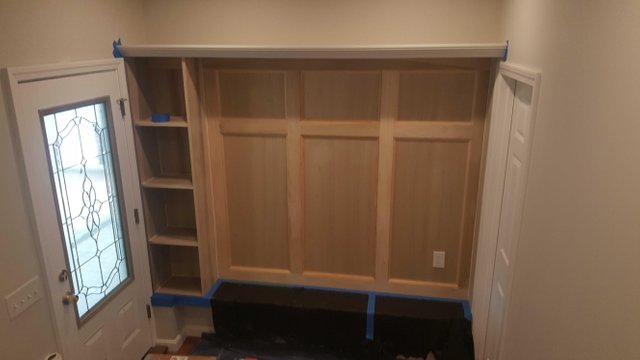
My wife has been after me for sometime to build out a wall in the house where we can hang jackets, back packs, and shoes. A type of catch all area. I don't even know the proper terminology to be honest. But I have 3 kids and she wanted 3 stations. One for each kid..
That project started today. After months of grinding me down to get it done. I want to share some of the progress photos as it actually is coming out very nice.
After a new trips to Home Depot...
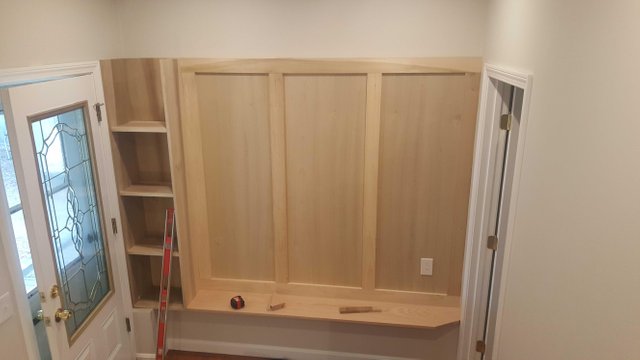
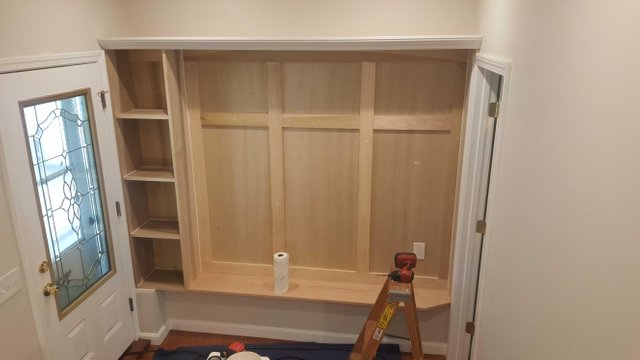
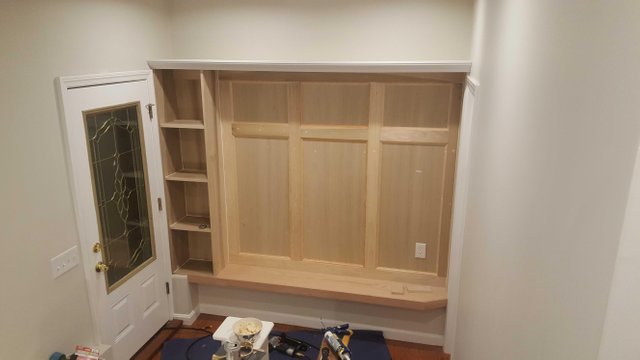
Stage one is complete! Everything is in place. I now need to fill in nail holes, sand, and paint! Hopefully, thay can get done by next weekend. My wife is very happy. For now....
I published this article using the ESTEEM app on my android mobile device. Quick and easy!
Follow me on Instagram: @collectbulliondotcom


Like a boss buddy! 👊😎
🤜🤛
You seem to be using older version of eSteem!
Please update to newest version to get most out of eSteem, Install Android, iOS mobile app. For desktop Windows, Mac, Linux Surfer app!
Learn more: https://esteem.app
Join our discord: https://discord.gg/8eHupPq
Slowly but surely, the attention to detail is just right if you ask me.
I try telling my wife slowly but surely. But I don't get a good reaction lol. That is the best way to bring out the details though !
You do this for a living ?? you can charge people millions for this kind of attention to detail ! As soon as mine come in I hit you up if you down lol
Haha thanks man! I am an electrican by trade. Just starting to dabble in the wood work ..